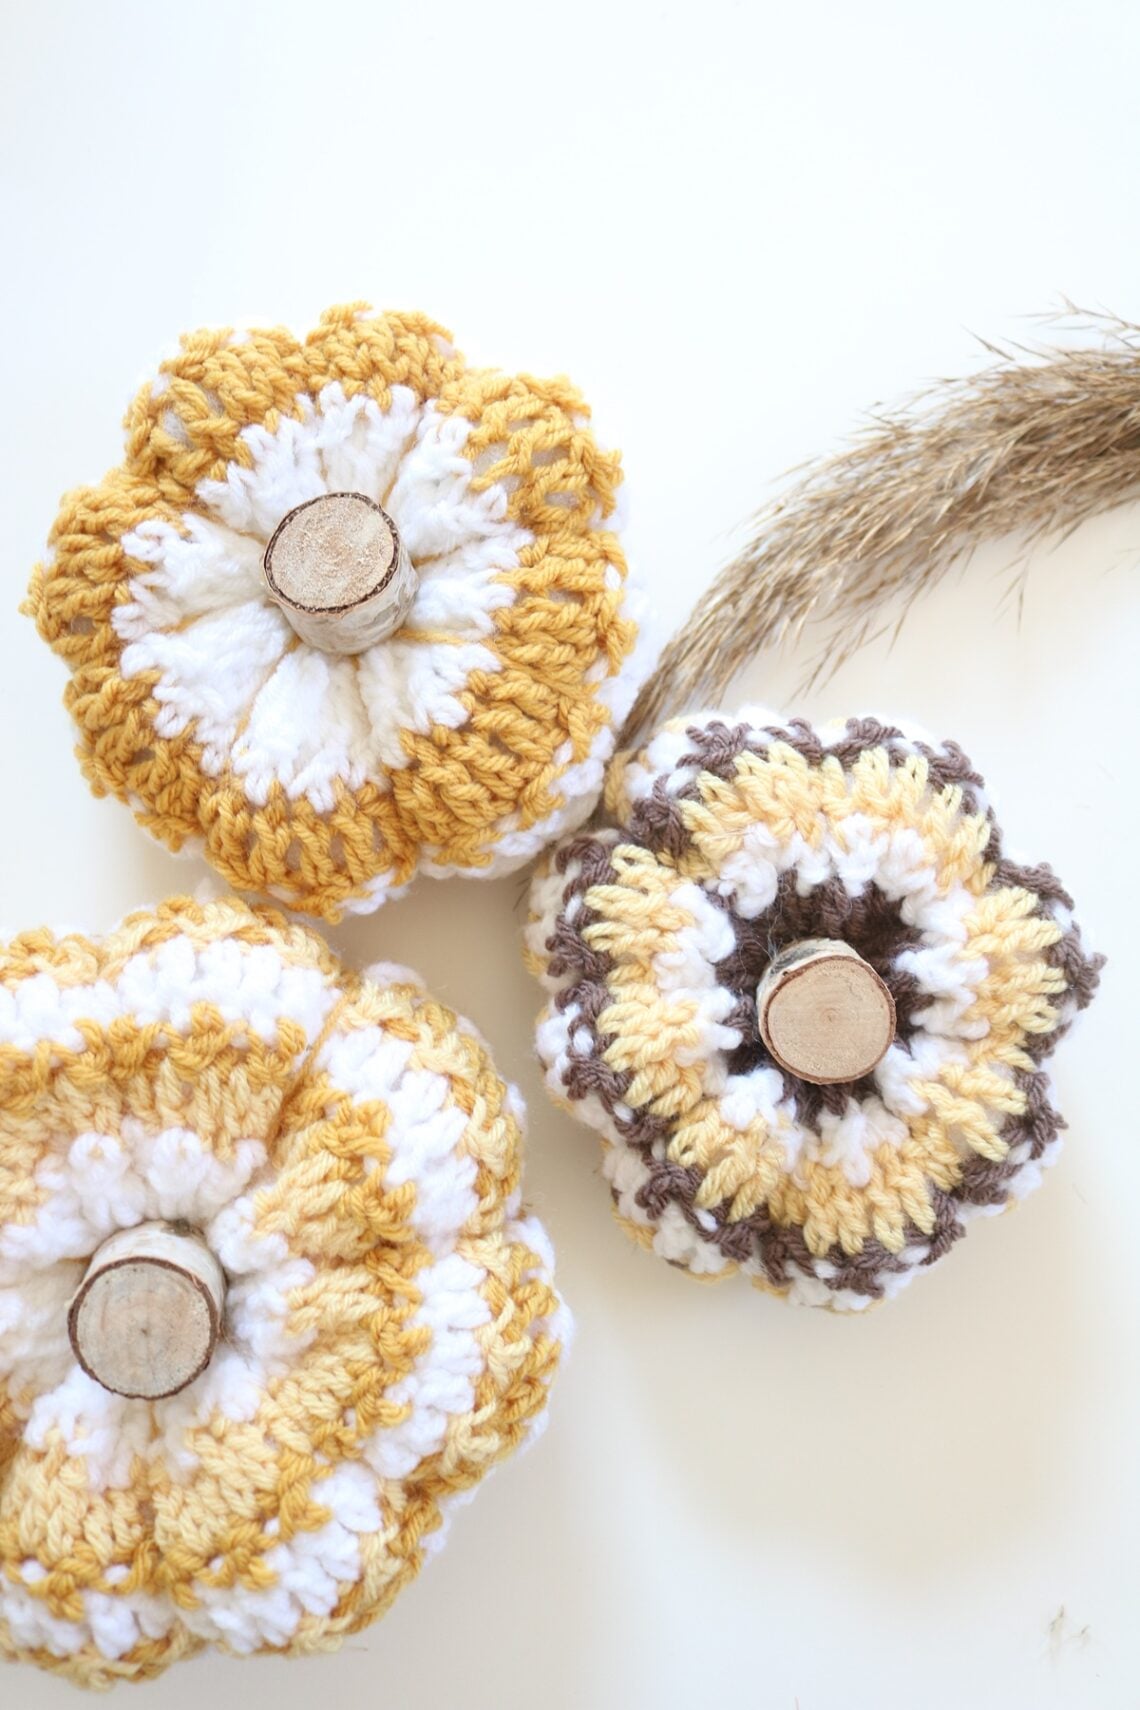
Easy Striped Crochet Pumpkin Pattern — Free & Beginner-Friendly
First Published: September 2024 | Updated: August 2026 | Skill Level: Beginner | Technique: Two-Row Stripe Repeat | Season: Fall
There’s a specific kind of fall decorating that doesn’t involve a single trip to the craft store: pulling out yarn you already have and turning it into something that’ll sit on your mantel for years, not just one season. That’s exactly what this crochet pumpkin pattern is for. It’s worked flat, in simple straight rows with an easy two-color stripe repeat. There’s no circles, no tricky shaping, nothing that requires you to have made a pumpkin before. If you can slip stitch and double crochet, you can make this. And because it comes together in soft, warm neutrals instead of the loud orange-and-black combo you see everywhere every fall, it’s the kind of piece that still feels like you and not a costume aisle.
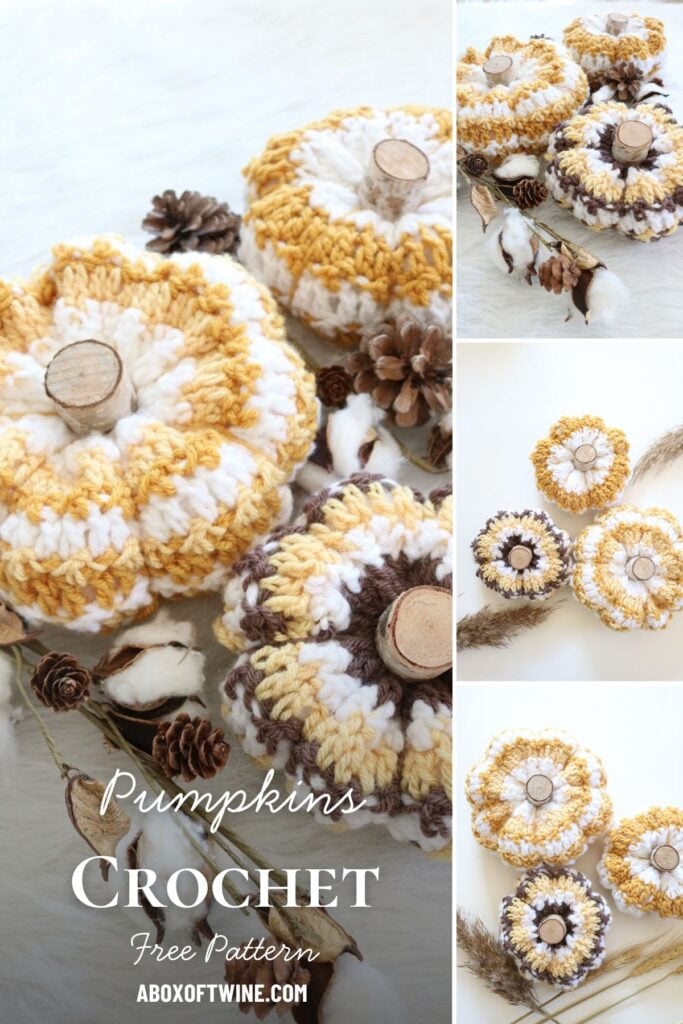
Why You’ll Love This Pattern
- Worked in straight rows, not rounds — no stitch markers, no counting in circles
- Just one repeating 2-row stripe pattern once you’re past row 1
- Ready in about an hour once you’re comfortable with the rows
- Looks just as at-home in cream and walnut as it does in classic pumpkin orange
- A great stash-buster — 40-50 yards per pumpkin means leftover skeins finally get used
This post may contain affiliate links. That means if you click and buy, I may make a commission at no cost to you. Please see my full disclosure policy for more details.
At a Glance (table)
| Finished Size | ~17″ circumference × 2.5″ height (Small) |
| Yarn Weight | Size 4 (medium/worsted) |
| Hook | I/9 (5.5mm) |
| Skill Level | Beginner |
| Time | About 1 hour per pumpkin |
| Construction | Flat rows, seamed — no rounds |
How to Crochet a Pumpkin for Beginners
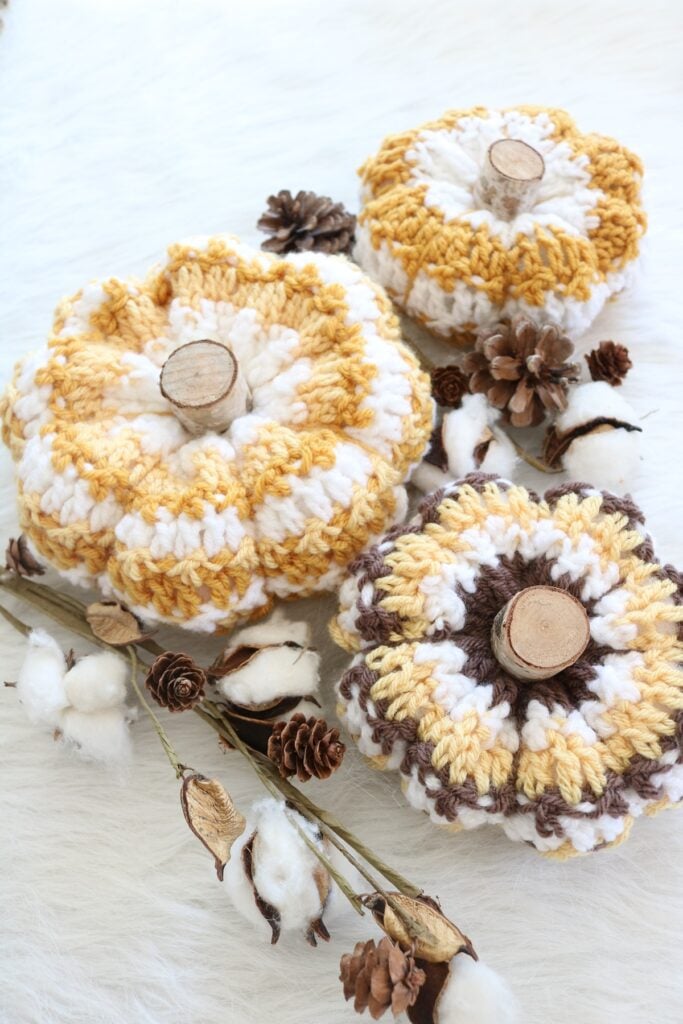
Beginners can start this pattern by working the pumpkin in straight rows, forming a rectangle. This is easy to do with simple stitches. Next, just join the short ends of the rectangle with a seam to form the ‘tube’. Gather the bottom of the pumpkin together and tighten, place stuffing inside, then close up the top.
Voila! Instant crochet pumpkins!
Supplies & Materials Needed
To make this striped crochet pumpkin, you’ll need:
Yarn
- 1 skein of Size 4 yarn – 40-50 yds in 2-3 colors
- I used Premier Just Yarn found at Dollar Tree store
- in colors White, Mustard, Gold, Pecan, Terra Cotta
Hook
- Size I/9 (5.5mm)
Crochet Notions
Extras
- polyfill stuffing
- wood stems or wine corks (for pumpkin stems)
- hot glue gun
Crochet Abbreviations
US Crochet terminology is used. (US terms)
Ch(s) – chain(s)
dc – double crochet
sk – skip
sl st – slip stitch
st(s) – stitch(es)
tch – turning chain
rep – repeat
RS – Right Side
WS – Wrong Side
The FREE crochet pumpkin pattern for the Small Size is provided below. Want more? The ad-free, printable PDF in my pattern shop includes helpful photos plus a Medium size pattern:
(The premium Ad-Free PDF can also be purchased on ETSY)
FREE PUMPKIN CROCHET PATTERN
Gauge: 4″ (10cm) square = 12 sts by 10 rows in pattern. NOTE – gauge is not critical.
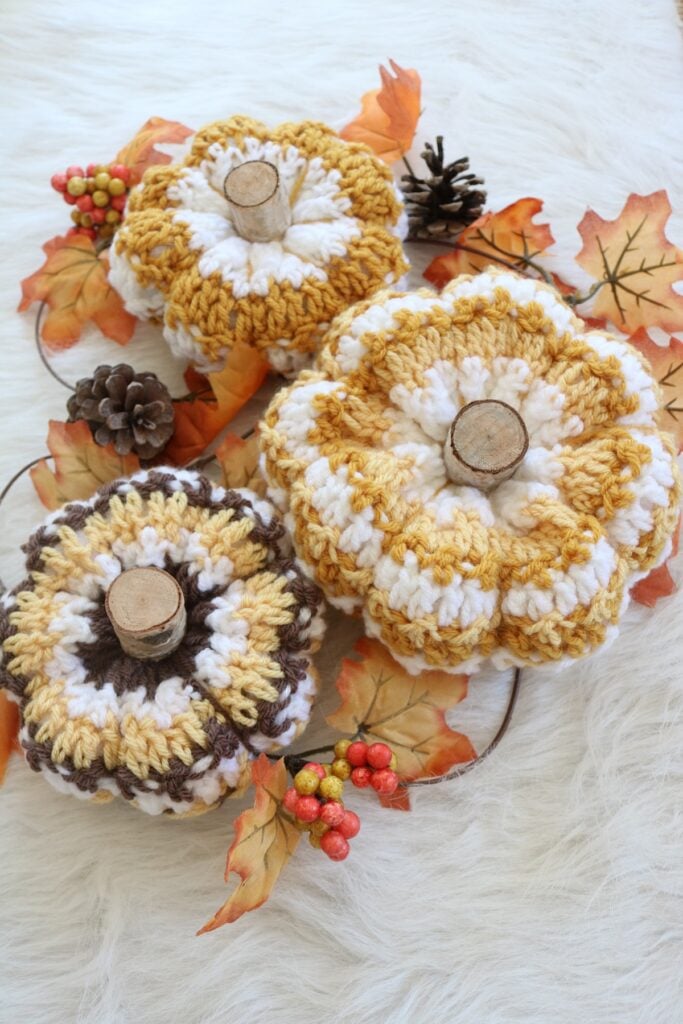
How long does it take to crochet a pumpkin?
Once you get the hang of the simple repetitive 2-row pattern, the small pumpkin can be worked in as little as 1 hours or less. You can knock out a few of these pumpkins any rainy afternoon or slow weekend.
How to make a Crochet Pumpkin
How do you crochet a pumpkin for beginners? Just work back and forth in rows, then join the short sides together to make a tube.
NOTES: First, you will create the pumpkin rectangle by working the indicated # of rows in the pattern.
Next, you will fasten off and join the short ends of the pumpkin in a seam.
Next, you will close up the bottom of the pumpkin and stuff it.
Lastly, you will close up the top, create indents, and add a stem.
Instructions are as follows for the striped pumpkin free crochet pattern …
Crochet Pumpkins Pattern for Size Small
With size I/9 hook, chain 45 with size 4 yarn.
Work the following pattern, alternating yarn colors after each row (or after every two rows). Feel free to use two or three different yarn colors.
Pumpkin Rectangle
Row 1 (RS): Dc into 4th ch from hook (1st 3 chs count as 1 dc), dc into next and each ch to end. Turn. (43 sts)
Row 2: Ch 1, sk 1st st, *dc into next st, sl st into next st: rep from *, ending last rep into top of tch. Turn. (43 sts)
Row 3: Ch 3 (counts as 1 dc), sk 1st st, *dc into next dc, dc into next sl st; rep from *, ending last rep into top of tch. Turn. (43 sts)
Rep Rows 2-3 for a total of 11 rows.
Fasten off, leaving approx. 12″ tail.
Seam Short Ends to join
With RS together, use a tapestry needle and tail yarn to work a seam joining the two short ends of the pumpkin rectangle together. Turn RS out.
Close up Bottom of Pumpkin
Using a tapestry needle, thread new yarn (or tail yarn if there is enough) through the bottom stitches of the pumpkin, using a running stitch.
Pull yarn to tighten, close gap with stitches, then secure yarn.
Stuff Pumpkin
Use polyfill stuffing to stuff the inside of your pumpkin. Be sure to stuff well, but not so much that the stuffing is popping through the stitch gaps.
Close up Top of Pumpkin
Using a tapestry needle, thread new yarn from skein through the top stitches of the pumpkin, using a running stitch.
Pull yarn to tighten, close gap with stitches, then secure yarn.
Make Indentations
Make indentations to pumpkin by threading skein yarn from the center bottom of pumpkin through the center top, then pulling it back down snugly over a side of the pumpkin and through the bottom —> top again.
Do this 4-8 times, depending on how many indentations you want.
Secure yarn ends and tuck them inside the pumpkin.
Add Stem
Lastly, hot glue a wood stem or wine cork to the center top to provide a pumpkin stem.
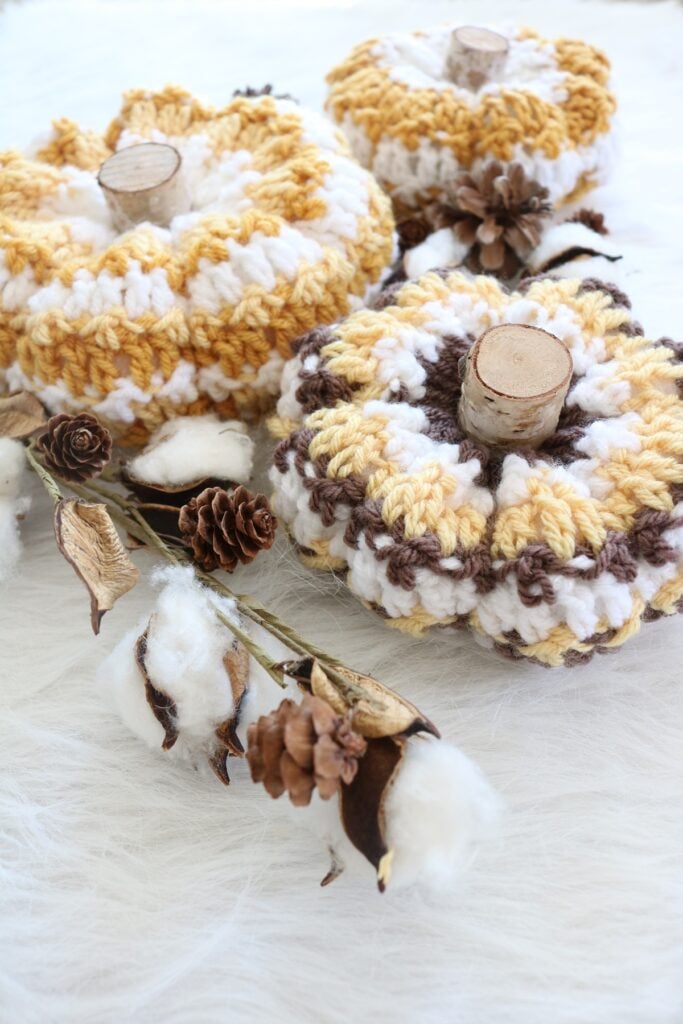
Finished Size
The finished Small sized pumpkin measures approximately 17″ circumference by 2.5″ height.
Important Tips for Crocheting your Pumpkin
Some things to keep in mind as you crochet the striped pumpkins are:
- Be sure to fasten off with a long tail to use as a seam for the short ends.
- Try not to over-stuff the pumpkins. You do not want stuffing peeking out the gaps.
- You may need to add a few back-and-forth stitches when closing the gaps at top & bottom after tightening with the running stitch.
Customization Tips
- Swap to a bulkier yarn + larger hook (like a J/10) for a “medium” size without changing the row count logic
- For a fully neutral set: try oatmeal + walnut, or cream + terracotta, instead of the mustard/gold combo — matches a timeless, not trendy, look
- Mix 3 pumpkins in graduating neutral tones (cream → caramel → cocoa) for a coordinated shelf display instead of one flat color per pumpkin
How to Style Your Crochet Pumpkins
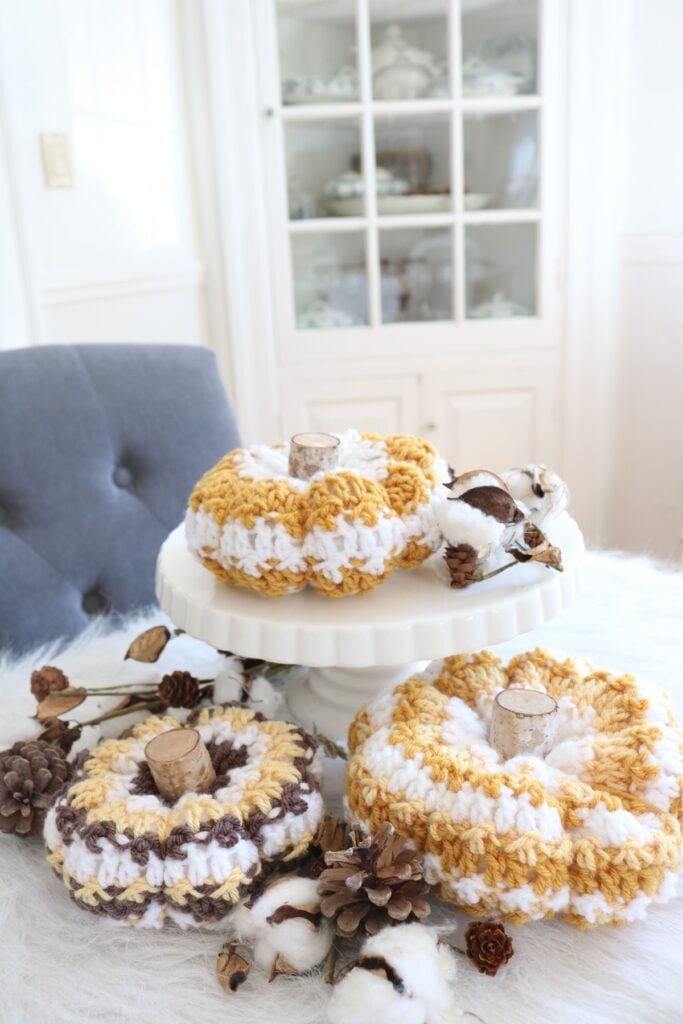
- The mantel: Cluster 3-5 pumpkins in graduating sizes next to a few taproot candles and a stem of dried pampas grass — skip the plastic Halloween stuff.
- The coffee table tray: Pair one or two pumpkins with your favorite fall mug and a stack of books for an easy, lived-in look.
- The entryway console: A single oversized pumpkin by the door reads more “welcome” than a whole basket of them.
- The neutral rule of thumb: if you’re using cream, walnut, or terracotta pumpkins, let everything else around them stay simple — a plain cotton throw, unfrosted candles — so the texture & color of the stitches is the star.
Related Patterns You’ll Love
Loving this cozy fall project? Here are a few more patterns to keep the season going:
- How to Crochet a Pumpkin — if you’d like to try working in rounds than rows, this textured version has vertical ridges for a more realistic pumpkin look.
- Harvest Basket – Free Crochet Basket Pattern — a natural basket that’s perfect for piling up your finished pumpkins on a shelf or table.
- How to Crochet a Fall Scarf — a chunky shell-stitch scarf in brown and cream that uses the same warm, neutral palette we love.
- Simple Knit Pumpkin Pattern for Beginners — for knitting readers, a chunky knit version of the same idea, worked flat and seamed just like this one.
Remember to grab the ad-free, printable PDF with the Medium size and helpful photos in my pattern shop.
Final Thoughts
Honestly, pumpkins were the project that made me stop being intimidated by “fall decor” projects in general. And when I realized I could skip the rounds and just work in rows, it started feeling like something I could make while half-watching TV. If you’ve been eyeing this one for a while, this is your sign to grab whatever yarn is already in your stash and just start with one small pumpkin. It’d be really hard to mess it up.
If you make a set, I’d love to see them! Tag me or drop a photo in the comments so I can see which colors you went with. And if this is your first time trying a flat, seamed project like this one, yay for you! I think you’re going to be surprised how quickly it goes.
Save this pattern to Pinterest so it’s easy to find again next time fall rolls around…
===> Remember to PIN for later! <===


2 Comments
Susie in the country
Thanks for sharing this very cute pumpkin pattern. Apparently I must shop very early in order to purchase those shades of yarn at $Tree! As of today, none of the yarn colors are in stock at one of my local stores. Don’t worry though i will use another substitute yarn or wait til the yarn becomes available at my $Tree.
Again, thanks for sharing this adorable pattern! Happy Fall♥
Susan
So happy you like the pattern, Susie! Yes, the Dollar Tree yarn can be popular, but it’s true that you can substitute with any worsted weight yarn you already have. You get to pick your favorite fall colors to use. 🙂 Enjoy, and happy fall to you, too!