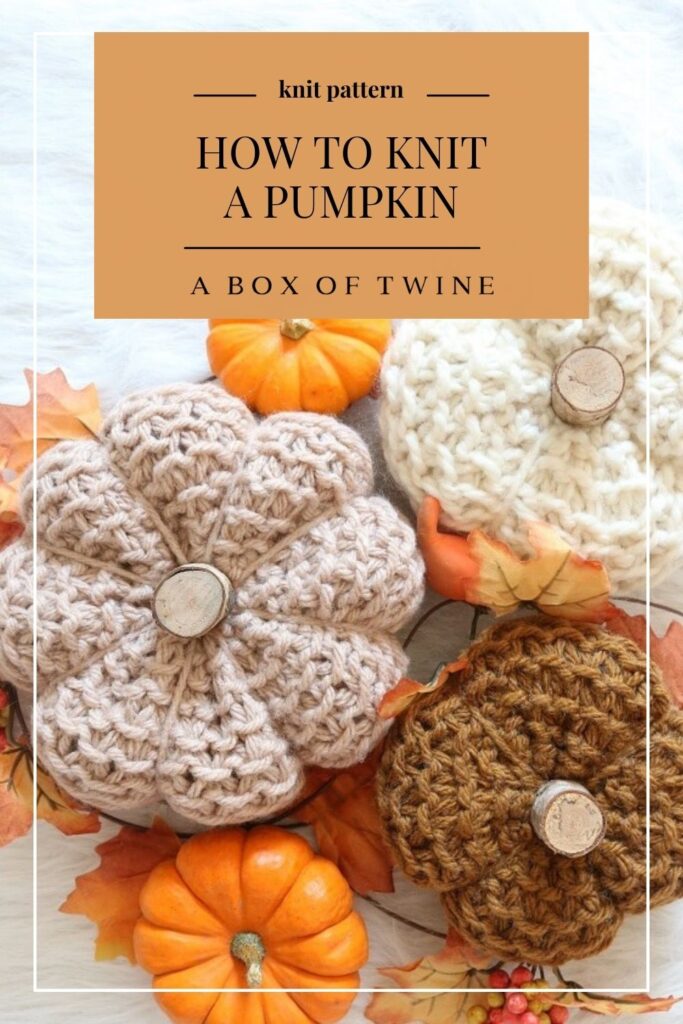
Simple Knit Pumpkin Pattern for Beginners {FREE!}
With the arrival of fall, knit pumpkin patterns may be on your mind. If you’re looking for an easy pumpkin pattern that is perfect for beginners, you’ve come to the right place. My knit pattern has a simple repetitive 4-row pattern that works up quickly with Bulky yarn. Plus, you work the knit pattern as a rectangle instead of in the round, so no need for circular knitting needles!
This post may contain affiliate links. That means if you click and buy, I may make a commission at no cost to you. Please see my full disclosure policy for more details.
How to Knit a Pumpkin for Beginners
Beginners can start this pattern by working the pumpkin in straight rows, forming a rectangle. This is easy to do with simple stitches. Next, just join the short ends of the rectangle with a seam to form the ‘tube’. Gather the bottom of the pumpkin together and tighten, place stuffing inside, then close up the top. Voila! Instant pumpkin!
You will need the following supplies to make this chunky knit pumpkin:
Supplies
- Size 15 (10 mm) straight needles at least 10″ length
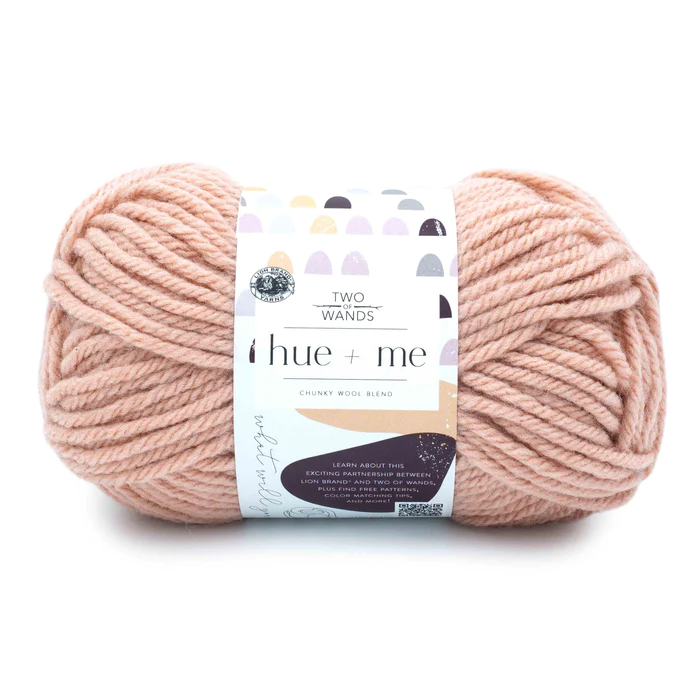
- 1 skein of Hue + Me yarn size 5 yarn (137 yds per skein) to make two pumpkin (one in each size) or similar weight yarn.
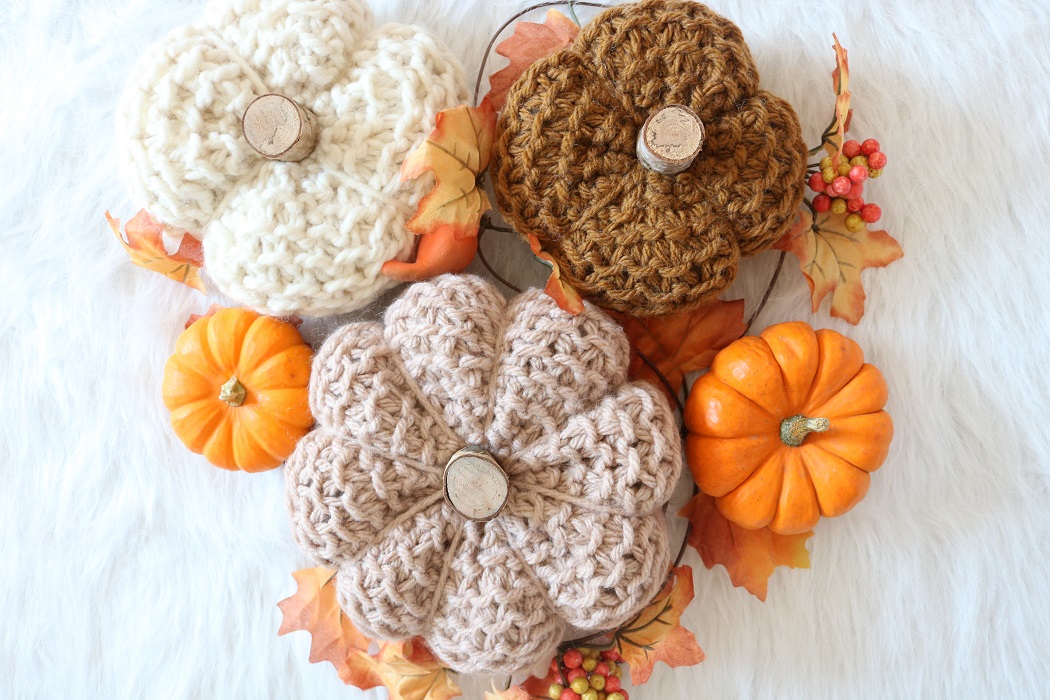
- Colors : Desert, Arrowwood
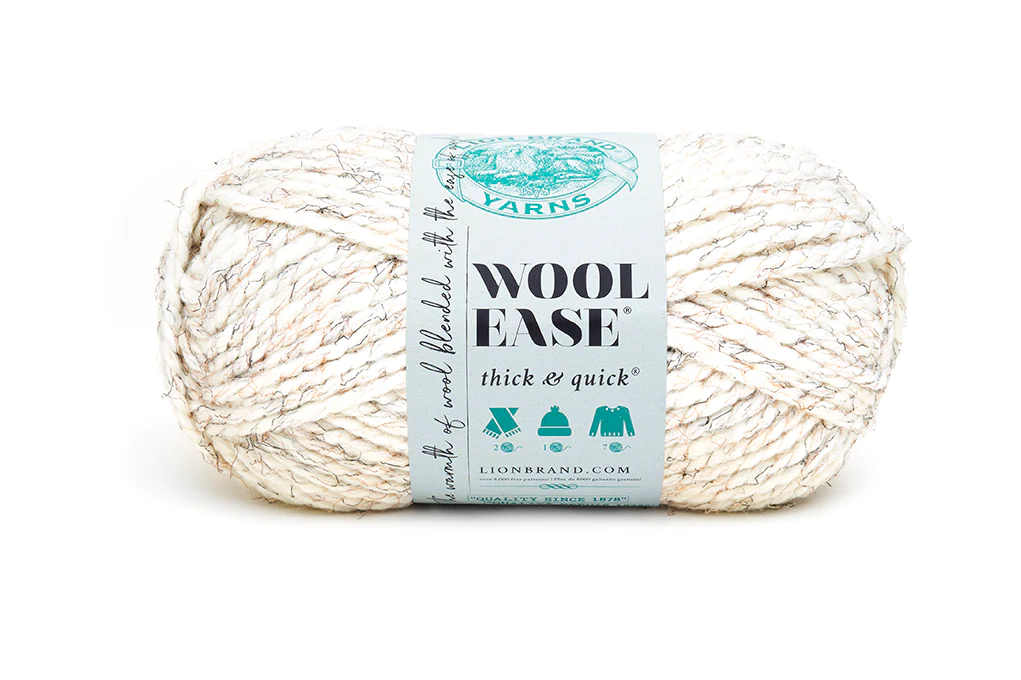
- NOTE – you can also use size 6 Super Bulky yarn for slighly bigger pumpkins (Lion Brand Thick & Quick, Fisherman)
- scissors
- tapestry needle
- polyfill stuffing
- wood stems or wine corks (for pumpkin stems)
- hot glue gun
Knitting Abbreviations
BO – bind off
CO – cast on
K – knit stitch
P – purl stitch
sl – slip stitch from left needle to right, knitwise
sts – stitches
Rep – repeat
RS – Right Side
WS – Wrong Side
PATTERN INFORMATION
I enjoy naming my crochet and knit patterns after local New England places of interest.
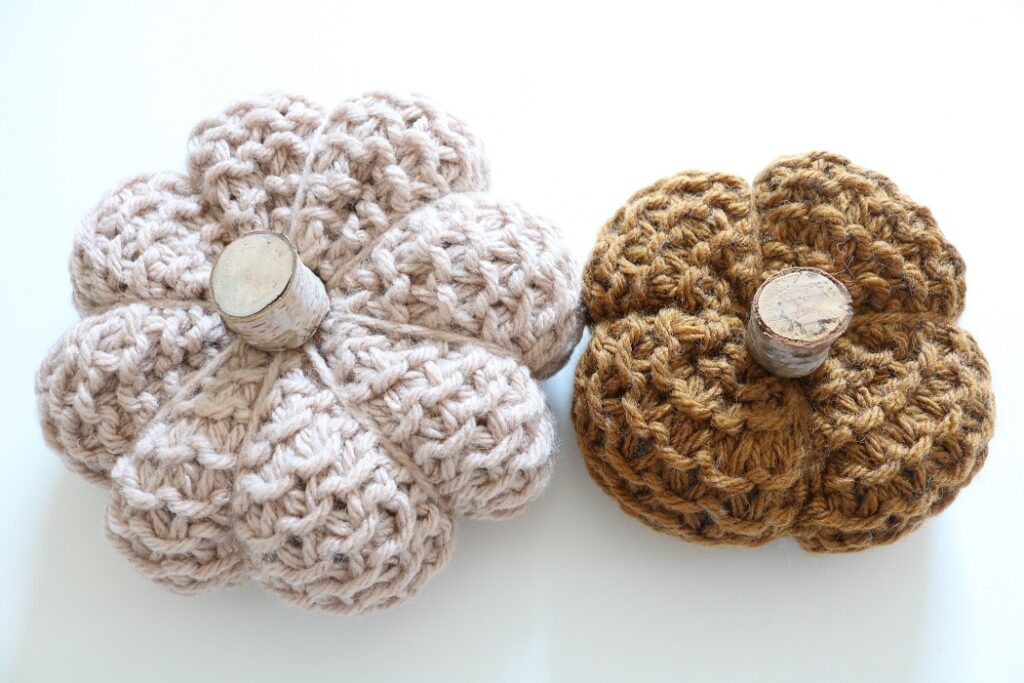
This “Pepperell Pumpkins” are named after the western Massachusetts town of Pepperell. The chunky autumn-hued pumpkins would look fitting in a similar country setting. But they would also look stylish in a modern abode, too.
The easy pumpkin knitting pattern free for the Small Size is provided below.
- but you can also get the ad-free, printable pdf KNIT PUMPKIN PATTERN in the ETSY SHOP! The pdf has helpful photos included, as well as an additional pattern for a Medium size.
Before we begin on this pattern, are you a beginner knitter? You may be interested in taking my knitting class first, to master the basics …
——————————————————————————————————————–
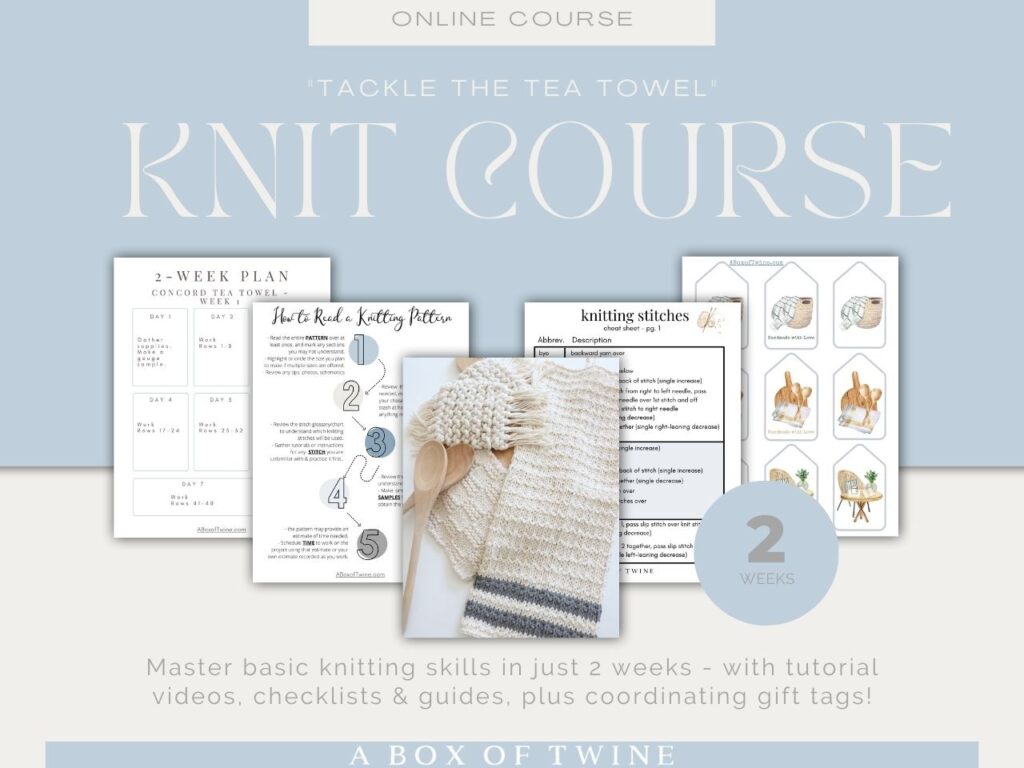
Do you wish you could really learn how to knit beautiful things?
Click here to master basic knitting skills in under 2 weeks – even if you are a complete beginner, intimidated by mistakes, and lack design coordination!
KNITTING COURSE —>
——————————————————————————————————————–
FREE PUMPKIN KNITTING PATTERN
Gauge: 4″ (10cm) square = 12 sts by 20 rows in pattern. NOTE – gauge is not critical.
How long does it take to knit a pumpkin?
Once you get the hang of the simple repetitive 4-row pattern, the small pumpkin can be worked in as little as 2 hours or less. You can knock out a few of these pumpkins any rainy afternoon or slow weekend.
How to make a Knit Pumpkin
How do you knit a pumpkin with straight needles? Just work back and forth in rows, then join the short sides together to make a tube.
NOTES: First, you will create the pumpkin rectangle by casting on and working the indicated # of rows in the pattern.
Next, you will BO and join the short ends of the pumpkin in a seam.
Next, you will close up the bottom of the pumpkin and stuff it.
Lastly, you will close up the top, create indents, and add a stem.
Instructions are as follows for the chunky pumpkin free knitting pattern …
Knit Pumpkin Pattern
With size 15 straight needles, CO 44 sts with size 5 yarn.
Pumpkin Rectangle
Row 1 (RS): Knit.
Row 2: *K1, sl 1; rep from * to last 2 sts, k2.
Row 3: Knit.
Row 4: K2, *sl 1, k1; rep from * to end.
Rep Rows 1-4 for a total of 24 rows.
Bind off knitwise.
Seam Short Ends to join
Cut 20″ tail from working yarn.
With RS together, use a tapestry needle to work a seam joining the two short ends together. Turn RS out.
Close up Bottom of Pumpkin
Using a tapestry needle, thread new yarn from skein through the bottom stitches of the pumpkin, using a running stitch.
Pull yarn to tighten, close gap with stitches, then secure yarn.
Stuff Pumpkin
Use polyfill stuffing to stuff the inside of your pumpkin. Be sure to stuff well, but not so much that the stuffing is popping through the stitch gaps.
Close up Top of Pumpkin
Using a tapestry needle, thread new yarn from skein through the top stitches of the pumpkin, using a running stitch.
Pull yarn to tighten, close gap with stitches, then secure yarn.
Make Indentations
Make indentations to pumpkin by threading skein yarn from the center bottom of pumpkin through the center top, then pulling it back down snugly over a side of the pumpkin and through the bottom —> top again.
Do this 4-8 times, depending on how many indentations you want.
Secure yarn ends and tuck them inside the pumpkin.
Add Stem
Lastly, hot glue a wood stem or wine cork to the center top to provide a pumpkin stem.
Important Tips for Knitting your Pumpkin
Some things to keep in mind as you knit the chunky pumpkin are:
- Feel free to use a Super Bulky (size 6) yarn instead of Bulky (size 5) if you want bigger pumpkins.
- Be sure to fasten off with a long tail to use as a seam for the short ends.
- Try not to over-stuff the pumpkins. You do not want stuffing peeking out the gaps.
- You may need to add a few back-and-forth stitches when closing the gaps at top & bottom after tightening with the running stitch.
Finished Size
The finished Small sized pumpkin measures approximately 17″ circumference by 2.5″ height.
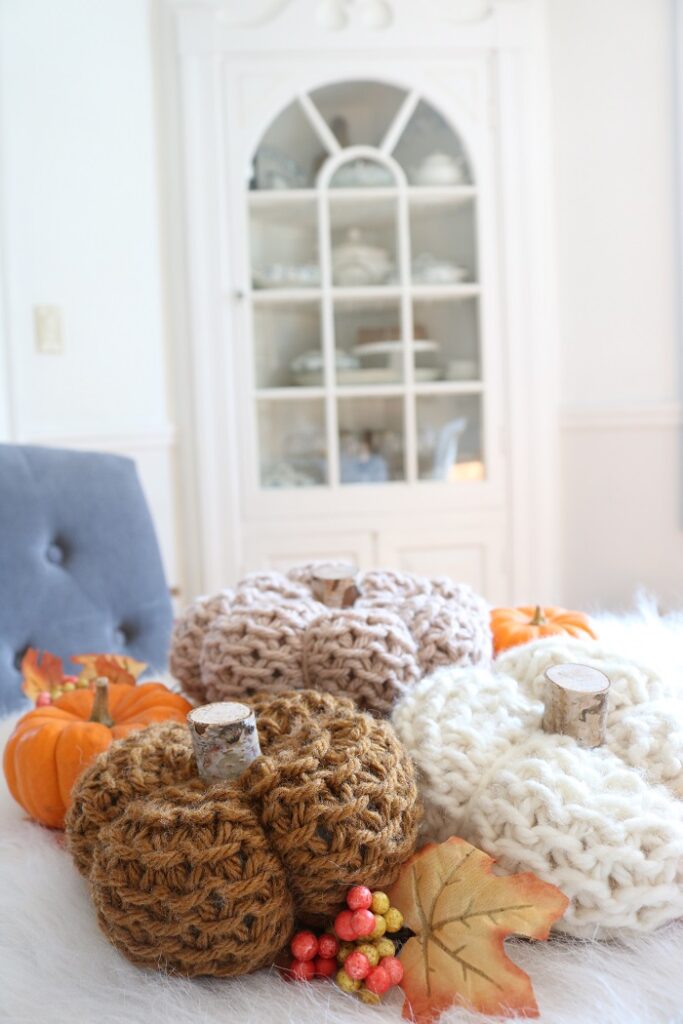
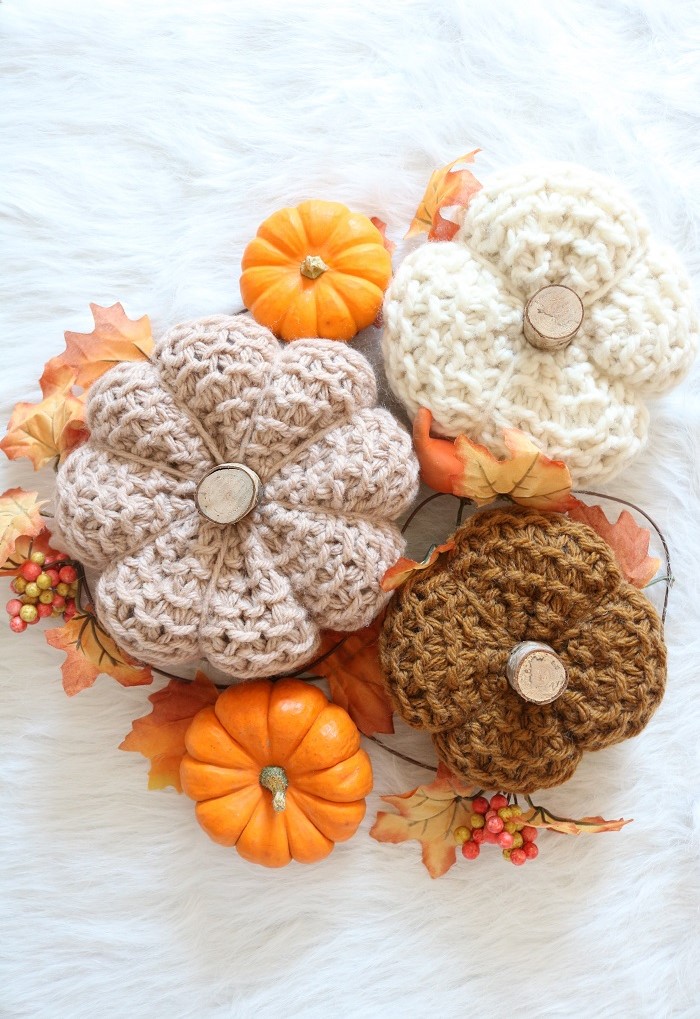
Using your Knit Pumpkins
Tuck your adorable pumpkins onto your mantel, shelves, or night table. Place an autumnal candle nearby and enjoy the sights and scents of fall. The wood stem, interesting knit pattern, and indentations provide the cozy rustic texture that you’ll love to look at.
How did you like this simple knit pumpkin pattern? What color yarn would you use for your pumpkins? Lion Brand has so many terrific colors to choose from in the HUE + ME yarn series, it may take you a while to choose your favorite. I’m particularly partial to using the Desert, Arrowwood, and Spicy colors for these cozy pumpkins.
You can also use a larger size yarn to bump up your pumpkin size. For instance, I used Lion Brand Thick & Quick in the color Fisherman for one of my small sized pumpkins.
Don’t forget that this chunky pumpkin free knitting pattern is also available as a digital pdf premium pattern. The pdf has helpful photo tutorials as well as instructions to make the Medium sized basket. You’ll be able to make multiple pumpkins in both sizes, then group them on your shelves or tables. Grab the CHUNKY KNIT PUMPKIN PATTERN in my Etsy shop.
===> Remember to PIN for later! <===