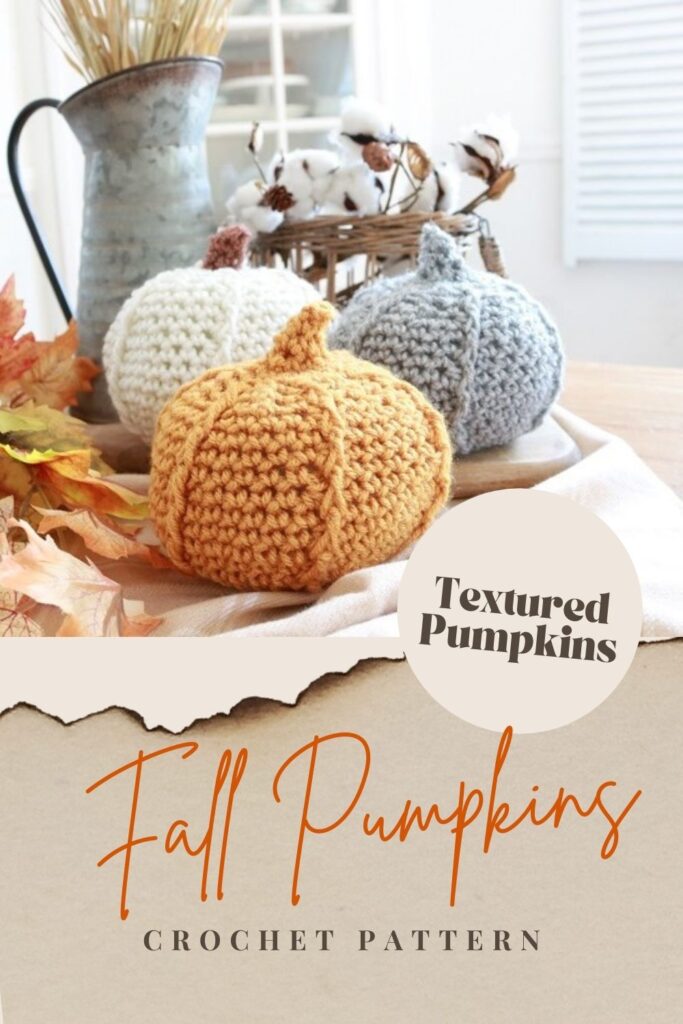
How to Crochet a Pumpkin
Looking for a cozy home accessory for fall? Tired of the same-old fall décor from chain stores? Why not crochet a cozy textured pumpkin? You can keep it around for years, unlike real pumpkins, and you can boast that you made the crochet pumpkin yourself. If you make several crochet pumpkins in a variety of colors, they look fabulous grouped together as a fall centerpiece or mantel display.
Today I have a free crochet pumpkin pattern for you. I added a unique touch with vertical dc stitches that resemble the vertical lines on a pumpkin. These Farmhouse crochet pumpkins fit well with a rustic farmhouse style.
This post may contain affiliate links. That means if you click and buy, I may make a commission at no cost to you. Please see my full disclosure policy for more details.
Crochet Pumpkin Pattern
How to make a crochet pumpkin
The textured pumpkin is a straightforward piece to crochet, even for beginners. If you are familiar with counting stitches and moving stitch markers for placement, you can handle the pattern. Feel free to practice those skills first.
The pumpkin will be crocheted in the round, and you will need to join stitches at the end of each round. When working in the round, it is best to count stitches and use a stitch marker to mark the first stitch in each round.
You will need the following supplies to make the crochet pumpkin:
Supplies
- Size J (6 mm) crochet hook
- approx. 55 yards of size 4 Medium Weight yarn. I used PREMIER JUST YARN Tweed in COLOR Gray Tweed.
- fiberfill stuffing for pumpkin
- tapestry needle, scissors, stitch marker
Abbreviations
US crochet terms are used.
Ch – chain
ST – stitch
SL – slip stitch
SC – single crochet
DC –double crochet
SC2tog – SC 2 sts together
FLO – front loop only (you will put the hook through the front loop of the stitch only)
PM – place marker (place the stitch marker in the first stitch)
MM – move marker (move the stitch marker to the first stitch of every round)
RS – Right Side (facing you)
Rep – repeat
The finished crochet pumpkin will measure approximately 5” diameter at the widest point, and 5” height with stem. The circumference around the pumpkin will be about 15”.
PATTERN INFORMATION
- get the ad-free, printable pdf pattern for the CROCHET PUMPKIN in the ETSY SHOP! It has step-by-step photo tutorials included.
Rustic Pumpkin Crochet Pattern
Gauge: Circle formed by rounds 1-6 = 4″ across. (Your initial circle at the bottom of the pumpkin should measure 4” diameter after Round 6).
Notes:
Follow the pattern below to work the pumpkin in the round. After the base of the pumpkin, each upper round will display as a spiral, rather than many concentric rounds. Right side (RS) will always be facing you.
You will need to join stitches at the end of each round. When working in the round, it is best to count stitches and use a stitch marker to mark the first stitch in each round. This is a good tip for both beginners and advanced crocheters. It is easy to lose place and count #!
Some rounds will have you make an increase, where you put 2 sc into one stitch after intervals of stitches. This will allow the pumpkin to grow larger. I note expected stitch counts at the end of each round. Alternatively, top rounds will have you make a decrease, where you will SC 2 stitches together (SC2tog) after intervals.
Special Crochet Stitch to Know:
Dc/rf – work 1 dc around stem of next st 2 rounds below, inserting hook around stem from right to left to draw up loops. (Note – since you are working this stitch into a stitch 2 rounds below, you will not be working the next stitch in your current round. Move to the following stitch after you make the dc).
Base of Pumpkin:
Using the SIZE J CROCHET HOOK, ch4 with your YARN and sl st to first chain to join in a ring.
Round 1 (RS): Ch1, work 6 sc into the ring, then join with sl st to 1st st. PM in first st of each round, MM to keep it always in the first st of every subsequent round. Turn. (6 sts)
Round 2: Ch1, 2 sc in each st around. Join with sl st to 1st st. Turn. (12 sts)
Round 3: Ch1, *2 sc in next st, sc in next st; rep from * around. Join with sl st to 1st st. Turn. (18 sts)
Round 4: Ch1, *2 sc in next st, sc in each of next 2 sts; rep from * around. Join with sl st to 1st st. Turn. (24 sts)
Round 5: Ch1, *2 sc in next st, sc in each of next 3 sts; rep from * around. Join with sl st to 1st st. Turn. (30 sts)
Round 6: Ch1, *2 sc in next st, sc in each of next 4 sts; rep from * around. Join with sl st to 1st st, but do NOT turn. (36 sts)
This is a good place to stop and check your gauge. Your circle should measure 4” diameter at this point. If it doesn’t, switch to a different hook size to obtain gauge.
Middle of Pumpkin:
Begin spiraling stitches…do not turn after each round.
Round 7: Sc in FLO of each st around. Join with sl st to 1st st. (36 sts)
Round 8: *sc in next 3 sts, 1 dc/rf around next sc 2 rounds below, sc in next 2 sts; rep from * around. Join with sl st to 1st st. (36 sts)
Round 9: Sc in each st around. Join with sl st to 1st st. (36 sts)
Round 10: *2 sc in next st, 1 sc in next st, 1 dc/rf around stem of next dc/rf 2 rounds below, sc in next 3 sts; rep from * around. Join with sl st to 1st st. (42 sts)
Round 11: Sc in each st around. Join with sl st to 1st st. (42 sts)
Round 12: *Sc in next st, 1 dc/rf around stem of next dc/rf 2 rounds below, sc in next 5 sts; rep from * around. Join with sl st to 1st st. (42 sts)
Top of Pumpkin:
Begin decreasing stitches to form top of pumpkin.
Round 13: *Sc2tog, sc in next 5 sts; rep from * around. Join with sl st to 1st st. (36 sts)
Round 14: *Sc in next 5 sts, 1 dc/rf around stem of next dc/rf 2 rounds below; rep from * around. Join with sl st to 1st st. (36 sts)
Round 15: Sc in each st around. Join with sl st to 1st st. (36 sts)
Round 16: *Sc in next 3 sts, 1 dc/rf around stem of next dc/rf 2 rounds below, sc in next 2 sts; rep from * around. Join with sl st to 1st st. (36 sts)
Round 17: *Sc in next 2 sts, sc2tog, sc in next 2 sts; rep from * around. Join with sl st to 1st st. (30 sts)
Round 18: *Sc in next st, 1 dc/rf around stem of next dc/rf 2 rounds below, sc in next st, sc2tog; rep from * around. Join with sl st to 1st st. (24 sts)
Round 19: *Sc in next 2 sts, sc2tog; rep from * around. Join with sl st to 1st st. (18 sts)
Round 20: *1 dc/rf around stem of next dc/rf 2 rounds below, sc2tog; rep from * around. Join with sl st to 1st st. (12 sts)
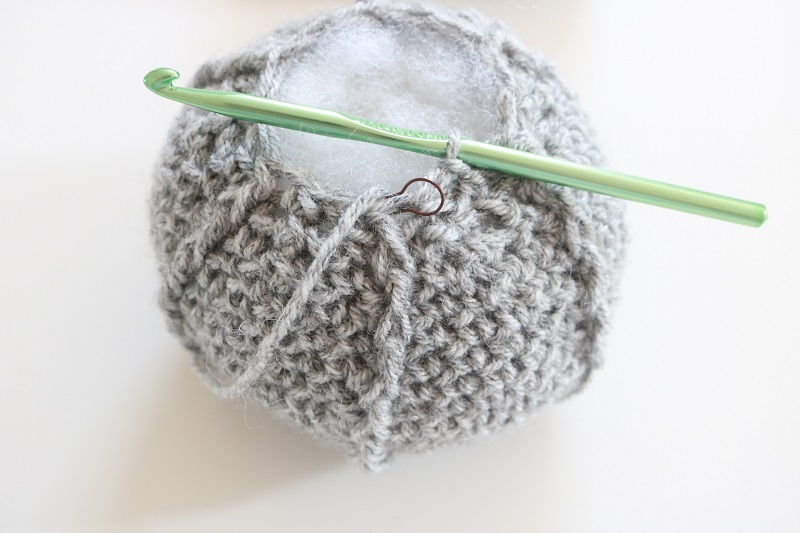
Pause at this point to stuff your pumpkin with polyfill stuffing.
Round 21: Sc in each st around. Join with sl st to 1st st. (12 sts)
Round 22: Sc in each st around. Join with sl st to 1st st. (12 sts)
Stem of Pumpkin:
Feel free to join and continue with a different colored yarn here for the stem of the pumpkin.
Round 23: Sc2tog around. Join with sl st to 1st st. (6 sts)
Round 24: Sc in each st around. Join with sl st to 1st st. (6 sts)
Round 25: Sc2tog around. Join with sl st to 1st st. (3 sts)
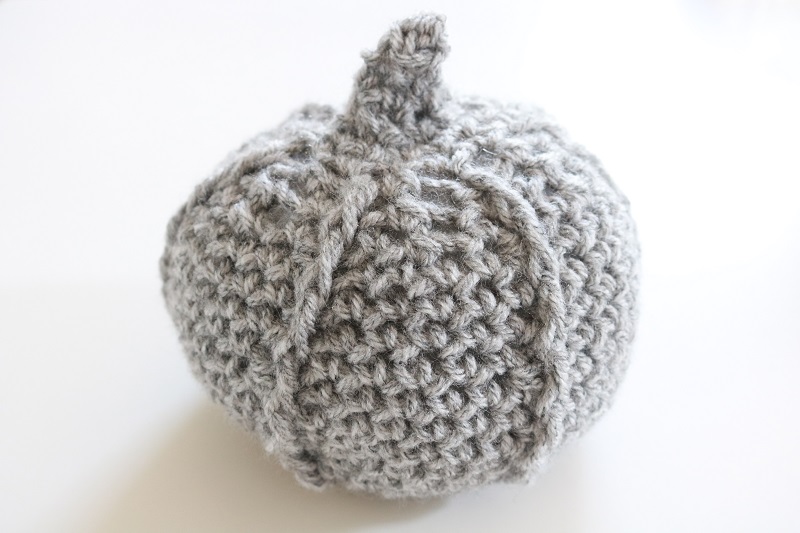
Pull yarn to tighten and fasten off.
Weave in ends.
Finished!
Looking for step-by-step photos of this pattern? Grab the ad-free CROCHET PUMPKIN PATTERN on Etsy!
How long does it take to crochet a pumpkin?
You may be wondering how long it takes to make this textured crochet pumpkin. The entire pumpkin took me under 2 hours total to make. Not bad!
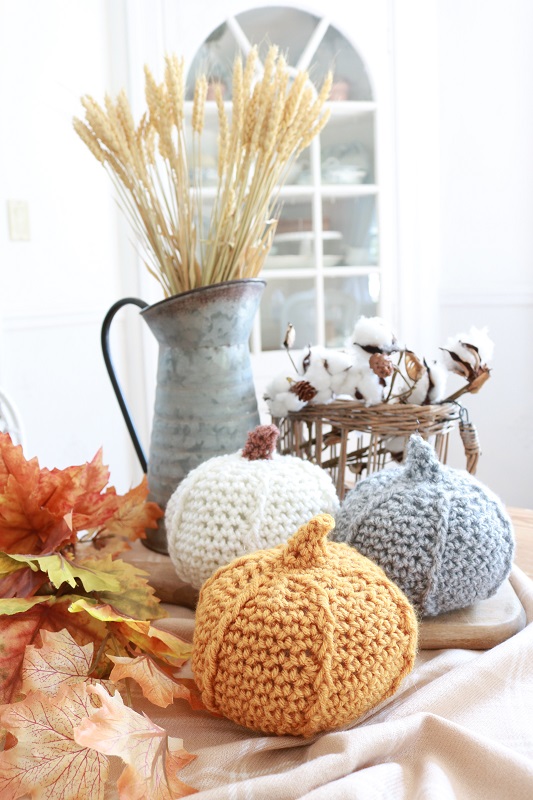
Displaying your crochet pumpkins
Make a group of these pumpkins and display them together for a fall centerpiece or mantel grouping.

I made 2 solid-colored pumpkins with the gray yarn shown above as well as THIS ORANGE YARN. I also made one with a white base and brown stem.
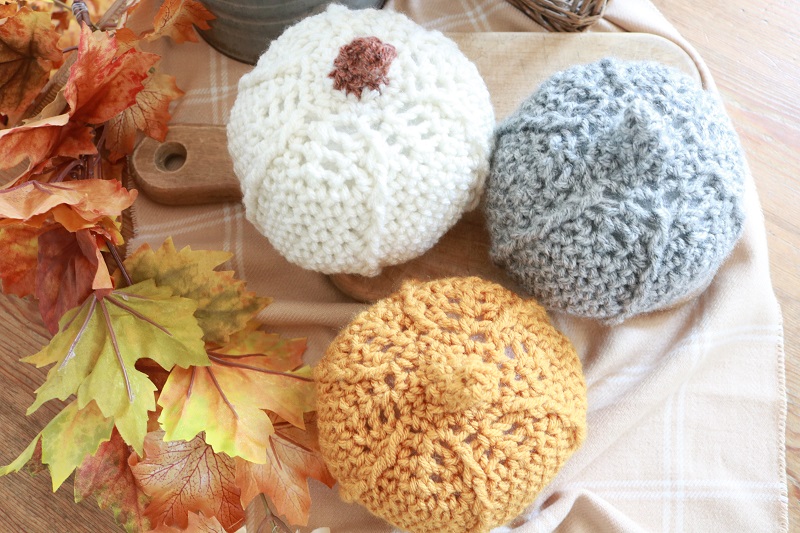
Feel free to customize yours in any yarn combinations that please you. Check out THESE FALL YARNS to get inspired.
Looking for more DIY pumpkin projects? Peek at my DIY DOLLAR STORE FABRIC PUMPKIN and my MINI PUMPKIN COZIES. Autumn crafts are such fun to make!
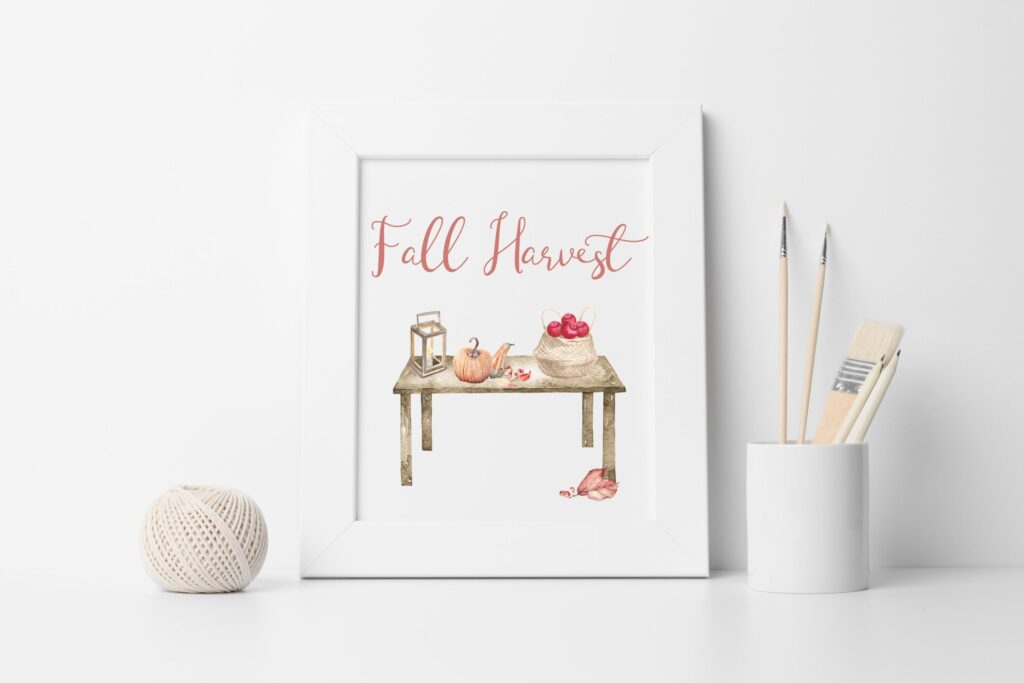
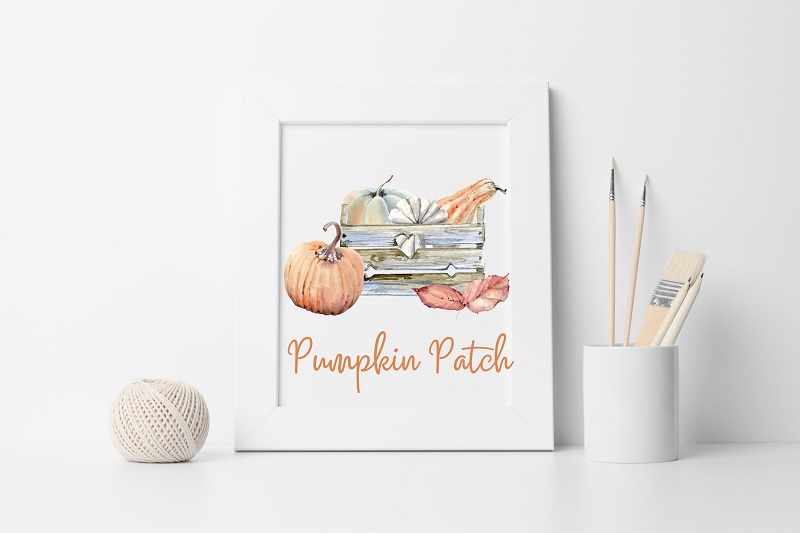
Be sure to visit my FALL PRINTABLES category in the Etsy Shop to grab autumnal wall art like these:
===> Remember to PIN for later! <===