
Lace Summer Knit Top Pattern {FREE!}
Looking for an elegant knit layer for your summer wardrobe? Love knitted top patterns? How about knitting a simple lace knit top to wear? I love to add an extra light layer over my tops during the warm season of summer. Lightweight knitted lace tops come to the rescue to add the prettiest layer! Today I have a simple and FREE knit shrug pattern for you that is worked in a light lace pattern.

Keep reading to learn how to knit a lace shrug using a repetitive lace stitch pattern. Use one solid color yarn throughout, or choose a contrasting yarn color for the initial and last cuff rows.
This post may contain affiliate links. That means if you click and buy, I may make a commission at no cost to you. Please see my full disclosure policy for more details.
Knit Top Pattern Free
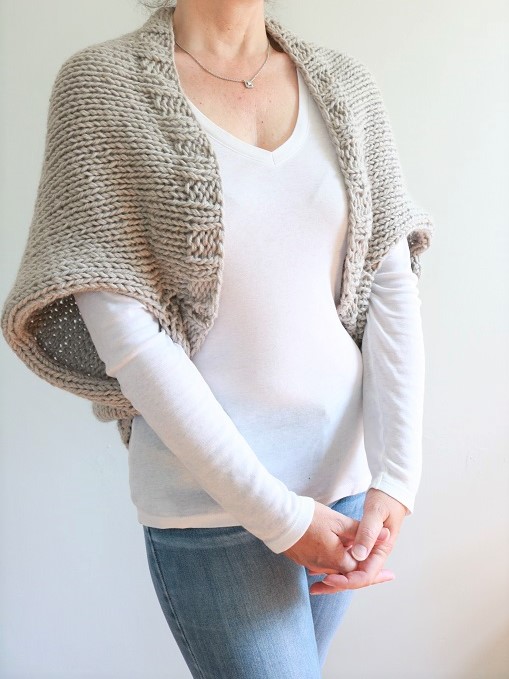
The idea behind this knit top pattern is to work in straight rows, to create two front & back panels cuff-to-cuff. The panels will be seamed together to create the shrug worn over the shoulders. You will use BASIC KNIT STITCHES, as well as a special decrease stitch pattern, for the repetitive pattern.
The following is a list of supplies you would need to create one knit shrug. Use similar yarn (size 4, Medium weight yarn) and the same knitting needle size to make your own.
Supplies
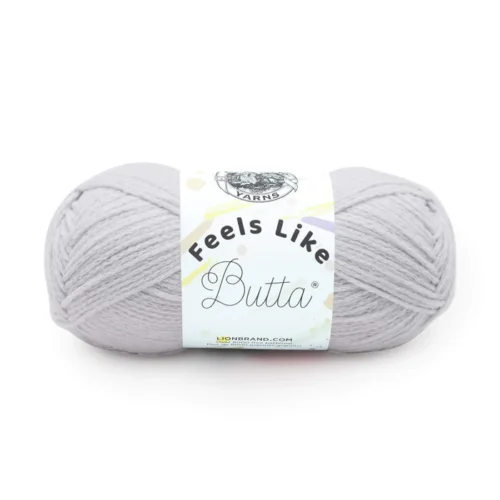
- 3 skeins of Lion Brand Feels Like Butta (218 yds per skein)
- Color: Pale Grey
- or similar weight yarn (approx 470 yds total)
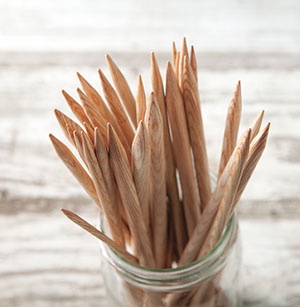
- Size 15 (10.0 mm) needles (straight)
Knitting Notions
Knitting Abbreviations
approx – approximately
BO – bind off
CO – cast on
K – knit
P – purl
pm – place marker
sm – stitch marker
sts – stitches
Rep – repeat
RS – Right Side
WS – Wrong Side
yo – yarn over
Special Stitch in pattern:
sk2po : Slip next st from left to right needle, knit next 2 sts from left-hand needle together, then pass the slipped stitch over the new knit stitch. (decrease by 2 sts)
PATTERN INFORMATION
The FREE simple shrug knitting pattern is provided below, but you can also get the ad-free, printable pdf pattern for the KNIT SHRUG in the pattern shop! The pdf has some helpful photos & a schematic included:

Pattern Knitted Top
Can a beginner knit a top?
Yes! Especially with a repetitive easy stitch pattern using basic knit stitches and simple techniques! This pattern has an Intermediate skill level, but an advanced beginner can give it a try. The special sk2po decrease stitches are simple to master, and the overall pattern is very repetitive.
Here I will walk you through each step of making this modern lace knit top, using your favorite yarn color.
Finished Measurements:
- Measurements are for finished panels, blocked
Width (Neckline to lower bust): 12 inches
Length (cuff to cuff): 50 inches
Gauge: 4″ (10cm) square = approx. 10 sts by 11 Rows, blocked
Make sure to get the correct gauge for an accurate fit. Note that the top will stretch a little when wearing.
FREE Lace Top Knitting Pattern

NOTES –
You will be knitting the shrug cuff-to-cuff in rows to form two long panels. Then you will seam together the panels to create a neckline and sleeves.
Shrug Panel (Make 2)
With size 15 needles, CO 30 sts with size 4 yarn.
Customize → if you would like a wider shrug (from neckline to lower bust), then cast on a larger number of sts in a multiple of 5. (Just be sure to allow for more yarn needed)
Stitch count will increase during Rows 1 & 2, and remain at 30 sts for Rows 3 & 4 of stitch repeat pattern.
Cuff 1:
Work 2 rows in stockinette stitch (knit first row, purl second row).
Stitch Repeat Pattern:
Row 1 (RS): K1, *yo, k3, yo, k2; rep from * until last 4 sts, yo, k3, yo, k1.
Row 2: Purl.
Row 3: K2, *sk2po, k4; rep from * until last 5 sts, sk2po, k2.
Row 4: Purl.
Rep Rows 1-4 until length reaches approx 50″ or your desired length from cuff to cuff, ending with a Row 4.
Cuff 2:
Work 2 rows in stockinette stitch (knit first row, purl second row).
Bind off knitwise.
Finishing/Blocking
Block each panel to your desired width and length.
Tip → Pin the 2 panels WS together prior to seaming (you can use locking stitch markers for this).
Use two locking stitch markers (in a separate color) to mark the width of your neckline opening in the top center of the 2 panels.
(I made my neckline opening 11″ wide).
Seam Sleeve Tops:
Using a tapestry needle and your yarn, work an invisible vertical seam to join the top long edges of the two panels WS together to form the top of the sleeves, leaving the neckline open between the two sm’s.
At this point, you can try on the shrug over your head and determine where you wish the bottom of your sleeves to be joined at the armholes.
Use two locking stitch markers (in a separate color) to mark each armhole.
Seam Sleeve Bottoms:
Using a tapestry needle and your yarn, work an invisible vertical seam to join the bottoms of each sleeve WS together, from the armhole sm to the cuff.
Weave in all loose ends to WS.
Important Tips for Knitting your Lace Shrug Top
Some things to keep in mind as you work the lace top knit pattern are:
- For the pattern repeat, the RS is worked on odd-numbered rows.
- Do not count sts after Rows 1 and 2.
- Feel free to adjust size as follows:
- cast on more/less sts to adjust width; must be a multiple of 5 (ensure enough yarn)
- work more/less rows on each panel to adjust length from cuff-to-cuff

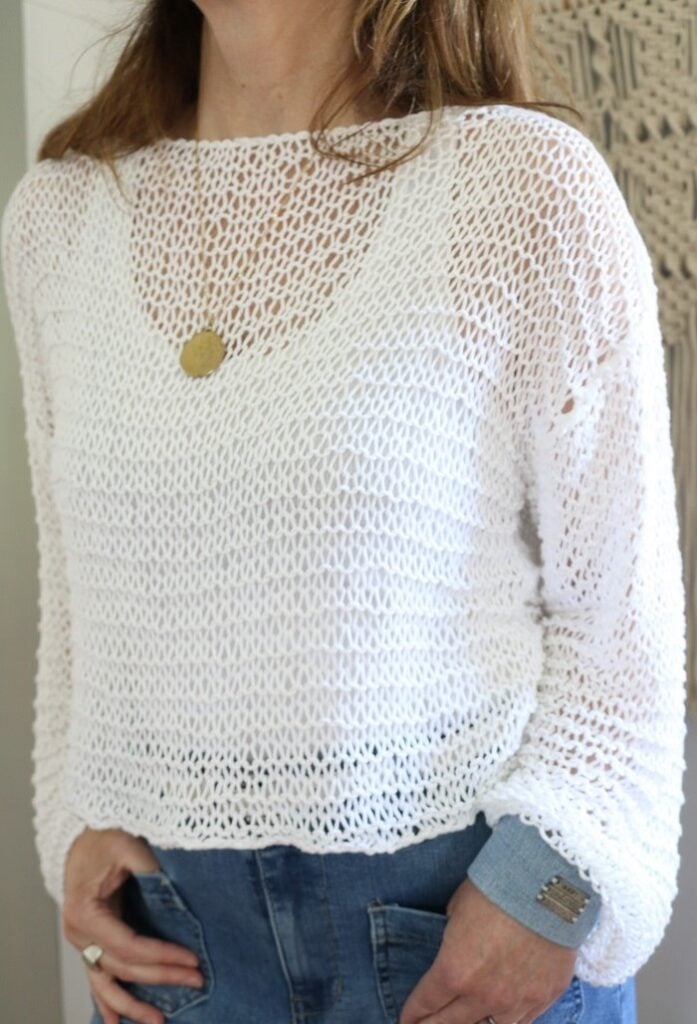
Lace Knit Top
The light knit shrug makes a great layering piece in the warmer months, over a tank top, bathing suit, or t-shirt. The lace design of this shrug is elegant, and with the cropped width and wide sleeves – you’re bound to get compliments from making this beautiful pattern. I think it would also look lovely as a coverup for more formal attire, such as for a wedding.


Don’t forget that this knit shrug pattern is also available in an ad-free digital pdf pattern. The pdf has a few helpful photos and diagrams. Grab the SHRUG KNIT PATTERN pattern in my shop.
Love knit top patterns? Check out these other FREE knit projects…
Did you enjoy this free knitting pattern? I think it’s also a perfect idea to make as a gift for a friend who loves lace.
Check out all of my FREE KNIT PATTERNS HERE.
===> Remember to PIN for later! <===


