
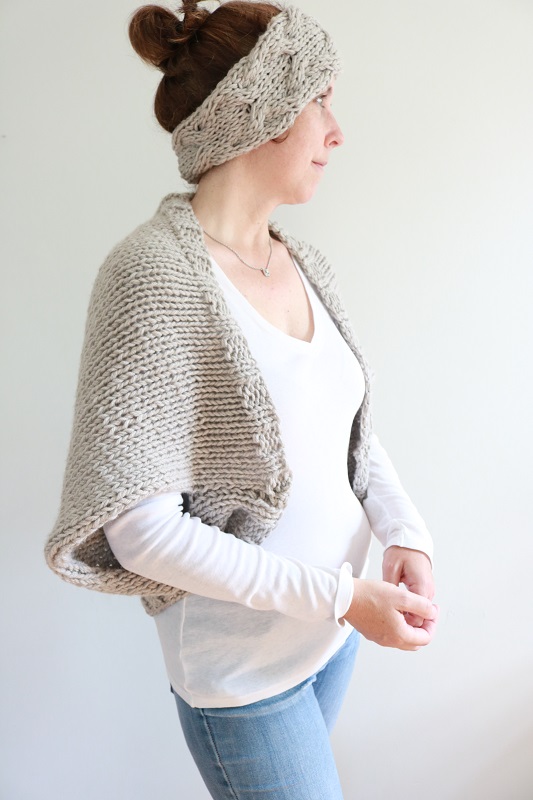
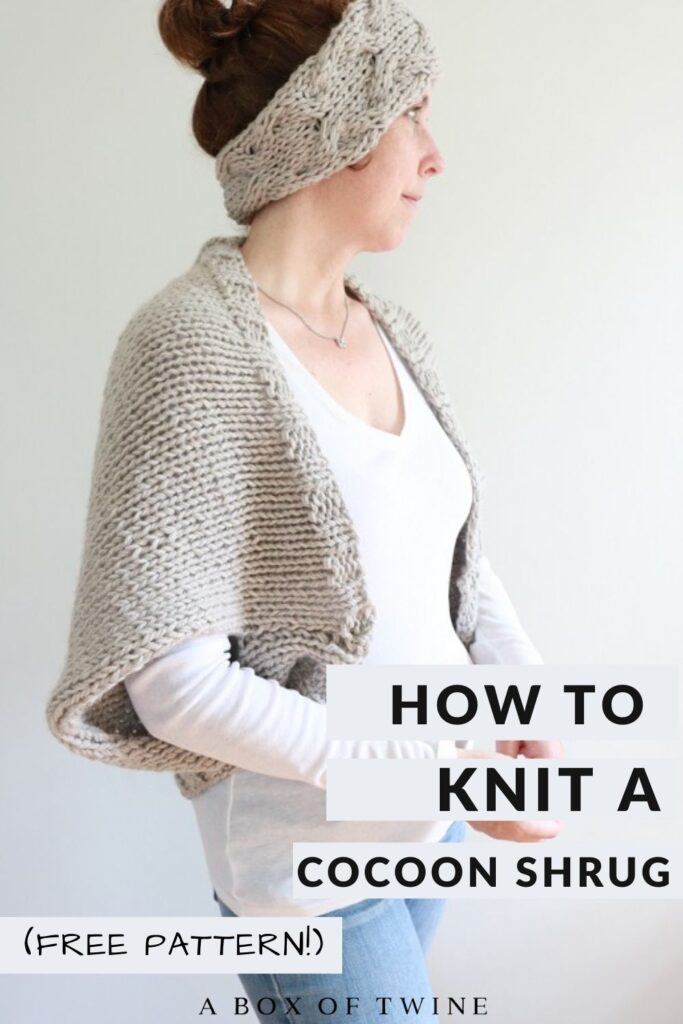
FREE Chunky Knit Shrug Pattern {so cozy!}
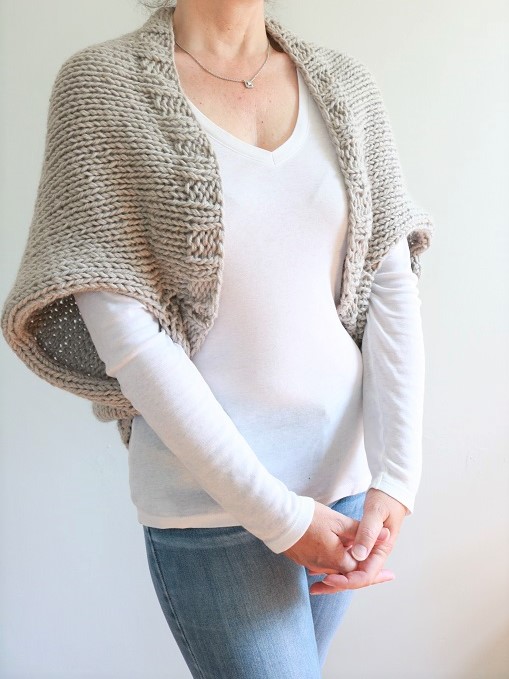
Are you in need of a warm & chunky knit shrug this fall? Looking for a little cocoon shrug to wrap around your shoulders? When the air gets crisp and the coffee mugs get hot, there’s no better feeling than snuggling up in a knit shrug that you made yourself. If you love to knit and seek classic style, a simple cable knit shrug pattern may be just for YOU. So… how do you knit a shrug? Keep reading for this simple chunky knit shrug pattern. The stitches are repetitive, so you can work on the shrug anywhere once you get the hang of it!
This post may contain affiliate links. That means if you click and buy, I may make a commission at no cost to you. Please see my full disclosure policy for more details.
Free Chunky Knit Shrug Pattern
How do you make an easy shrug?
The knit shrug is straightforward to knit once you get the hang of the cable stitches. After 4 rows of knit 2, purl 2 ribbing, eight rows of stitches are simply repeated throughout the length of the shrug. Additionally, the pattern gives specific instructions on how to join the corners of the shrug to make sleeves.
You will need the following supplies to make the cable knit shrug:
Supplies
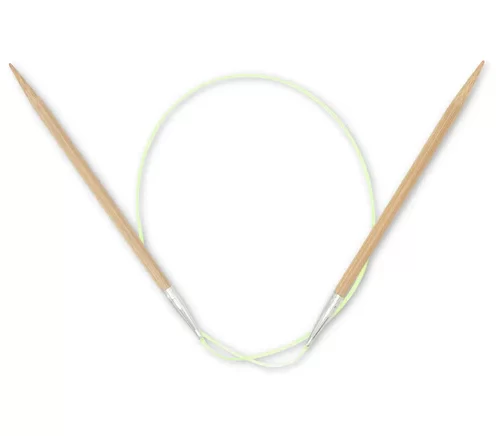
- Size 15 (10.0 mm) circular knitting needles, at least 29” length
- Two skeins, approx. 320 yards from each, of Medium weight (size 4) yarn to make 1 shrug. (640 yds total) I used Big Twist acrylic yarn in color ‘Soft Grey’ (each skein has 380 yds, so I had enough to make both the shrug and an ear warmer).
- Thick cable needle (or thick crochet hook). (I used a size ‘P’ crochet hook for my cable needle.)
Knitting Notions
Abbreviations
K – knit stitch P – purl stitch
Sts – stitches Rep – Repeat
RS – Right Side (side that faces you when finished)
PM – Place marker (place a stitch marker on needle)
PATTERN INFORMATION
The free pattern for the cable knit shrug is provided below.
- but you can also get the ad-free, printable pdf pattern for both the shrug and coordinating ear warmer as part of a bundle in the ETSY SHOP! The pdf has tutorial photos included.
NOTES: First you will be knitting the shrug as a rectangle to start, then joining the corners to form the sleeves. You will be using two strands of yarn to knit, from two different skeins of yarn. This will ensure the shrug has a chunky weight.
It is strongly recommended that you count the stitches on your needle during the cable rows (Rows 7 and 11 in the pattern). You want to make sure there are always 12 sts between the stitch markers.
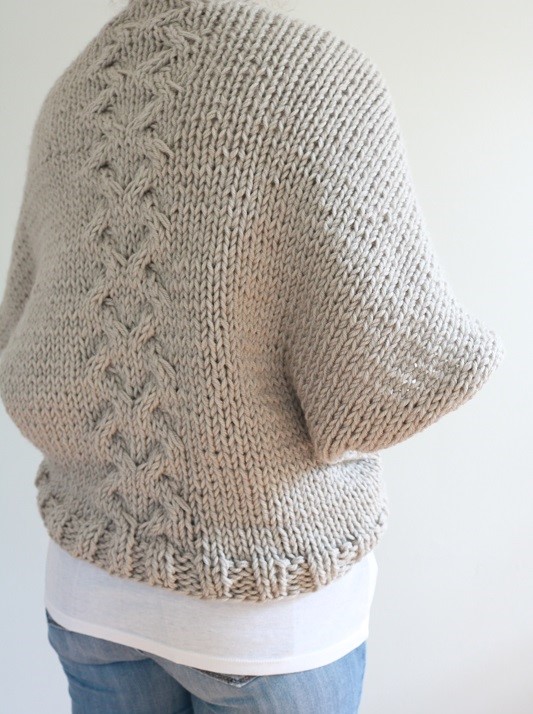
This pattern is written for size Small-Medium, which measures approximately 26″ long by 30” wide when the shrug rectangle is knitted. The cable stitches will appear vertically at the back of the shrug, while the ribbing will appear at top & bottom.
You can expect the cable shrug rectangle to take about 11-12 hours to knit. It is a great idea to time yourself knitting Rows 5-12 and estimate your finished time from there.
Special Knitting Stitches:
C4B – “cable 4 back” – slip next 2 sts onto the cable needle and hold at back of work, knit next 2 sts from left hand needle, then knit 2 sts from cable needle.
C4F – “cable 4 front” – slip next 2 sts onto the cable needle and hold at front of work, knit next 2 sts from left hand needle, then knit 2 sts from cable needle.
(photos of these cable stitches are provided in the pdf pattern file on Etsy)
How to make a cocoon shrug
Knit Shrug rectangle
Gauge: 4″ x 4″ = 14 rows by 10 sts
Beginning with the size 15 knitting needles, cast on 76 sts using 2 strands of yarn from both skeins. (essentially, each stitch will be double-stranded)
Shrug Ribbing – bottom
Rows 1-4: K2, p2.
Cable Shrug Pattern
Note: once you place the stitch markers after 32 stitches (before & after 12 cable stitches) in rows 7 and 11, it is no longer necessary to count the 32 stitches before or after the cable pattern.
Row 5 (RS): Knit.
Row 6 (and all even rows): Purl.
Row 7: K32, PM, c4b, k4, c4f, PM, k32.
(note – the pdf pattern bundle contains step-by-step photos of these cable stitches)
Row 9: Knit.
Row 11: K32, PM, k2, c4f, c4b, k2, PM, k32.
Row 12: Purl.
Repeat Rows 5-12 nine times more for a total of 84 rows.
After row 84, the top of your piece will look like this:
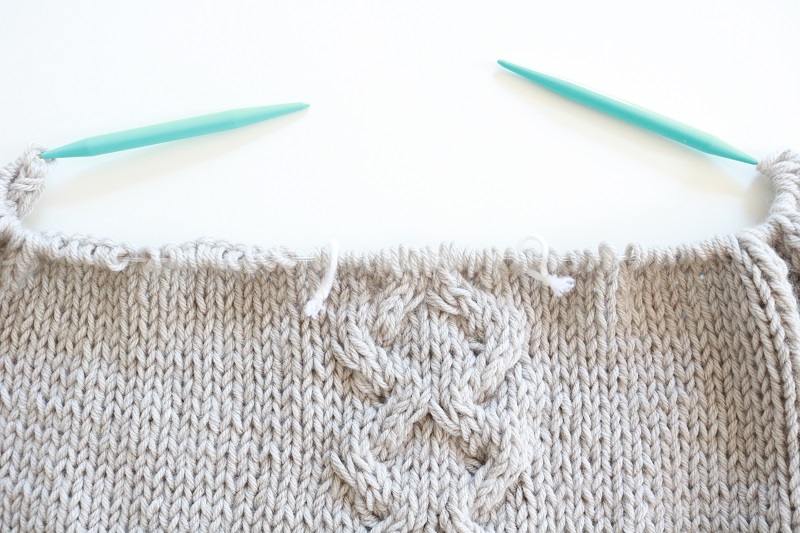
Shrug Ribbing – top
Rows 85-88: Repeat Rows 1-4, making sure to remove the stitch markers during row 85.
Bind off as presented (in ribbing pattern).
Weave in loose ends with a tapestry needle.
Join Shrug corners to make sleeves
How do you make a shrug out of a rectangle? Follow these steps…
Fold your shrug rectangle, wrong sides together, so that the top and bottom ribbing are aligned.
Beginning at the ribbing edges, use an invisible seam to join the edges 5” inward.
The resulting open gap creates a ‘sleeve’.
Likewise, use an invisible seam to join the edges at the other side, 5” inward. This creates the second sleeve.
(step-by-step photos of this are included in the pdf pattern bundle)
How to wear your chunky knit shrug
Next, slide your arms into the open gaps to wear. The shrug is like a cozy cocoon sweater that will keep you warm during cool fall days. It looks pretty both coming and going!
I just adore the cable stitching down the back…
I hope you enjoyed this tutorial on how to knit a cable shrug. Once you get the hang of rows 5-12, the project will become repetitive and simple. I found it to be such a relaxing knitting project to work on, as I dreamt of the cozy fall days ahead.
You can find more cozy KNIT PATTERNS for SCARVES & COWLS on the blog.
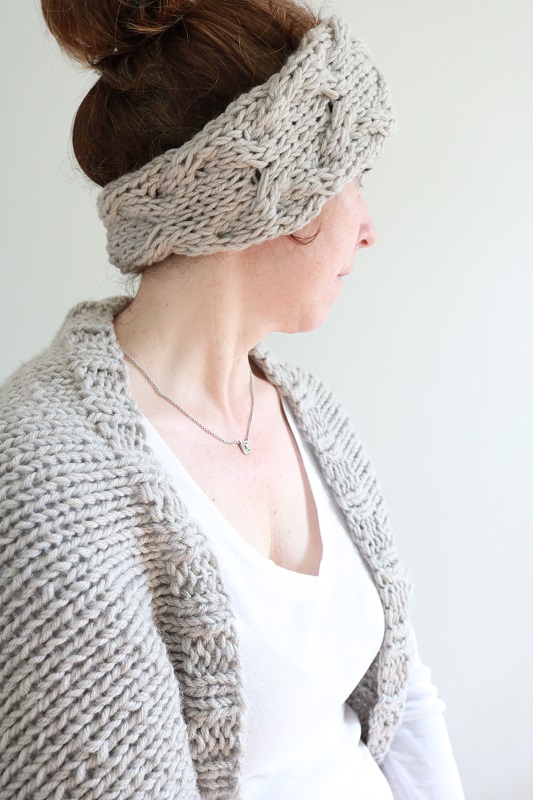
Don’t forget that the cocoon shrug knitting pattern is also available in a pdf pattern bundle with this coordinating ear warmer. The cable stitches are the star of the ear warmer, too! Grab the bundle in my Etsy shop.
===> Remember to PIN for later! <===


8 Comments
Jillian
I just discovered your site – love it. I’ve been knitting for years and now you are going to teach me how to crochet! Thank you – and hope you have the best day!
J
Susan
Wonderful to hear that, Jillian! Thanks so much, and welcome!
Graceann
I’m not a small/medium, so I’d need to cast on a different number of stitches. So I get my math right, is this design done in a multiple of four? Thanks!
Susan
Great question! In the future I will plan to grade this pattern for more sizes (I had written it before I knew how to do that). If you would like to make the shrug wider by casting on more stitches, just be sure to add the same number of stitches before and after the 12 cable pattern stitches in the center. So for size S/M I have 32 stitches before and after the 12 (for a total of 76). If you wanted to add 4 more inches to each side, you could add 10 stitches before and after the center 12 (for a total of 96 to cast on). This will make the shrug wider. If you also wanted to make the shrug longer (top to bottom), just continue adding rows until you reach your desired length before the last 4 ribbing rows. If you want to keep the center cable pattern intact, you would need to do this in increments of 8 rows. Hope that helps – happy knitting!
Susan
One more note – I mentioned that you could add more stitches before and after the 12 stitches in the center. Just make sure the number of stitches is an even number so that the ribbing (k2, p2) rows won’t be affected.
Dill
I think you’ve accidentally omitted row 8 from your pattern!
Susan
Hi there,
If you look at the pattern, you will see this for Row 6:
Row 6 (and all even rows): Purl.
That means you will Purl for all of the even-numbered rows in the pattern. The odd-numbered rows in the pattern are the ones that vary.
Hope that helps,
Susan
Susan
Hi there,
If you look at the pattern, you will see this for Row 6:
Row 6 (and all even rows): Purl.
That means you will Purl for all of the even-numbered rows in the pattern. The odd-numbered rows in the pattern are the ones that vary.
Hope that helps,
Susan