Free Cable Knit Vest Pattern | Chunky Cropped Layer for Women
First Published: April 2025 | Updated: July 2026 | Skill Level: Intermediate | Technique: Cable Knit | Season: Winter, Fall, Spring
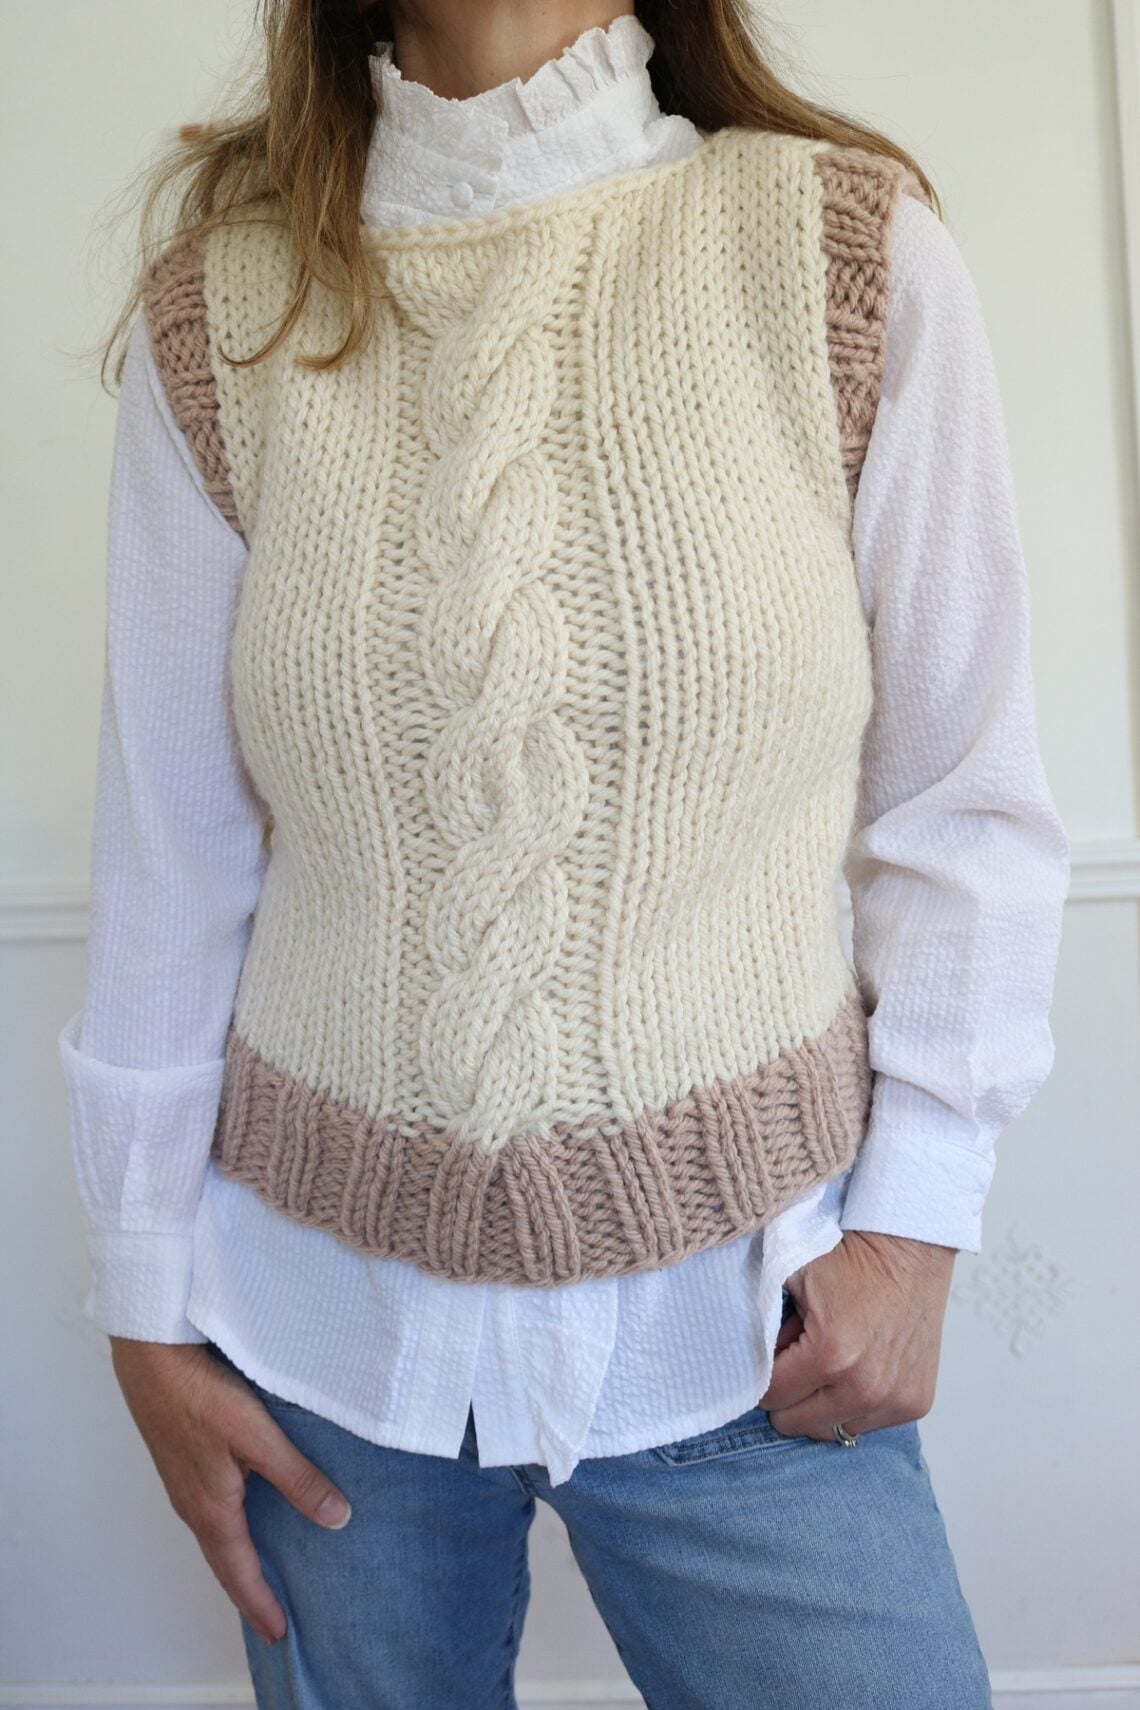
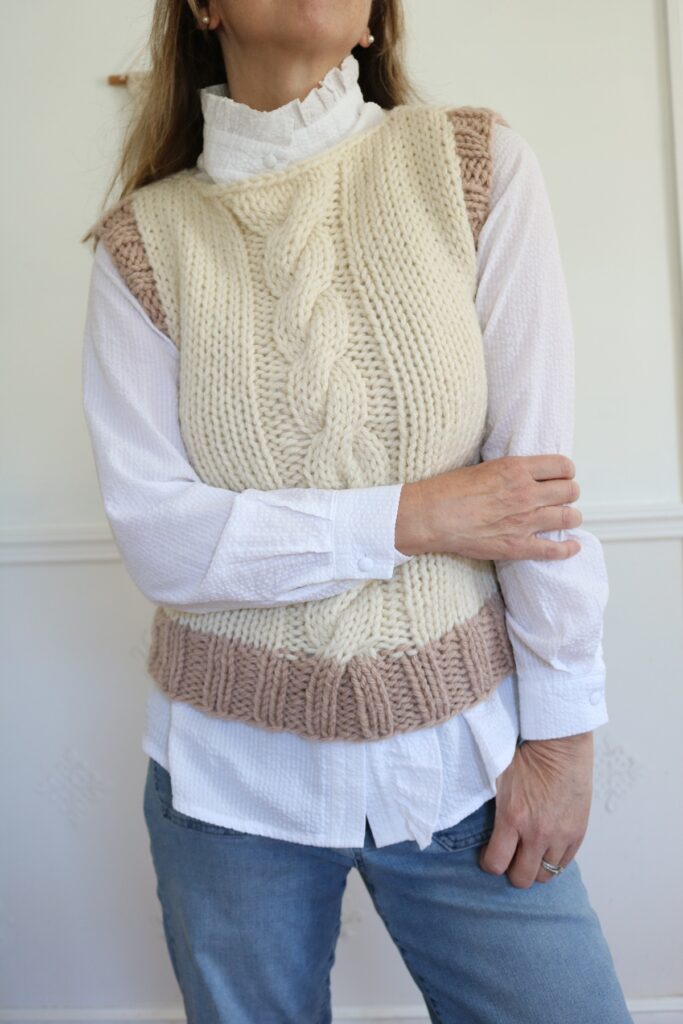
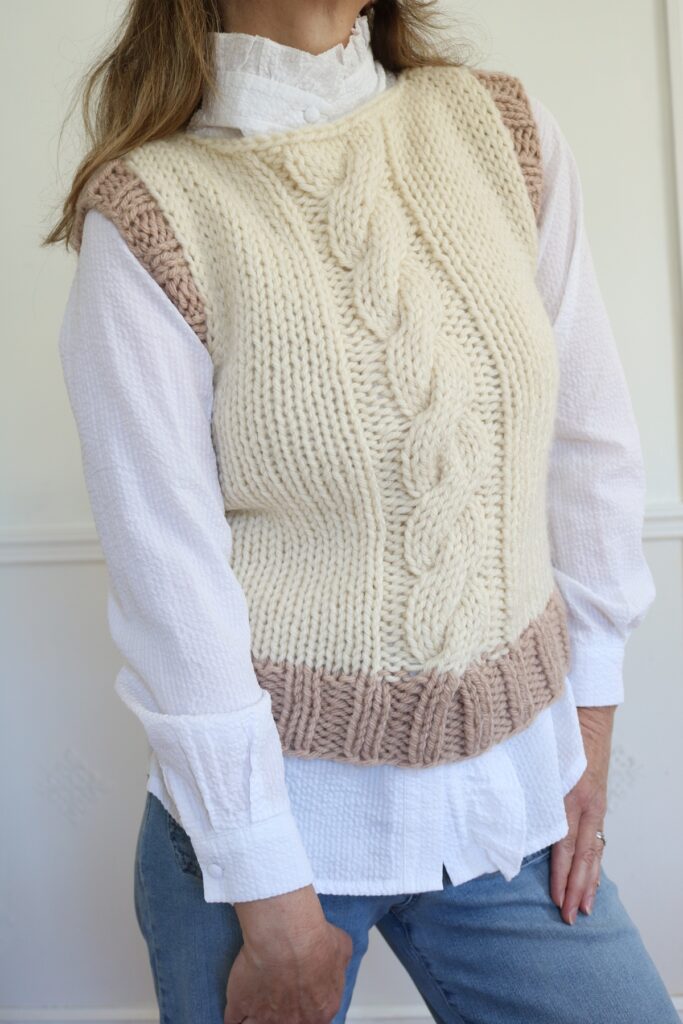
If you’ve been searching for a free knit vest pattern that feels modern, cozy, and effortlessly put-together, this one’s for you. This cable knit vest pattern works up quickly in bulky yarn, combining simple stockinette with an easy front cable panel for a piece that looks far more advanced than it actually is. Layer it over a tee in spring, or over a chunky sweater in the depths of winter — this vest earns its spot in your closet for three seasons of the year.
The bottom ribbing and armhole edging can be knit in a contrasting color for a modern, graphic look, or kept in one solid color for something quieter and more classic. Either way, this knitted vest pattern for women is a wardrobe staple you’ll reach for again and again.
Why You’ll Love This Free Knit Vest Pattern
This isn’t just another basic vest. Here’s what makes this cable knit vest worth casting on:
- A statement cable, minimal effort. The center front cable panel is a simple 8-row repeat, so you get a beautiful textural focal point without complicated lace or intarsia work.
- Bulky yarn means a fast knit. Worked in size 5 bulky yarn on size 13 and 15 needles, this vest comes together far quicker than a full sweater.
- Worked in the round, then split. No side seams to sew. You’ll knit the body in one piece and simply seam the shoulders at the end.
- Truly transitional. Wear it as a light layer in spring and fall, or over long sleeves in the coldest months. It also works on its own over a tank in summer.
- Customizable colorwork. Use one solid color throughout for a classic look, or a contrast color at the ribbing and armholes for a modern, graphic edge.
- Completely free here on the blog. The full pattern is below!
This post may contain affiliate links. That means if you click and buy, I may make a commission at no cost to you. Please see my full disclosure policy for more details.

Supplies & Materials Needed
To make this knit cable vest, you’ll need the following. Yardage is given for sizes XS, (S, M, L, XL).
Yarn
- Yarn Weight: Bulky (Size 5)
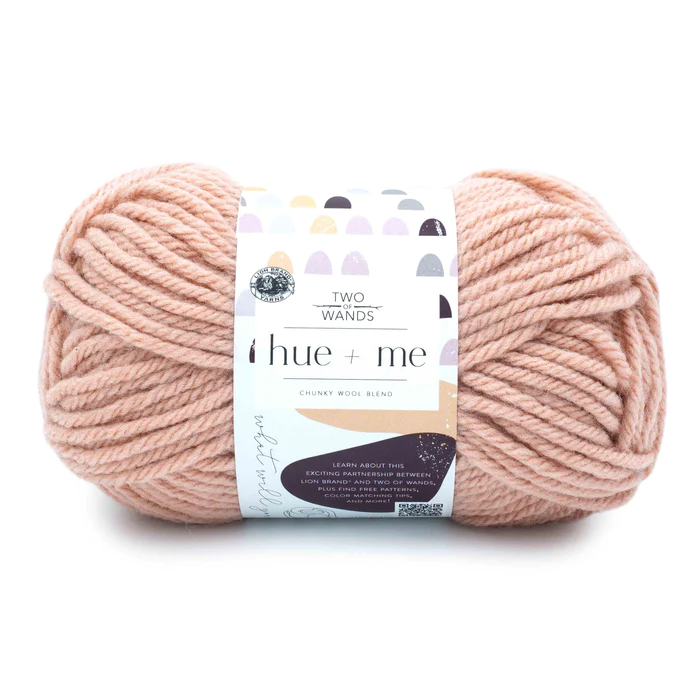
- Yarn used in sample:Lion Brand Hue + Me (137 yds per skein)
- Main Color (MC): Salt
- Contrast Color (CC): Desert
- Yardage: approx. 250 (280, 315, 380, 415) yds total
Yarn Substitution Tip: Any bulky (size 5) wool-blend yarn will work beautifully here. Choose a heathered neutral for a classic look, or two contrasting neutrals (like the sample) for definition at the ribbing and armholes.
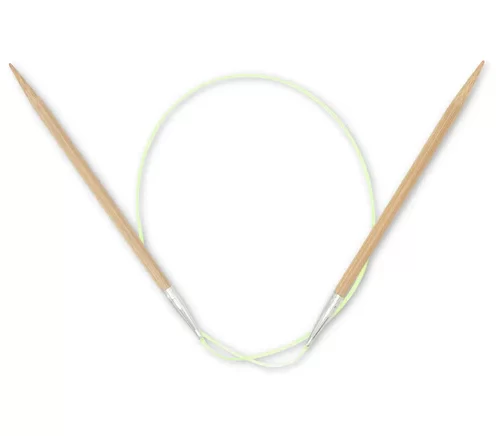
Needles
- Size 13 (9.0 mm) circular needles, at least 24″ length
- Size 15 (10.0 mm) circular needles, at least 24″ length
- Cable needle
Knitting Notions
Knitting Abbreviations
approx – approximately
BO – bind off
CO – cast on
K – knit
P – purl
pm – place marker
sm – stitch marker
sts – stitches
Rep – repeat
RS – Right Side
WS – Wrong Side
Special Stitch in pattern:
C8B (Cable 8 Back): Slip next 4 sts onto a cable needle and hold at back, knit next 4 sts from left-hand needle, then knit the 4 sts from the cable needle.
Gauge
4″ (10 cm) square: approx. 9.5 sts by 13 rows in stockinette stitch, worked in the round, blocked
Make sure to get the correct gauge for an accurate fit.
Finished Measurements
Snug fit, approx. 0–2″ ease.
Sizes XS, (S, M, L, XL):
- Bust: 30 (34, 38, 42, 46)″
- Length: 20 (20, 20, 22, 22)″
Upgrade to the Printable PDF
The free knit vest pattern is provided below, but you can also grab the ad-free, printable PDF pattern in my shop, with helpful photos and schematic, plus full seaming instructions included:

Free Cable Knit Vest Pattern
Can a beginner knit this vest?
Yes! This pattern is rated Intermediate, but an advanced beginner comfortable with basic cable stitches can absolutely give it a try. The cable pattern is simple to master and very repetitive once you get the hang of it.
NOTES: You’ll knit the bottom ribbing in the round with smaller needles, then continue in the round with larger needles working stockinette with a front cable panel, bottom-up. Next, you’ll separate the piece to work the front and back panels in rows, creating openings for the armholes. Finally, you’ll seam the shoulders and add a ribbed finish to each armhole.
Circular needles are used to work both in the round and in straight rows.
Follow stitch and row counts using sizing XS, (S, M, L, XL) :
Bottom of Knit Vest
With size 13 (9mm) circular needles, CO 72 (80, 92, 100, 108) sts with size 5 yarn in CC.
Stitch count will remain the same when working in rounds.
Carefully join sts for Round 1, being careful not to twist stitches.
Use a sm (stitch marker) to keep track of rounds.
Bottom Edge in Ribbing
Round 1: [K2, p2] around.
Rep Round 1 until bottom of vest measures approx 3 inches length.
Break CC yarn.
Body of Vest:
Join MC yarn at the start of the next round.
Switch to US size 15 (10mm) circular needles.
You will be placing markers (pm) in this next set-up round to distinguish when to start and end the cable pattern. Use a different color for these two stitch markers than the end-of-round stitch marker.
Set-Up Round: K 12 (14, 17, 19, 21), pm, k 12, pm, k to end of round.
(Please note that the vest photographed in this pattern did not include this Set-Up Round. I added it to the pattern after making the sample vest, to avoid the obvious color change in the purl stitches on RS.)
Continuing with MC, work in a stockinette stitch (with cable) pattern as follows:
Stockinette with Cable Pattern:
Round 1: K to 1st sm, work [p2, k8, p2] between markers, k to end of round.
Round 2: Rep Round 1.
Round 3: K to 1st sm, work [p2, C8B, p2] between markers, k to end of round.
Rounds 4-8: Rep Round 1.
Rep Rounds 1-8 until piece measures approx 12-13”, ending with a Round 8.
Top of Knit Vest
Split for Armholes:
In this section you will divide the top of the vest into two halves and work them separately in rows. This will create openings for the armholes.
You can remove the end-of-round sm, but keep the cable pattern sm’s.
Front Panel:
Row 1 (RS): K to 1st sm, work [p2, k8, p2] between markers, k 12 (14, 17, 19, 21). 36 (40, 46, 50, 54) sts
Move the remaining 36 (40, 46, 50, 54) sts from the round to a large stitch holder or waste yarn. These will be worked later to form the back panel.
You will now be working with 36 (40, 46, 50, 54) sts straight in rows to form the front panel.
Row 2 (WS): P to 1st sm, work [k2, p8, k2] between markers, p to end of row.
Row 3: K to 1st sm, work [p2, C8B, p2] between markers, k to end of row.
Row 4: Rep Row 2.
Row 5: K to 1st sm, work [p2, k8, p2] between markers, k to end of row.
Row 6: Rep Row 2.
Rows 7-8: Rep Rows 5-6.
Rep Rows 1-8 until front panel measures approx 20 (20, 20, 22, 22)” ending on WS with a Row 4 or Row 8.
BO knitwise.
Back Panel:
Move the remaining 36 (40, 46, 50, 54) sts from the large stitch holder or waste yarn back to the size 15 circular needles.
You will now be working with 36 (40, 46, 50, 54) sts straight in rows to form the back panel.
With RS facing, join MC yarn at beginning of row, then bind off sts for bottom of armholes at the beginning and end of next rows on each side (RS & WS) as follows:
Row 1 (RS): BO 1st 2 sts knitwise, k to end. 34 (38, 44, 48, 52) sts
Row 2 (WS): BO 1st 2 sts purlwise, p to end. 32 (36, 42, 46, 50) sts
Work in stockinette stitch (knit each RS row, purl each WS row) until back panel measures approx 21 (21, 21, 23, 23)” ending with a WS (purl) row.
(Note that the back panel length is extended approx 1″ more than the front panel to cover more room for the upper back and shoulders).
BO knitwise.

Seaming/Finishing
SEAM shoulders as follows :
- Decide width of neckline: Place 2 sm’s at the top of the front panel where you want your neckline opening to begin and end. Make sure the neckline is centered and wide enough to fit over your head. (9-11″ width is good)
- Left Shoulder: Use MC yarn and a tapestry needle to join the top of the front and back panels together with an invisible horizontal seam at left shoulder from left edge to the left-wearing sm.
- Right Shoulder: Likewise, work an invisible horizontal seam to join front & back panels at right shoulder from right edge to the right-wearing sm.
Add armhole ribbed edging as follows :
- Seaming: If necessary, work a small seam in the area near the bound off stitches at bottom of one armhole to close up any gap.
- Pick Up Sts: With RS facing, use CC yarn and size 13 circular needles to evenly pick up an even number of sts (multiple of 4 is ideal) around the armhole, including the bound off sts. You may need to skip a st occasionally to avoid flaring the edging. Start and end at bottom of armhole, and pm after picking up all sts to indicate end of round.
- Ribbing: With RS facing, work several rounds of k2, p2 ribbing around the armhole until edging measures approx 1 inch. (Note that if you do not have a multiple of 4 stitch count then you will work k2 at beginning and end of rounds). Feel free to use the Magic Loop method for the armhole rounds.
- Bind off: Bind off in the (k2, p2) ribbing pattern.
Repeat steps 1-4 to add the 2nd armhole edging.

Blocking
Weave in all loose ends.
Block vest to 15 (17, 19, 21, 23)” wide by 20 (20, 20, 22, 22)” length.
Important Tips for Knitting your Vest
Some things to keep in mind as you work the vest knit pattern are:
- Use one stitch marker to keep track of rounds, and two stitch markers to mark where the cable pattern begins and ends.
- You will be working in the round at first, then switching to rows for the upper front and back panels of the vest. (RS always faces when working in rounds. When working rows, RS faces on knit rows, WS faces on purl rows.)
Tips to Customize Your Vest
One of the best parts of this pattern is how easy it is to make it your own:
Adjust the Length
Add or subtract rounds (in multiples of 4) during the stockinette/cable section to lengthen or shorten the body before splitting for the armholes.
Change the Fit
Size up or down from your actual measurements depending on how much ease you prefer — this vest looks great snug (0–2″ ease) or slightly oversized.
Play with Color
Use one solid color throughout for a classic, quiet look, or a contrast color at the ribbing and armholes for a modern, graphic edge — like the sample shown here.
Swap the Yarn
Any bulky wool or wool-blend yarn works well. A heathered neutral gives a soft, classic finish; a tweedy yarn adds extra texture to the cable panel.
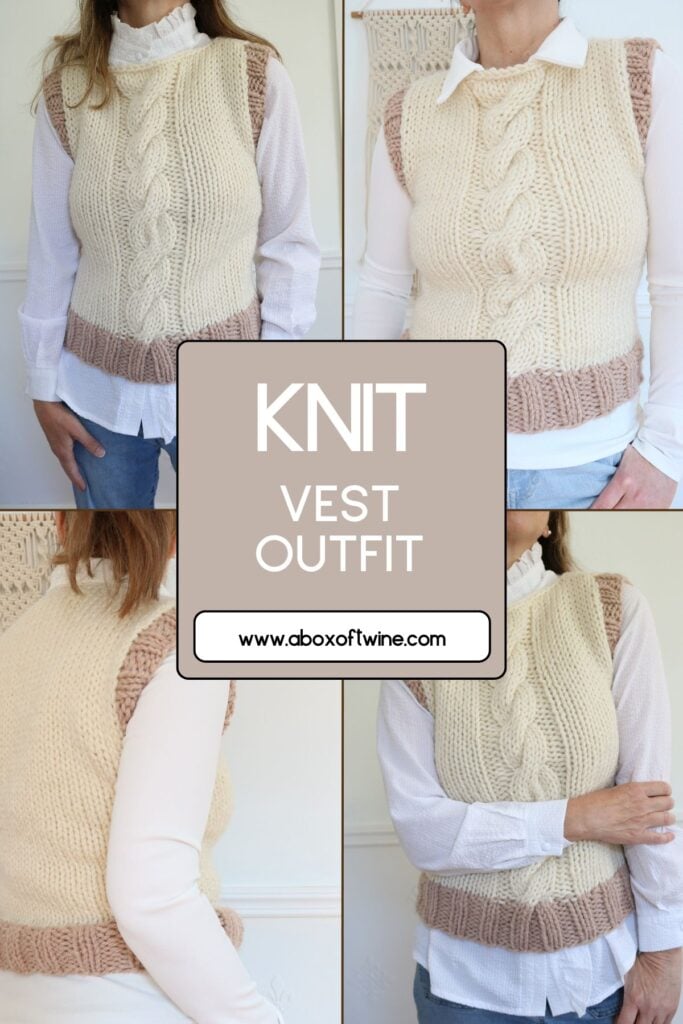
How to Wear Your Knit Vest
(Model in photos below is shown wearing size XS with -4″ ease for a more snug fit):


This cropped, snug-fitting vest is one of those pieces that instantly makes an outfit feel finished. A few of my favorite ways to style it:
Over a simple tee or tank: Layer it over a fitted white tee with jeans for an easy, elevated everyday look. Perfect for cooler summer evenings or early fall.
Over a long-sleeve shirt: Add it over a button-down or a fitted turtleneck in the cooler months for extra warmth without the bulk of a full sweater.
With a skirt or dress: Pair the vest over a slip dress or a midi skirt for a textured, layered silhouette with a bit of edge.
With leggings for an errand-day look: Throw it on over leggings and a simple top for a put-together look that takes almost no effort.
The cropped length and cable detail mean this vest works whether you’re going for a polished or relaxed look. Dress it up or down depending on what you pair it with.

Related Knit Patterns You’ll Love
If you enjoyed this free cable knit vest pattern, here are a few other layering patterns to add to your queue:
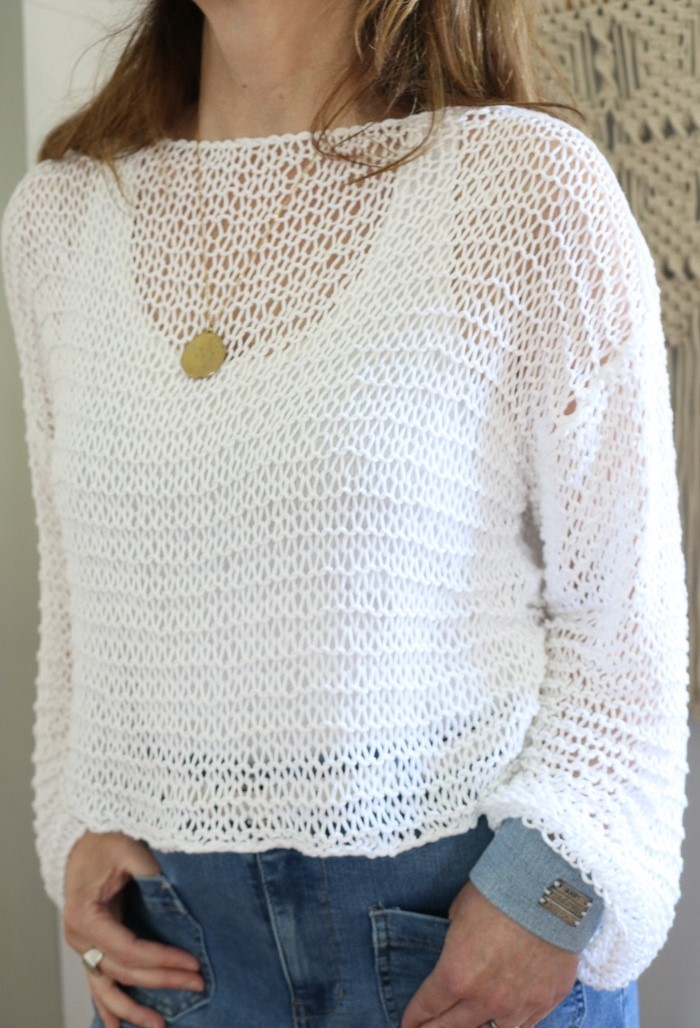
- Knit Mesh Summer Sweater — A lightweight knit top for warm-weather layering.
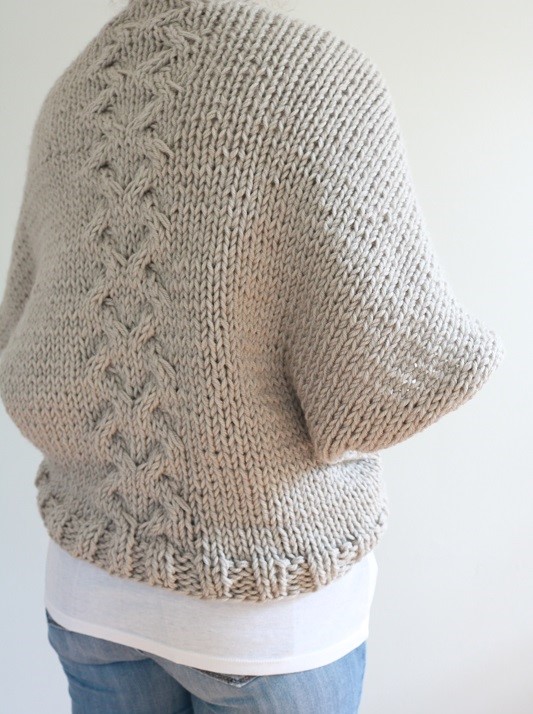
- Chunky Knit Shrug Pattern — A cozy cable shrug for cool evenings.
Final Thoughts
There’s something so satisfying about knitting a piece you’ll actually wear on repeat. This free cable knit vest pattern gives you a fast, rewarding project and a finished piece that adds instant style to your everyday wardrobe for spring, fall, and every season in between.
Don’t forget: this pattern is also available as an ad-free, printable PDF with extra photos and schematic. Grab the Knit Cable Vest Pattern in the shop.
Did you make this vest? I’d love to see it! Share your finished piece on Instagram and tag me @aboxoftwine so I can feature your work. And if this free pattern was helpful, please share it with a fellow knitter who’d love it too.
===> Remember to PIN for later! <===

