
Farmhouse Style Wood Bead Garland with Tassel
Wood beads are some of my favorite craft items to work with. They have an essence of both Farmhouse style and Scandinavian style, which are my top two decorating looks. You may have seen lots of wood bead garland ideas on Pinterest, which is a favorite source of inspiration. I could get lost in wood bead ideas there! Yet once in a while it’s fun to come up with a new & unique look for the garlands. Recently I was inspired to add ticking fabric and yarn to a wood bead garland, since those are also two of my favorite crafting supplies (no surprise!). Keep reading to see how to make one yourself with these elements…
This post may contain affiliate links. That means if you click and buy, I may make a commission at no cost to you. Please see my full disclosure policy for more details.
Supplies
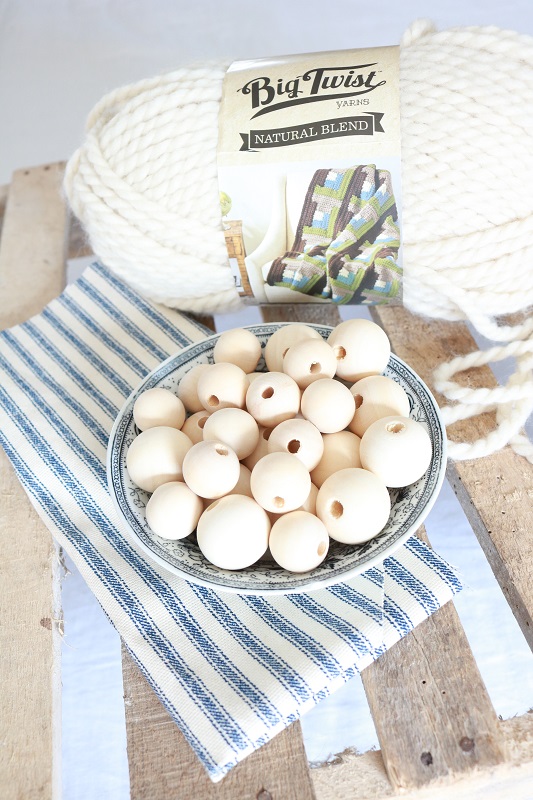
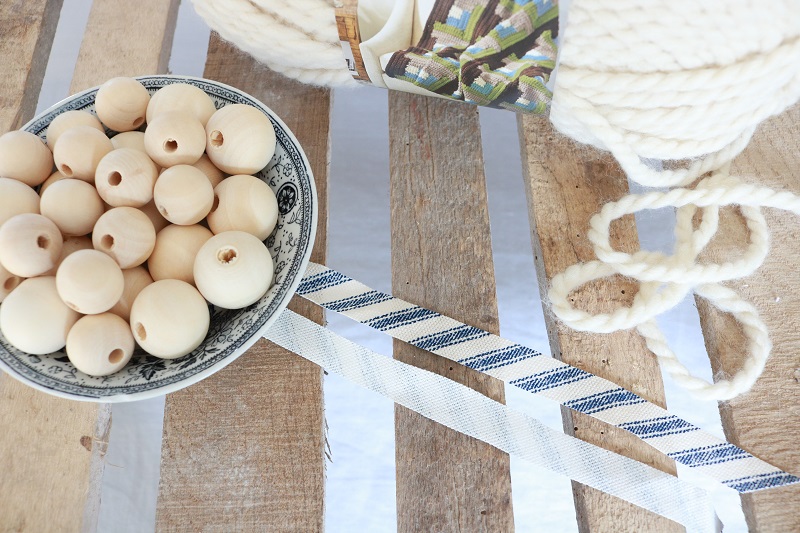
To begin, gather the following supplies:
- wood beads in various sizes (use as many as you want for your desired garland length)
- chunky yarn in a coordinating color
- ticking stripe fabric
- scissors
- yarn needle to fit through wood bead holes


Steps to make wood bead garland
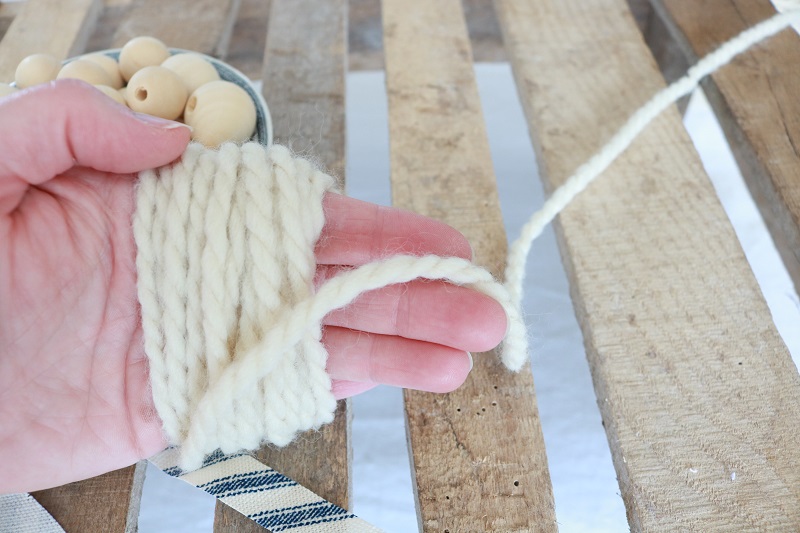
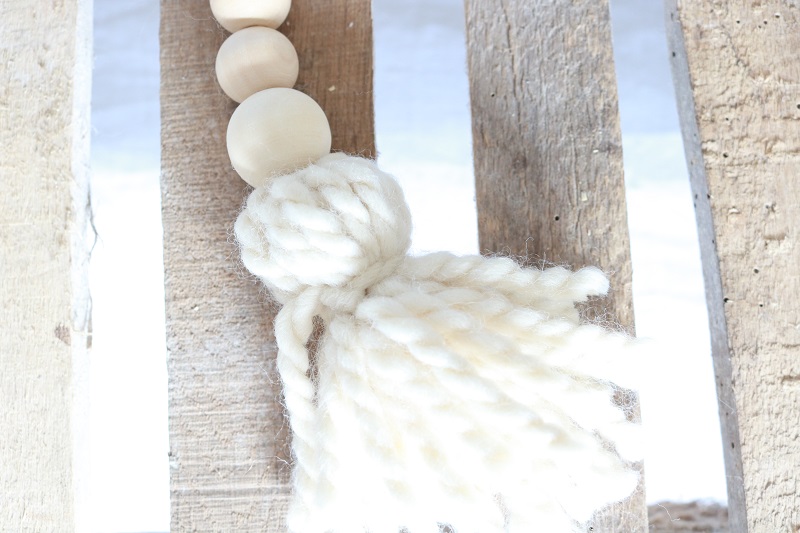
First, you’ll want to wrap the yarn around your hand approximately 20-25 times to make a yarn tassel for the end of the garland:
Cut the wrapped yarn, slide it off your hand, then tie a knot at the top of the wrapped yarn using yarn from the same skein. After tying the knot, do not cut from the skein yet!:
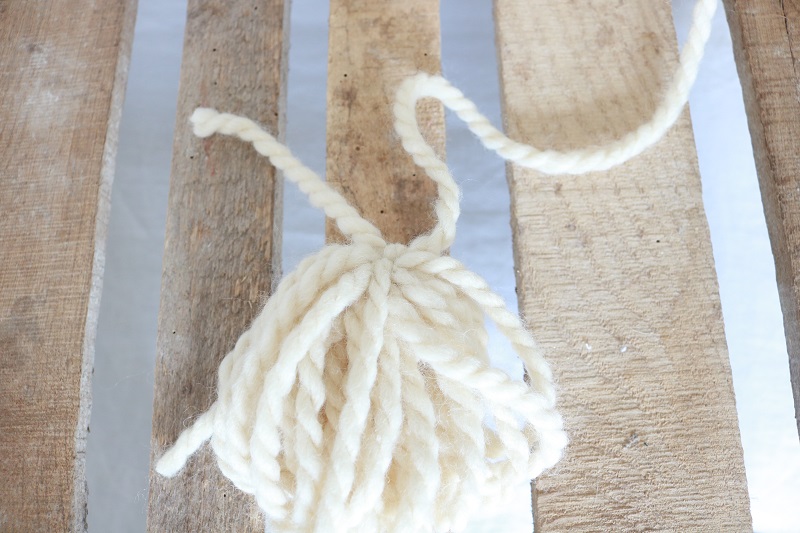
Cut the bottom loops from the wrapped yarn as such:
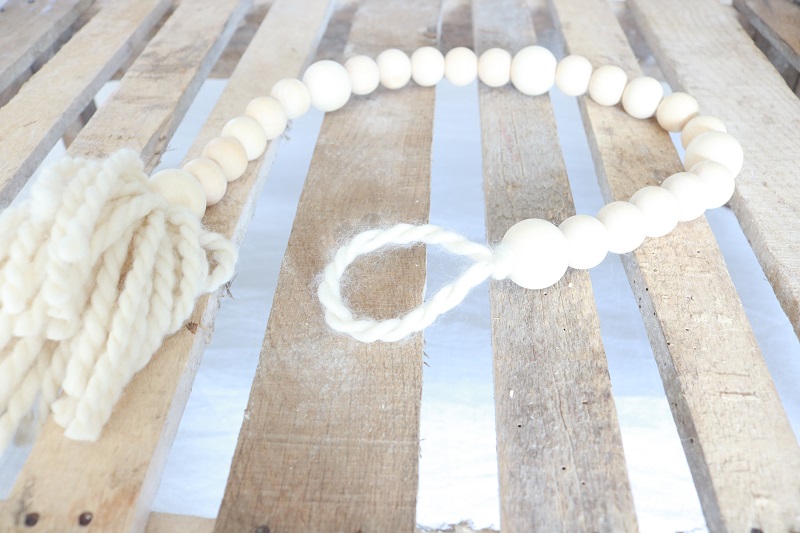
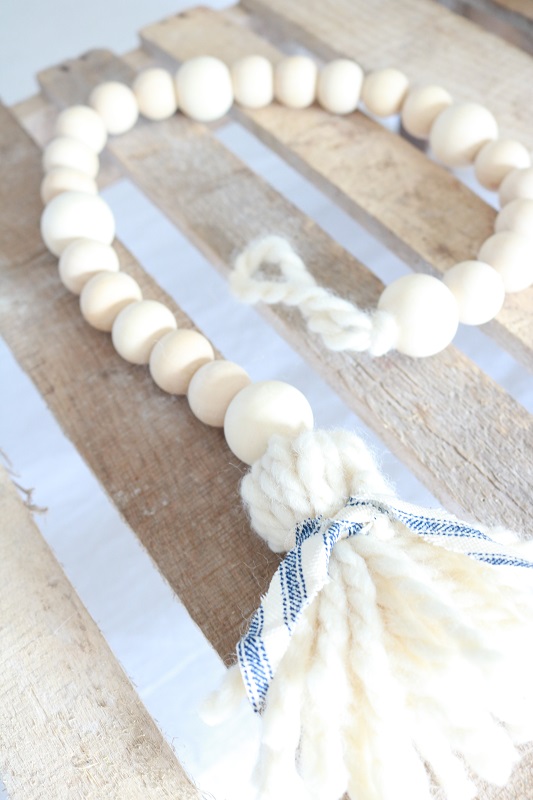
Next, measure out the rest of the yarn from the skein to the length you want your garland to be (plus a few inches) and cut. I measured mine out to 30″ for a small sized garland. Thread the end of the yarn through a yarn needle and pass the needle through the wood bead holes, in whatever pattern of beads you’d like. I think mixing various sizes of beads looks nice:

Leave several inches of yarn without beads, then reverse the needle back through the last wood beads to make a yarn loop at the end:

Slip the yarn needle from the yarn, pull the loop at the end to hide the yarn end in the beads, then tie the loop in a knot to secure against the last bead:
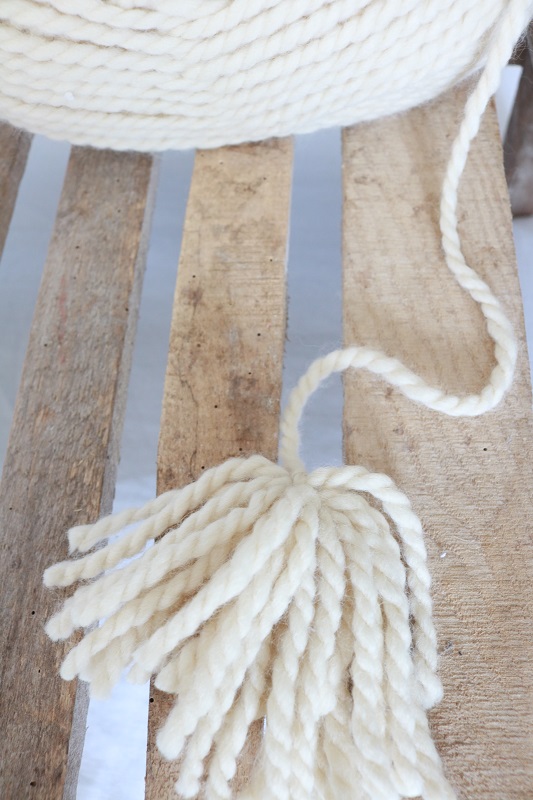
Next, you’ll want to finish off the tassel. Cut a few inches of yarn from the skein, and use it to tie around the upper half of the tassel:
Trim the yarn ends of the tassel and stop here if you’d like. Or, add a little farmhouse style with some ticking fabric on the tassel. To do so, first cut the ticking fabric several inches long on the bias (diagonally):
Next, tie the ticking stripe fabric strip around your tassel to secure:
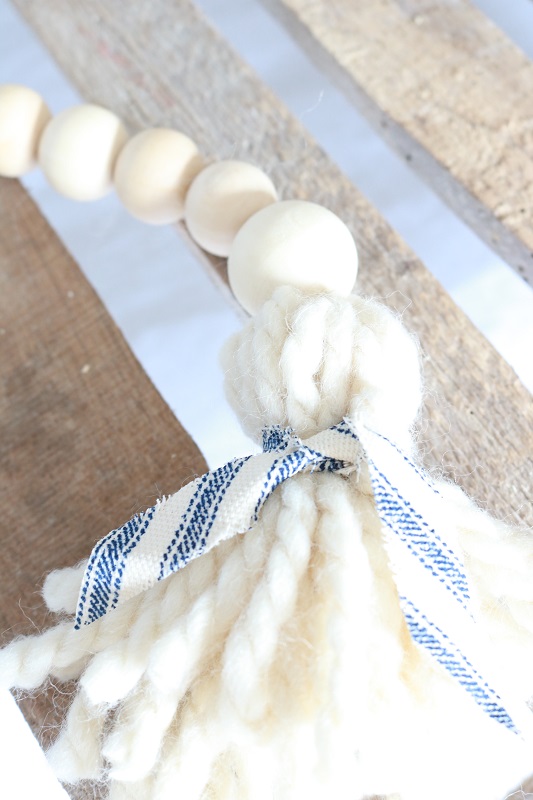
You’re finished!
Showcase the Farmhouse Style Wood Bead Garland
The wood bead garland is now a lovely accessory for your farmhouse style decor. Layer it around glass jars or vases, or feel free to pile several garlands in a wood bowl or ironstone. An extra long garland would look amazing spread across a mantel. Another idea is to hang the garland on a hook using the loop at the end.
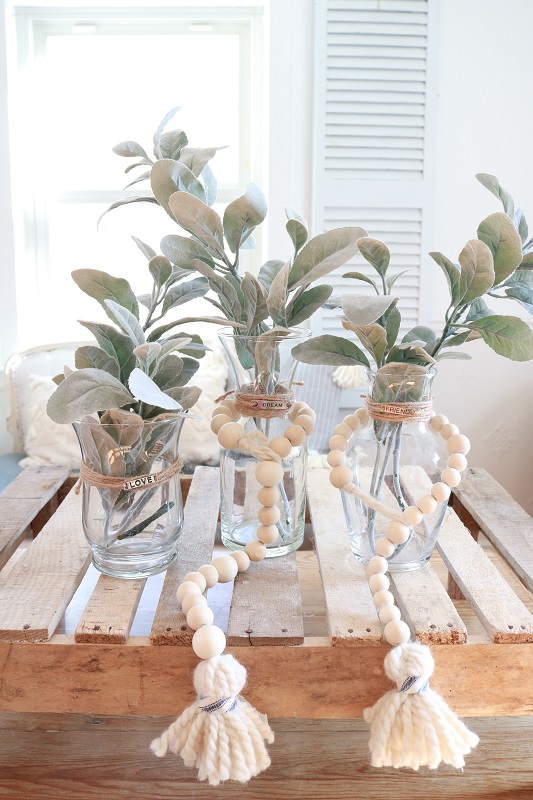
I love the garlands wrapped around my DIY Twine vases. The natural wood on the beads gives a simple, classic look and the yarn & ticking stripes provide softness.
This project took no time at all, definitely under 30 minutes, and yet gives a great impact. What do you think? Would you add the little ticking stripe fabric or leave it simplistic? I love both looks!
If you’d like to see another easy wood bead craft, take a look at my Hygge candle holders.
Want to remember this craft? Post this wood bead garland idea to your favorite Pinterest board!


2 Comments
Kim
I love this garland – simple yet chic! A great way to dress up a plain glass vase as well 🙂
Susan
Thank you Kim!