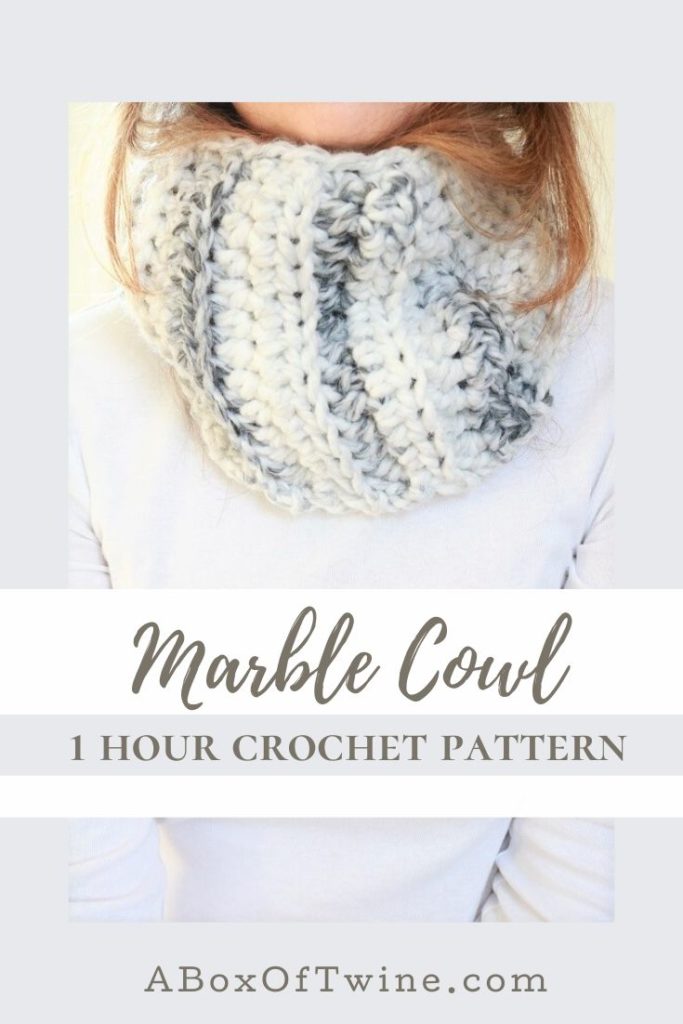
Crochet Ribbed Cowl Pattern
Here we are in mid-February and I’m still wearing hats, gloves, cowls and scarves. I’m also still knitting and crocheting the winter hours away. Yarn patterns are often on my mind to design these days, so today I’ve got a crochet ribbed cowl pattern for you. It’s made with one of my new favorite yarns – Lion Brand wool-ease thick & quick in a gorgeous Marble color variation. I love the look of Marble stone, so what a fabulous discovery to find this yarn!
The last cowl pattern I gave you was knitted in a bolder forest green color (which I’m drawn to these days), but this Marble yarn speaks to my more neutral palette. Another feature of this crochet pattern is that you can make it in 1 hour! It whips up super quick with the Super Bulky Size 6 yarn. Give it a go!
This post may contain affiliate links. That means if you click and buy, I may make a commission at no cost to you. Please see my full disclosure policy for more details.
Supplies
- Almost 1 skein (87 yds) of Super Bulky (6) yarn to make one cowl (I used Lion Brand Wool-Ease Thick & Quick in color Marble)
- Crochet Hook, size P-15 (10 mm)
- scissors


Ribbed Cowl Crochet Pattern
Gauge: 4 inches = 5 Rows by 7 sts
Abbreviations
Ch – chain
st – stitch (sts – stitches)
SC – single crochet
HDC – half double crochet
RS – Right Side
BLO – back loop only
Steps
You will be working this cowl in a rectangle, then joining with a seam. The Right Side will have ribbing from the HDC in BLO stitches.
Chain 15 loosely.
Row 1 (RS): HDC in 2nd ch from hook and across. Turn.
Row 2: Ch 2, HDC across. Turn.
Row 3: Ch 2, HDC in BLO across. Turn.
Row 4: Ch 2, HDC across. Turn.
Repeat Rows 3 and 4 for a total of 30 rows.
Your rectangle should measure about 24″ long by 8″ wide after the 30 rows. However, feel free to make your cowl shorter or longer by decreasing or increasing the rows (ending with an even numbered row).
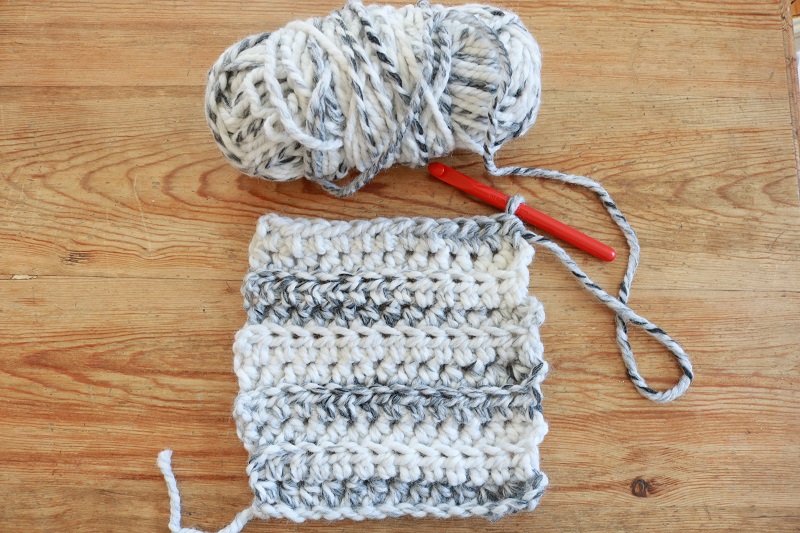
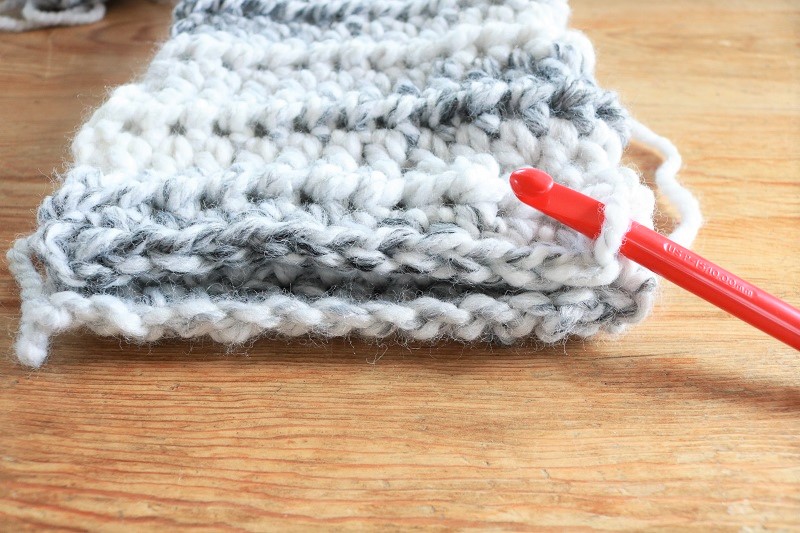
Here is a photo of the Right Side after Row 10:
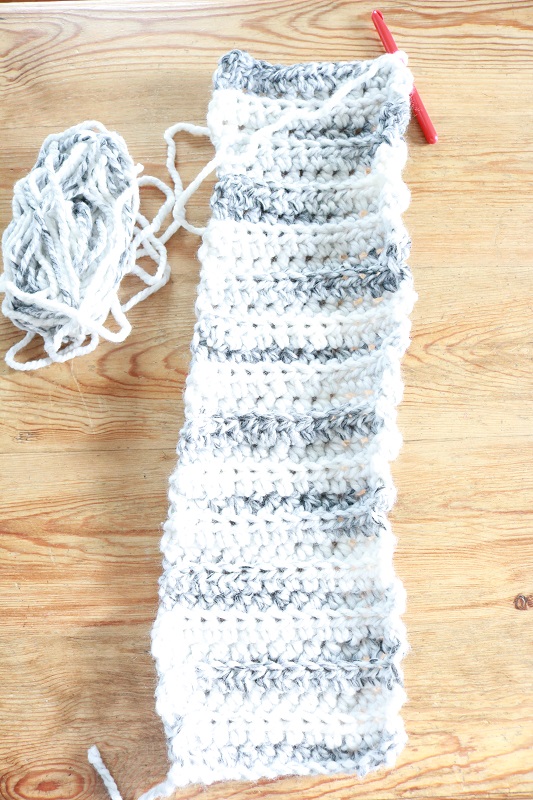
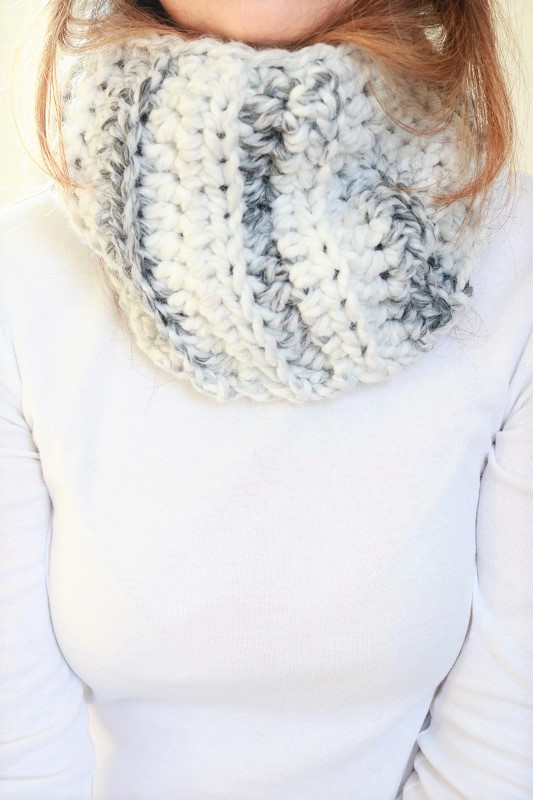
Another photo of the Right Side when finished:
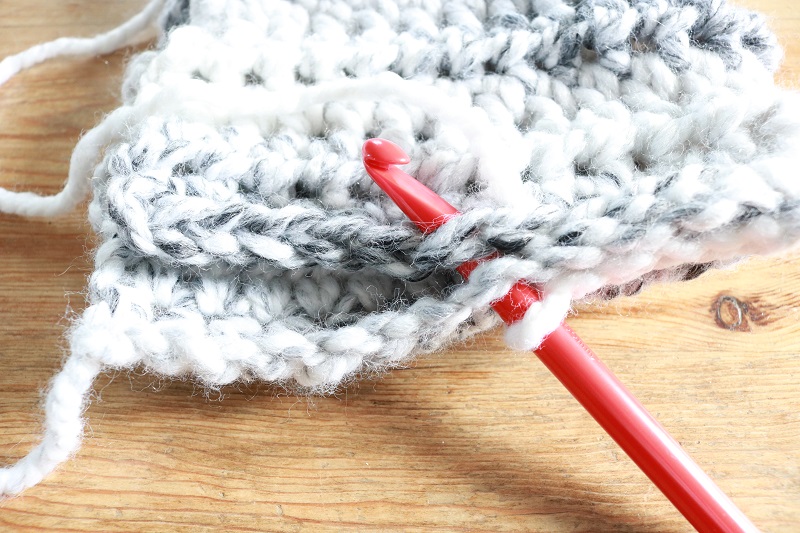
Next, you’ll want to join the short ends of your cowl together with Right Sides facing. (The Right Side has the ribbing from the HDC in BLO).
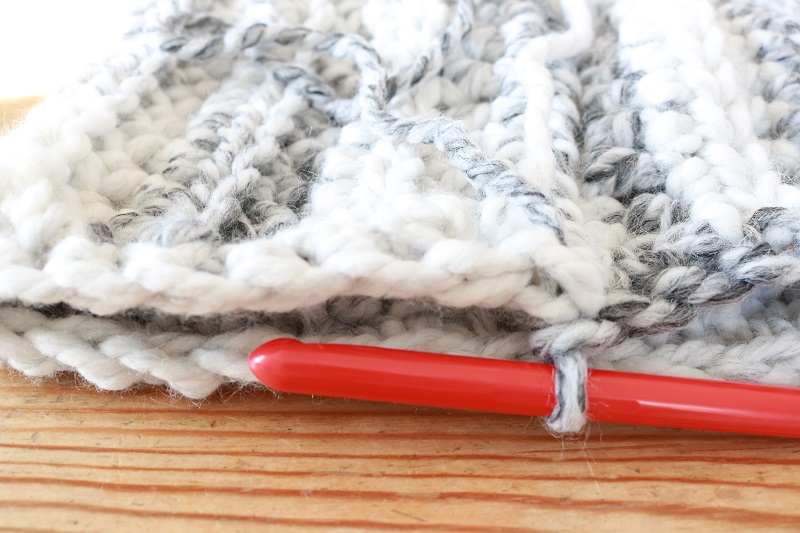
Using a Slip stitch, join these 2 short edges together in a seam. Here is how it looks halfway through the seam:
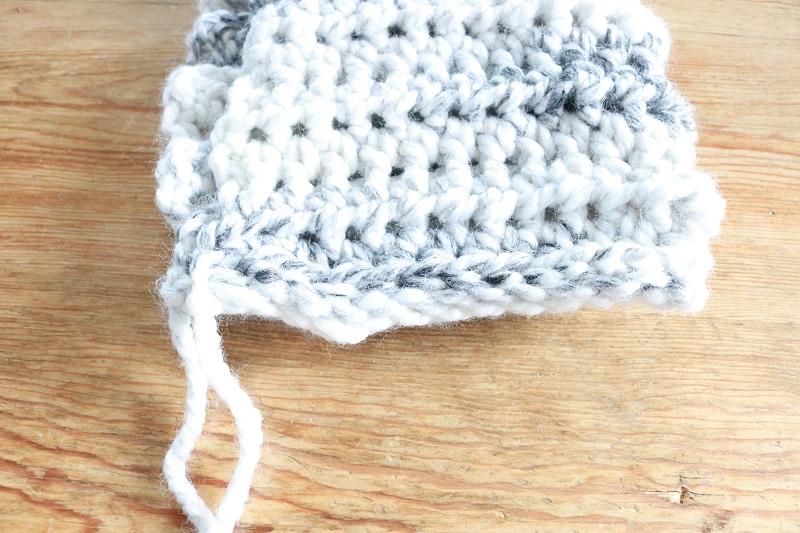
Here is the finished seam:
You can fasten off the yarn here, or continue with the yarn to add a SC edging all around the top and bottom of the cowl.
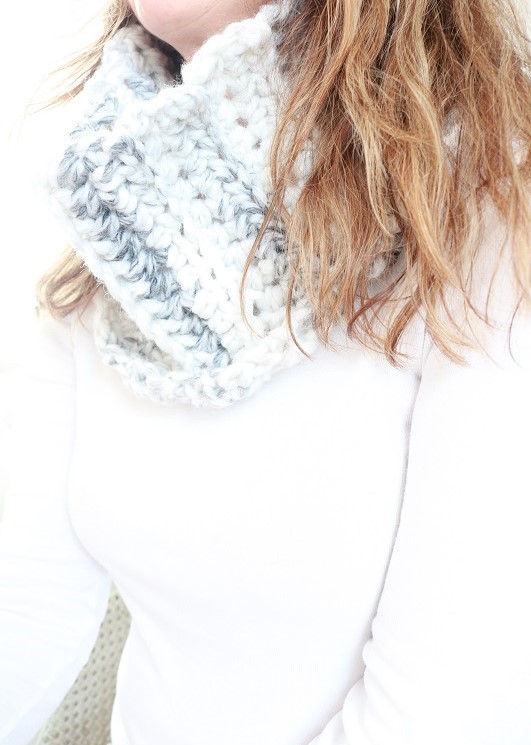
The following photos show the cowl with an unfinished edging on the top & bottom of the cowl (without the SC sts). Those edges have a bit of a rolled affect.
Cowl with unfinished edging
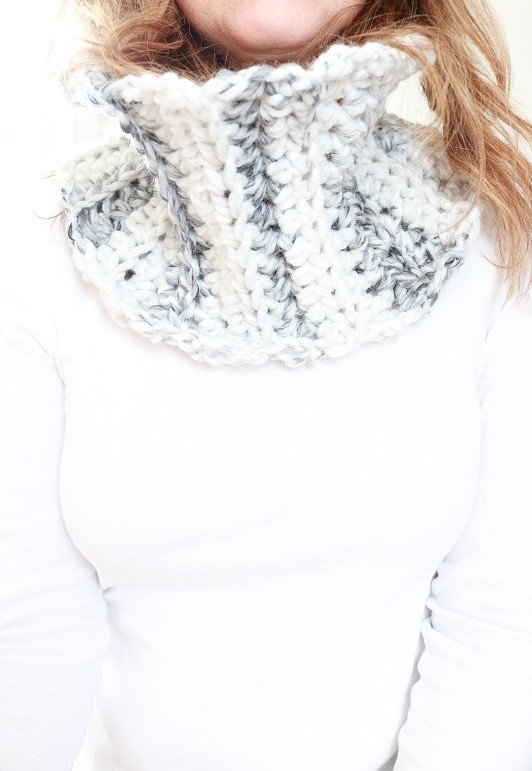
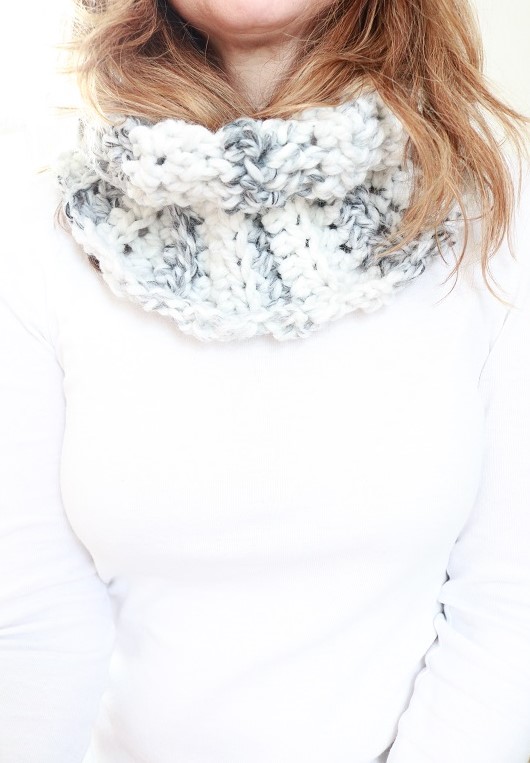
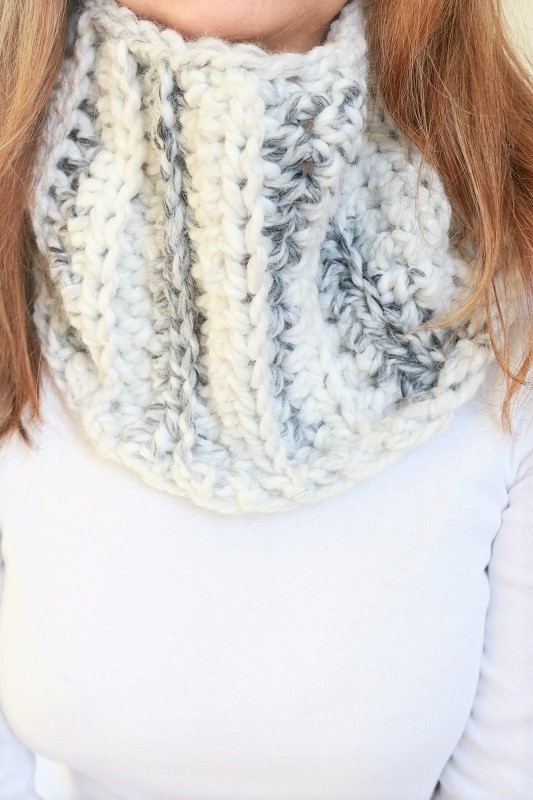
Cowl with finished edging
If you would like to finish off the cowl with a tighter edging, you can simply SC all around the top and bottom of the cowl, approximately one stitch per Row.
When you’re done crocheting the cowl (with unfinished or finished edges), you’ll need to fasten off, weave in loose yarn ends, and turn Right Side out. Finished!
Below are some photos of the cowl with finished edges:
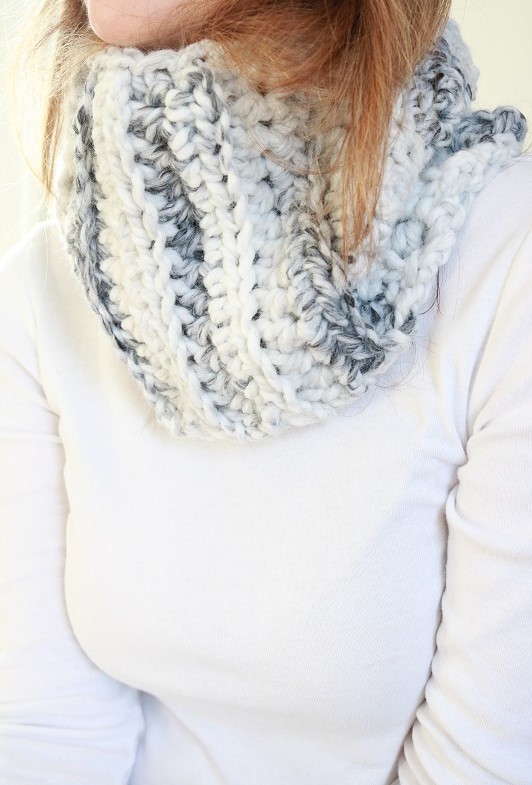
Be sure to let me know if you give this pattern a try. I’d love to see.
You can purchase an inexpensive ad-free version of this cowl pattern (with photos) in my Etsy shop here.
Take a look at my other simple crochet patterns on the blog, too.
Want to remember this crochet pattern? Post this Ribbed Cowl pattern to your favorite Pinterest board!