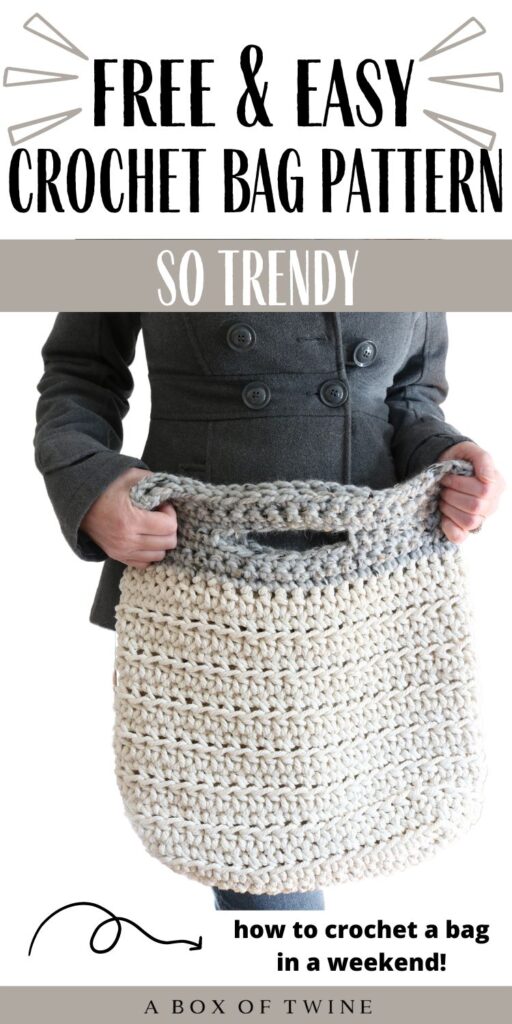
Easy Crochet Bag Pattern for Beginners
Are you looking for a crochet bag pattern that is timeless and classic? Chunky crochet handbags are always in style! If you want a crochet bag for beginners, look no further. Today I have an FREE crochet bag pattern that you can make in a weekend, even if you are a beginner crocheter. Just grab a large hook, cotton macrame cord for sturdiness, and let’s get started.
This post may contain affiliate links. That means if you click and buy, I may make a commission at no cost to you. Please see my full disclosure policy for more details.
FREE EASY CROCHET BAG PATTERN
How to crochet a bag
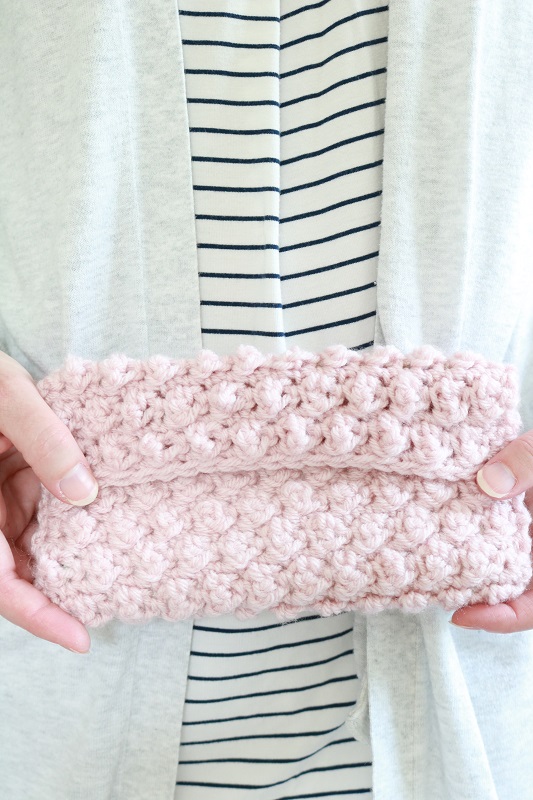
You may be wondering, “Are bags easy to crochet?” This chunky crochet handbag pattern is definitely easy to work once you master a repeat of 2 rounds. These 2 rounds make up the repetitive pattern for the bag, which gives it a slight striped (ribbed) look.
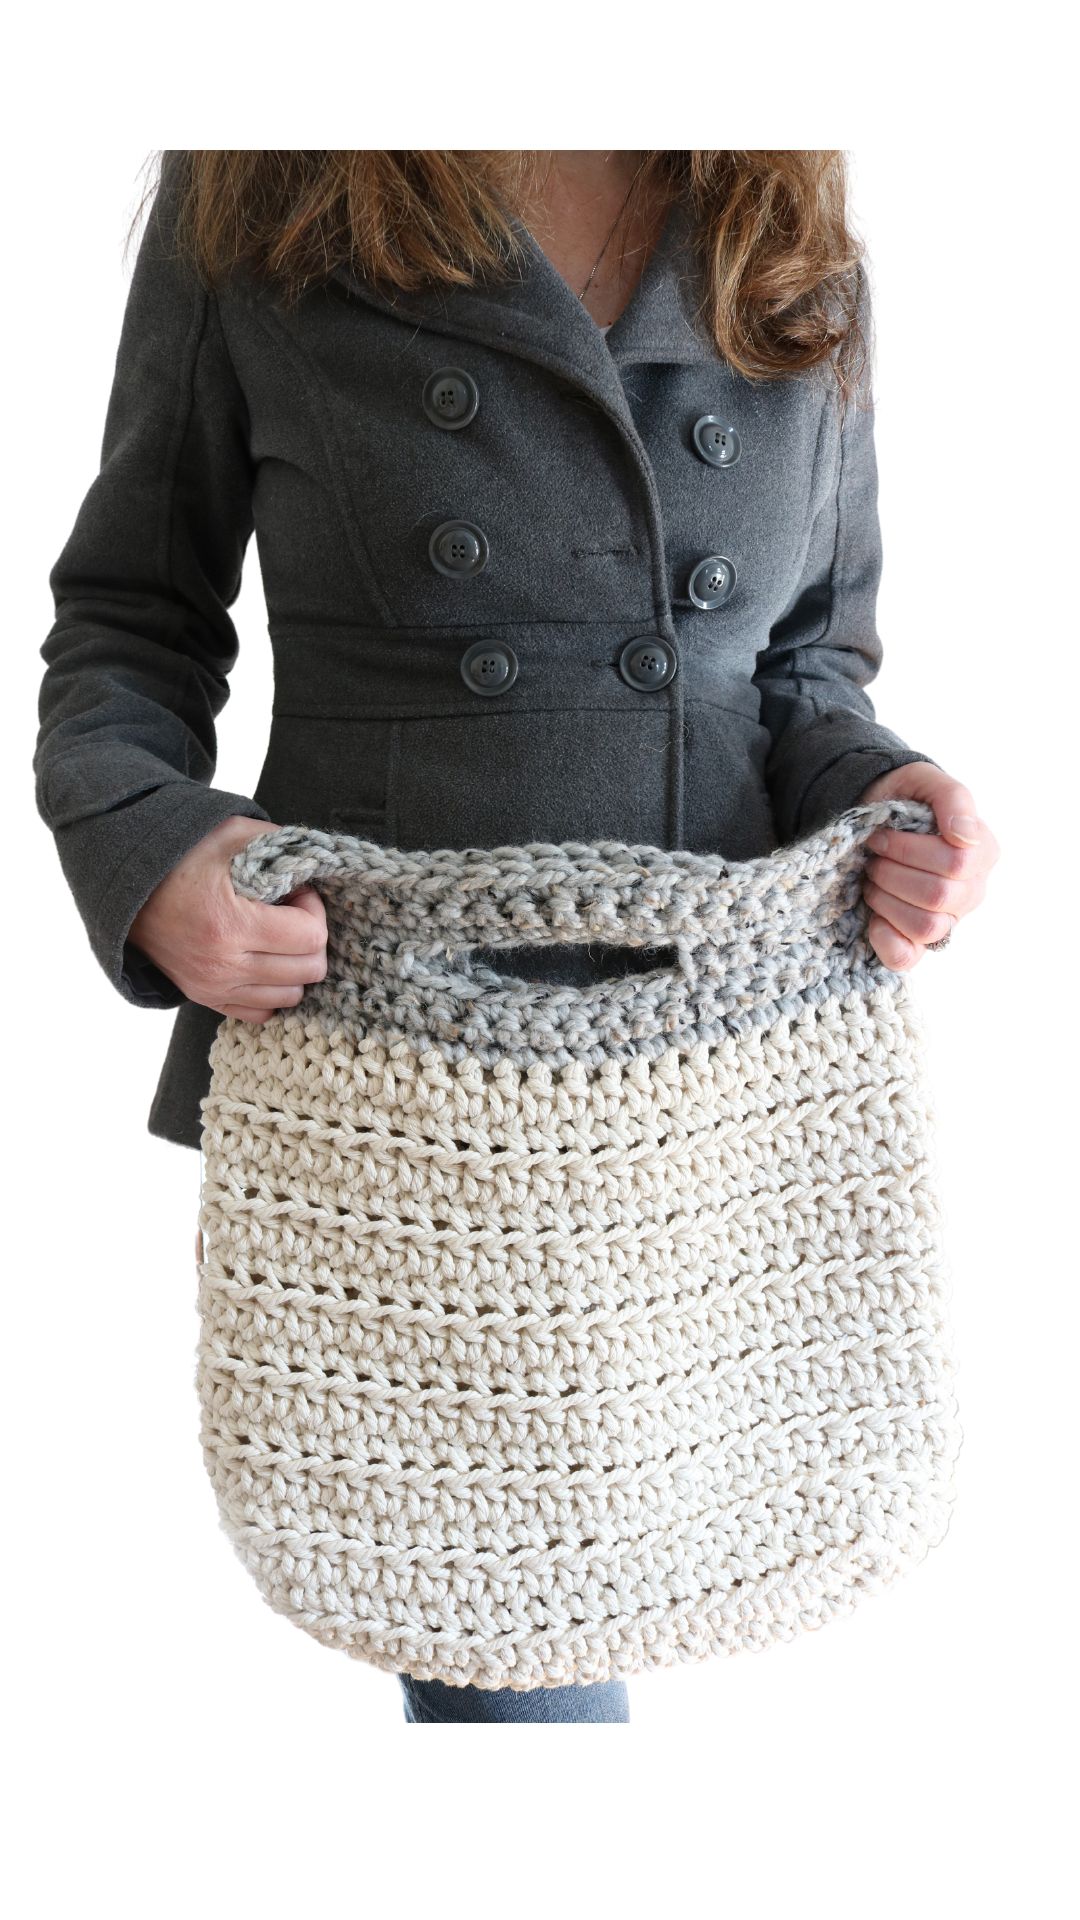
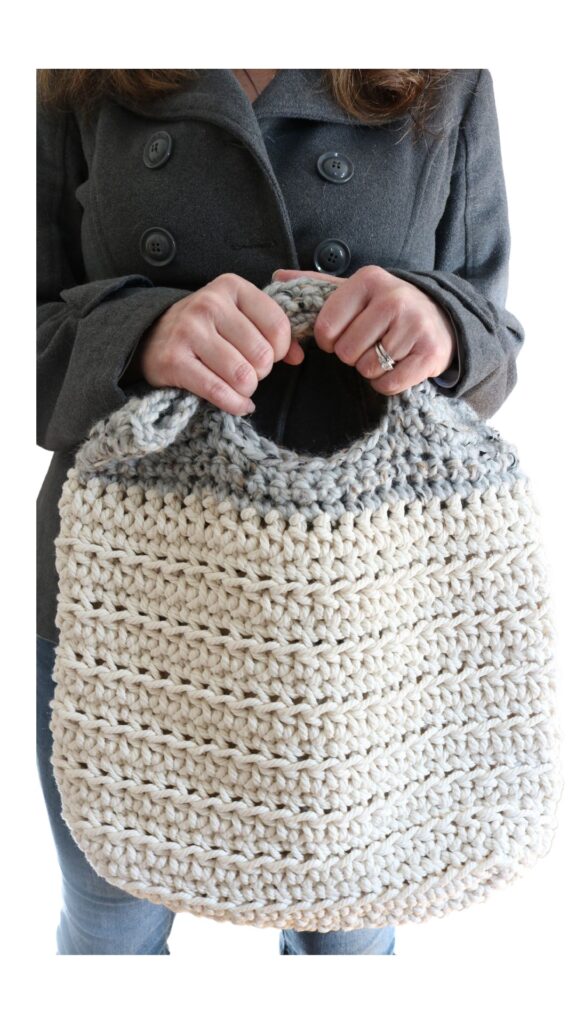
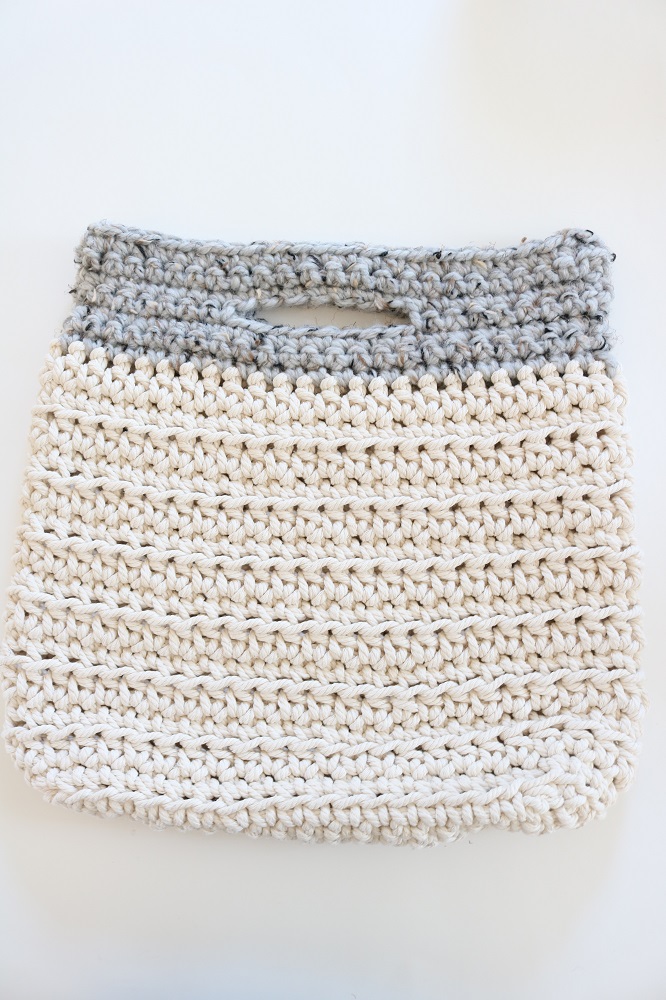
The shoulder bag should take just a few hours to crochet and finish as written. It will measure approximately 14″ length by 15″ width with a 3″ base.
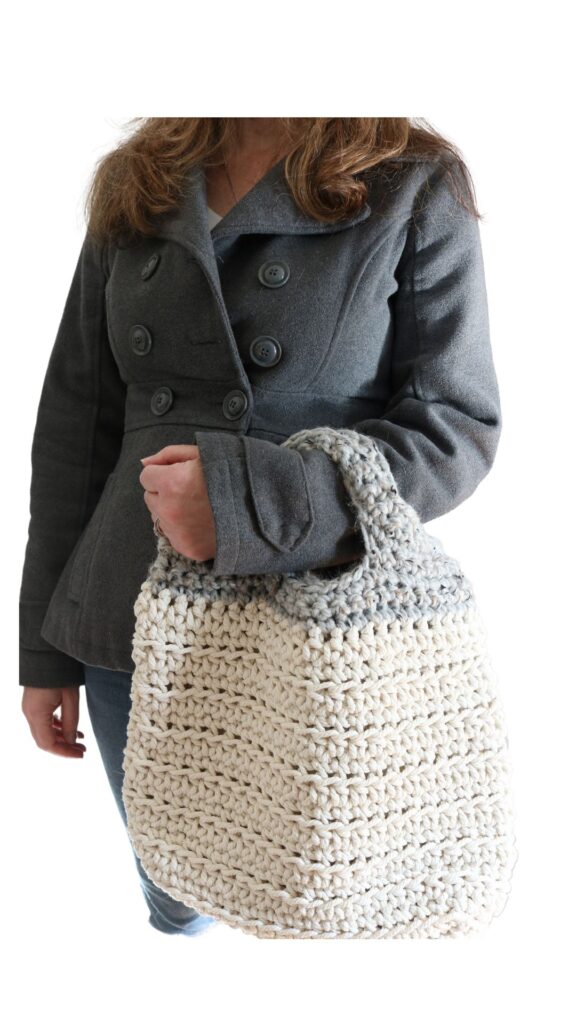
After creating the base of the bag using single crochet stitches, you will simply repeat a 2-round pattern six times until you reach a point to add the handle (or your desired length if you have enough cotton cord). Lastly, add handles in a different colored yarn for a modern look! The classic ivory color of the macrame cord paired with gray marble yarn is perfect for any time of year.
What type of yarn is best for bags? Sizes Medium (4) (worsted) and above work best, such as bulky and super bulky sized yarn. This pattern actually uses 4mm diameter cotton macrame cord for an especially sturdy bag. Just keep in mind that the cord weighs more than yarn, so feel free to use Super Bulky (6) yarn if you’d like a lighter bag.
You will need the following supplies to make the crochet bag with handles:
Supplies
- Size N/P (10 mm) crochet hook
- Approx. 175 yards of (4mm) cotton macrame cord for main color (MC). I used Blisstime Macrame Cord. The cord I purchased comes with 328 yards, so there is plenty for other fun projects. Feel free to replace this cord with Super Bulky (6) yarn if you’d like a lighter bag.
- 50 yards of Lion Brand Wool Ease Thick & Quick size 6 Super Bulky Yarn in color Grey Marble for contrasting color (CC)
- scissors
- wide-eyed tapestry needle
- optional: Leather adjustable shoulder straps to attach to sides of bag
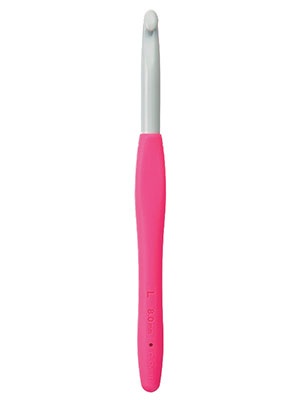
Amour Plastic Bulky Hooks
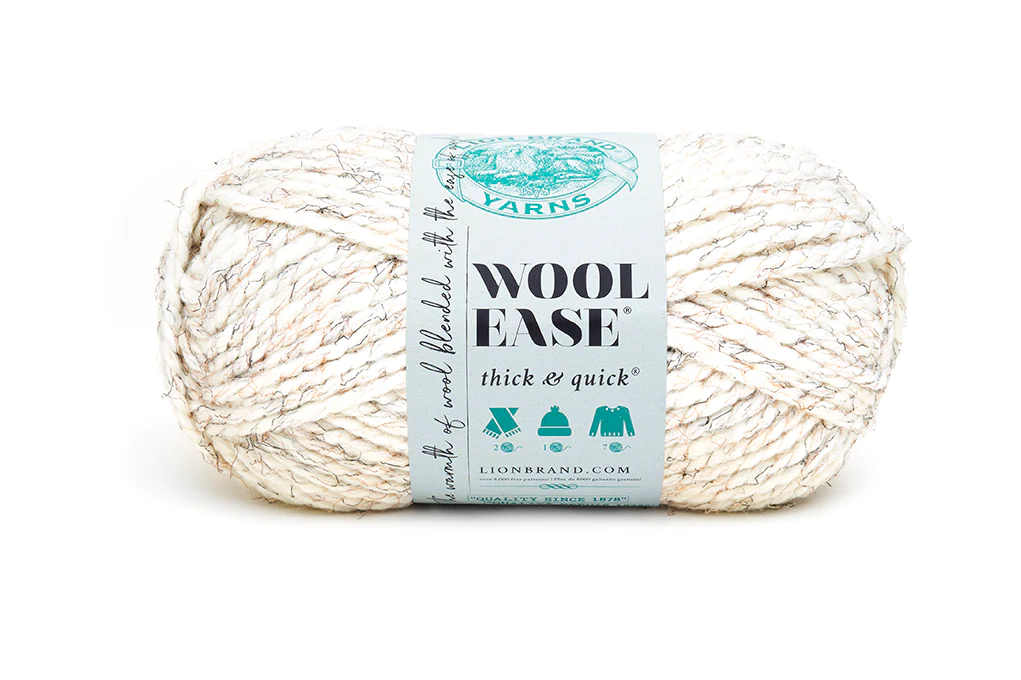
Wool Ease Thick & Quick Yarn
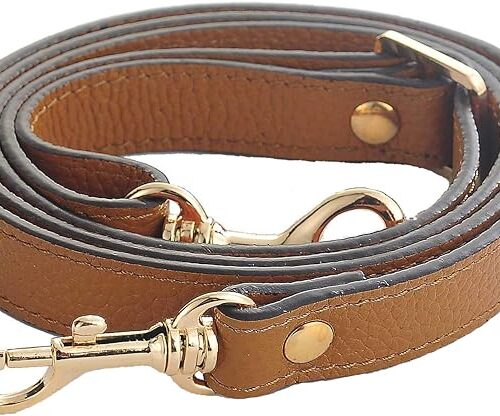
Leather Purse Straps
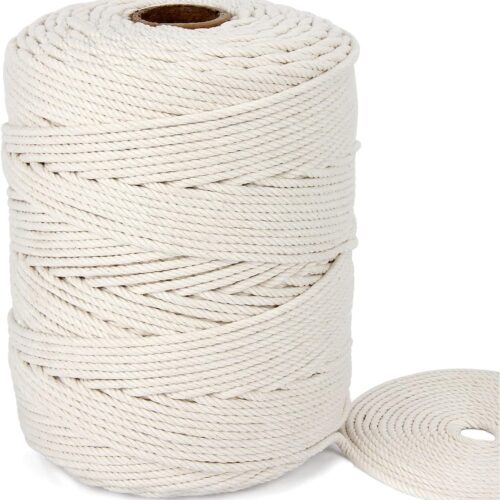
4mm Macrame Cord
Crochet Abbreviations
US Crochet terms are used.
Ch – chain
BLO – back loop only
hdc – half double crochet
rep – repeat
RS – right side (faces you when finished)
sc – single crochet
sl st – slip stitch
st(s) – stitch(es)
sm – stitch marker
WS – wrong side (faces inside when finished)
MC – main color
CC – contrasting color
PATTERN INFORMATION
Recently I began naming my crochet and knit patterns after local New England places of interest.
The “Brighton Bag” is named after the city of Brighton, Massachusetts, located just west of Boston. (My husband lived there when we met, so it holds a special place in my heart). The roomy, sturdy bag is a perfect tailored accessory for a library or market trip.
The free pattern for my version of the easy crochet bag is provided below.
- but you can also get the ad-free, printable pdf pattern for the CROCHET BAG in the ETSY SHOP! The pdf has step-by-step tutorial photos included, which will help you work the base and sides.
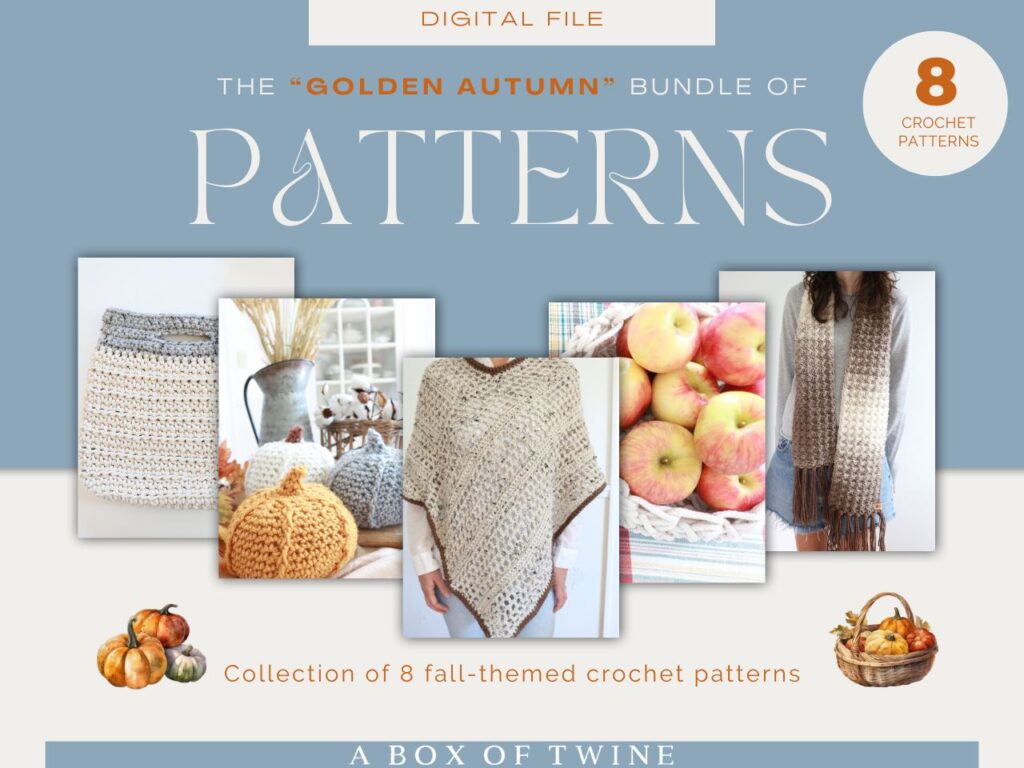
Before we begin, I wanted to make you aware that this pattern is also available as part of a “Golden Autumn” collection….
——————————————————————————————————————–
Love fall crochet projects?
Click HERE to find 8 gorgeous FALL patterns that coordinate together, and save on value!
GOLDEN AUTUMN COLLECTION —>
——————————————————————————————————————–
STURDY CROCHET BAG PATTERN
Gauge: 4″ (10cm) square = 6.5 sts by 5 rounds (in 2-round repeat pattern)
How do you make a chunky crochet bag?
Follow instructions as follows…
NOTE – Ch 1 does not count as a st, Ch 2 does count as a st.
Beginning with the Size N/P (10mm) crochet hook, chain 19 stitches with your MC MACRAME CORD.
Base of Crochet Bag
The first few rows will form the bottom base of your crochet bag.
Row 1: SC in 2nd ch from hook and in each ch across. Turn. (18 sts)
Row 2: Ch 1, SC in each st across. Turn.
Rows 3-4: Rep Row 2.
Sides of Crochet Bag
Note – at this point, you will be adding height to build the sides of the bag by working in rounds. You will not need to turn after any of the rounds. After the first round, the stitch count will remain at 48 sts per round. Make sure to use a SM to keep track of the first st of each round.
Round 1: Ch 1, 3 sc in 1st st, sc across until last st, 3 sc in last st, work 2 sc across side edge, 3 sc in corner st, sc across 17 sts, 3 sc in corner, work 2 sc across short edge. Join with a sl st to first sc. (48 sts)
Round 2 (RS): Ch 1 (does not count as st), sc in blo of each st around. Join with sl st to first sc.
Round 3: Ch 2 (counts as a st), hdc in next st and each st around. Join with sl st to first hdc (the top of ch-2).
Rep Rounds 2-3 six times.
Fasten off.
Top of Crochet Bag – add Handle
Note – at this point, you will be switching to the size 6 Super Bulky CC yarn to create the top of the bag with handles. The stitch count will remain at 48 sts per round. Join at one side of the bag, and use a SM to keep track of the first st of each round.
You will be turning your work for the handles, instead of working in a spiral.
With RS facing using size N/P hook, join CC yarn at one side of the bag. Make sure to use a SM to keep track of the first st of each round.
Round 1 (RS): Ch 1 (does not count as st), sc in each st around. Join with sl st to first sc. TURN. (48 sts)
Round 2 (WS): Rep Round 1.
Round 3: Rep Round 1.
Round 4 (WS): Ch 1 (does not count as st), sc in first 8 sts, ch 8, skip 8 sts, sc in next 16 sts, ch 8, skip 8 sts, sc in last 8 sts. Join with sl st to first sc. TURN.
Round 5 (RS): Ch 1 (does not count as st), sc in each st and each ch around. Join with sl st to first sc. TURN. (48 sts)
Rounds 6-7: Rep Round 1. (round 6 is on WS, round 7 is on RS)
Fasten off.
Weave in all loose ends.
Finished!
Important Tips for Crocheting your Bag
Some things to keep in mind as you crochet the bag are:
- You may need to crochet more loosely since the cord is thick.
- When crocheting the macrame cord in the round, the Right Side (RS) is always facing you.
- Use a stitch marker (SM) to keep track of the first st in each round. The main bag will be worked in a spiral form, so the first st will shift each round. The handles will not be worked in spiral form; you will be turning after each round. This will make it easier to count stitches when placing the gaps for the handles.
- The macrame cord weighs a bit more than the yarn, so the bottom of the bag will have some heft.
- Feel free to adjust the height of the bag by adjusting the # of rounds worked (prior to handle rounds) for a longer or shorter height.
- Make sure to use a wide-eyed needle for seaming & weaving in ends, since the cord is thick.
- You may need to secure any loose threads from the ends of the cord by sewing them to the inside of the bag.
Using your Finished Crochet Bag
Now it is time to enjoy using your classic handbag! You can simply grab the handles and go:
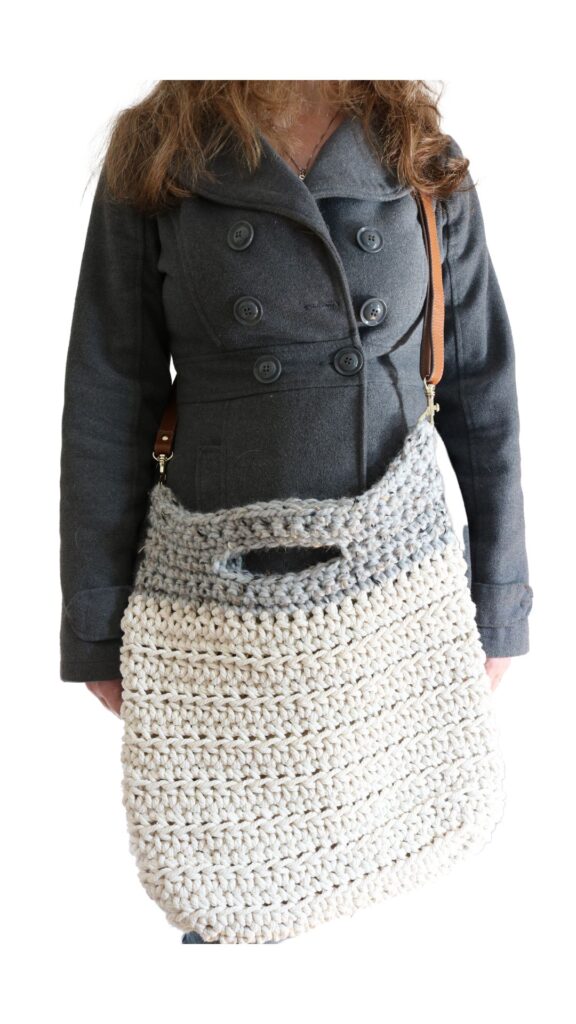
Or attach leather shoulder straps to the bag by simply clipping them to stitches on the sides of the bag. This will allow you to wear the bag cross-body:
I hope you enjoyed learning how to make an easy crochet bag that will stand the test of time. Grab this bag for your next trip shopping or to the library. It will easily hold your books and finds!
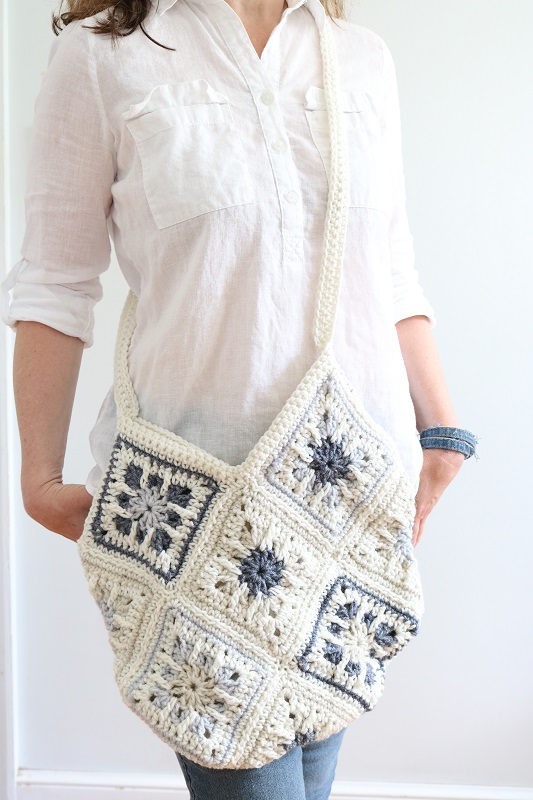
Love bags? Check out these other bag ideas…
Want to save this post on how to crochet a bag for beginners? Remember to pin it!


2 Comments
Barb Janssen
I have Bernat Maker yarn I would like to use up. It is a bulky 5 yarn. How would I adjust your pattern to get a similar size? What size hook would I use? An 8mm is recommended.
Thank you!
Susan
The pattern as written is meant for Super Bulky (size 6) yarn, but you could use Bulky (size 5) yarn instead.
Since the pattern is specifically written for 48 sts per round, there is not an easy way to adjust that.
It may mean that your bag is slightly smaller, but not by much.
If you size the hook down, that would affect the size as well, so you may want to use a 9mm or 10mm hook.