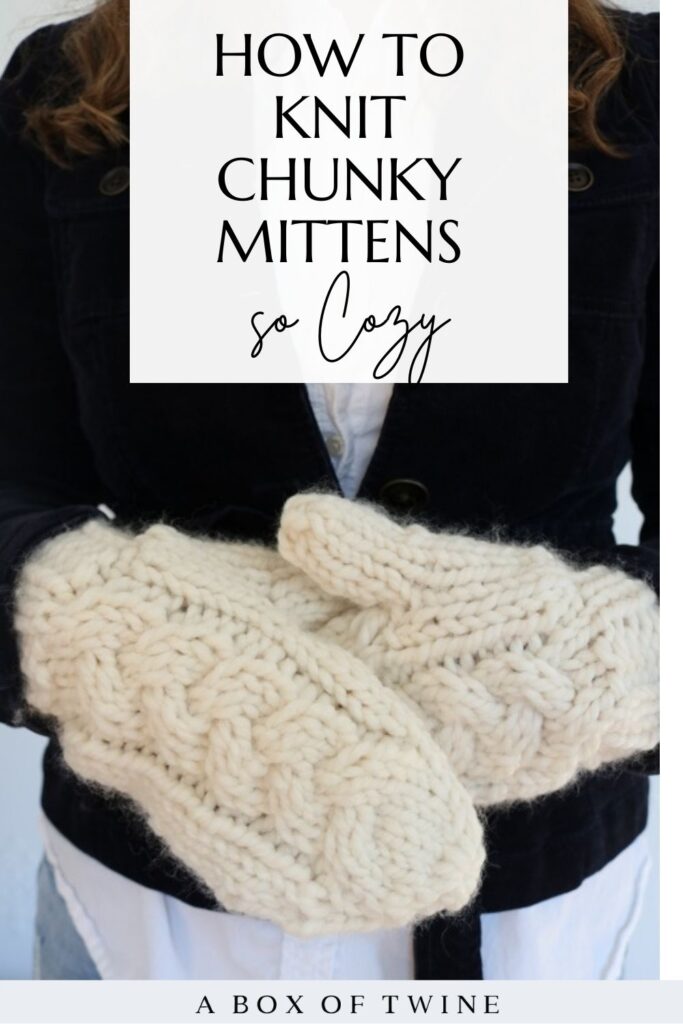
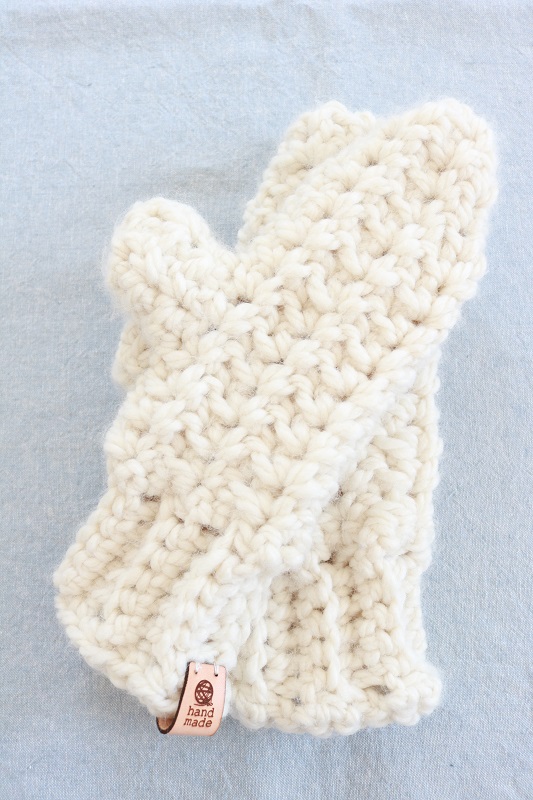
How to Knit Cable Mittens
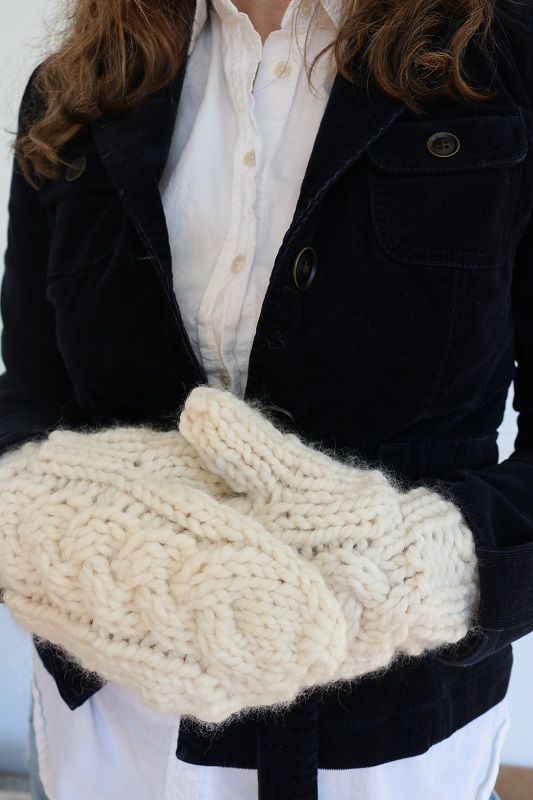
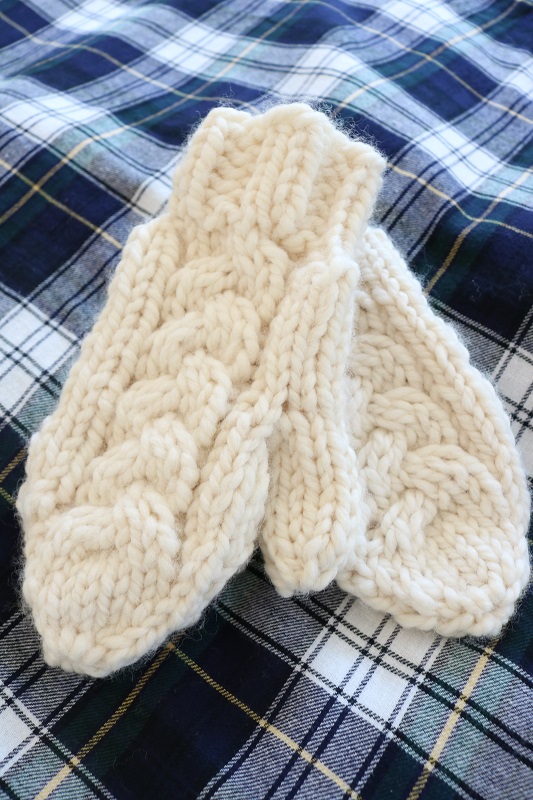
Could there be any other winter accessory more traditional than a pair of knit cable mittens? They are ubiquitous during the cold weather months, and for good reason. Cozy knit mittens are perfect for keep your hands warm while looking stylish EVERY. SINGLE. YEAR. Because cable knit mittens are TIMELESS! Today I have a FREE knitting pattern for mittens that you can make in about 3 hours. Just grab some size 13 circular knitting needles, super bulky wool yarn, and let’s get started.
This post may contain affiliate links. That means if you click and buy, I may make a commission at no cost to you. Please see my full disclosure policy for more details.
FREE KNITTING PATTERN FOR MITTENS
How to knit mittens
The cable mittens free pattern is simple once you master the ‘magic loop’. This technique helps to work a knitting pattern in the round without having to use double-pointed needles.
You will simply work the stitches on circular needles in the round by dividing them in half, using the magic loop method. The mittens will be worked from the bottom up, leaving an opening to work the thumb last.
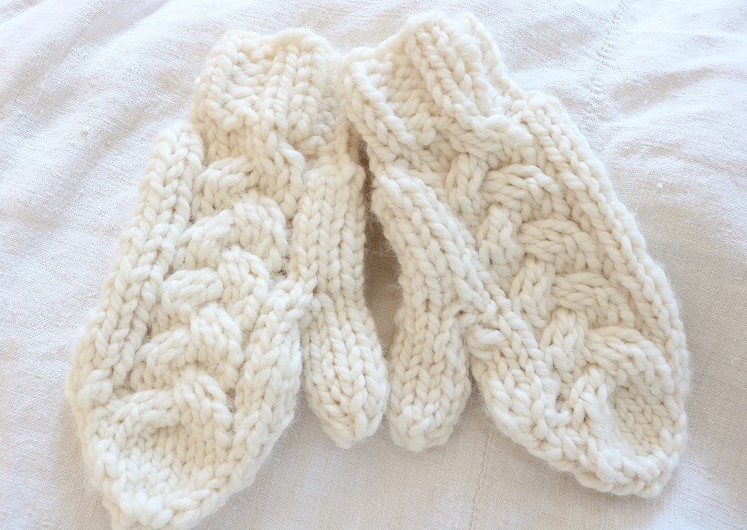
Two cable knit mittens should take about 3 hours to knit as written. They can work up quickly with the super bulky yarn. Each mitten will measure approximately 9″ length by 4″ width at bottom of thumb.
You will need the following supplies to make the knit cable mittens:
Supplies
- Size 13 (9 mm) circular knitting needles
- Approx. 65 yards of size 6 (Super Bulky) yarn to make two mittens. I used LION BRAND’S WOOL-EASE THICK & QUICK in color FISHERMAN.
- cable needle
- scissors, wide-eyed tapestry needle
- stitch holder
- Stitch Marker (SM) to keep track of rounds
Knitting Abbreviations
K – knit stitch Kfb – knit in front and back of stitch
K2tog – knit 2 together
P – purl stitch sts – stitches
Rep – repeat RS – Right Side (side that faces you when finished)
Special Knitting Stitches
C4B – “cable 4 back” – slip next 2 sts onto the cable needle and hold at back of work, knit next 2 sts from left hand needle, then knit 2 sts from cable needle.
C4F – “cable 4 front” – slip next 2 sts onto the cable needle and hold at front of work, knit next 2 sts from left hand needle, then knit 2 sts from cable needle.
PATTERN INFORMATION
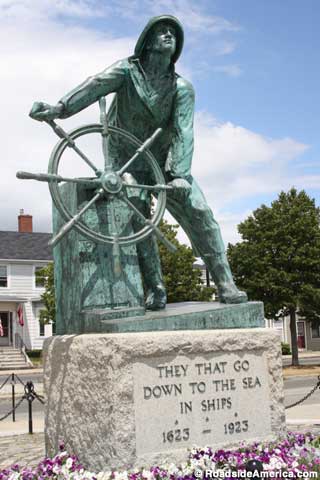
Recently I began naming my crochet and knit patterns after local New England places of interest. I couldn’t help but name these traditional mittens after a seaport city with a heritage of fishing.
The “Gloucester Fisherman Mittens” are named after the city of Gloucester, Massachusetts, home of a vibrant fishing industry. This city has a long tradition of generations of fisherman, working on the tip of Cape Ann. It’s a fun, working-class city hosting quirky artist’s shops mixed with blue-collar pubs. Our family loves to visit Gloucester for the amazing seafood fare. We can all thank the hardy fisherman for that. If you ever visit, be sure to don these knit cable mittens in the cool months when you stroll by the famous fisherman’s statue:
The free pattern for the knit cable mittens is provided below.
- but you can also get the ad-free, printable pdf pattern for the Gloucester Fisherman Mittens in the ETSY SHOP! The pdf has step-by-step tutorial photos included, which will help you work the magic loop, cable stitches and add the thumb.
CABLE KNIT MITTENS PATTERN
NOTES: The cable mittens are knit in the round using a Magic Loop, from the bottom to the top. The Right Side (RS) will always face you as you work in the round. The first few rounds are in a ribbing pattern to form the lower cuff. Next, the lower body of the mitten is worked with a cable pattern on the front. The top of the mitten will gradually decrease before fastening off. Last, pick up stitches to add a thumb.
Gauge: 4″ x 4″ = 14 rows by 9 sts in stockinette
Can you knit mittens using magic loop?
Can mittens be knitted on circular needles?
Yes and yes! You can use a magic loop to divide your cast-on stitches in half on circular needles, then work each divided group one at a time in the round. Follow instructions as follows…
Beginning with the Size 13 circular knitting needles, cast on 16 stitches with your SUPER BULKY YARN.
Divide your stitches, 8 on each needle. The wire connecting the needles will be between these stitches.
Next, begin the first round by joining in the round as follows:
Hold the needle with the working yarn in the back and hold the other needle with the stitches to be worked in the front.
Pull the back needle out of the stitches to use it to work the first round.
Ensure your working yarn is behind the needles, then proceed to work the first round (see Ribbing Cuff Round 1).
As you work each round, keep the stitches divided on the two needles. After working stitches on one needle, turn your work so that the new stitches just made are on the ‘back’ needle. Slide the next stitches to be worked on the ‘front’ needle, pull the back needle out from the stitches, and use it to work the ‘front’ needle stitches.
It’s helpful to use a Stitch Marker to keep track of each round as you work.
Considering this pattern uses the Magic Loop method, you may be wondering, “Can a beginner knit mittens?”. I think a beginner knitter can tackle this, but you may need to view the step-by-step tutorial photos given in the digital pdf pattern I offer.
Easy Mittens Knitting Pattern
Ribbing Cuff
Round 1: *K2, p2; repeat from * around.
Rounds 2-6: Rep Round 1.
Lower Mitten
The next 10 rounds will comprise the lower body of the mitten, prior to adding the thumb.
Increase Rounds:
Round 1: Kfb, k6, kfb, kfb, k6, kfb. (20 sts – divided 10 on each needle)
Round 2: Kfb, k8, kfb, kfb, k8, kfb. (24 sts – divided 12 on each needle)
Cable Pattern Rounds:
Round 1: K2, p1, k2, c4f, p1, k14.
Round 2: K2, p1, k6, p1, k14.
Round 3: K2, p1, c4b, k2, p1, k14.
Round 4: Rep Round 2.
Rounds 5-8: Rep Rounds 1-4.
Thumb Opening
RIGHT HAND ONLY:
Work the following 4 rounds for the RIGHT HAND mitten only:
Round 1: K2, p1, k2, c4f, p1, k2, put next 4 sts on a stitch holder, k8. (20 sts)
Round 2: K2, p1, k6, p1, k2, kfb, kfb, k6. (22 sts)
Round 3: K2, p1, c4b, k2, p1, k2, kfb, kfb, k8. (24 sts)
Round 4: K2, p1, k6, p1, k14.
LEFT HAND ONLY:
Work the following 4 rounds for the LEFT HAND mitten only:
Round 1: K2, p1, k2, c4f, p1, k10, put last 4 sts on a stitch holder. (20 sts)
Round 2: K2, p1, k6, p1, k8, kfb, kfb. (22 sts)
Round 3: K2, p1, c4b, k2, p1, k10, kfb, kfb. (24 sts)
Round 4: K2, p1, k6, p1, k14.
Body of Mitten
Continue to work the following 4 rounds for BOTH HANDS:
More Cable Pattern Rounds:
Round 1: K2, p1, k2, c4f, p1, k14.
Round 2: K2, p1, k6, p1, k14.
Round 3: K2, p1, c4b, k2, p1, k14.
Round 4: Rep Round 2.
Top of Mitten Decrease
At this point you will slowly decrease the stitches in each round, to shape the top of the mitten.
Round 1: K2, p1, k2, c4f, p1, k2, k2tog, k8, k2tog. (22 sts)
Round 2: K2tog, p1, k6, p1, k2tog, k10. (20 sts)
Round 3: K1, p1, c4b, k2, p1, k1, k2tog, k6, k2tog. (18 sts)
Round 4: K2tog, k6, k2tog, k8. (16 sts)
Round 5: K8, k2tog, k4, k2tog. (14 sts)
Round 6: K2tog, k4, k2tog, k6. (12 sts)
Round 7: K6, k2tog, k2, k2tog. (10 sts)
Round 8: K2tog, k2, k2tog, k4. (8 sts)
Cut the yarn, leaving a tail to work with. Using a tapestry needle, thread this tail through the remaining 8 stitches.
Pull the yarn to draw the stitches tightly together.
Secure the tail, then weave in all loose ends.
Add Thumb
At this point you will add a thumb to the mitten.
Pick up the 4 sts you put on the stitch holder, as well as 4 more stitches from the opening of the mitten. Divide these 8 stitches on the two needles, 4 and 4.
Using a Magic Loop, work 8 rounds of knitting all stitches. Use a stitch marker to keep track of your rounds if helpful.
After 8 rounds, work the last decrease round as follows:
Round 9: K1, k2tog, k2, k2tog, k1.
Cut the yarn, leaving a tail to work with. Using a tapestry needle, thread this tail through the remaining 6 stitches.
Pull the yarn to draw the stitches tightly together.
Secure the tail, then weave in all loose ends, closing any gaps.
Make 2nd Mitten
Repeat all of the steps above for your 2nd mitten, making sure you create one for the opposite hand (following the Right or Left hand instructions).
Important Tips for Knitting your Mittens
Some things to keep in mind as you knit the mittens are:
- Use a stitch marker to keep track of each round. It may be easier to clip a marker to the first or last st in the round, and just move it every few rounds.
- Be sure to count the stitches per round to ensure they match the pattern instructions.
- Watch to make sure you don’t twist stitches when you begin the Magic Loop.
- If the circular needle wire becomes a bit unwieldy (curled) as you work, simply twist the front (and/or back) needle to help straighten it a bit.
- You may want to try on the mitten as you go, and feel free to add rounds at the top of the mitten and thumb if you want them longer.
Wearing your Finished Mittens
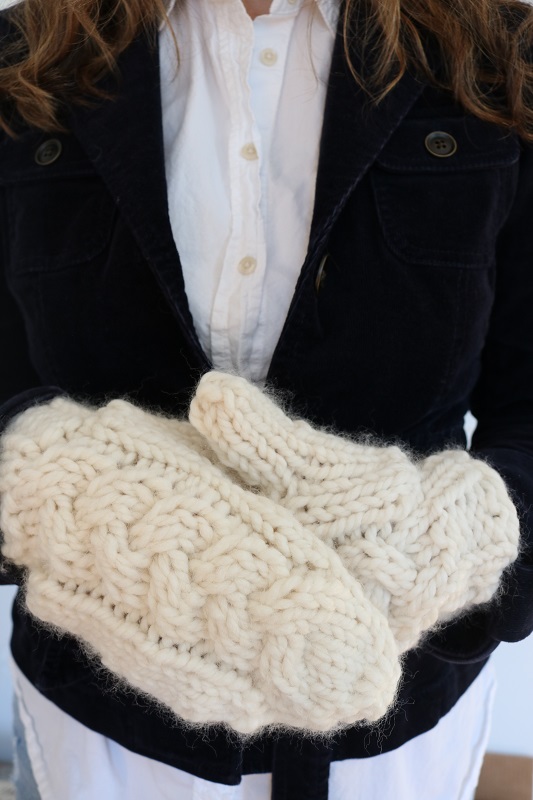
Now it is time to enjoy wearing your cozy new mittens!
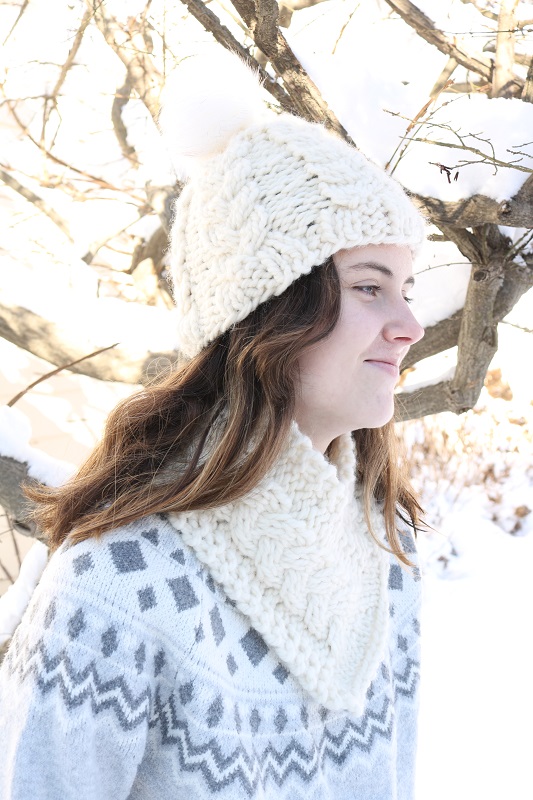
They coordinate perfectly with this CREAM CABLE HAT AND COWL BUNDLE:
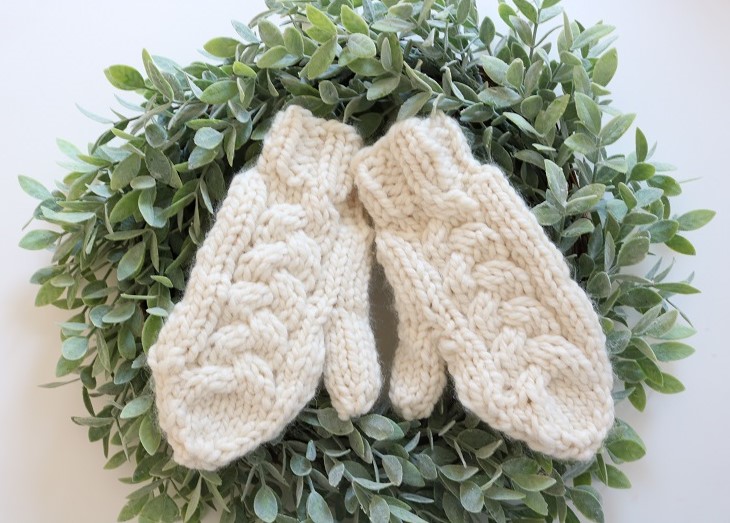
These mittens are also perfect for Christmas time! You can even use them for decor…
I hope you enjoyed learning how to knit mittens in the round with this simple FREE knit cable mittens pattern. If you are brand new to knitting, you may be interested in my beginner knitting course to master knit and purl stitches. Read about it below:
——————————————————————————————————————–
Do you wish you could really learn how to knit beautiful things?
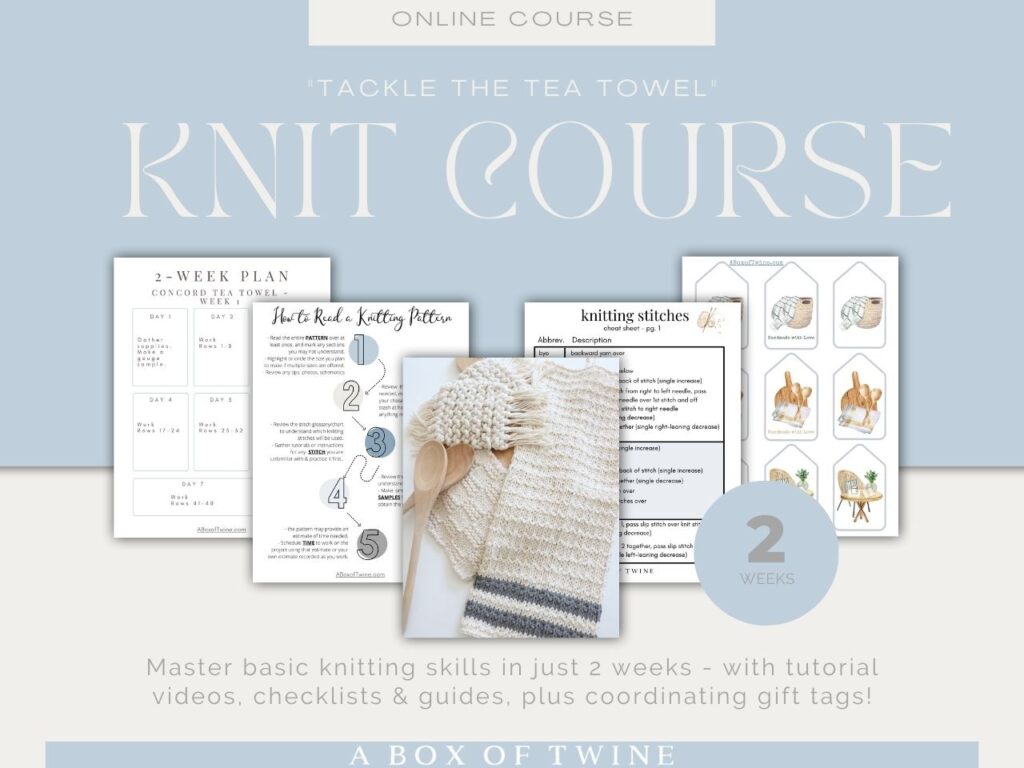
Click here to master basic knitting skills in under 2 weeks – even if you are a complete beginner, intimidated by mistakes, and lack design coordination!
KNITTING COURSE —>
——————————————————————————————————————–
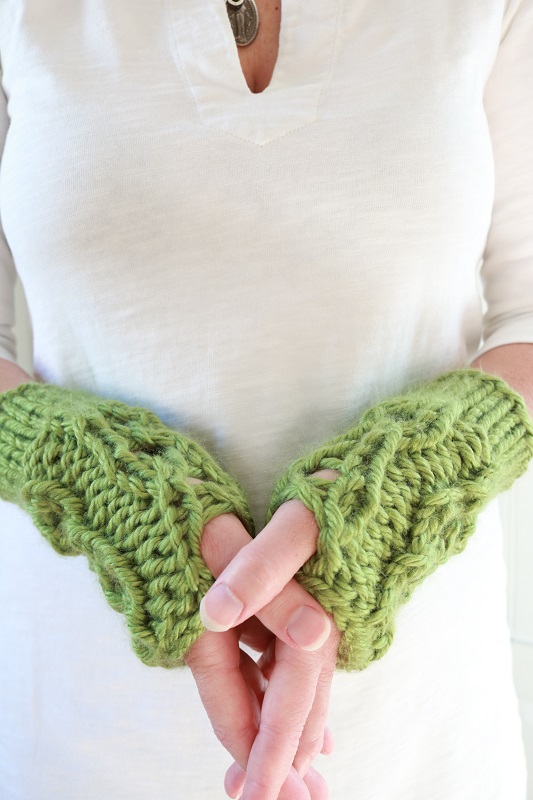
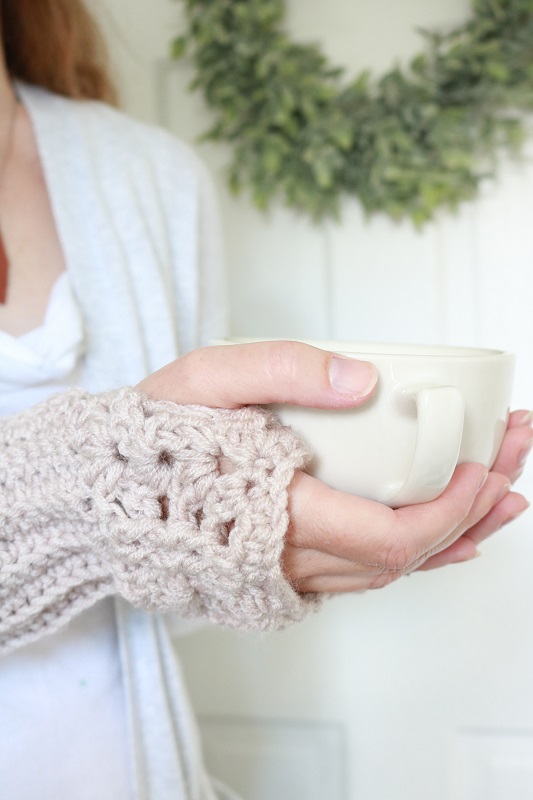
Love mittens? Check out these other mitten patterns (both closed and fingerless)…
===> Remember to PIN for later! <===