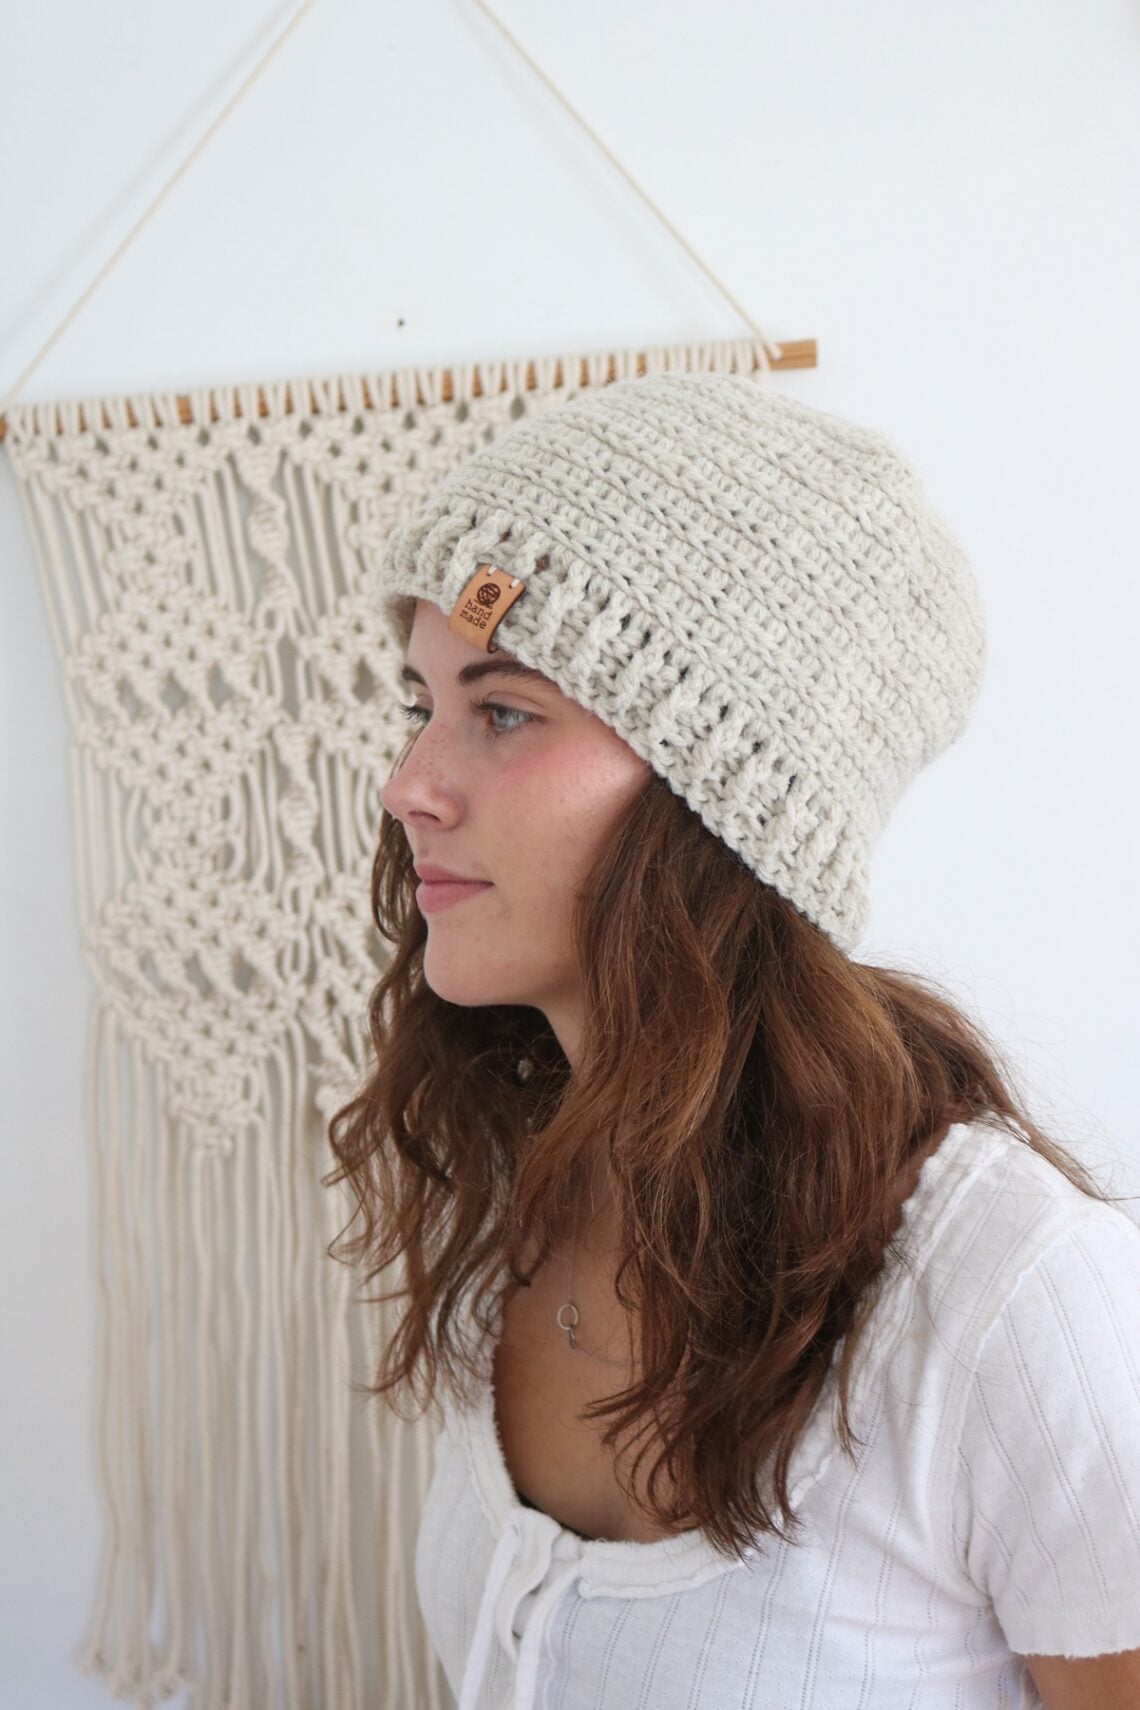
Easy Crochet Beanie Pattern for Adults (Beginner-Friendly & Reversible)
First Published: January 2024 | Updated: September 2026 | Skill Level: Beginner | Technique: Post Stitch Ribbing | Season: Fall/Winter
There’s something so satisfying about a hat you can make in an evening and wear all season, and this beanie is exactly that. It’s one of my most-loved fall patterns for a reason: it’s reversible (so you basically get two hats in one), it works up in a weekend, and it looks just as at-home with a cozy sweater as it does thrown on for a coffee run. If you’ve been wanting to crochet something for yourself instead of a gift for once, try this!
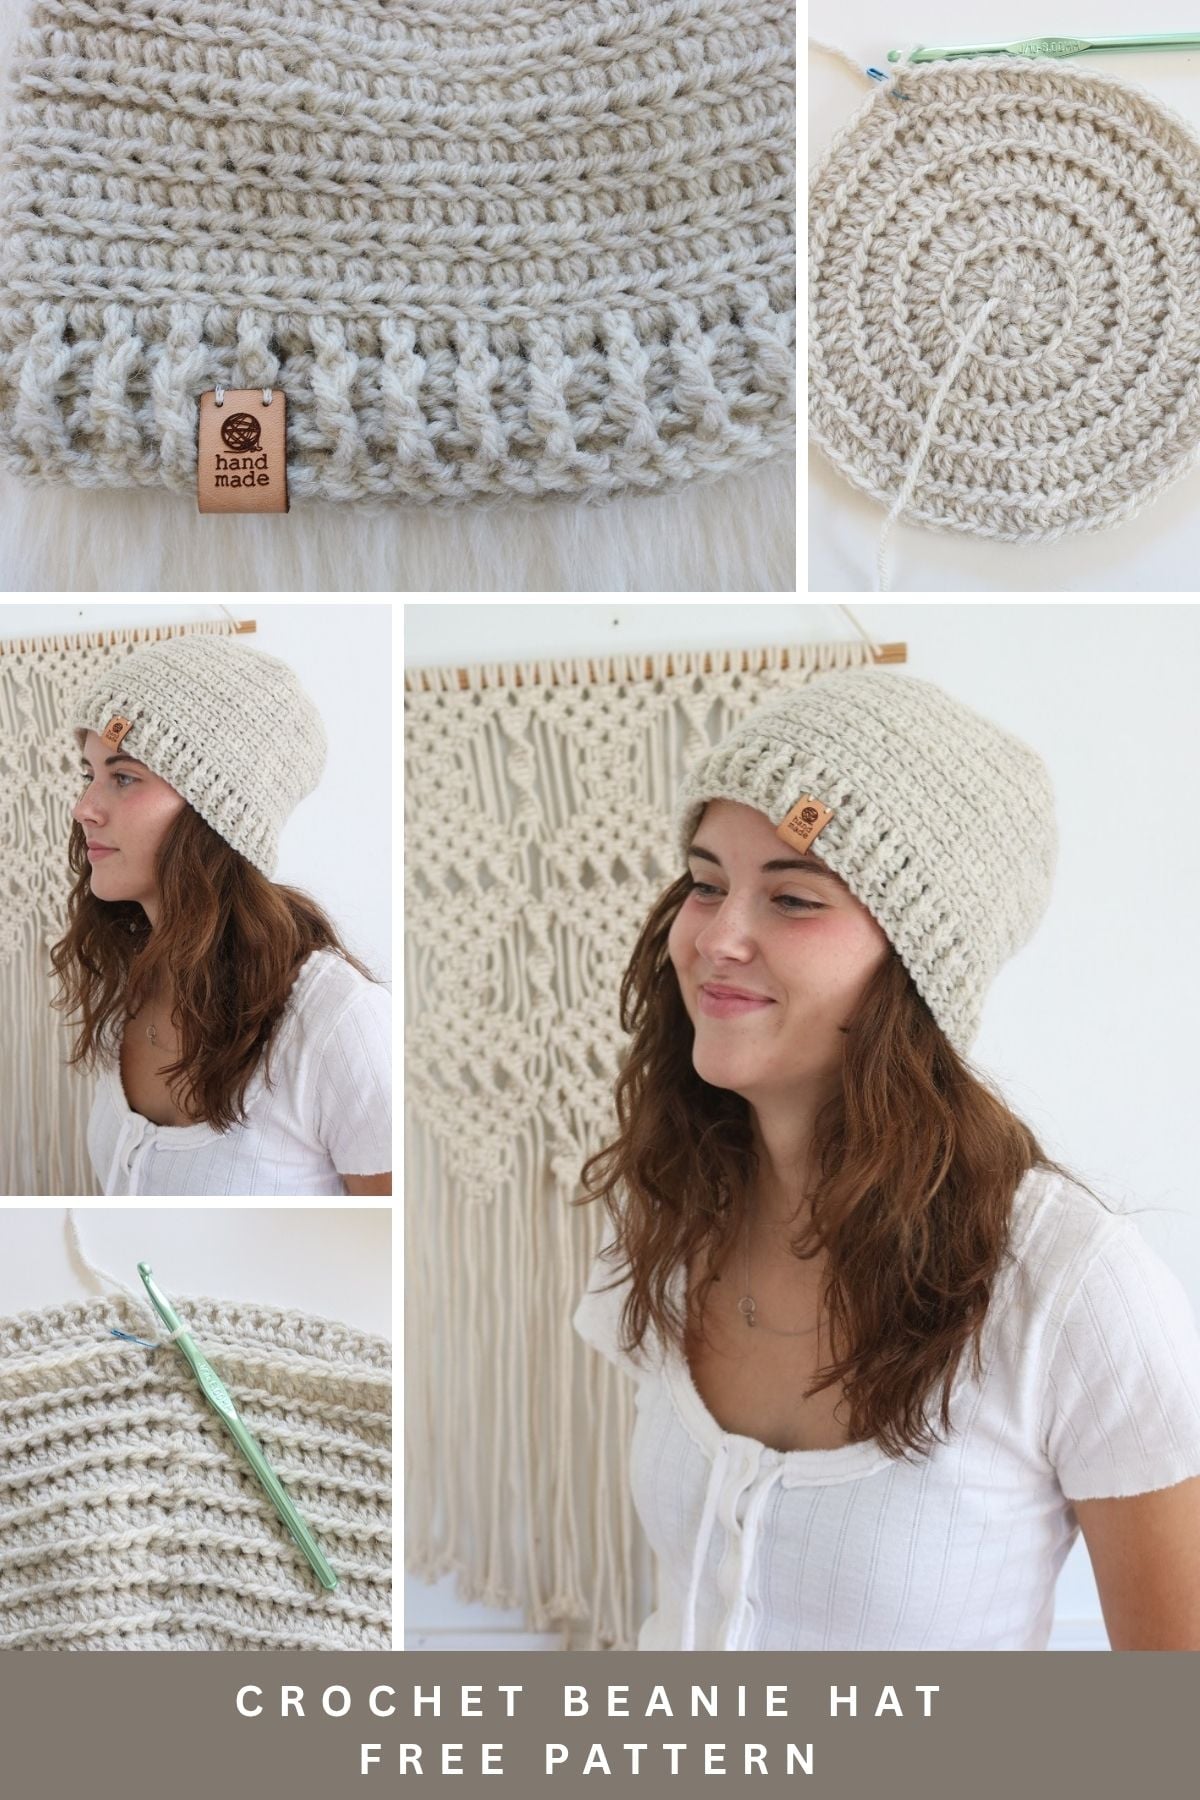
Why You’ll Love This Beanie Pattern
- Reversible design — no wrong side, so it always looks polished
- Beginner-friendly — uses simple, repeatable stitches from crown to brim
- Fits real heads well — two adult sizes
- Quick win — a satisfying weekend project, not a weeks-long commitment
- Timeless, not trendy — a classic shape that won’t look dated next season
This post may contain affiliate links. That means if you click and buy, I may make a commission at no cost to you. Please see my full disclosure policy for more details.
At a Glance
| Skill Level | Beginner |
| Sizes | S/M (teens & women) and L/XL (men) |
| Yarn Weight | Size 4 (Medium/Worsted) |
| Yardage | 145–185 yards |
| Hook Size | J (6mm) |
| Main Stitches | Post stitches, basic ribbing |
| Time to Make | 2–3 hours |
Supplies & Materials Needed
- Size J (6mm) hook size
- Size 4 Medium yarn weight – 145 (185) yds
- Lion Brand Wool Ease in color Natural Heather (1 skein = 197 yds
- optional – ‘Handmade’ leather tag (find the tags I used in my FAVORITE CRAFT SUPPLIES list)
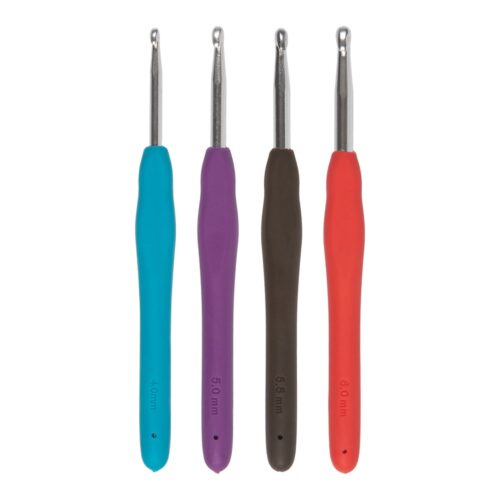
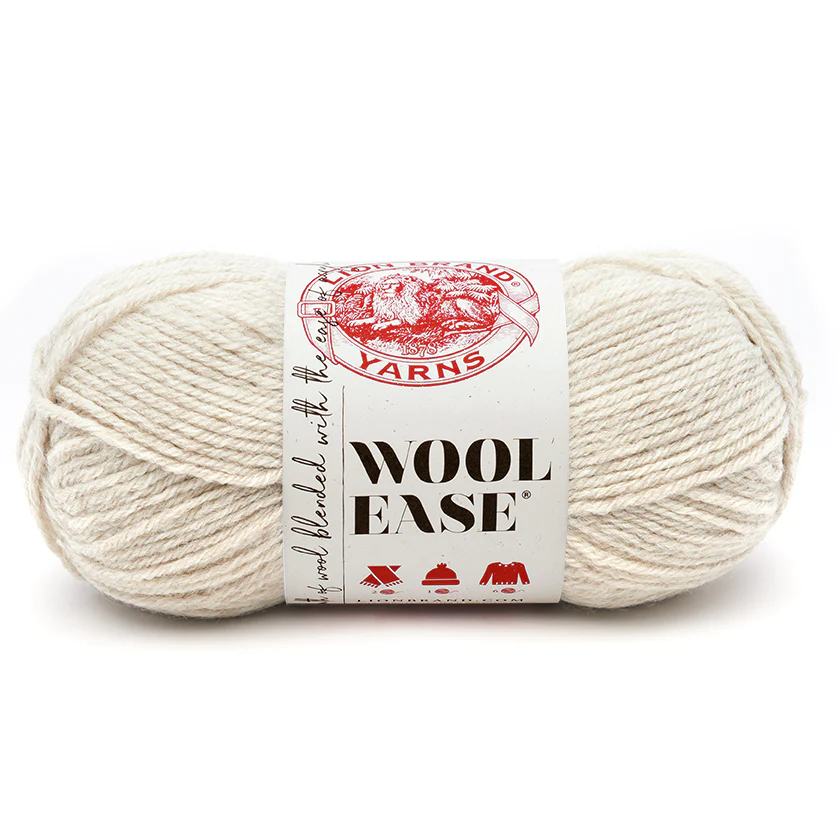
Crochet Notions
Crochet Abbreviations
US Crochet terminology is used. (US terms)
Ch – chain
BLO – back loop only
dc – double crochet
FPdc – front post double crochet (work dc around front post of designated stitch)
BPdc – back post double crochet (work dc around front post of designated stitch)
hdc – half double crochet
rep – repeat
sl st – slip stitch
st(s) – stitch(es)
RS – Right Side
WS – Wrong Side
I enjoy naming my crochet and knit patterns after local New England places of interest.
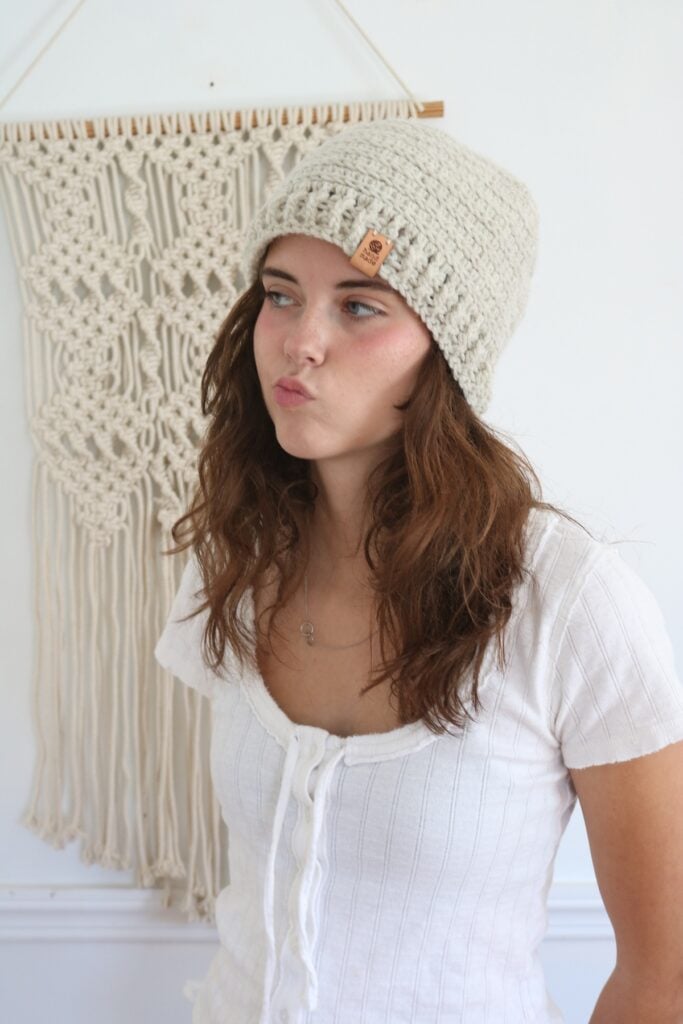
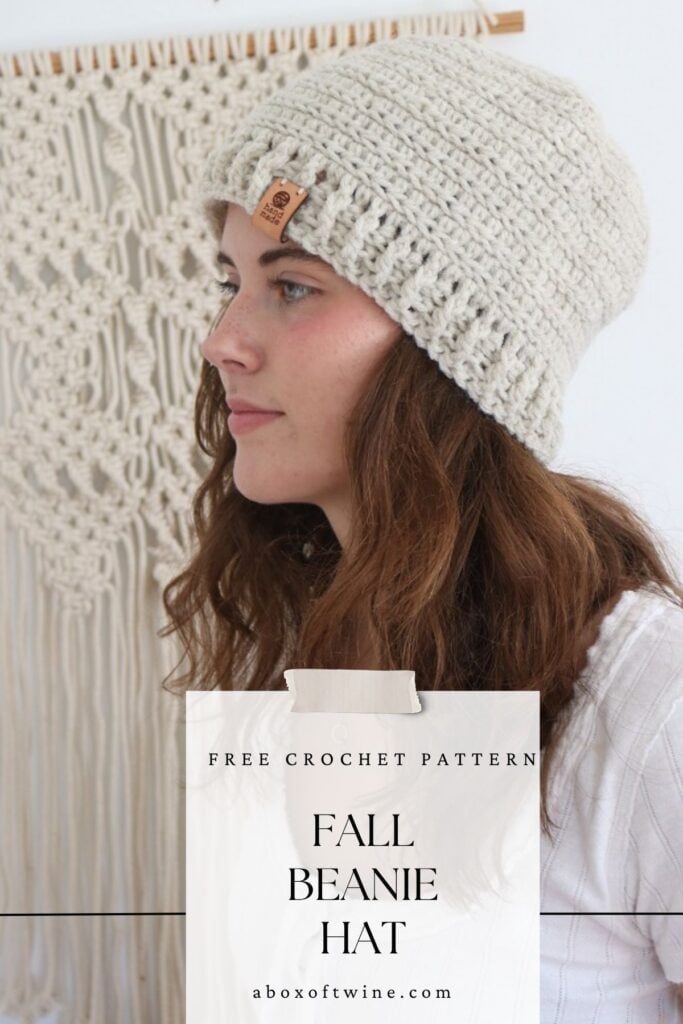
This “Brandeis Beanie” is named after the local Brandeis University in Waltham, MA. I can envision this hat fitting right in with a collegiate atmosphere, but it’s classic look would fit in anywhere. The Natural Heather yarn color gives a softness and neutral look that will never go out of style.
The FREE simple beanie crochet pattern for the crochet beanie hat is provided below, but you can also get the ad-free, printable pdf pattern bundle for the CROCHET BEANIE HAT in the PATTERN SHOP! The pdf has some helpful photos included:
Free Crochet Beanie Pattern
Gauge: 4″ (10cm) square = 12 sts by 13 rounds (of Round 11-12 pattern repeat).
Finished Size: 8″ tall x 22″ circumference (S/M) or 9″ tall x 24″ circumference (L/XL)
NOTE –
- The first Ch 1 in each round does not count as a st.
- Hat will be worked from the top to the bottom, increasing stitches in alternate rounds.
- You will be turning after each round, creating a slight ‘seam’ in the same place.
- The hat is reversible.
Beanie Hat Pattern
Crown of Hat
With size J hook, make a Magic Loop (aka Magic Ring or Magic Circle) with size 4 yarn.
NOTE – Be sure to put a stitch marker (SM) at the first st to mark the beginning of each round. You will be joining and turning at the end of each round.
Stitch count for the top of the hat will be the same for both sizes through Round 9.
Round 1: Ch 1, work 8 sc into the Magic Loop. Pull tail to close loop. Join with sl st to first sc. Turn. (8 sts)
Round 2: Ch 1, 2 hdc in each st around. Join with sl st to first st. Turn. (16 sts)
Round 3 and all odd-numbered Rounds: Ch 1, sl st in BLO of each st around. Join with sl st to first st. Turn.
Round 4: Rep Round 2. (32 sts)
Round 6: Ch 1, *1 hdc in next st, 2 hdc in next st; rep from * around. Join with sl st to first st. Turn. (48 sts)
Round 8: Ch 1, *1 hdc in each of next 2 sts, 2 hdc in next st; rep from * around. Join with sl st to first st. Turn. (64 sts)
For Size S/M only:
Round 10: Ch 1, *1 hdc in each of next 15 sts, 2 hdc in next st; rep from * around. Join with sl st to first st. Turn. (68 sts)
For Size L/XL only:
Round 10: Ch 1, 2 hdc in next st, *1 hdc in each of next 6 sts, 2 hdc in next st; rep from * around. Join with sl st to first st. Turn. (74 sts)
Sides of Hat
Round 11: Ch 1, sl st in BLO of each st around. Join with sl st to first st. Turn. 68 (74) sts
Round 12: Ch 1, hdc in each st around. Join with sl st to first st. Turn. 68 (74) sts
Rep Rounds 11-12 until piece measures approximately 7 (8)” from the center of the crown, ending with a Round 11.
Feel free to make your hat height shorter or longer, stopping approx. 1″ before your final desired height. (For instance, if you want a longer slouchy hat).
Ribbed Brim of Hat
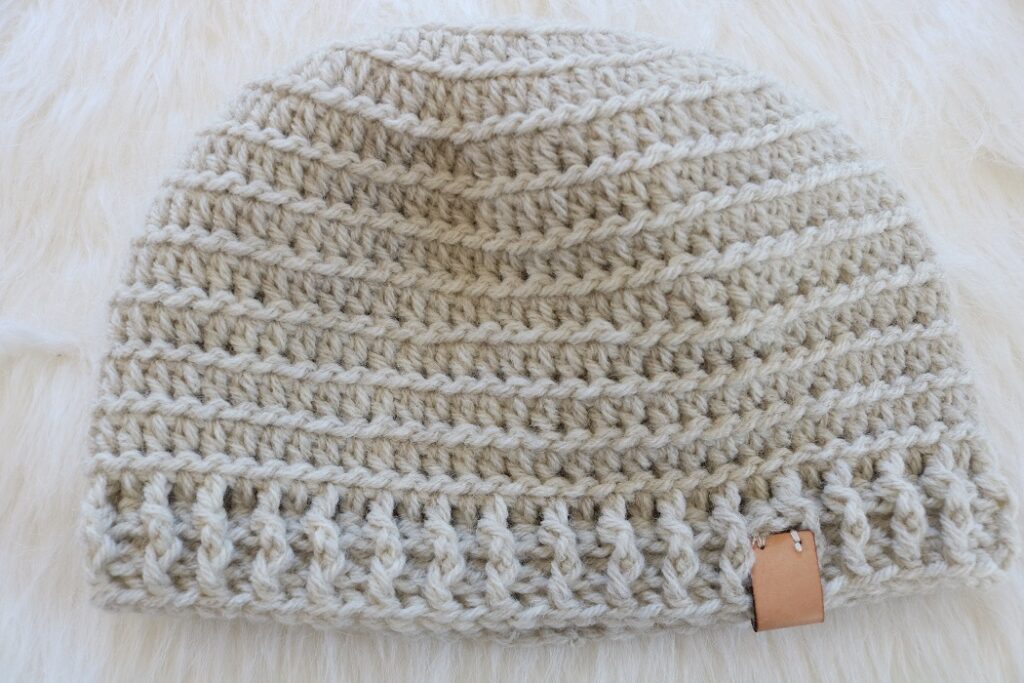
The ribbed brim of the hat is made with double crochet stitches. The ‘ribbing’ is created by working FPdc and BPdc stitches around the posts of the previous round.
Round 1: Ch 2 (counts as 1 dc), 1 dc in next st and in each st around. Join with sl st to top of tch (1st dc). Turn. 68 (74) sts
Round 2: Ch 2 (counts as 1st st), BPdc around next st, *1 FPdc around next st, 1 BPdc around next st; rep from * around. Join with sl st to top of tch. Turn. 68 (74) sts
Round 3: Ch 2 (counts as 1st st), alternate working FPdc around front posts and working BPdc around back posts all around. Join with sl st to top of tch. 68 (74) sts
Fasten off.
The hat is reversible, so you can choose which side you prefer for RS.
Weave in all loose ends on your chosen WS.
Optional Finishing Touches
Add an optional ‘Handmade’ leather tag to the brim of your hat. Attach it to the front, so that the ‘seam’ of the hat is less visible in the back.
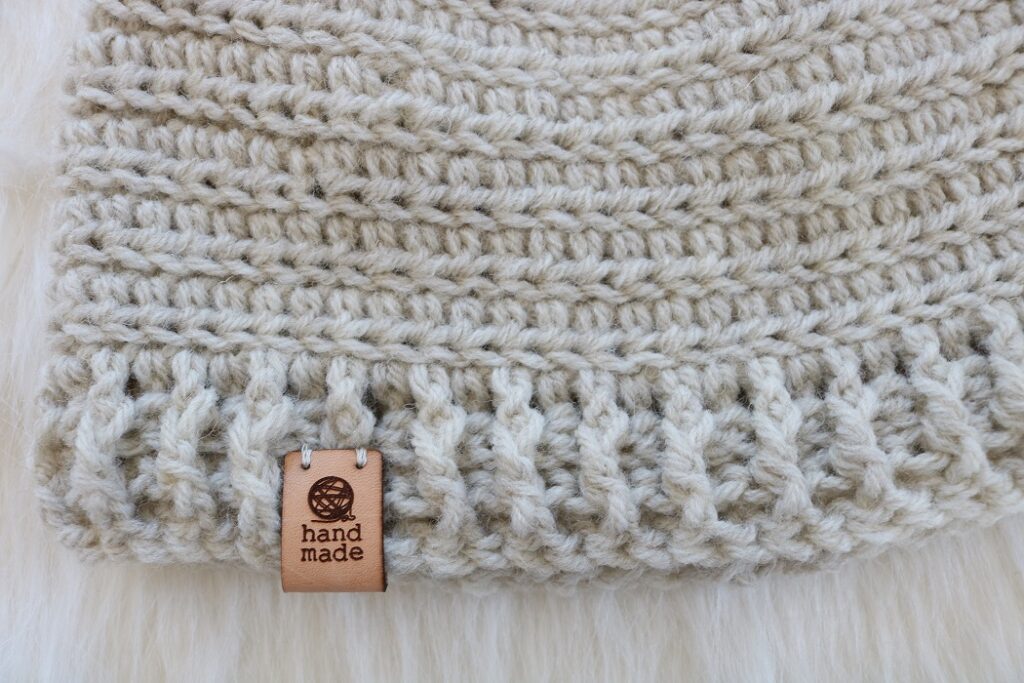
Find the leather tag I used in my FAVORITE CRAFT SUPPLIES.
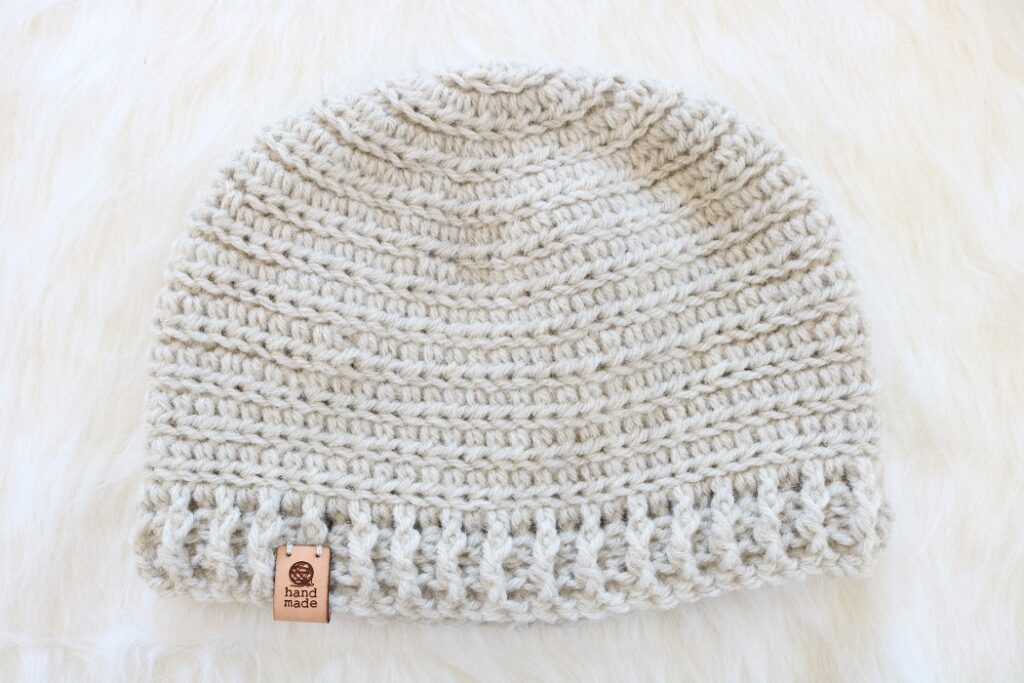
You could also add a yarn pom pom or faux fur pom pom to the top of the beanie when you’re finished. Use a pom pom maker to create a yarn pom pom, or purchase a faux pom pom. Just keep in mind that once you add the pom pom, the hat will no longer be reversible.
Important Tips for Crocheting your Beanie Hat
Some things to keep in mind as you work the beanie crochet pattern are:
- The increase sts for the crown are worked on even-numbered rows.
- You will be turning after each round, so that a slight ‘seam’ will occur in the same place.
- Use a stitch marker (SM) to mark the first st in each round.
- Two adult hat sizes are provided in the pattern:
- S/M should fit a teen or woman
- L/XL should fit a man
- Feel free to try the hat on as you go and adjust the height if you’d like, as instructed in the pattern.
Tips to Customize Your Beanie
- Go neutral: oatmeal, cream, camel, and soft grey keep this hat wearable with everything in your closet, year after year
- Size it up or down: add or skip a round of the crown increases to nudge the fit
- Yarn swap: a wool-blend adds warmth for deep winter; a cotton-blend keeps it lighter for early fall
- Make it a set: whip up a matching cowl or fingerless mitts in the same yarn
How to Style Your Crochet Beanie
A handmade beanie earns its keep when it actually gets worn, not just admired on a shelf. Here’s how I style mine:
Keep it simple and let the texture do the talking: a neutral beanie in oatmeal or cream sits easily over a low bun or slightly messy waves. It also pairs with almost any coat you own, such as wool peacoats, quilted jackets, even a denim jacket on a crisp fall day.
For an everyday look, pull it on with a chunky knit scarf in the same tonal family so nothing competes for attention. If you want it to read a little more “put together” than “just ran out the door,” fold the brim once for a cleaner, more structured line, and add small gold or silver hoops to keep the whole look polished rather than sporty.
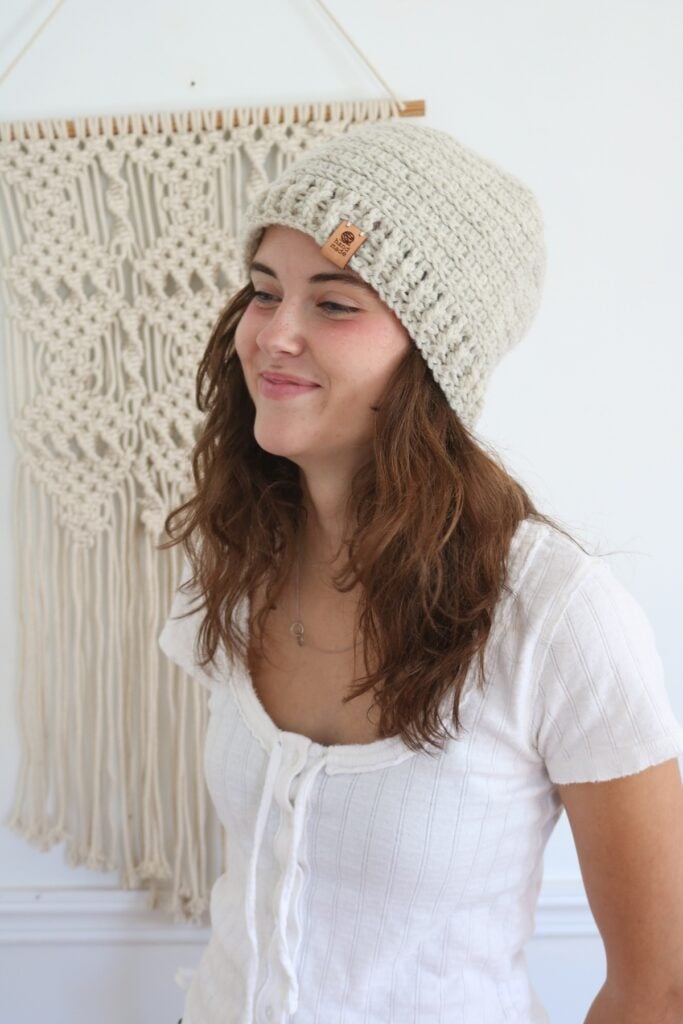
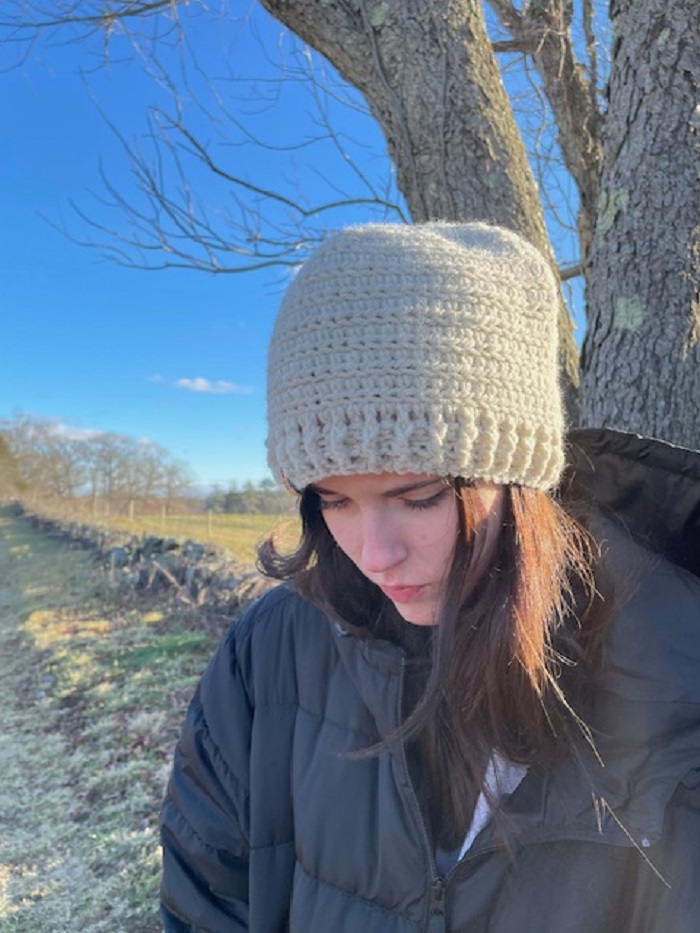
Because this pattern is reversible, you can flip it for a subtly different texture depending on your outfit. One side for a smoother look with a tailored coat, the other for a more textured look with cozy layers.
Caring for Your Crochet Beanie
Hand wash in cool water with a gentle wool wash, lay flat to dry, and avoid hanging it wet (this keeps the ribbing from stretching out of shape). Store folded, not on a hook, so the brim keeps its shape season to season.
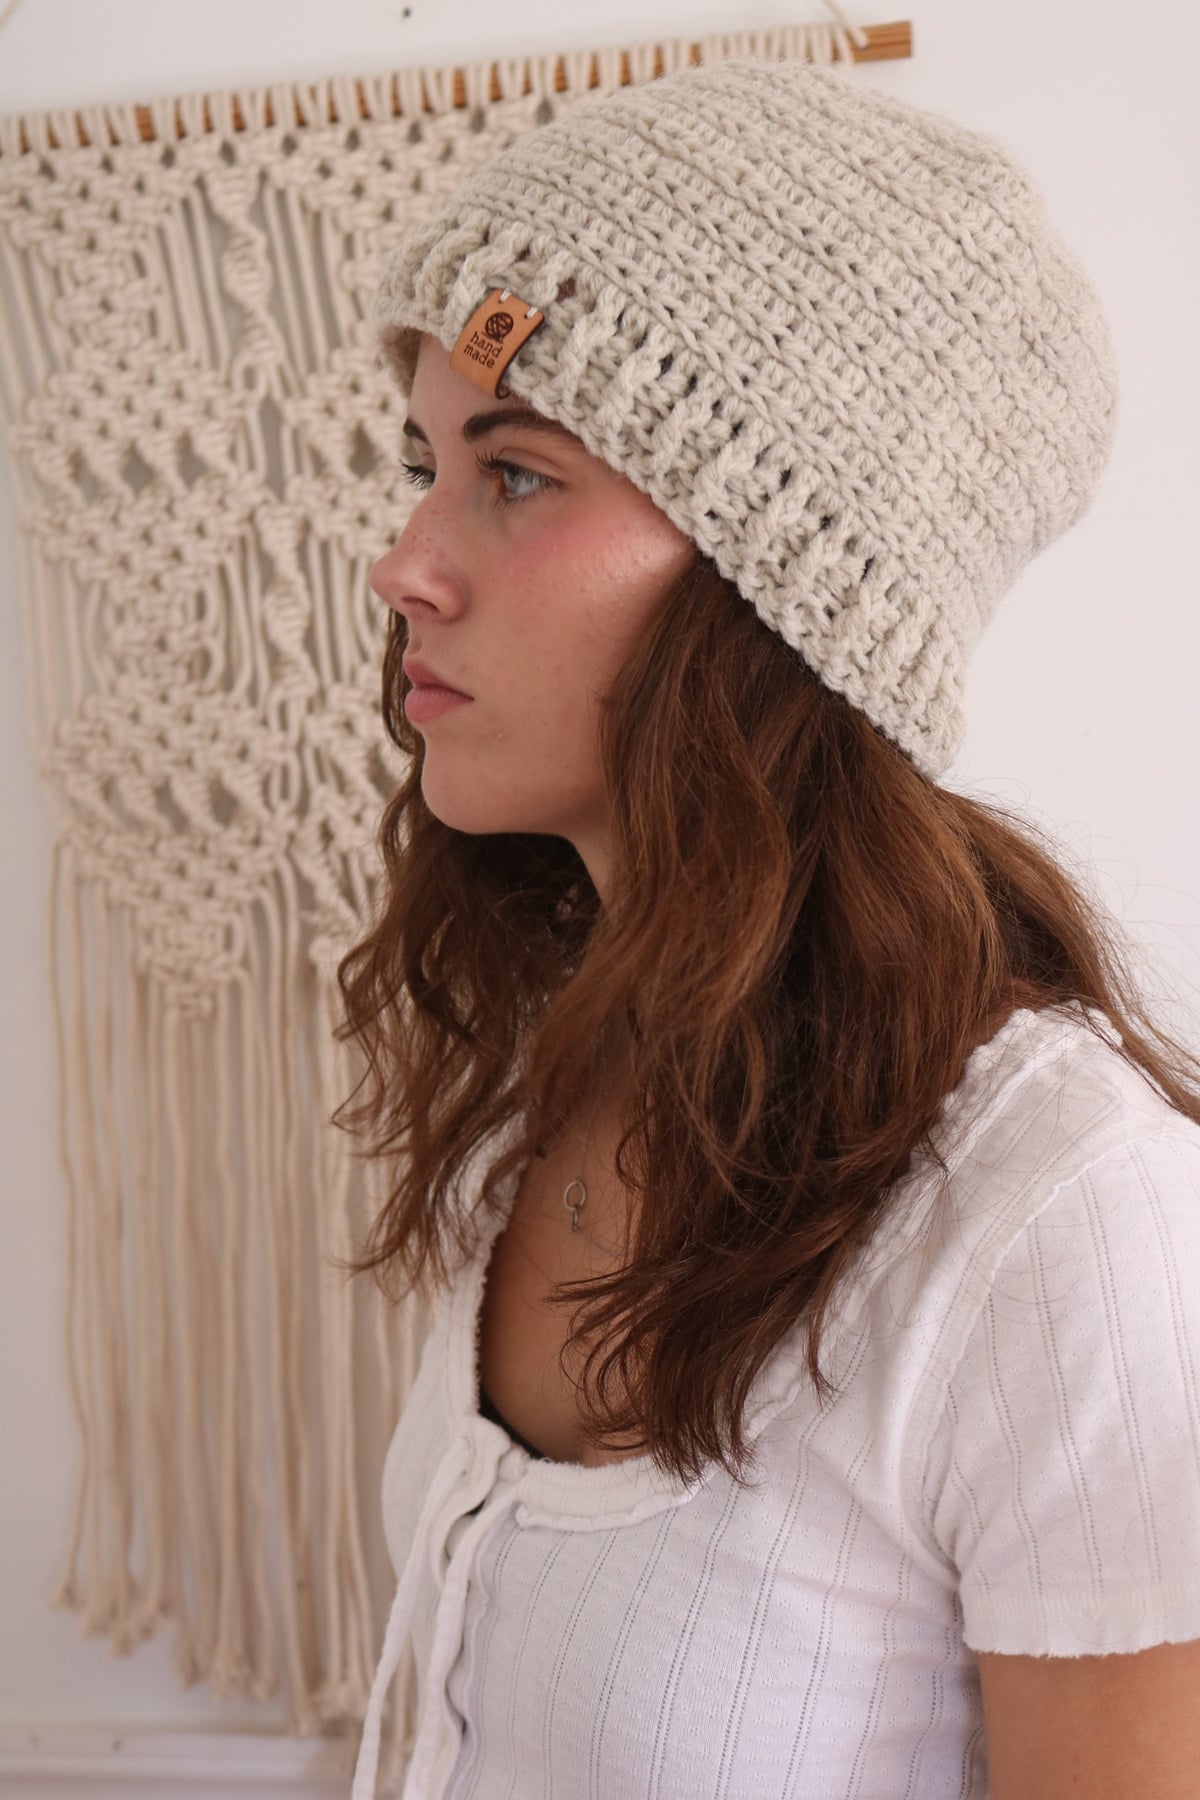
Don’t forget that this crochet hat pattern is also available in an ad-free digital pdf pattern. The pdf has a few helpful photos. Grab the CROCHET BEANIE HAT pattern in my pattern shop.
Related Patterns You’ll Love
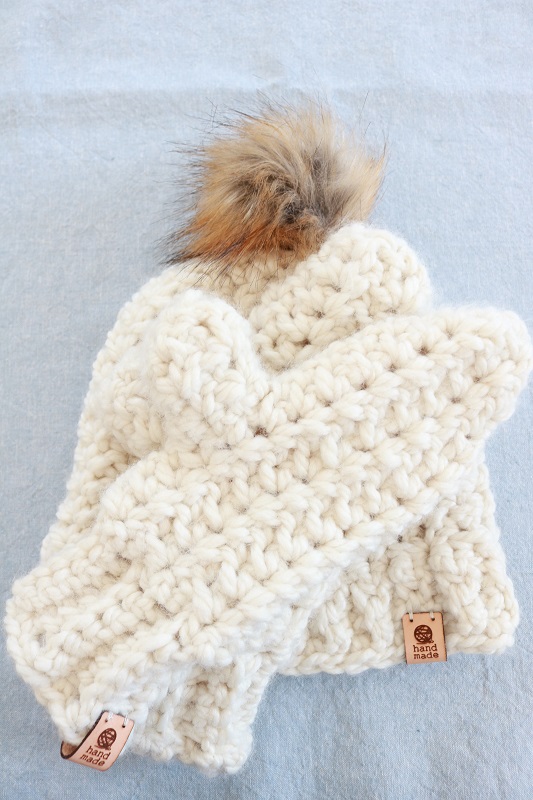
I also offer this chunky CROCHET HAT AND MITTENS PATTERN BUNDLE in the Etsy shop:
Final Thoughts
This beanie has stayed one of my favorite quick makes because it never goes out of style, and I hope it becomes one of yours, too. If you make one, I’d love to see it; tag me so I can cheer you on.
===> Remember to PIN for later! <===

2 Comments
Anna
I have a question, when doing the hdc rows after the slip stich, where do I put my hook to make the hdc. into the slip stitch or into the front loop of the previous row?
Susan
Hi Anna, thanks for your question. When working the hdc rounds, you will be putting your hook into the slip stitches that were worked in the prior round. These will be straightforward hdc stitches worked into both loops of the slip stitches. The only time you are working into one loop of a stitch is when you work slip stitches into the back loop of the hdc stitches (you do this on odd-numbered rounds).
Happy crocheting,
Susan