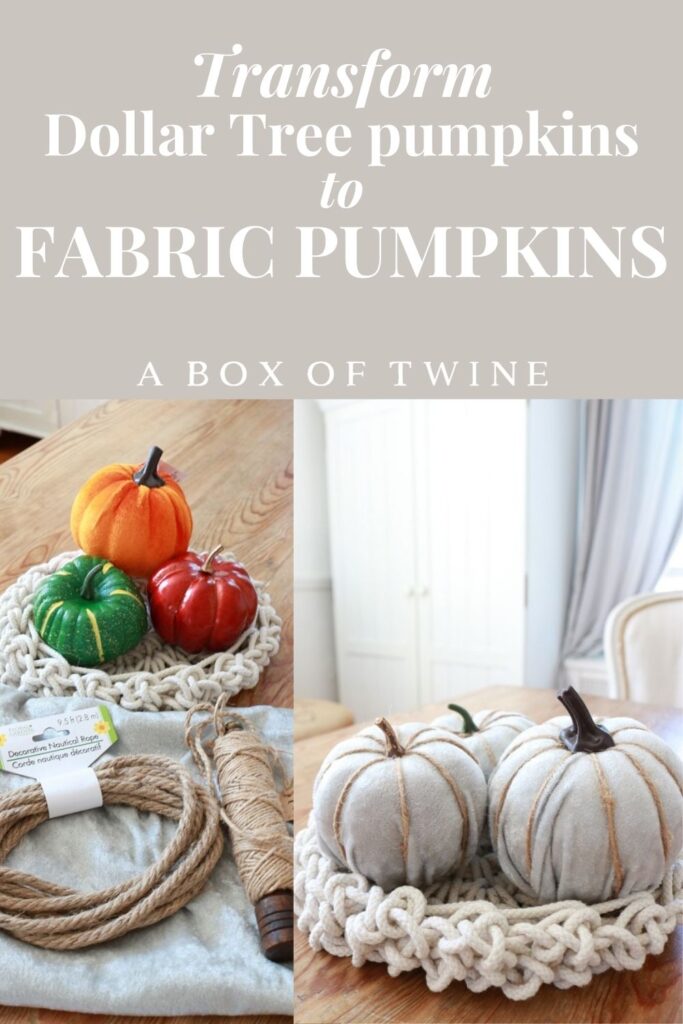
How to DIY Dollar Tree Fabric Pumpkins
September is here! It is officially time to begin decorating for autumn, agreed? I always loved a good pumpkin craft and today I have a simple and inexpensive project for you. If you have a glue gun and some soft fabric on hand, you can make DIY Dollar Tree fabric pumpkins from those mini pumpkins at the store. Each pumpkin only takes about 10-15 minutes to make and you can customize the results to suit your decor. I went with a rustic neutral look for my pumpkins, but feel free to experiment with fall colors that work in your home.
This is a great way to transform those plastic and styrofoam pumpkins from the dollar store that may not initially suit your style. I like to choose the pumpkins based on their shape, even if I am not too keen on their colors. That is where this pumpkin transformation occurs! Keep reading to see how easy and quick it is to make these no-sew fabric pumpkins.
This post may contain affiliate links. That means if you click and buy, I may make a commission at no cost to you. Please see my full disclosure policy for more details.
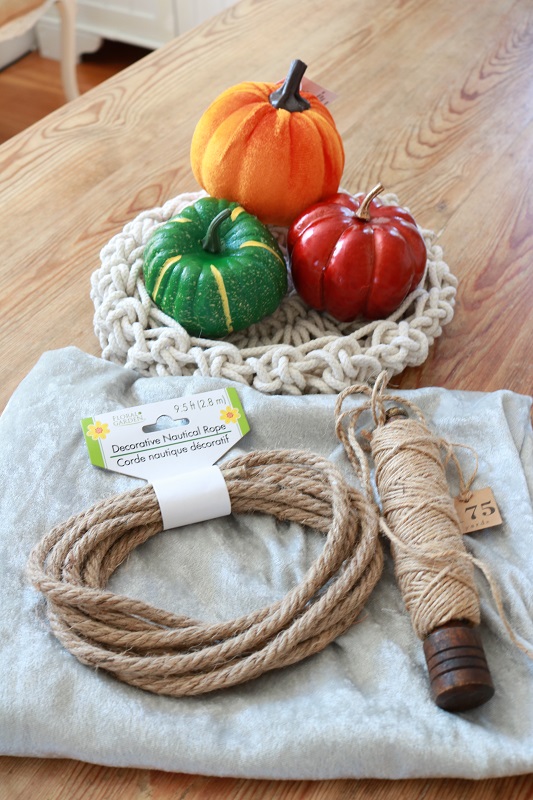
Supplies
- several SMALL PUMPKINS from the Dollar Tree store
- SOFT VELVET FABRIC in your color choice (solid color works best)
- JUTE TWINE
- DECORATIVE ROPE (optional)
- hot glue gun and glue
- fabric scissors
DIY Dollar Tree Fabric Pumpkins
Step 1 – Remove pumpkin stems
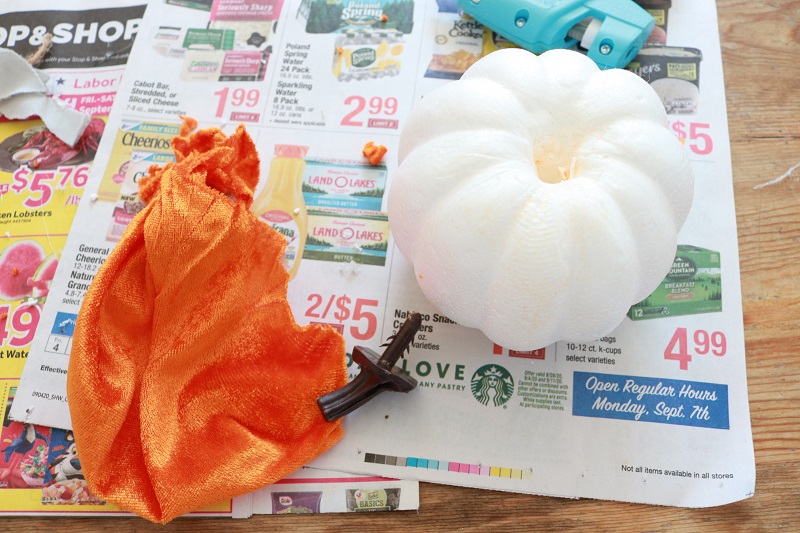
The first step to make these no-sew fabric pumpkins is to remove the stems from your initial pumpkins. If you gently twist and pull the stems they come out easily:
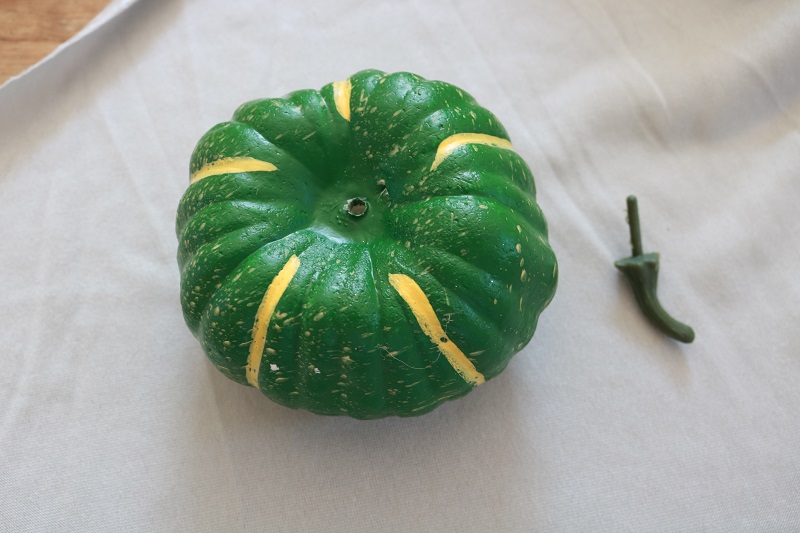
I also ended up also removing the orange fabric from one of my pumpkins since it was coming off with the stem. It worked out better for my project anyway.
Step 2 – Cut fabric for no-sew pumpkin
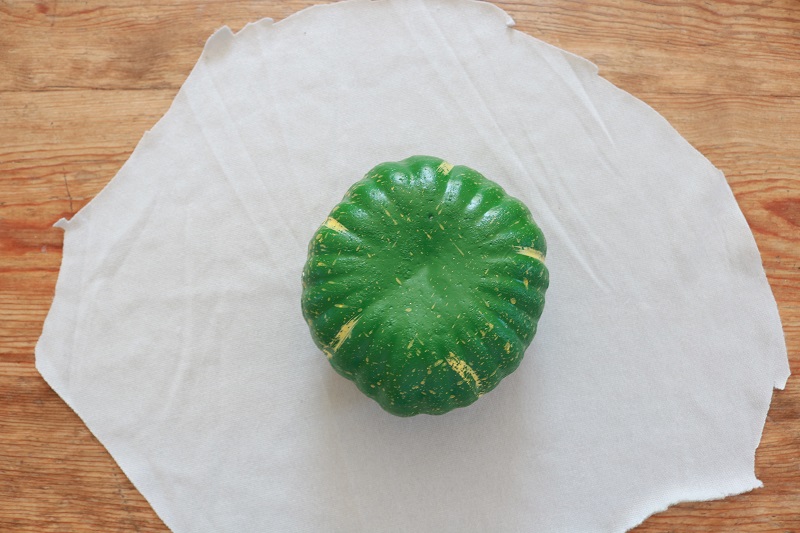
Set the pumpkin upside down on your soft velour fabric (placed right side down), then gently cut a rough circle big enough to cover the pumpkin.
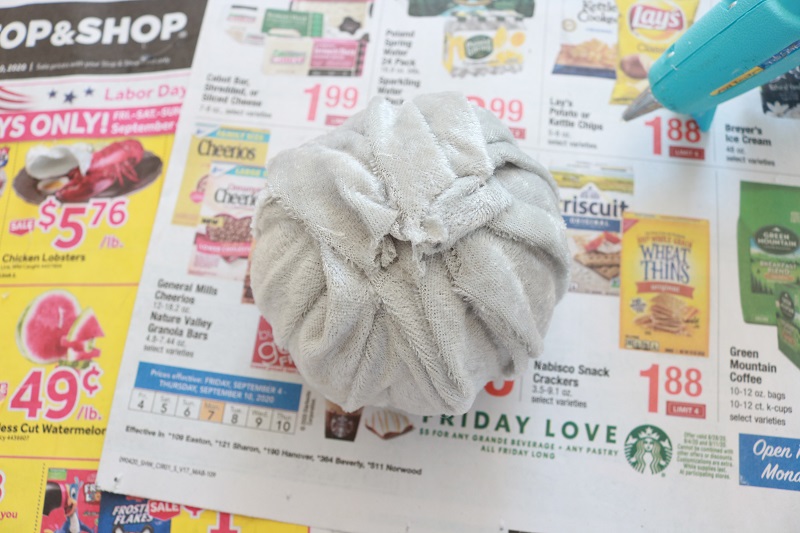
Step 3 – Glue fabric to pumpkin
Next, place hot glue in a few of the indented lines of the pumpkin.
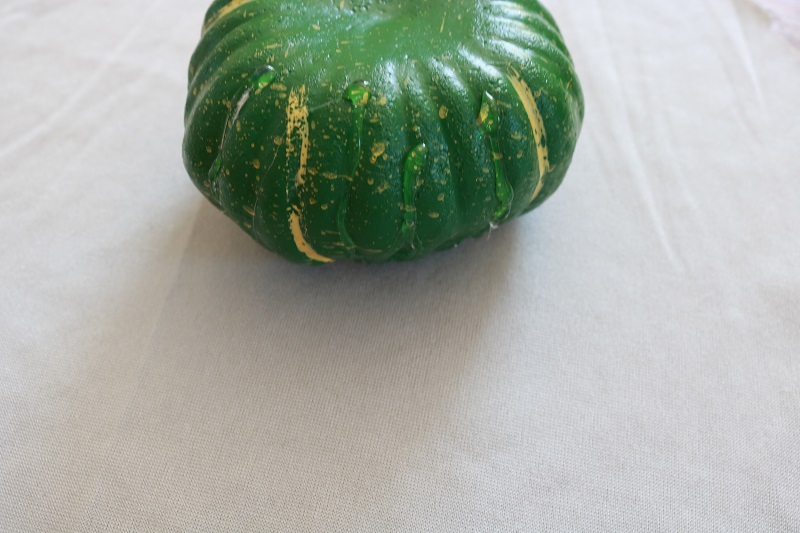
Pull up some of the fabric and secure it to the glue in the indentation.
Continue adding hot glue in the ridges and pulling up the fabric around the pumpkin:
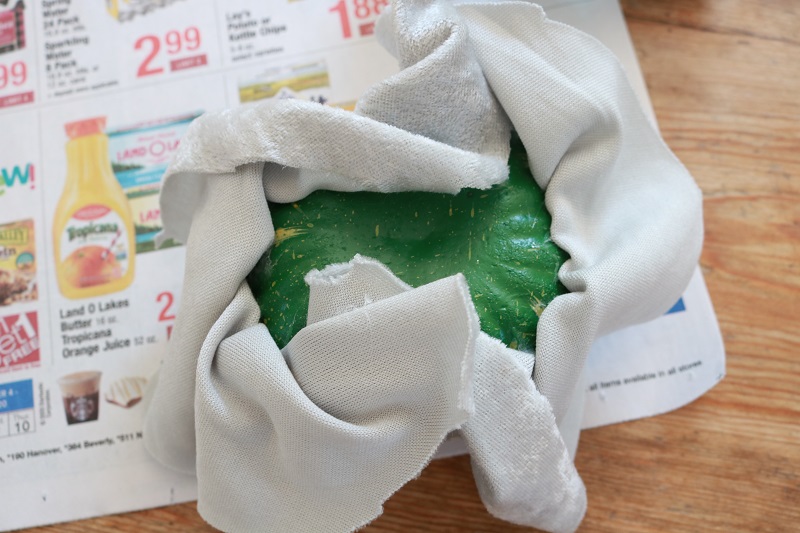
When you are finished gluing the fabric to the sides of the pumpkin, trim any excess fabric and secure it to the bottom center of the pumpkin with hot glue. Try to flatten the fabric so that it will be able to sit upright on this bottom.
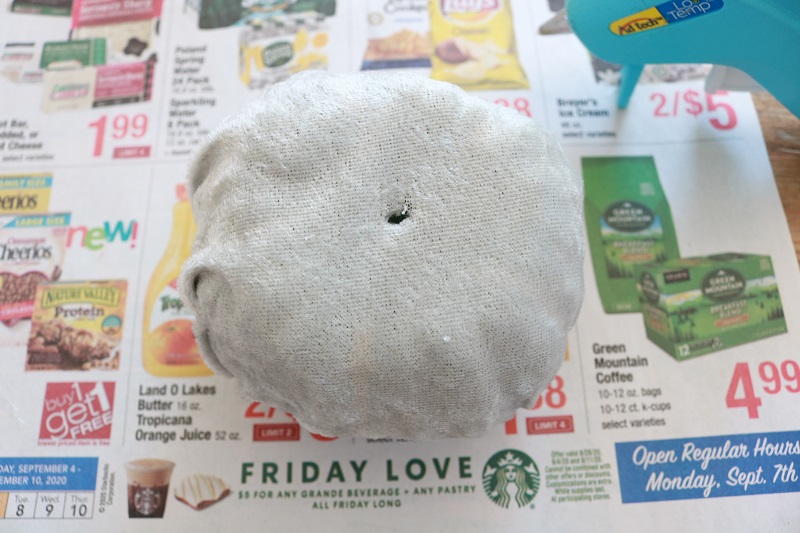
After this step you will want to turn the pumpkin right side up and cut a small hole at the top where the stem will be re-inserted.
Step 4 – Add twine to pumpkin
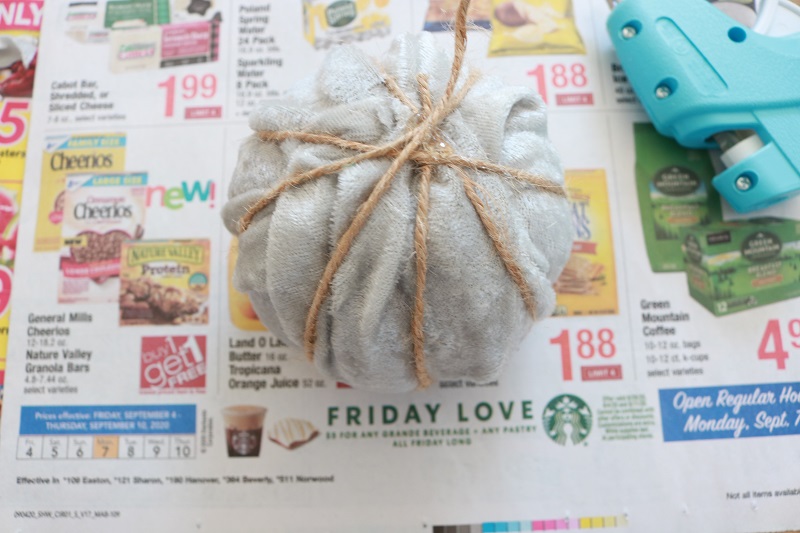
Now is the time to enhance those ridges (indentations) on the sides of the pumpkin with jute twine (one of my favorite supplies!).
First, hot glue one end of twine to the bottom of your pumpkin.
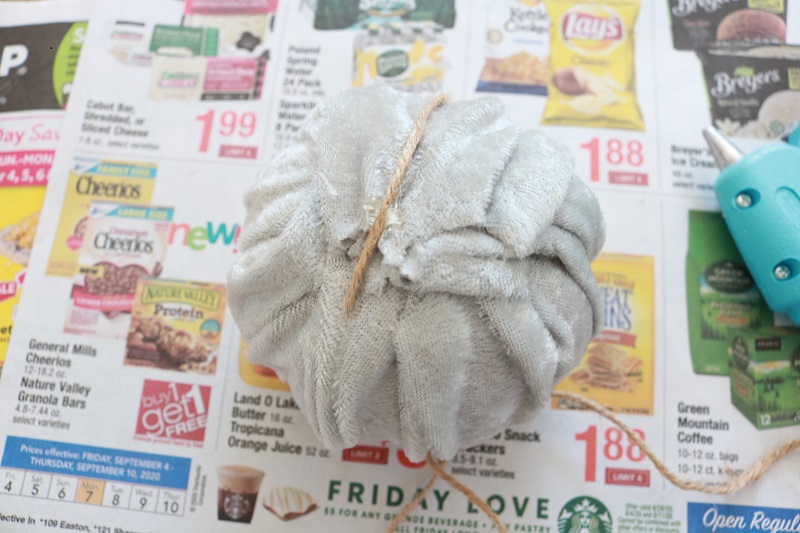
Next, wrap the twine around the top of the pumpkin and back down the bottom. You could also add a dab of hot glue to the top in order to secure the twine.
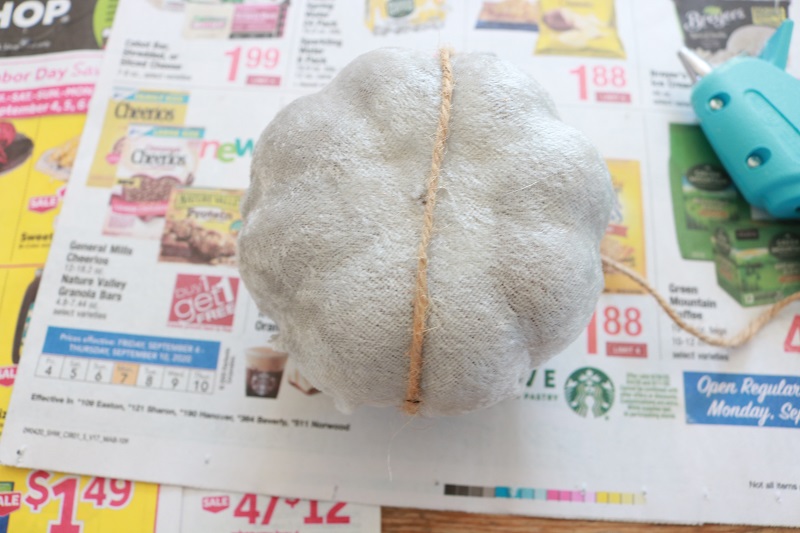
Continue wrapping the twine around the pumpkin where the various ridges on the sides are. Finish by securing the last bit of twine to the bottom with hot glue. Cut the end of the twine.
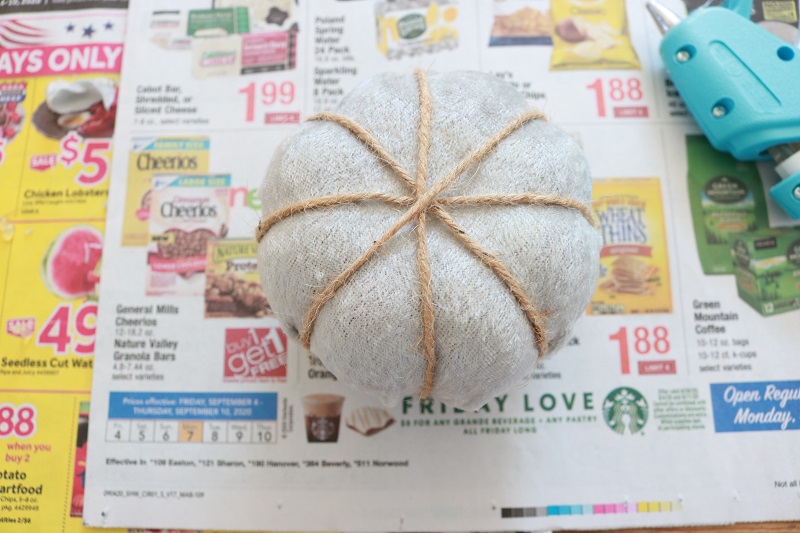
The top of the pumpkin should look like this:
Finished DIY Dollar Tree Fabric Pumpkins!
The last step is to hot glue the stem back inside the top hole. If you don’t like the look of the plastic stem you could always replace it with a small cut of brown rope (see supplies). I chose to keep my stems, but the rope would add a rustic touch.
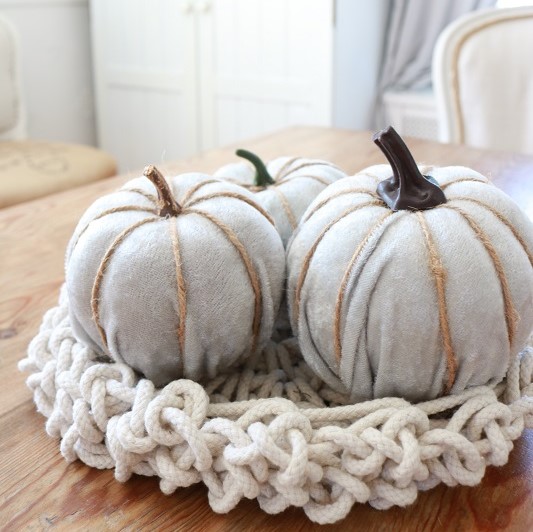
Finished!
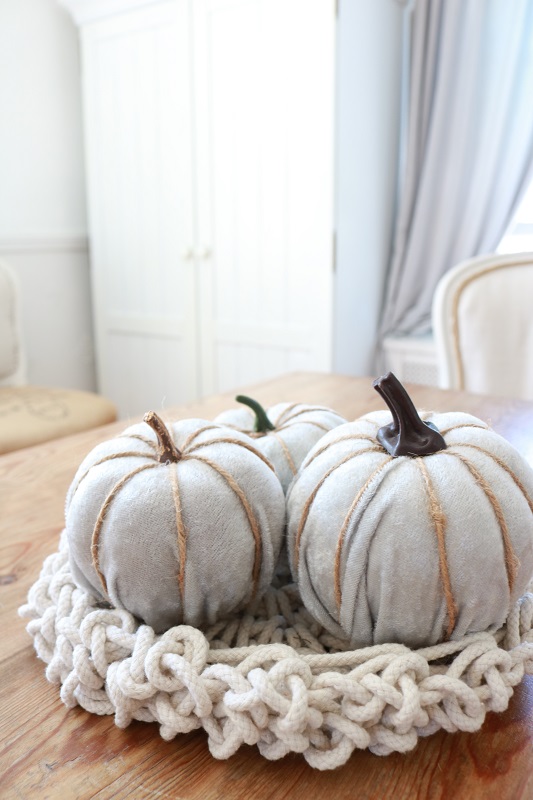
These no-sew fabric pumpkins can now be displayed as a centerpiece on your table. You can brag that you designed them yourself. 🙂
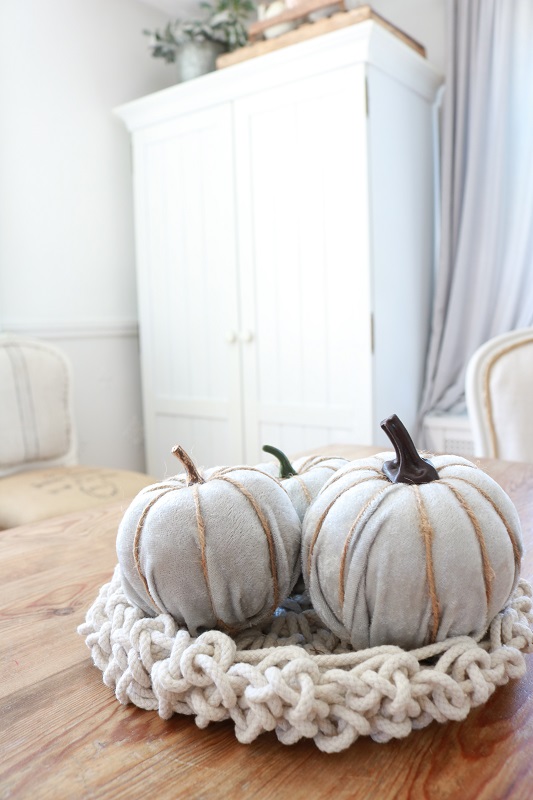
I tucked my fabric pumpkins inside the CROCHETED HARVEST BASKET I made last fall. They have the warm and cozy look I am going for in this dining room.
How would you transform the dollar tree pumpkins? I’d love to hear your ideas.
Want to remember this craft? Post this DIY fabric pumpkin tutorial to your favorite Pinterest board!