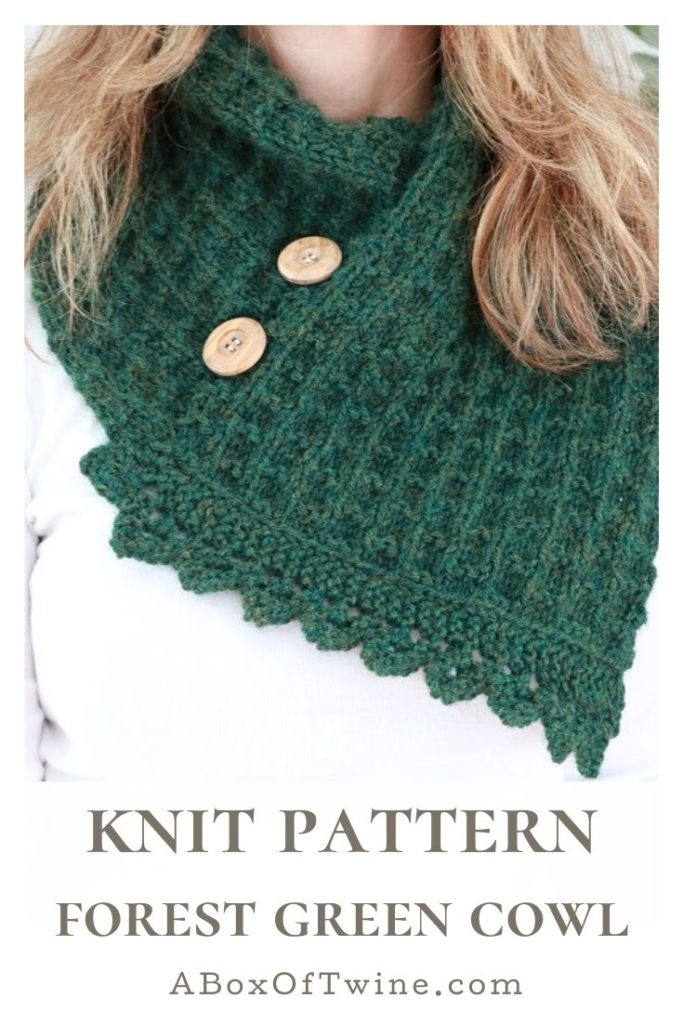
Knit Cowl – in Winter Forest Green
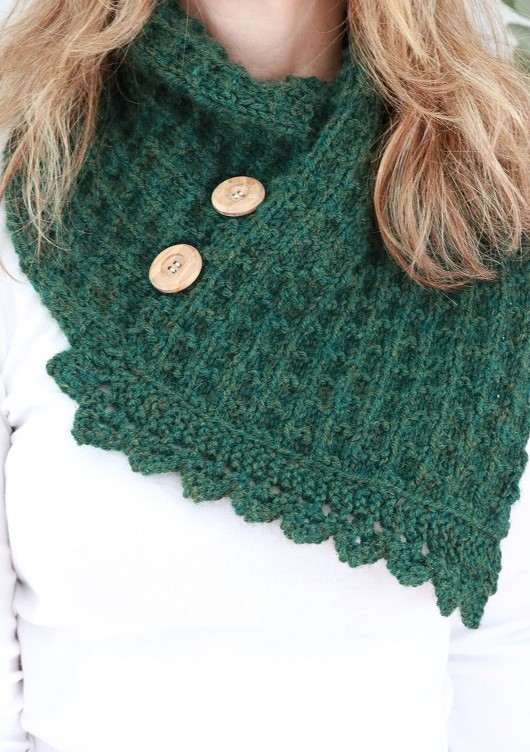
This winter, how about keeping your neck warm with a lovely knit cowl in a deep forest green color? You may as well look fashionable while braving the elements. Today I’ve got a simple pattern for you to make this cowl, and optionally embellish it with wood buttons and pretty bunting edging. You can choose to keep the cowl simple or add some fun touches.
This post may contain affiliate links. That means if you click and buy, I may make a commission at no cost to you. Please see my full disclosure policy for more details.
Normally I’m a neutral-color gal, but this forest green color is turning into a favorite. You may recall I added the color to my Christmas decor in our home this year, and it’s been sticking around for my winter decor. When I found forest green yarn at the craft store not long ago, I knew I had to make something with it!
Supplies
- Size 6 (4.0 mm) and size 10 (6.0 mm) knitting needles
- approx. 190 yards of Medium weight (size 4) yarn to make 1 cowl with edging. I used almost one skein of Lion Brand Wool-Ease in Forest Green Heather.
- 2 wood buttons (optional) and complimentary thread
- scissors, yarn needle


Winter Forest Green Knit Cowl Pattern
First you will be knitting the cowl as a long rectangle to start, then joining the ends to form the cowl circle. This pattern is great for beginner knitters, since it simply requires Knit and Purl skills. If you’re comfortable with k2tog and yo2 skills, you can optionally add a lovely bunting edge to your cowl.
Abbreviations
K – knit stitch
P – purl stitch
rep – repeat
sts – stitches
RS – Right Side (side that faces you when finished)
k2tog – knit 2 together (knit 2 stitches together)
yo2 – yarn over twice (wrap yarn over right needle twice)
INSTRUCTIONS
Finished Sizes
* This pattern is written for size Small, which measures approximately 23-24″ long when the rectangle is knitted. If you would like to add more inches to that size, simply add multiples of 6 rows per each additional inch. Similarly, you can decrease stitches for a child’s size fit.
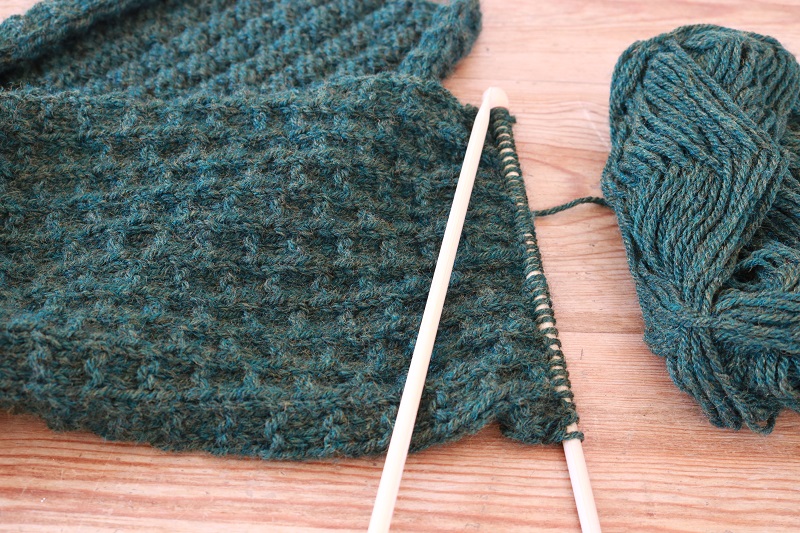
Knit Cowl rectangle
Gauge: 4″ x 4″ = 24 rows by 16 sts
Beginning with the size 10 knitting needles, cast on 40 sts.
Row 1 (RS) and 3: Knit across to end.
Row 2: P4, *k2, p4; rep from * to end.
Row 4: P1, *k2, p4; rep from * to last 3 sts, k2, p1.
Repeat Rows 1-4 for a total of 136 rows to measure approximately 23-24″. Feel free to knit more or less to suit your size.
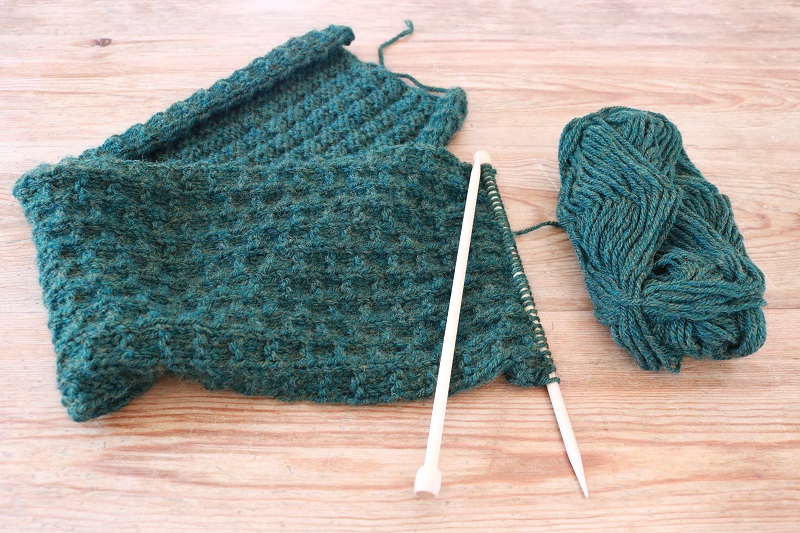
Bind off.
For reference, my finished cowl rectangle took approximately 8.5 hours total to knit, since each 4-row pattern took me about 15 minutes.
Join Cowl Ends
Next, align your original Row 1 edge with the side of the other end of your rectangle like so:
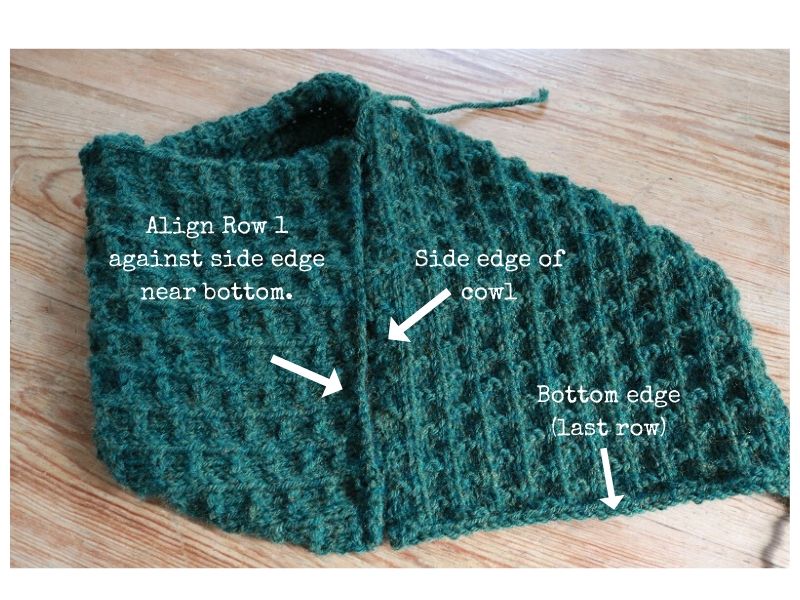
Then join these edges with a simple seam along the length of Row 1. I used a yarn needle & yarn to sew this seam on the Wrong side of the cowl.
Lastly, weave in loose yarns with the yarn needle.
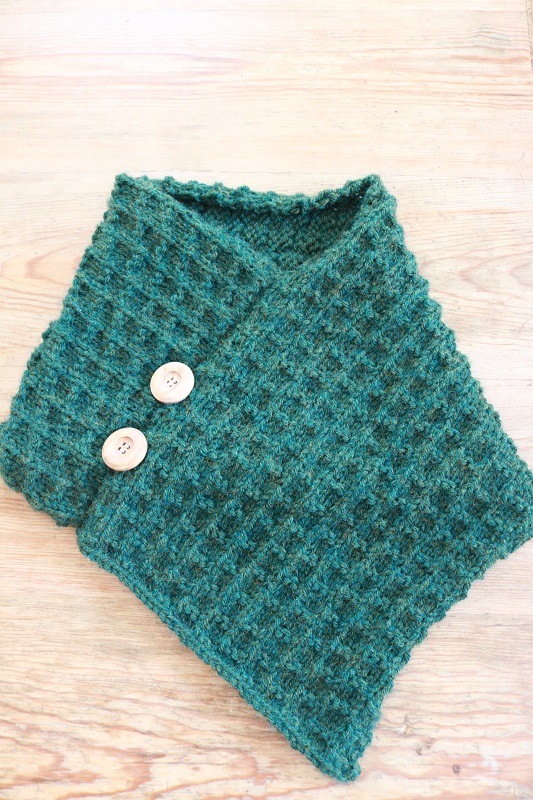
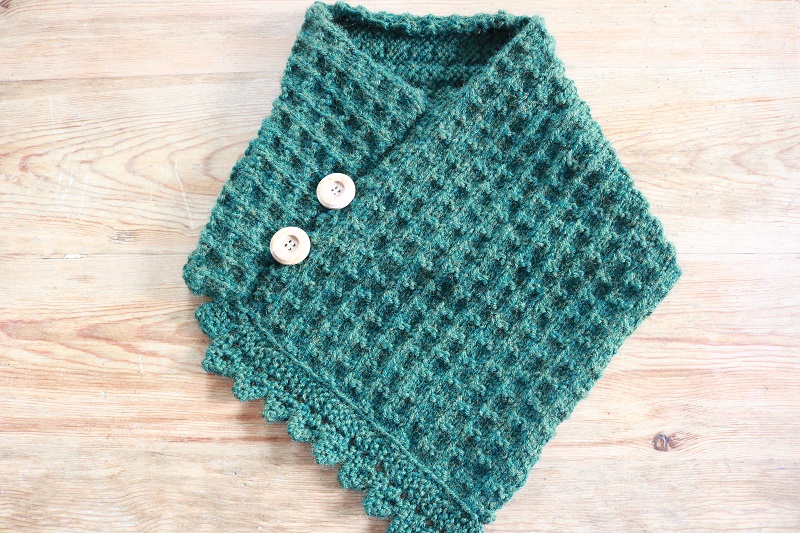
Attach Wood Buttons
Optionally, you can attach wood buttons to the seam of the cowl by sewing them on using complementary thread. Now you’ve got a finished simple cowl with a beautiful texture!
You can wear this simple cowl style, or take things up a notch by adding a bunting edging. Keep reading to learn how…
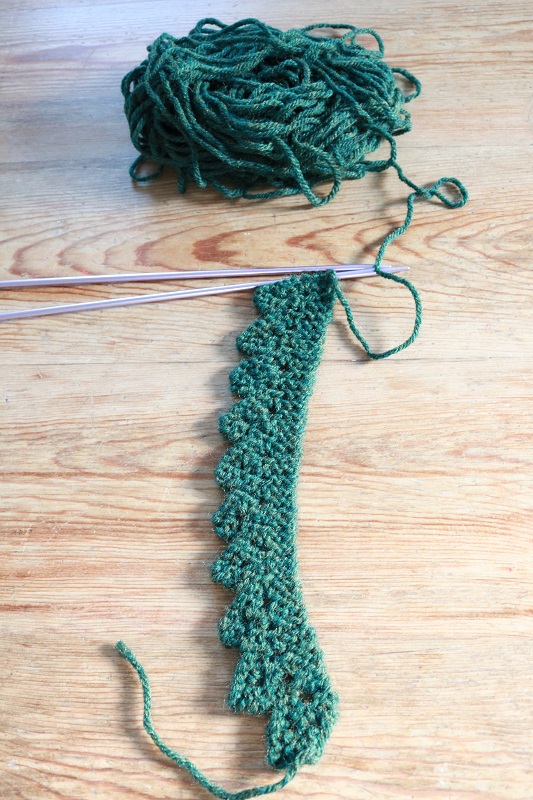
Optional Bunting Edge
In addition, if you’d like to attach a pretty edging to the bottom of your cowl, follow the steps below. You will be knitting the bunting edging length-wise until it reaches the width of your cowl bottom edge.
Switch to size 6 knitting needles and proceed as follows for the bunting edging:
Cast on 5 sts.
Row 1 (RS): K3, yo2, k2. (7 sts)
Row 2: K3, p1, k3.
Rows 3-4: Knit across.
Row 5: K3, yo2, k2tog, yo2, k2. (10 sts)
Row 6: K3, p1, k2, p1, k3.
Row 7: Knit across.
Row 8: Bind off 5 sts, k4. (5 sts)
Rep rows 1-8 until your edging is the length of your cowl bottom. I knitted my edging for 80 rows total, but yours may vary. Just hold the edging up to the cowl bottom to match the length.
Bind off.
Lastly, join the bunting edging to the bottom of your cowl with a simple seam.
Weave in any loose yarns.
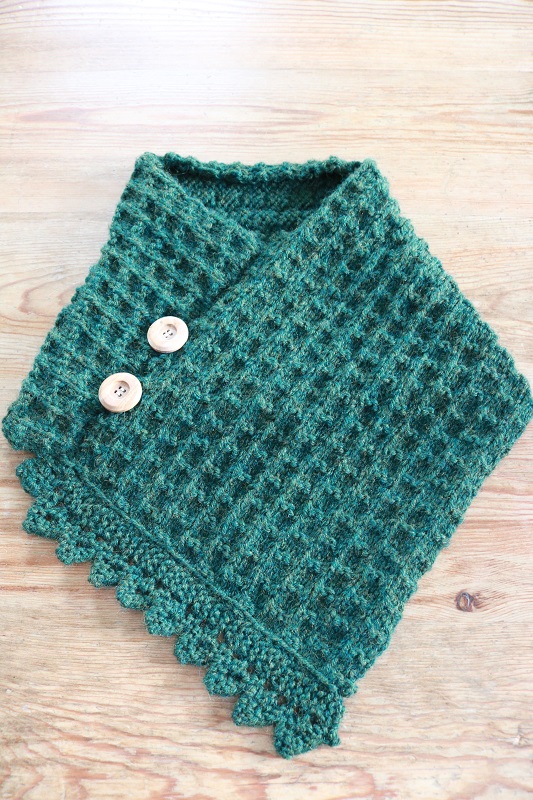
The size Small finished cowl measures approximately 23.5″ circumference by 9.5″ width.
You can purchase an inexpensive ad-free version of this cowl pattern (with photos) in my Etsy shop here.
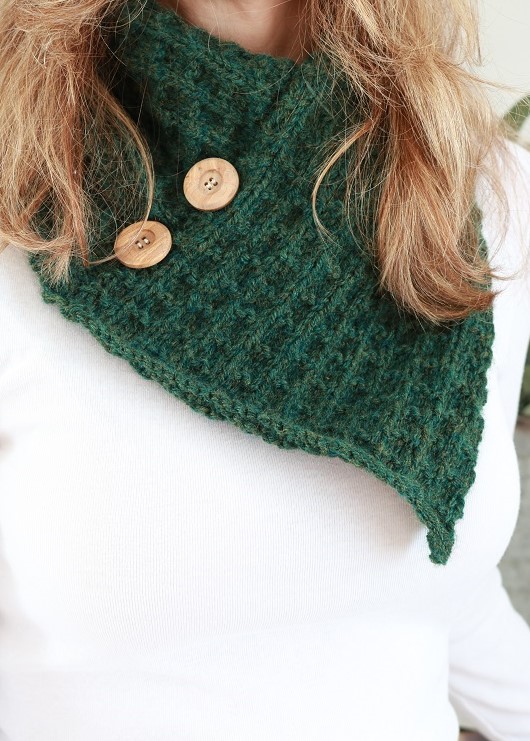
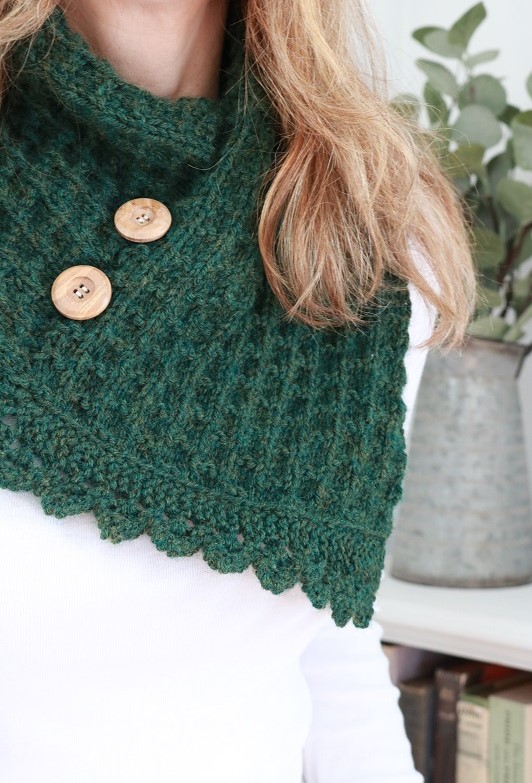
Knit Cowl Fashion
After you’ve done all that work knitting, it’s time to show off your cowl. Simply pull it over your head before you head outside to a windy, cold day.
Another option is to package it as a pretty gift for someone special. If you start knitting now, you’ll have plenty of time to finish it as a Christmas gift!
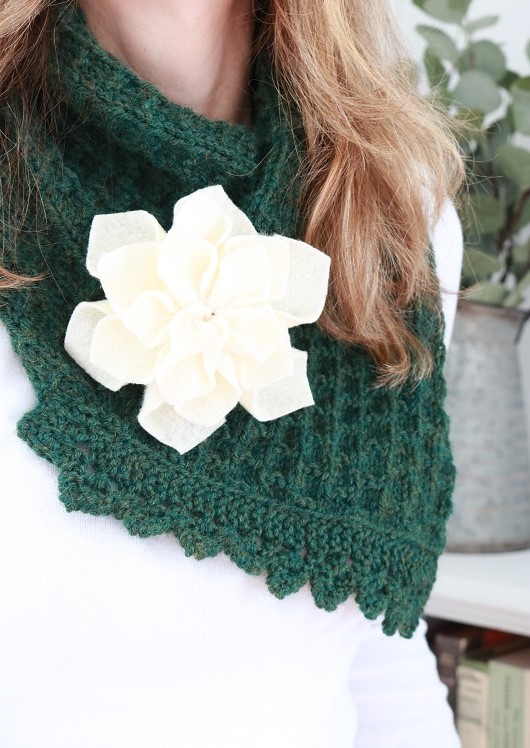
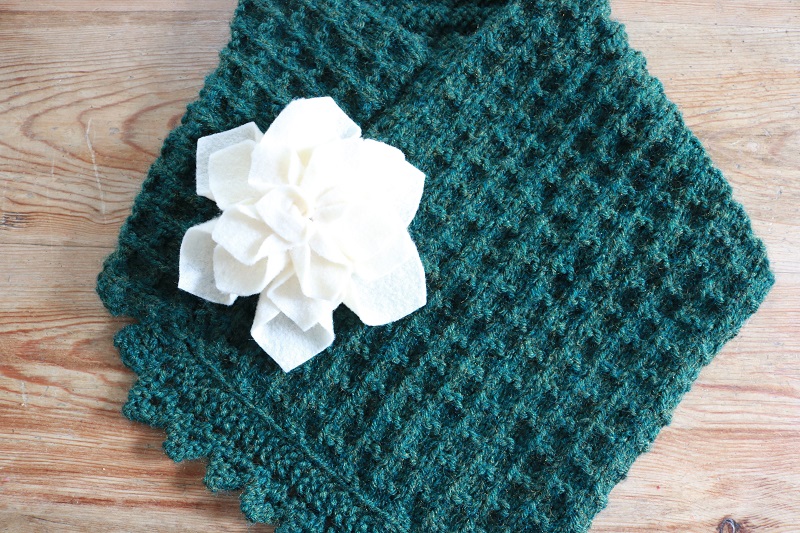
And wouldn’t the cowl look pretty embellished with a handmade felt dahlia? I simply pinned my dahlia on to the cowl for this look.
Want to remember this knitting pattern? Post this forest green cowl to your favorite Pinterest board!


2 Comments
sarah
I was so excited to try this, for everything ready, then started the pattern, and it’s missing row 3.
please let me know if you edit to add the row 3 instructions for this pattern.
Susan
Hi, Row 3 isn’t missing – it is just listed with Row 1 since they are the same. You simply knit across for Rows 1 and 3.