
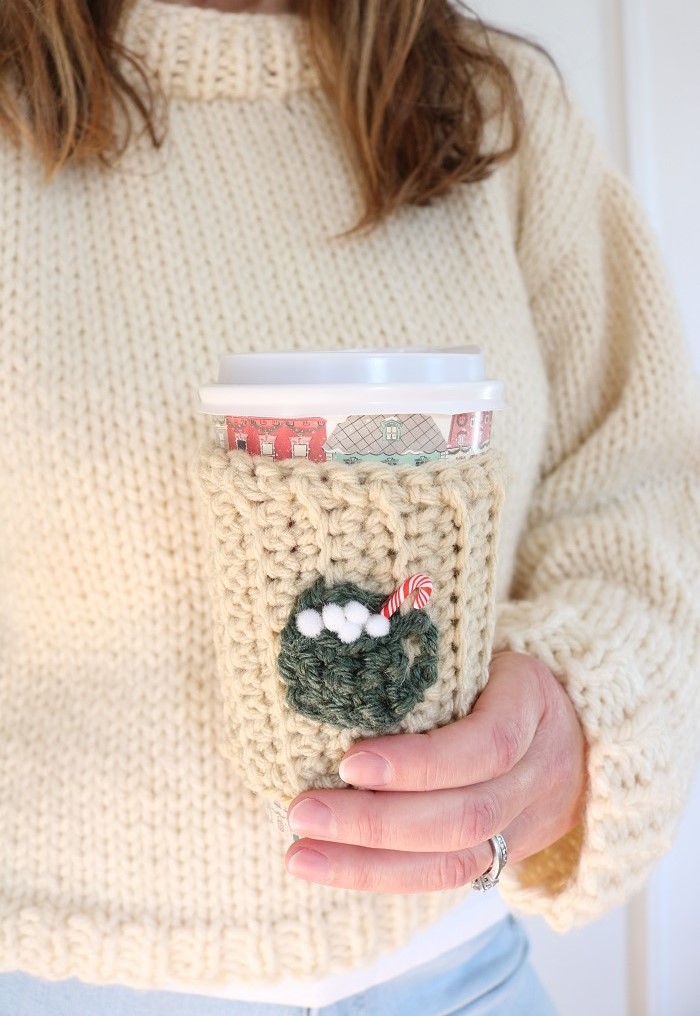
Crochet Christmas Tree Pattern – Hygge Style!
Love Crochet Xmas Decorations? Looking for a Chunky Christmas Tree crochet pattern? Whether you are planning your Christmas crochet gifts or Crochet Christmas Decorations, a simple upright Christmas tree makes an easy project. I have a simple Crochet Tree Pattern to share with you today. It is made with Super Bulky light-colored yarn and stuffing inside. I know it will become one of your favorite Christmas Crochet Ideas to make this season!

Below you will find the FREE crochet Christmas tree pattern. In it, you will learn how to crochet a tree that stands upright. If you love Crochet Christmas Decorations Free with unique designs, you will really enjoy the beautiful texture of this Hygge style tree. It is made with the popular Lion Brand Wool Easy Thick & Quick super bulky yarn in the cozy color ‘Wheat’. This project would also make a great hostess gift for the holidays!
This post may contain affiliate links. That means if you click and buy, I may make a commission at no cost to you. Please see my full disclosure policy for more details.
FREE CHRISTMAS TREE CROCHET PATTERN
How to crochet a tree
The free crochet pattern is easy to work once you get the hang of working increase & decrease stitches in the pattern. You will crochet in the round, first increasing to make a base, then working up and decreasing stitches. You only need to know the BASIC CROCHET STITCHES to work this piece.
Can a beginner crochet a tree?
Yes! This free pattern is listed as Intermediate, but is also beginner-friendly. Advanced beginners can handle the increase & decrease stitches with practice. And if you enjoy free Christmas Yarn Projects, a simple design is a popular choice for beginners.
You will need the following supplies:
Supplies
- Size 6 Super Bulky yarn – Lion Brand Wool Ease Thick & Quick
- Approx 150 yds for 2 trees (1 skein=106 yds)
- Color: “Wheat” or other light color
- Size N-13 (9.0 mm) hook
- polyfill stuffing
- craft pebbles or sand for weighting base, small bag
- thick paper or cardboard
- optional wood stars for embellishing

Amour Plastic Bulky Hooks
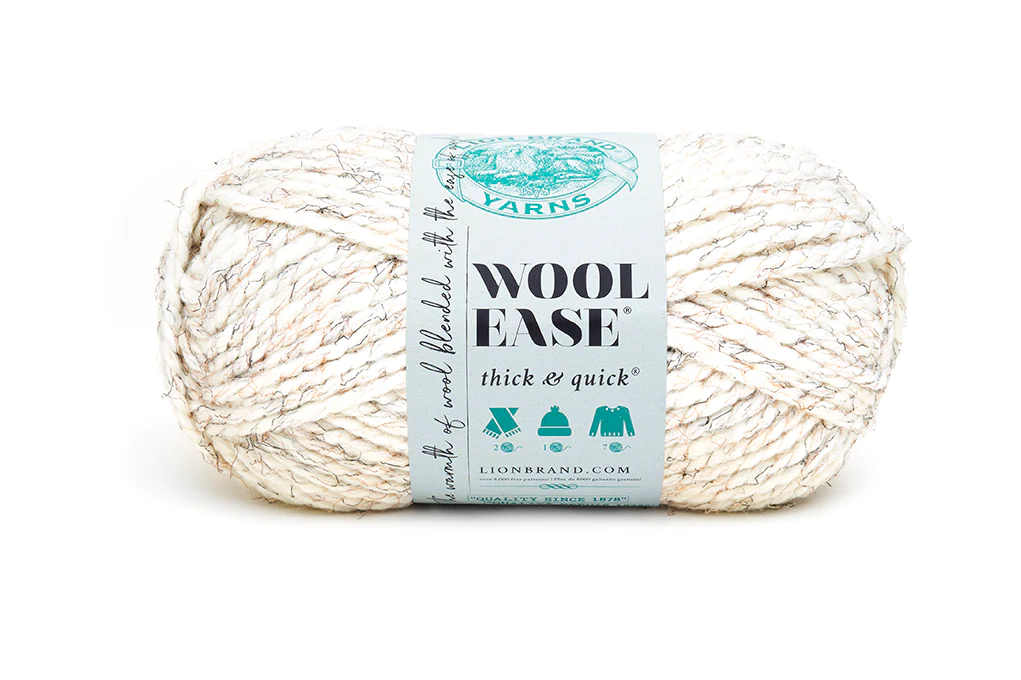
Wool Ease Thick & Quick Yarn
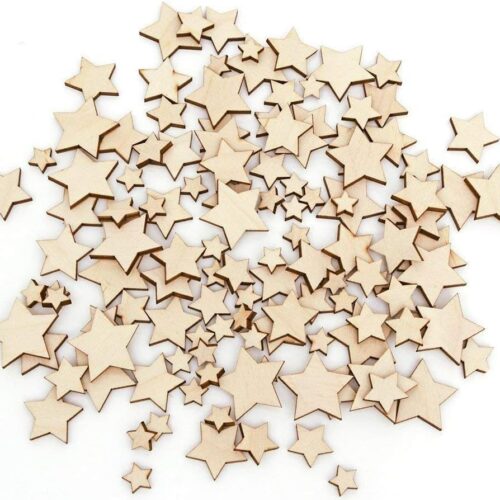
Mini Craft Wood Stars
Crochet Notions
Crochet Abbreviations
US Crochet terms are used.
Ch – chain
hdc – half double crochet
rep – repeat
RS – right side
sc – single crochet
sl st – slip stitch
sc2tog – single crochet 2 stitches together (1 decrease)
st(s) – stitch(es)
WS – wrong side
[ ] – repeat what is inside brackets # of times indicated
PATTERN INFORMATION
The Crochet Xmas Tree free pattern for a size Small tree is provided below.
- but you can also get the ad-free, printable pdf pattern for two sizes of the CROCHET CHRISTMAS TREES in the pattern SHOP! The pdf has helpful photos plus an additional size Large tree pattern included.
(The premium Ad-Free PDF can also be purchased on ETSY)

EASY CROCHET CHRISTMAS TREE PATTERN
Gauge: 4″ (10cm) square = approx 7 sts by 6.5 rounds in pattern
How to crochet a Christmas tree
This Hand Crochet Christmas Tree works up simply to form a cone shape that is approx 8.5″ tall. It is the perfect size for a centerpiece or decoration for your shelf.
NOTES: You will be crocheting each tree bottom up in the round, adding weight and stuffing inside as you work.
What yarn is best for a crochet Christmas tree?
Super Bulky yarn is a great choice for a chunky tree, especially in a light color to hide the stuffing.
Instructions to make the tree are as follows…
Christmas Tree Crochet Pattern
Follow the instructions below in the order indicated.
NOTE – Ch 1 does not count as a st.
Use a stitch marker (sm) to keep track of first st in each round.
Using size N-13 (9 mm) crochet hook, ch 4 with size 6 yarn.
Join with sl st to 1st ch to form a circle.
WS is facing while you work all rounds (you will not be turning).
Base of Tree:
Round 1: Ch 1, work 6 sc into the circle. Join with sl st to 1st st. 6 sts
Round 2: Ch 1, *2 sc in next st; rep from * around. Join with sl st to 1st st. 12 sts
Round 3: Ch 1, *2 sc in next st, sc in next st; rep from * around.
Join with sl st to 1st st. 18 sts
Round 4: Ch 1, *2 sc in next st, sc in next 2 sts; rep from * around.
Join with sl st to 1st st. 24 sts

At this point, you will pause and place thick paper or cardboard under your crocheted circle.
Trace around the crocheted circle, and cut out the circle shape from the paper.
Set this paper circle aside to insert into the base of your tree later.
Round 5: Ch 1, sc in FLO of each st around.
Join with sl st to 1st st. 24 sts
Tree Shaping:
Round 6: Ch 1, *hdc, sl st; rep from * around. Join with sl st to 1st st. 24 sts
Round 7: Ch 1, *sc in next 4 sts, sc2tog; rep from * around.
Join with sl st to 1st st. 20 sts
Round 8: Ch 1, *sc in next 3 sts, sc2tog; rep from * around.
Join with sl st to 1st st. 16 sts
At this point, you will pause and place your paper or cardboard circle inside the base of the tree. (Weave the starting tail of your yarn to the WS first).
Round 9: Rep Round 6. 16 sts
Rounds 10-11: Ch 1, sc in each st around. Join with sl st to 1st st. 16 sts
At this point, you will pause and place a small bag of craft pebbles or sand inside the tree on top of the paper circle. This will weigh down the tree for stability.
Next, add polyfill stuffing on top of the bag.
Round 12: Rep Round 6. 16 sts
Round 13: Ch 1, *sc in next 2 sts, sc2tog; rep from * around.
Join with sl st to 1st st. 12 sts
Round 14: Ch 1, *sc in next st, sc2tog; rep from * around.
Join with sl st to 1st st. 8 sts
Next, add more polyfill stuffing inside the tree to fill it out.
Continue to add stuffing after each round going forward.
Round 15: Rep Round 6. 8 sts
Round 16: Rep Round 13. 6 sts
Round 17: Rep Round 14. 4 sts
Round 18: Ch 1, [sc2tog] twice. 2 sts
Ensure tree is stuffed fully.
Fasten off, running tail through 2 rem sts.
Weave in loose ends to inside (WS) of tree.
Finishing Crochet Tree
Feel free to embellish your tree(s) as follows:
- add a star to the top
- add a mini garland or lights
- add tiny ornaments

Important Tips for Crocheting your Christmas Tree
Some things to keep in mind as you crochet the piece are:
- Use a stitch marker to keep track of the first stitch in each round.
- The Wrong Side (WS) of the piece will face you as you work.
- Use light colored yarn for your trees, since the white polyfill stuffing will show through the gaps in the stitches.
- Feel free to embellish the tree as follows:
- add a star to the top
- add a mini garland or lights to the tree
- add tiny ornaments
Finished Size
The finished (size Small) crochet tree measures approximately 4.5″ diameter at the base by 8.5″ height.
Using your Textured Crochet Christmas Tree
Now it is time to enjoy decorating with your crocheted Hygge tree! Add some Christmas touches to your tree if desired, or use as winter decor after Christmas.
Friends would love receiving one of these crochet trees as a holiday gift, too.

What do you think of this Crochet Christmas Decorations Free Pattern? If you are an enthusiastic beginner at crochet, you can definitely make your own. The increase & decrease stitches are simple to master, and it’s not too hard to work in rounds.
Be sure to add this crochet tree to your list of Things To Do With Chunky Yarn this winter. It is a great option for a quick afternoon project.
Don’t forget that this tree crochet pattern is also available in an ad-free digital pdf pattern. The pdf has helpful photos and an additional Large tree size pattern. Grab the CROCHET CHRISTMAS TREES cute pattern bundle in my shop.

Love Christmas crochet patterns? Check out these other FREE crochet patterns for Christmas…

===> Remember to PIN for later! <===


2 Comments
Anita
Thank you so much! These trees are absolutely adorable!
Susan
You are very welcome – thanks for visiting!