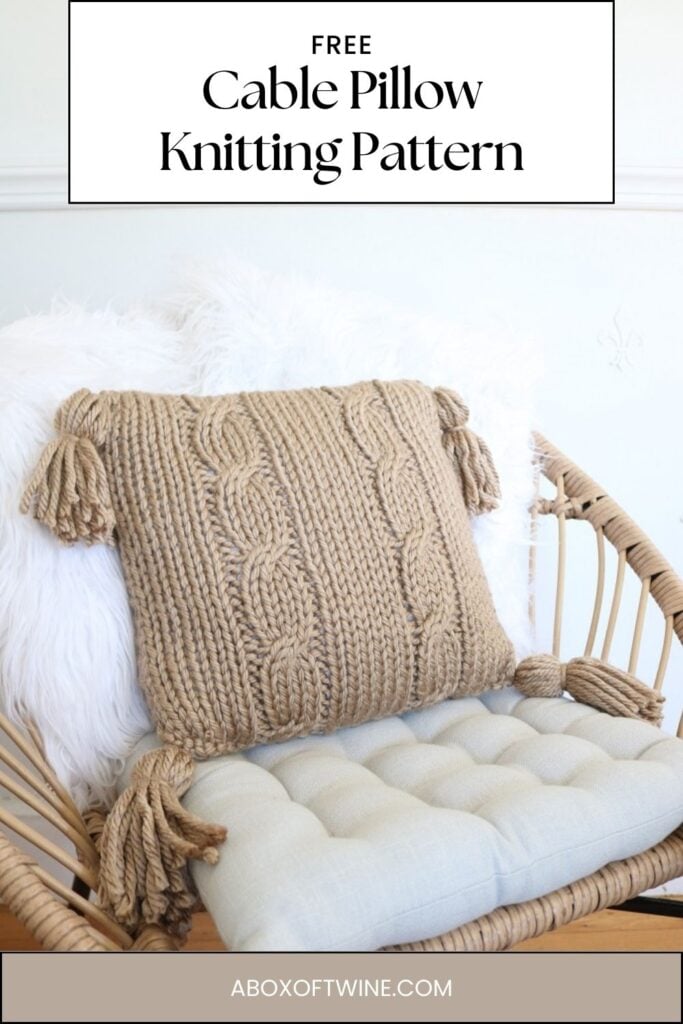
Chunky Knit Pillow Cover Pattern {FREE!}
Looking for a simple knit pillow for your home? Love knitted cushion covers? How about knitting a simple cable knit pillow for cozy style? I love to decorate my home with handmade pieces, especially during fall and winter. Soft knitted pillows come to the rescue to add unique homemade style! Today I have a simple and FREE knit pillow pattern for you that has a cable stitch pattern on the front.

Keep reading to learn how to knit a pillow cover using a classic cable stitch pattern on the front. Use your favorite yarn color for the pillow, then tassels to the corners for even more cozy appeal. Add this to your list of favorite chunky yarn projects.
This post may contain affiliate links. That means if you click and buy, I may make a commission at no cost to you. Please see my full disclosure policy for more details.
Knitting Pillow Pattern Free
The idea behind this knit pillow pattern is to work in straight rows, to create two separate panels. The front panel has a cable stitch pattern, while the back panel is in stockinette. Three of the sides will be seamed together to create an opening for the pillow insert, then the last side is seamed after inserting the pillow form. You will use BASIC KNIT STITCHES, as well as a special cable stitch pattern for the knit pillow.
The following is a list of supplies you would need to create one knit pillow cover. Use similar yarn (size 6, Super Bulky weight yarn) and the same knitting needle size to make your own.
Supplies
- 2 skeins of Lion Brand Hometown (81 yds per skein)
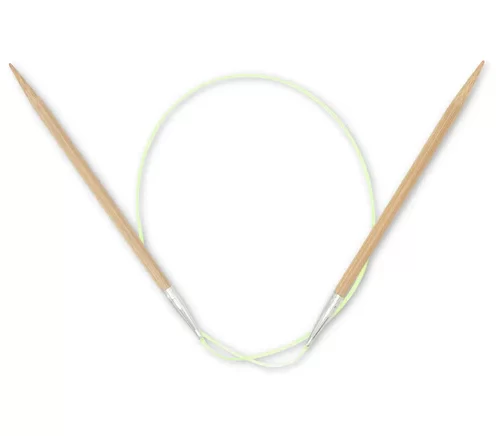
- size 13 (9mm) needles, straight or circular, to hold 30 sts
- cable needle
- 12″ pillow form


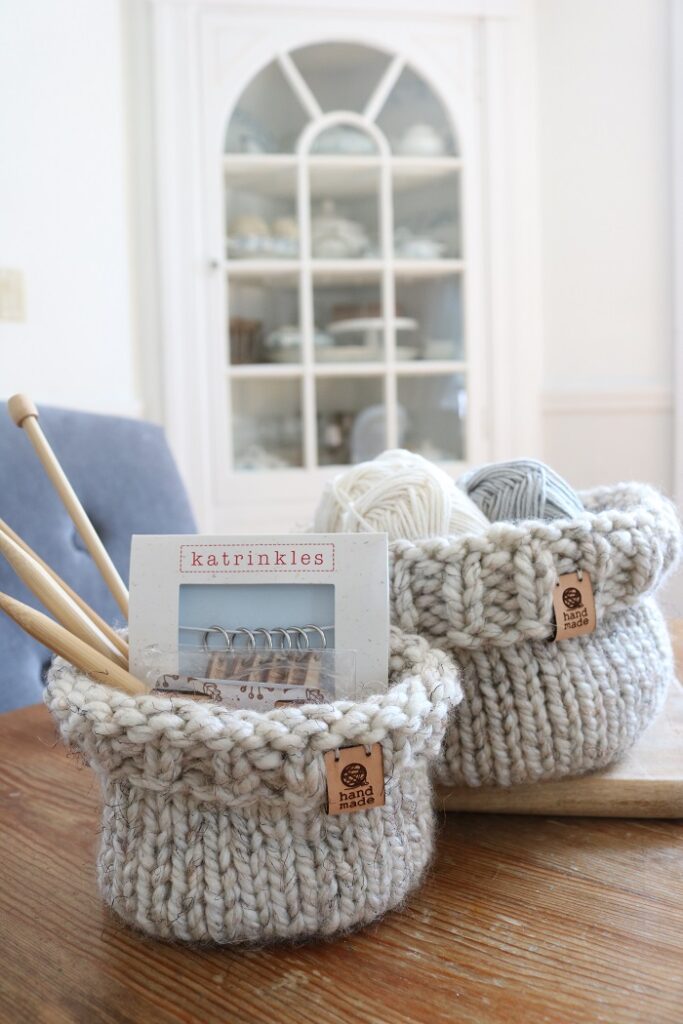
Knitting Notions
Knitting Abbreviations
approx – approximately
BO – bind off
CO – cast on
K – knit
P – purl
sm – stitch marker
sts – stitches
Rep – repeat
RS – Right Side
WS – Wrong Side
Special Stitch in pattern:
c4b : Slip next 2 sts from left needle to cable needle, place cable needle in back of work, knit next 2 sts from left needle, then knit the 2 sts from cable needle.
PATTERN INFORMATION
The FREE pillow pattern is provided below.
- but you can also get the ad-free, printable pdf pattern for the CABLE KNIT PILLOW in the SHOP! The pdf has some helpful photos included.

How to Knit a Pillow Cover
Can a beginner knit a pillow?
Yes! Especially with a repetitive easy stitch pattern using basic knit stitches and simple techniques! This pattern has an Intermediate skill level, but an advanced beginner can give it a try. The special cable stitch is simple to master, and the overall pattern is very repetitive.
Save this Knitted Cushion Pattern to your list of super chunky knitting projects!
Here I will walk you through each step of this modern Knitting Pillow Diy, using your favorite Super Chunky Yarn color.
Finished Measurements:
- Measurements are for finished, seamed, & blocked pillow cover
Width : 12 inches
Length : 12 inches
Gauge: 4″ (10cm) square = approx. 10 sts by 12.5 rows in stockinette, blocked

FREE Knitting Pillow Pattern
NOTES –
You will be knitting the pillow cover in rows to form two panels, front and back. Then you will seam together panels on 3 sides, insert pillow form, and seam last side.
Follow the instructions below in the order indicated.
Stitch count will remain at 30 sts for both panels.
Front Panel – Cable Stitch Pattern
With size 13 needles, CO 30 sts with size 6 yarn.
Cable Stitch Repeat Pattern:
Row 1 (RS): [K6, p1, k4, p1] twice, k6.
Row 2: [P6, k1, p4, k1] twice, p6.
Row 3: [K6, p1, c4b, p1] twice, k6.
Row 4: Rep Row 2.
Rows 5-8: Rep Rows 1-2 twice more.
Rep Rows 1-8 three more times.
Rep Rows 1-6 only (or continue until length reaches 12″).
(You should have approx 38 rows).
Bind off knitwise.
Back Panel – Stockinette Stitch Pattern
With size 13 needles, CO 30 sts with size 6 yarn.
Stockinette Stitch Rows:
Row 1 (RS): Knit.
Row 2: Purl.
Rep Rows 1-2 eighteen more times (or until length reaches 12″).
(You should have approx 38 rows).
Bind off knitwise.
Blocking/Finishing
Block each panel piece into a square 12″ width by 12″ length.
Weave in all loose ends to WS.
Place panels WS together for seaming.
Tip → Pin the WS together before seaming (you can use locking stitch markers for this).
Seam 3 Sides:
Using a tapestry needle and your yarn, work an overcast seam to join three edges of the pillow WS together.
Add Pillow Insert:
Insert a 12″ square pillow form between the two panels.
Seam Last Side:
Using a tapestry needle and your yarn, work an overcast seam to join the last edge of the pillow panels WS together.
Tassels:
If desired, you can also add tassels to each corner as follows:
- make 4 large tassels using the same yarn
- attach the 4 tassels to each corner of the pillow cover
- (see THIS POST for instructions on making & attaching tassels)

Important Tips for Knitting your Pillow Cover
Some things to keep in mind as you work the cable pillow knit pattern are:
- For the pattern repeat, the RS is worked on odd-numbered rows.
- It may help to use stitch markers to mark where to begin & end the cable stitch patterns.
- Try to find a firm and fluffy 12″ pillow insert for the pillow.
- Use an overcast seam when joining the two panels together for a decorative look.

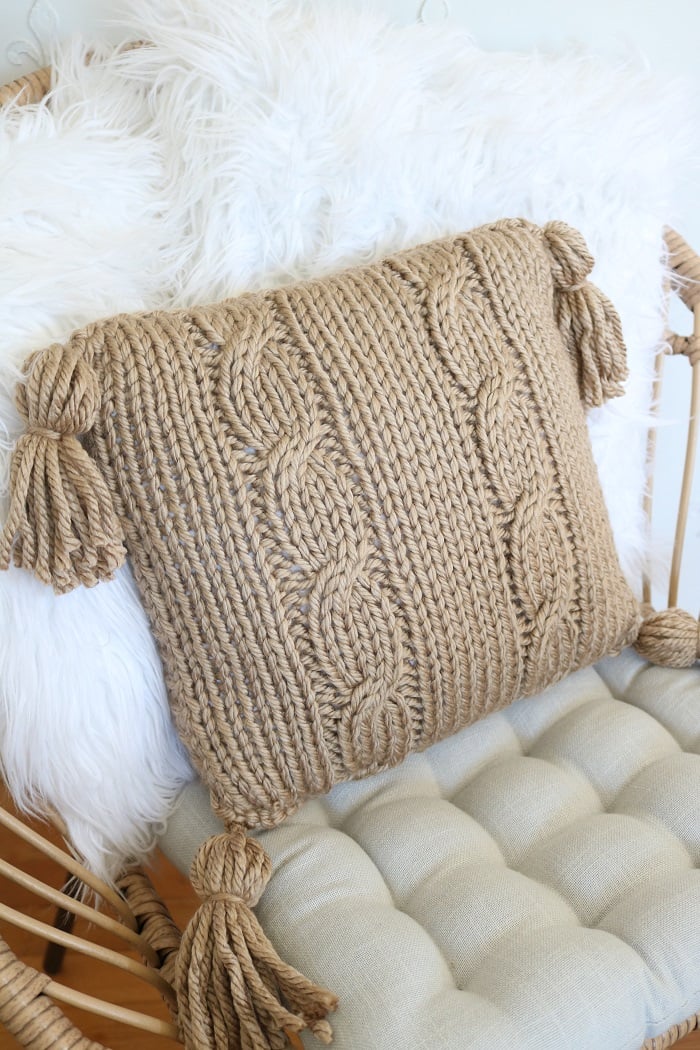
Cable Knit Pillow
The soft hand knit pillow makes a beautiful statement in the colder months, and fits right in with a cozy, Hygge aesthetic. The cable stitch design of this pillow cover is timeless, and with the fun tassels – you’re bound to get compliments from making this beautiful pattern!


Don’t forget that this knitting pillow pattern is also available in an ad-free digital pdf pattern. The pdf has a few helpful photos. Grab the PILLOW KNIT PATTERN pattern in my shop.
Love knit patterns for the home? Check out these other FREE knit projects…

Did you enjoy this free knitting pattern? I think it’s also a perfect idea to make as a gift for a friend who loves handmade home decor. The chunky yarn pillow works up easily and quickly and will become one of your favorite small knitting projects.
Check out all of my FREE KNIT PATTERNS HERE.
===> Remember to PIN for later! <===