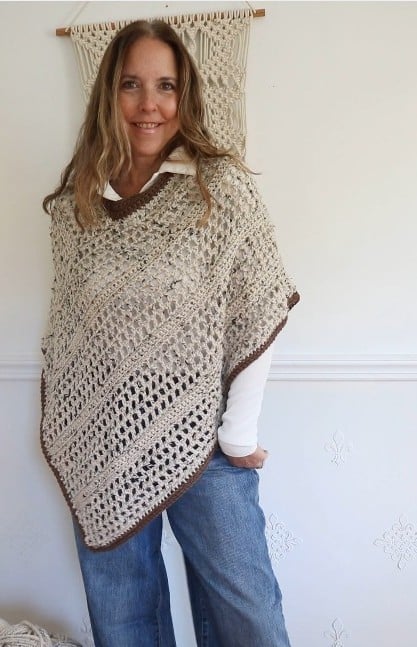
Free Crochet Poncho Pattern for Beginners | Easy Fall Poncho
First Published: October 2023 | Updated: July 2026 | Skill Level: Beginner | Technique: Two-Panel Crochet | Season: Fall
If you’ve been searching for a free crochet poncho pattern that feels classic instead of costume-y, you’ve just found your next favorite fall project. This easy crochet poncho for beginners is made from two simple rectangle panels worked in a repetitive stitch, then seamed together — no tricky shaping, no confusing construction. Just a beautiful, wearable poncho you’ll reach for all season.
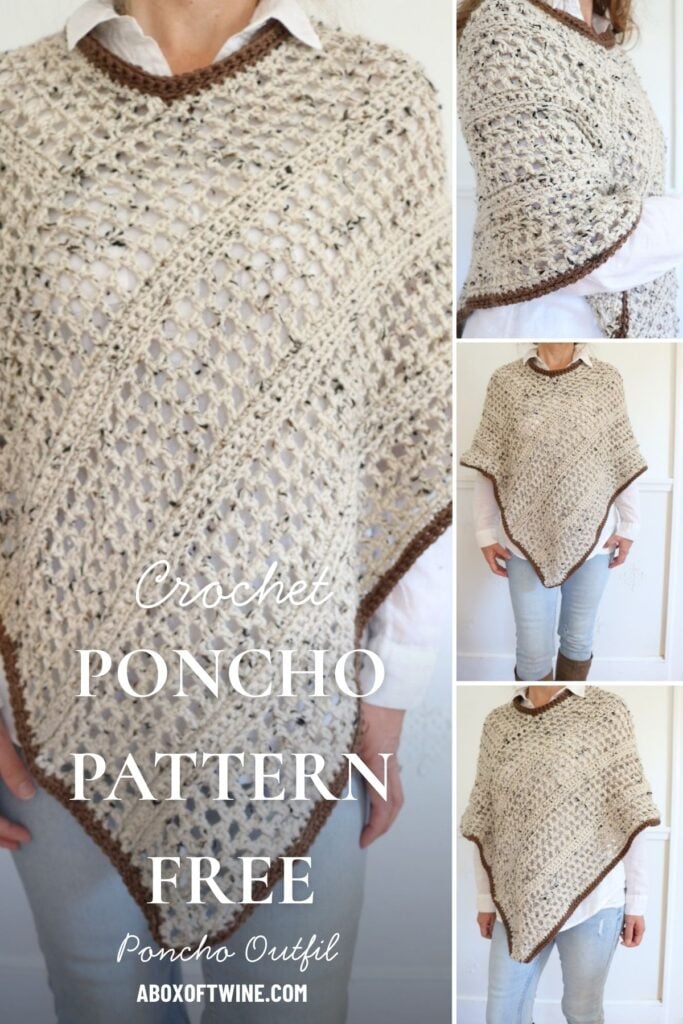
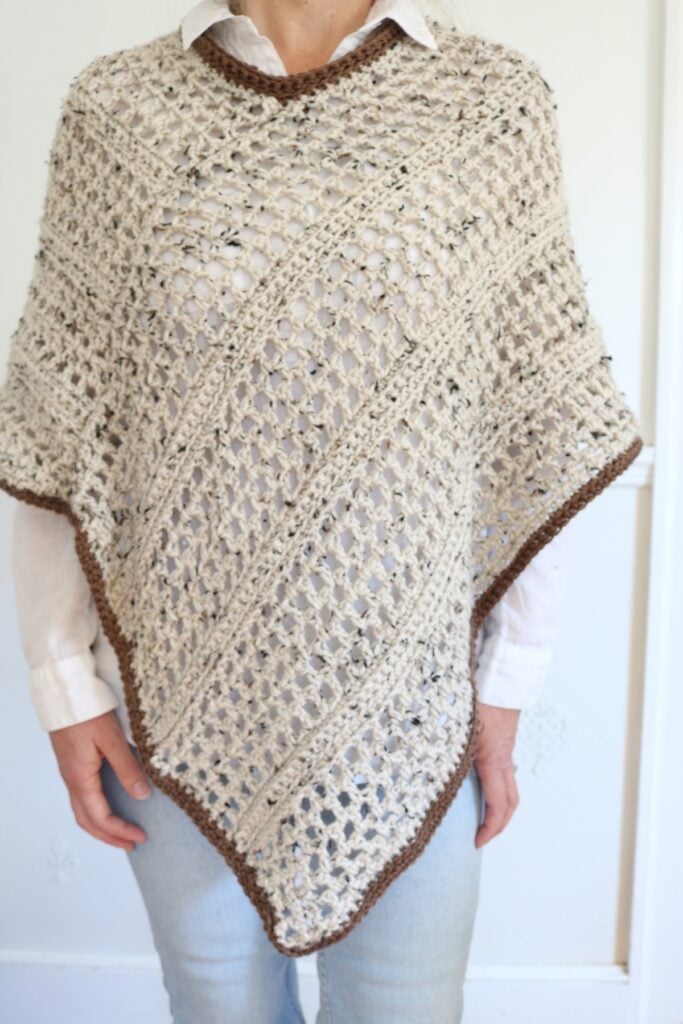
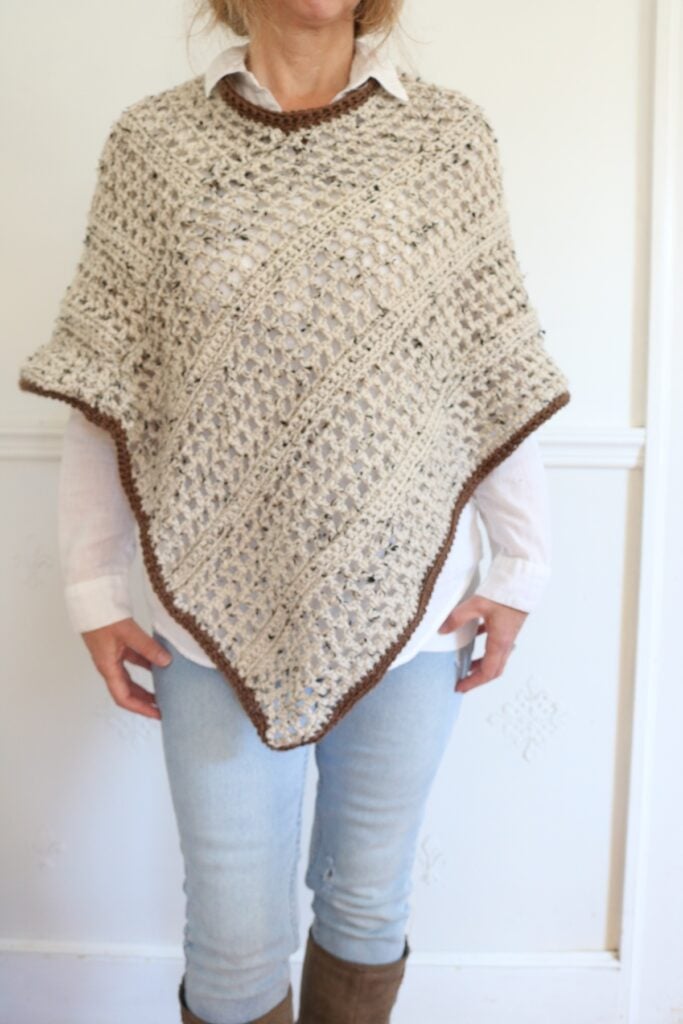
Named the “Portsmouth Poncho” after the coastal New Hampshire town where autumn foliage meets harbor views, this fall crochet poncho pattern is worked in a cozy neutral tweed with a contrasting edge at the neckline and hem. It’s the kind of piece that looks pulled together over a turtleneck or tossed on with jeans and boots. It’s simple, timeless, and easy enough for a beginner to finish in a few cozy evenings.
Why You’ll Love This Free Crochet Poncho Pattern
This isn’t just another fall throw-on — it’s a piece you’ll reach for every time the temperature drops. Here’s what makes this beginner crochet poncho pattern so special:
- Beginner-friendly construction. Just two rectangle panels worked in a repetitive stitch pattern, then seamed together with simple slip stitches. No sleeves, no complicated shaping.
- Classic silhouette. The two seamed panels create a triangular drape at the front and back for a polished, tailored look rather than a boxy poncho shape.
- Contrast trim detail. A neckline and hem worked in a second color adds interest and definition. Or you can skip it and make the whole thing in one color for an even simpler build.
- Neutral and versatile. Worked in warm tweed and walnut tones, this poncho pairs with nearly everything already in your fall wardrobe.
- A relaxing, repetitive stitch. The panel pattern repeats every few rows, so once you learn it, you can crochet it almost without looking at the pattern.
- Completely free here on the blog. The full pattern is below!
This post may contain affiliate links. That means if you click and buy, I may make a commission at no cost to you. Please see my full disclosure policy for more details.
Supplies & Materials Needed
To make this fall crochet poncho pattern, sized to fit up to a 44″ bust, you’ll need the following:
Yarn
- Yarn Weight: Medium (Size 4)
- Main Color (MC): 3 full skeins (477 yds) — Lion Brand Basic Stitch in color Autumn Tweed
- Contrasting Color (CC): 85 yds — Lion Brand Basic Stitch in color Walnut
Yarn Substitution Tip: Any worsted weight (size 4) yarn will work beautifully here. A tweed or heathered yarn adds gorgeous texture for fall, but a smooth solid works just as well. Want a one-color poncho? Skip the contrast yarn and pick up one extra skein of your main color instead.
Hook
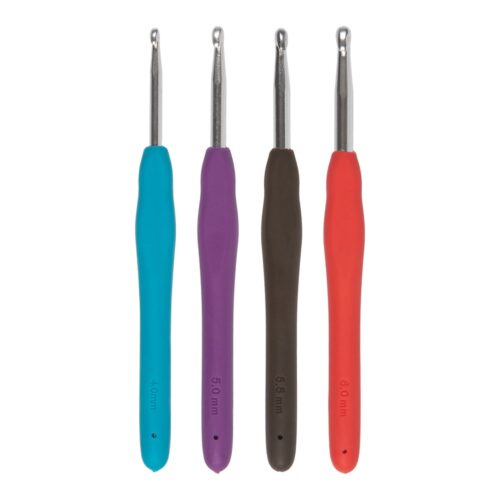
- Size I-9 (5.5 mm) crochet hook
Crochet Notions
Crochet Abbreviations
US Crochet terms are used.
Ch – chain
dc – double crochet
rep – repeat
sc – single crochet
sk – skip
sl st – slip stitch
st(s) – stitch(es)
tch – turning chain
BLO – back loop only
FLO – front loop only
sm – stitch marker
Gauge
4″ (10 cm) square: 12 sts by 8 rows (of Rows 2–9 pattern repeat)
Gauge matters here since the panels are seamed together at exact stitch counts. Take a moment to check your gauge before diving in, as it’ll save you from a poncho that runs too large or too small.
Upgrade to the Printable PDF
The free crochet poncho pattern is provided below, but you can also grab the ad-free, printable PDF pattern in my shop with helpful step-by-step photo tutorials (especially useful for Rows 2, 3, and 7 of the panel, & the neckline):
(The premium Ad-Free PDF can also be purchased on ETSY)
Free Crochet Poncho Pattern
Sizing
This pattern is one size, fitting up to a 44″ bust:
| Inches | Centimeters | |
|---|---|---|
| Width (wingspan) | 31″ | 78.5 cm |
| Length | 24″ | 61 cm |
| Neck circumference | 24″ | 61 cm |
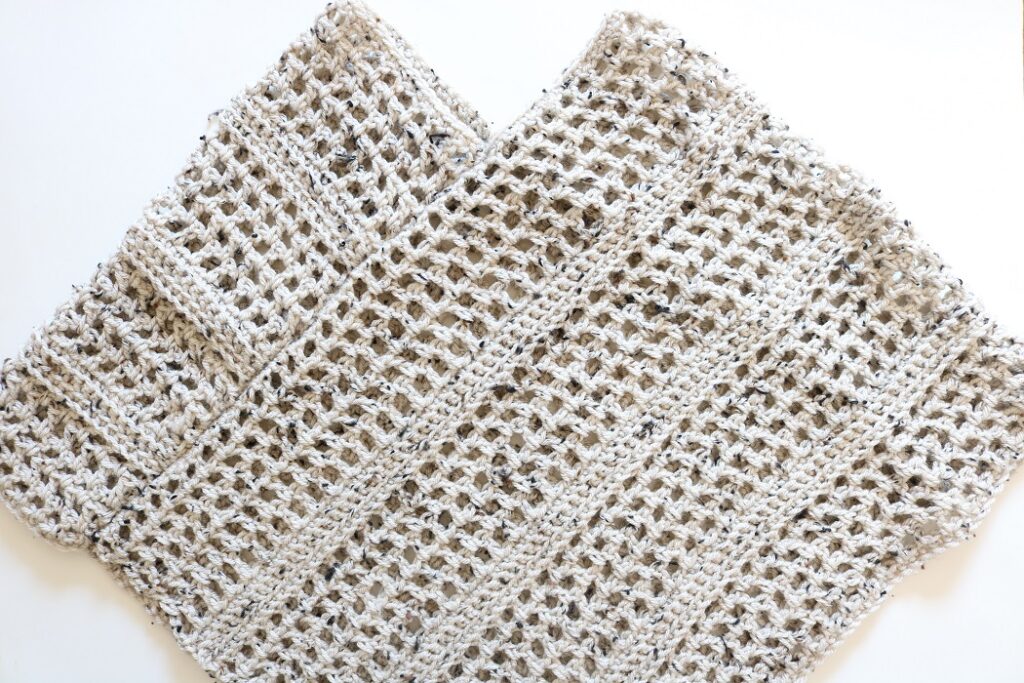
There are different styles of ponchos, and this one has a triangular shape on the front and back, created by joining two rectangular panels together.
Construction overview: First you’ll work in stitch pattern to create 2 rectangle panels and block them to size. Next, you’ll join the two panels with seams. Lastly, you’ll add a finished neckline and edging in a contrasting color. Feel free to use the main color for the entire poncho if you don’t want contrasting edging — you’d need one additional skein of main color for that.
NOTE — First Ch 3 counts as 1 dc, but first Ch 1 does not count as a st.
Poncho Panel (Make 2)
(The stitch count will remain at 81 for both panels)
Using size I-9 crochet hook, ch 82 with MC yarn.
Row 1 (RS): Sc in 2nd ch from hook and in each ch across. Turn. (81 sts)
Row 2: Ch 3 (counts as 1 dc), *ch 1, sk next st, dc in next st; rep from * to end. Turn.
Row 3: Ch 4 (counts as 1 dc and ch 1), dc in first ch-1 sp, *ch 1, sk next dc, dc in next ch-1 sp; rep from * to end. Turn.
Rows 4-6: Repeat Row 3 three more times.
Row 7: Ch 1, sc in BLO of first st and in BLO of each st and ch across, ending with sc at 3rd ch of tch. Turn.
Row 8: Ch 1, sc in FLO of first st and in FLO of each st across. Turn.
Row 9: Ch 1, sc in BLO of first st and in BLO of each st across. Turn.
Repeat rows 2-9 two more times.
Repeat rows 2-6 one more time.
Last row: Ch 1, sc in first st and in each st and ch across, ending with sc at 3rd ch of tch.
Fasten off.
Weave in all loose ends.
Block each panel to approx. 27″ by 17″ big rectangle.
Seaming the Panels
Seam together the 2 panels with MC yarn, using size I-9 crochet hook.
- With RS together, join the shorter row edge of one panel with the long sc edge of the other panel by working 47 sl sts through both panels. (Join the 47 sc sts on the long edge with the sides of the short edge.)
- Repeat for the remaining short and long edge of the panels.
Neckline
Using size I-9 crochet hook, with RS facing, insert hook and join CC yarn at a seam at the neck.
Using a stitch marker to keep track of the 1st sc in each round, work 5 rounds as follows:
Rnd 1 (RS): Ch 1, sc in 68 sts around. Join with sl st to first sc. Turn. (68 sts)
Rnd 2 (WS): Ch 1, sc in FLO of each st around. Join with sl st to first sc. Turn.
Rnd 3: Ch 1, sc in BLO of each st around. Join with sl st to first sc. Turn. Rnd 4: Ch 1, sc in FLO of each st around. Join with sl st to first sc. Turn.
Rnd 5: Ch 1, sc in each st around. Join with sl st to first sc.
Fasten off.
Bottom Edging
Using size I-9 crochet hook, with RS facing, join CC yarn at a seam at the bottom.
Using a stitch marker to keep track of the 1st sc in each round, work 2 rounds as follows:
Rnd 1 (RS): Ch 1, work 47 sc sts across row edges of each panel and 81 sc sts across bottom sc row of each panel, working 3 additional sc sts in the 2 corner ‘points’ of the poncho. Join with sl st to first sc. Turn. (262 sts)
(262 = 47 + 81 + 3 at point + 47 + 81 + 3 at point)
Rnd 2 (WS): Ch 1, sc in FLO of each st around. Join with sl st to first sc.
Fasten off.
Weave in ALL ends.
Important Tips for Crocheting Your Fall Poncho
- The Right Side (RS) of the panels & finished edges are worked on odd numbered rows/rounds.
- It may help to place a stitch marker (SM) at the 1st st (3rd ch or 1st sc) on each row of panels to keep track of where to begin and end rows (first st and last st).
- Be sure to put RS together when seaming two panels together.
- Use a SM to keep track of 1st st in each round of neckline and bottom edging.
Tips to Customize Your Poncho
One of the best things about this pattern is how easy it is to make it your own. Here are a few ways to personalize your crochet poncho pattern:
Try a Different Colorway
The tweed-and-walnut combination is warm and autumnal, but this pattern also looks stunning in:
- Cream or oatmeal with a chocolate brown trim for a classic neutral look
- Charcoal grey with cream trim for a more modern, monochrome feel
- All one color for the simplest possible version — just add one extra skein of MC and skip the contrast yarn
Adjust the Length
Want a shorter, cropped poncho or a longer, more dramatic drape? Add or subtract full repeats of Rows 2–9 in each panel before you begin the final Rows 2–6 repeat and last row. Just be sure both panels match, and check that you have enough yarn if lengthening.
Skip the Contrast Trim
If you’d rather keep things simple, work the neckline and bottom edging rounds in your main color instead of a second color. It’s a beautiful, more subtle option and means one less yarn to buy.
Use a Different Fiber
A wool-blend yarn will add extra warmth for the coldest months, while a cotton-acrylic blend keeps the poncho lighter for early fall layering.
How to Wear Your Crochet Poncho
Now for the best part — wearing your finished handmade poncho! Here are a few of my favorite ways to style it:
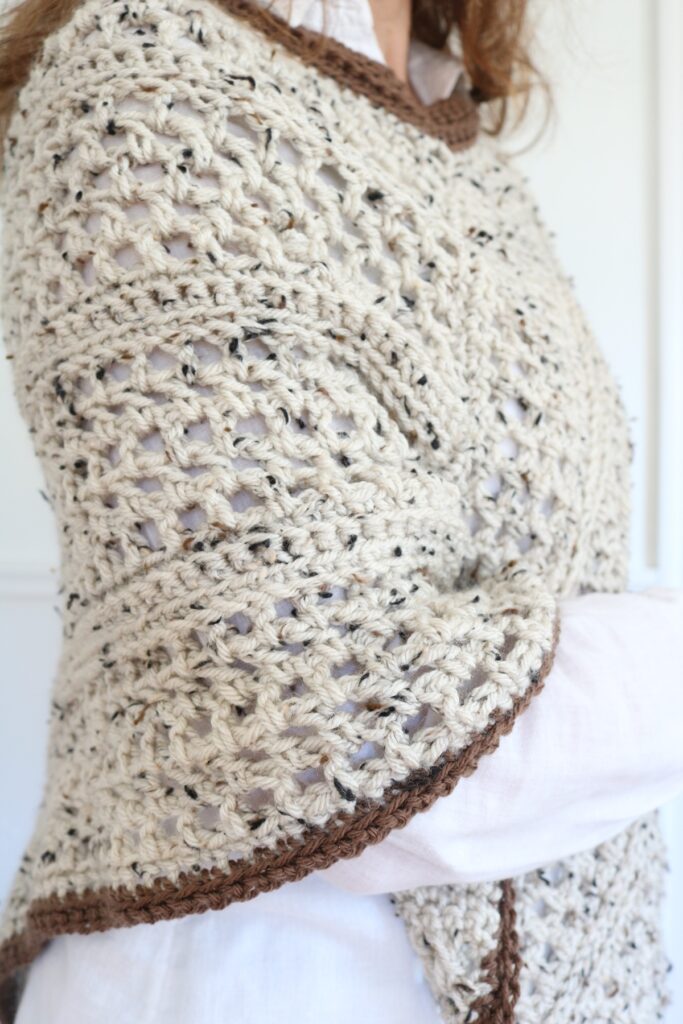
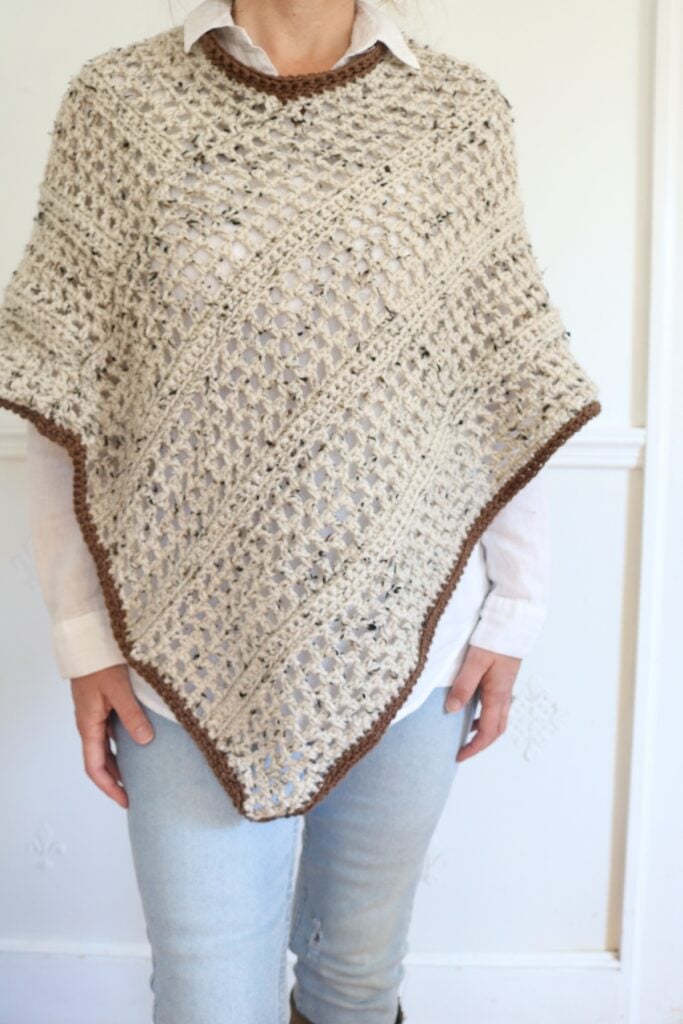
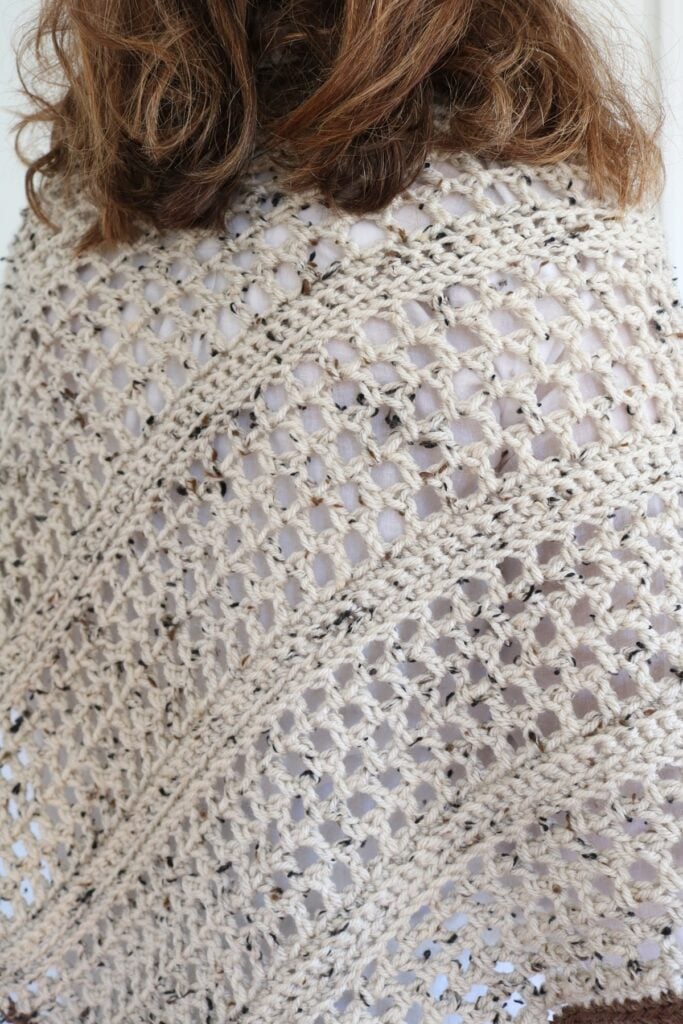
Over a turtleneck or fitted sweater: Layer the poncho over a simple long-sleeved turtleneck or fitted knit for a polished, put-together fall look. The poncho’s drape adds interest without any bulk.
With jeans and tall boots: Pair it with straight-leg or skinny jeans and tall boots for an easy, classic fall outfit that works for errands, coffee dates, or a fall festival.
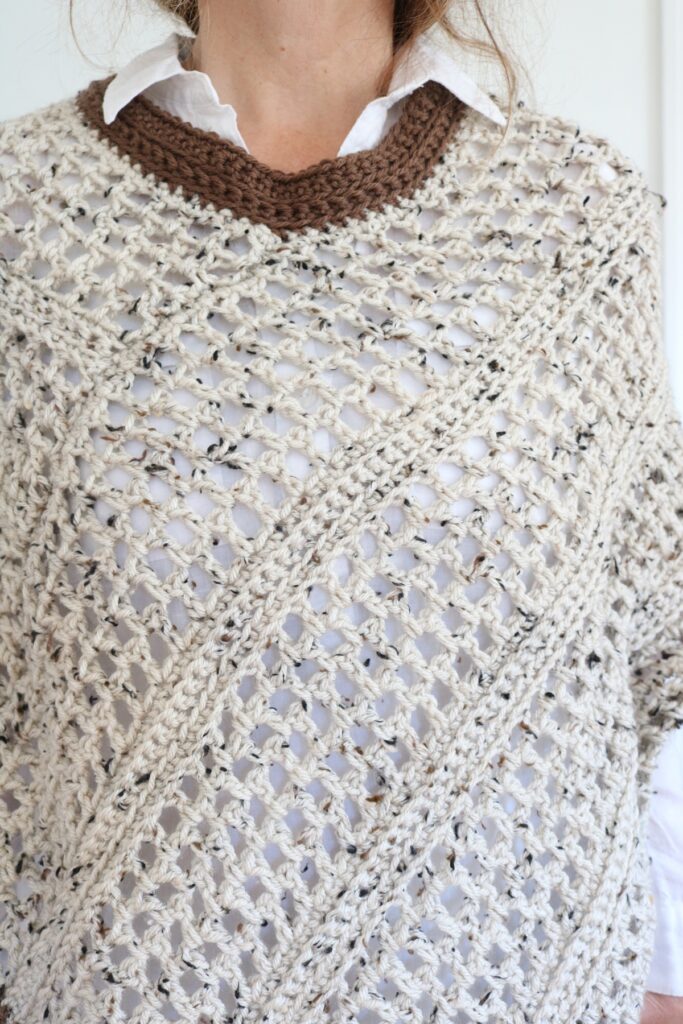
Over a white collared shirt: Tuck a crisp white button-down underneath and let the collar peek out for a more tailored, elevated take on poncho styling.
As a transitional layer: Since it’s not as bulky as a full sweater, this poncho is perfect for those in-between fall days — toss it on over a tee in the morning and take it off by afternoon.
For photos and gifting: The classic silhouette and neutral colorway photograph beautifully, making this a lovely handmade gift for the fall-loving women in your life.
If you’re a beginner at crochet, you can absolutely handle this pattern using basic crochet stitches. The repetitive panel pattern is simple to master, and the seaming isn’t difficult using slip stitches. The edging rounds use single crochet stitches, sometimes worked in only the back loop (BLO) and other times in only the front loop (FLO), for a clean, finished edge. It’s the perfect crochet poncho pattern for beginners. You can do it!
Don’t forget this poncho pattern is also available as an ad-free, printable PDF with helpful photo tutorials. Grab the Crochet Fall Poncho pattern in my shop.
Related Patterns You’ll Love
If you enjoyed this free crochet poncho pattern, here are a few more cozy patterns to add to your queue:
- Crochet Shawl Pattern — Another easy, wearable layering piece.
- Crochet Wrap / Textured Scarf — A quick, cozy accessory using Scarfie yarn.
- Crochet Shawl Pattern — An easy asymmetrical shawl.
- Cape Cod Triangle Shawl Pattern — A triangle shawl with matching ear warmer.
Final Thoughts
There’s something so satisfying about crocheting your own poncho for fall — a piece you’ll wear on repeat the moment the air turns crisp. This free crochet poncho pattern for beginners delivers a classic, tailored silhouette without complicated construction: two simple panels, an easy seam, and a beautiful contrast trim to finish it off.
Grab your yarn & hook, settle in, and make something beautiful to wear this season. 🍂
Did you make this poncho? I’d love to see it! Share your finished piece on Instagram and tag me @aboxoftwine so I can feature your beautiful work. And if this free pattern was helpful, please share it with a fellow maker who’d love it too.
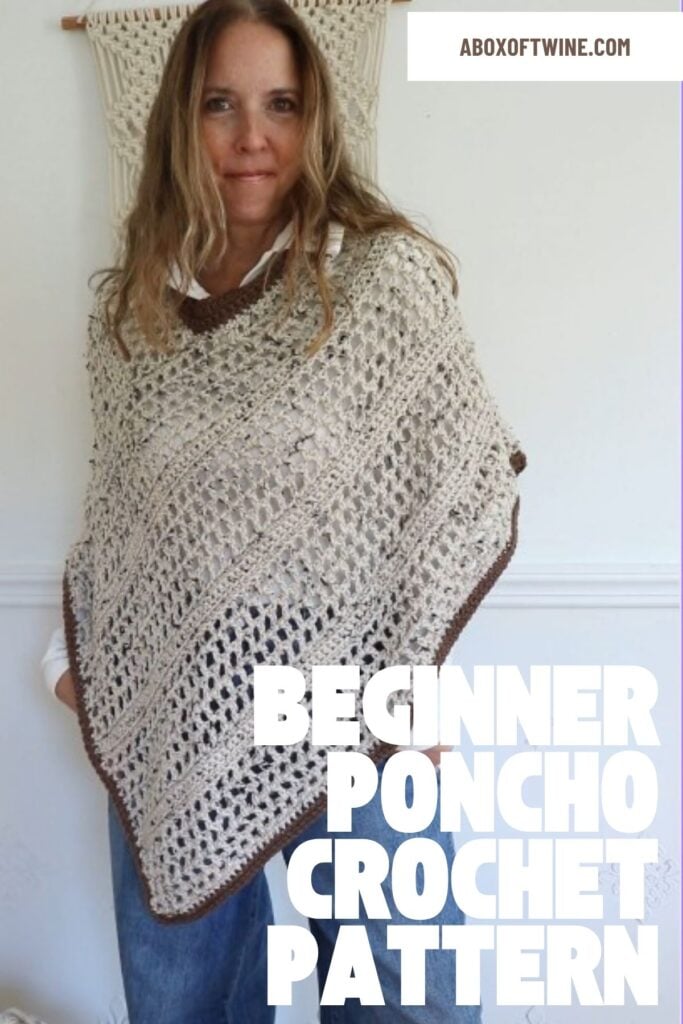
===> Remember to PIN for later! <===


4 Comments
Symone
Susan this poncho is absolutely gorgeous! I love it. I can’t wait to get the yarn to make it in time for fall weather. I no longer have a stash and have to start over – this is going to be fun! Thank you for posting this.
Susan
So happy that you like the poncho pattern, Symone! And yes – it is time to refill the yarn stash for fall – enjoy!
Sandra
If I search the stash first and find a few fibers for this I will have it ready for this fall. I’ll make the frist one is the correct weight of yarn but then I have some other weights of yarn which I know will need to have more stitches to get it started. Looks very promising to me thanks so much.
Susan
Yes! Use what you have for yarn and be creative with your stash. Great idea!