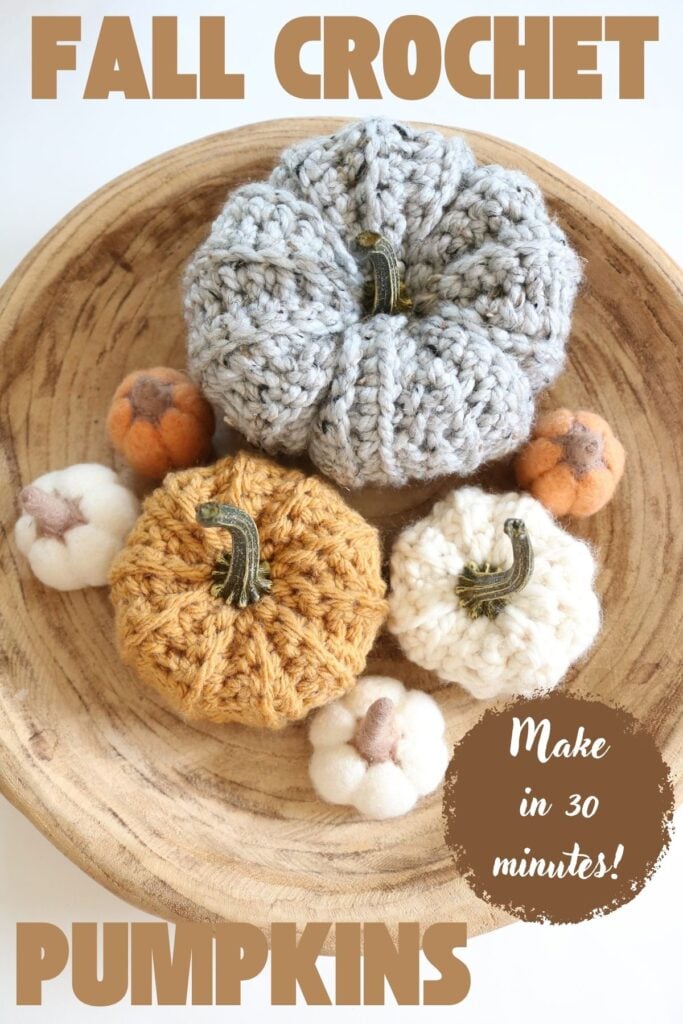
Chunky Crochet Pumpkin Pattern (Easy & Ready in 30 Minutes)
First Published: September 2026 | Skill Level: Beginner | Technique: Worked Flat & Seamed | Season: Fall
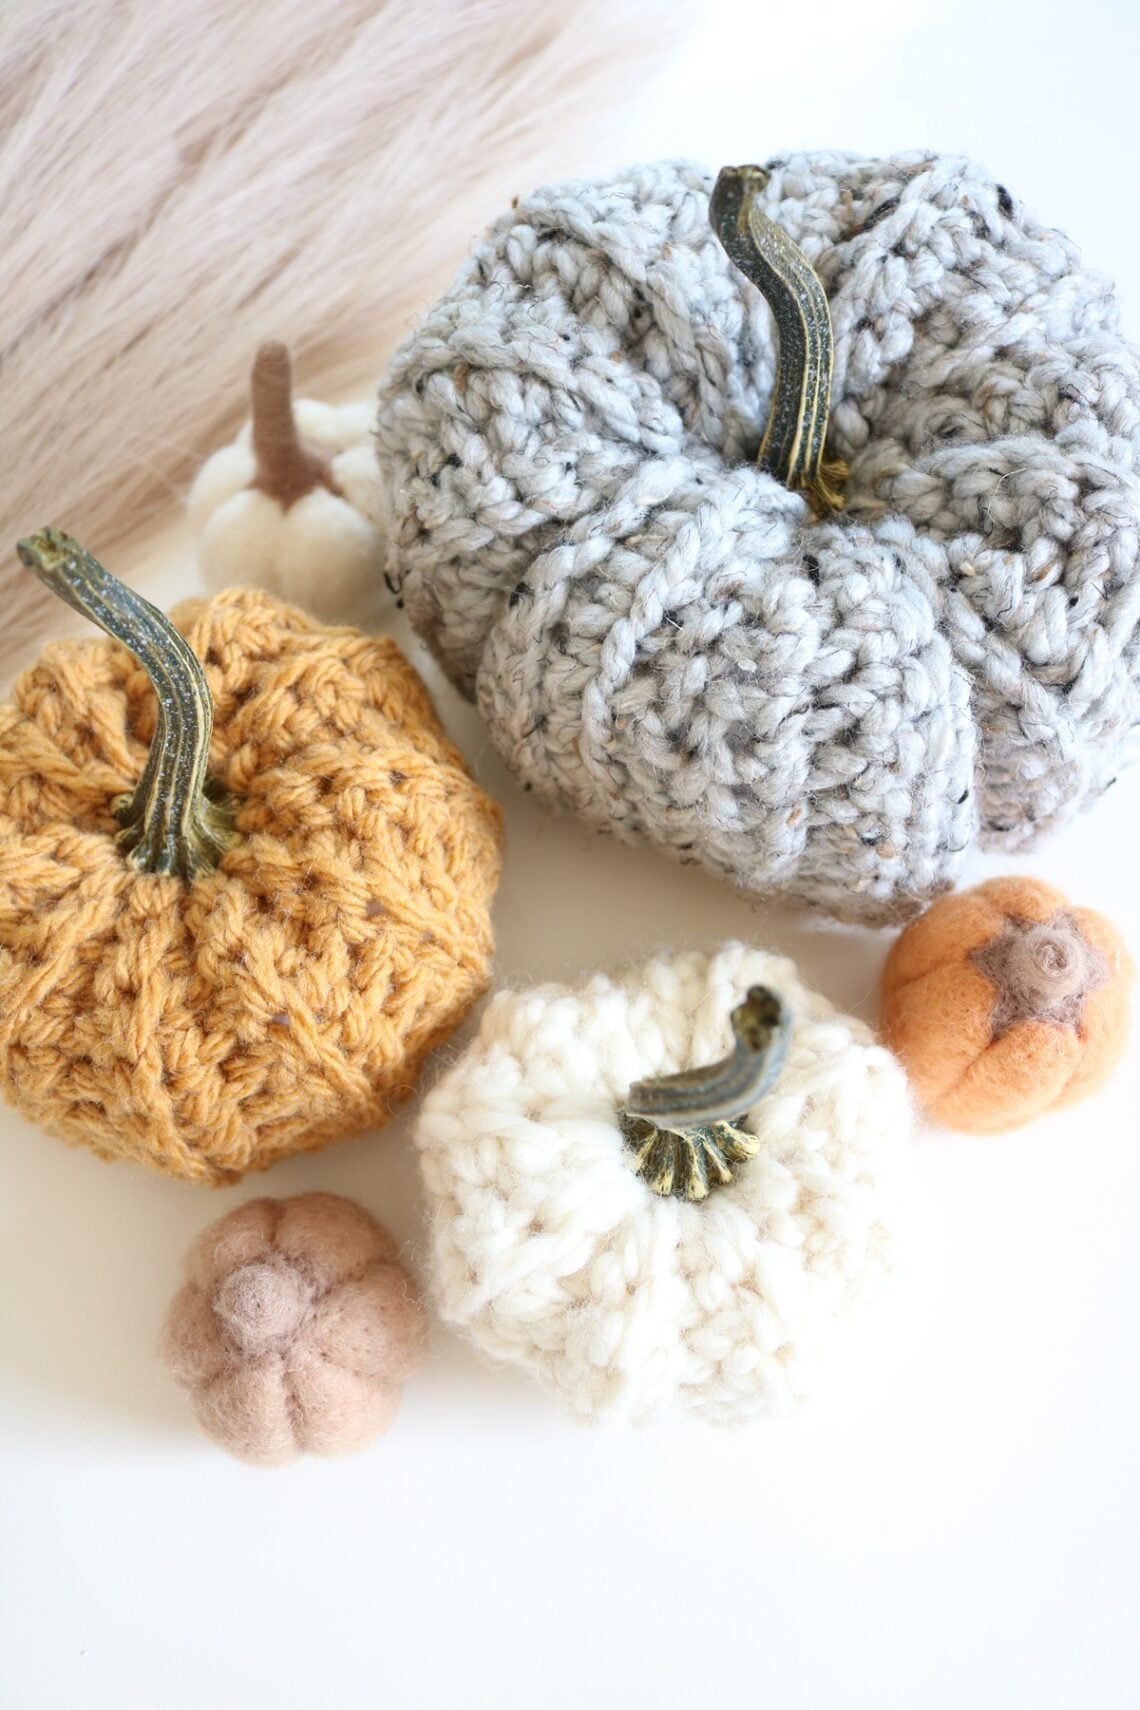
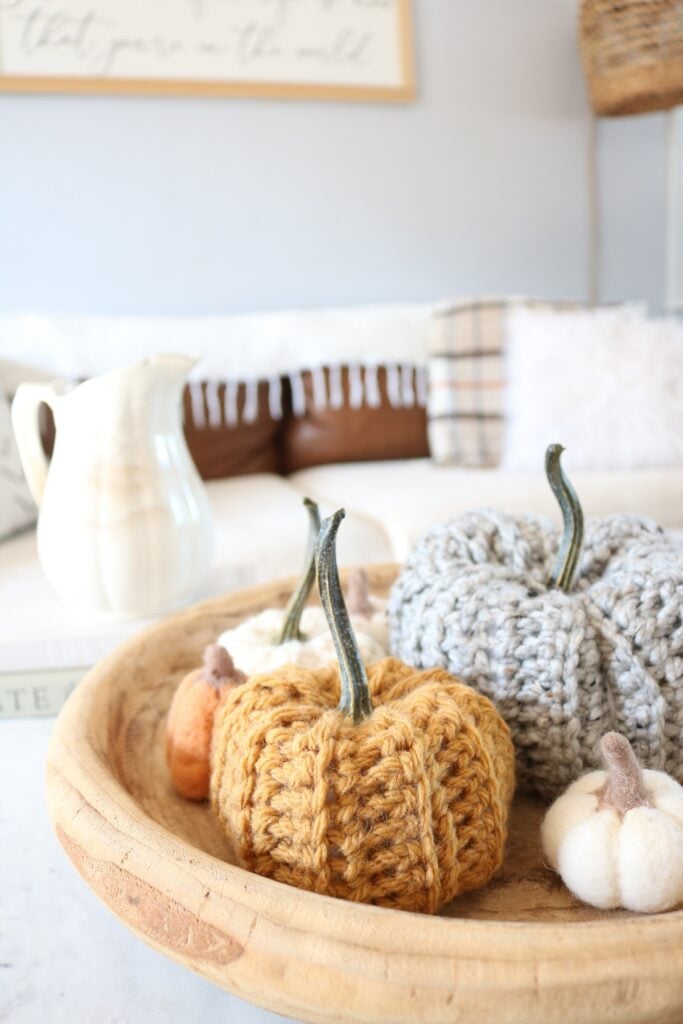
If you want a little fall coziness without committing a whole weekend to it, these chunky crochet pumpkins are the answer. Each small pumpkin takes only about 30 minutes from first chain to faux stem, and it’s made from one simple rectangle of single crochet. That means there’s no working in rounds, no increases, and no counting in circles. The back-loop ribbing naturally creates those soft pumpkin ridges, so all you do is seam it, cinch it, stuff it, and give it a little “smush.” Make one for your mantel, a whole patch in cream and soft grey for your coffee table, or a basketful to tuck into hostess gifts all season long. Grab a skein of super bulky yarn, and let’s make something cozy!
Why You’ll Love This Free Chunky Crochet Pumpkin Pattern
- It’s quick. About 30 minutes per small pumpkin, so you can make a whole cluster in one evening.
- It’s beginner-friendly. If you can chain and single crochet, you can make this. It’s just one row, repeated.
- No rounds, no shaping. You work a flat rectangle, then seam and cinch it into shape. That’s it.
- It’s a stash-buster. A small pumpkin only uses about 20 yards of yarn, so leftover skeins finally get a job.
- It’s timeless, not trendy. Cream, oat, and soft grey pumpkins look just as right on your shelf five years from now as they do today.
- They make the sweetest gifts. Tie on a little tag and you have a handmade hostess, teacher, or neighbor gift that costs next to nothing.
This post may contain affiliate links. That means if you click and buy, I may make a commission at no cost to you. Please see my full disclosure policy for more details.
At a Glance
| Craft | Crochet |
| Skill Level | Beginner |
| Stitch Pattern | Single crochet in back loop only (creates ribbed “pumpkin ridges”) |
| Finished Size | Small — 4″ diameter x 3″ tall |
| Time to Complete | About 30 minutes |
| Yarn Weight | Super Bulky (#6) or Bulky (#5) |
Supplies & Materials Needed
Yarn:
- Yarn Weight: Super Bulky (Size 6)
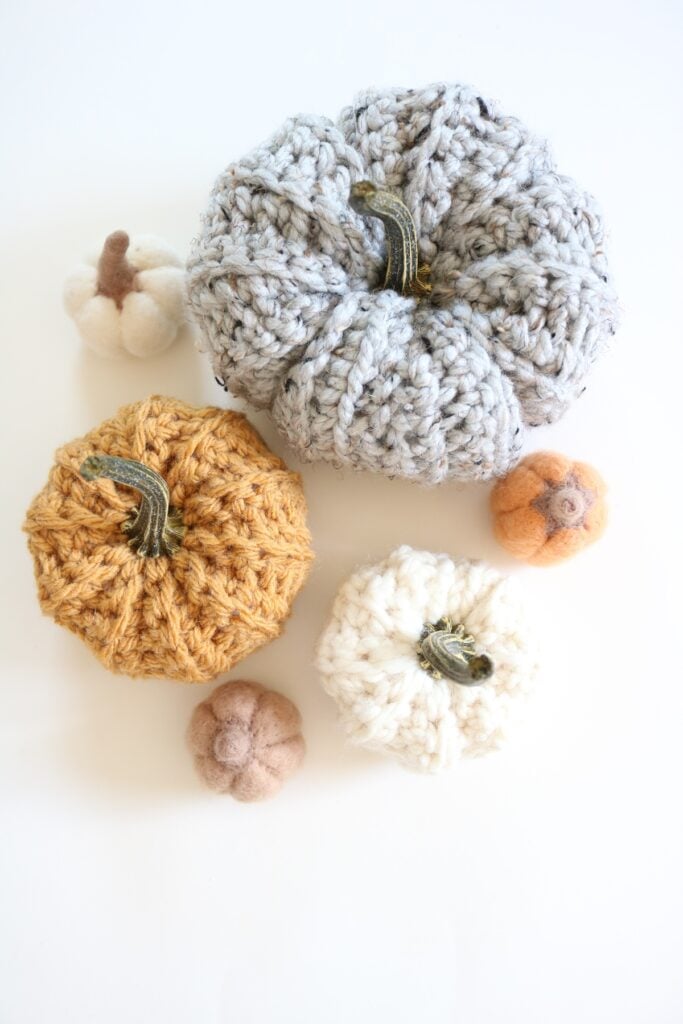
- Used in Sample: Lion Brand Wool-Ease Thick & Quick (106 yds/6 oz/170g per skein), color “Fisherman,” 20 yds per small pumpkin
Substitution Tip: Any similar Size 5 chunky yarn (like Lion Brand Hue + Me) will also work for a slightly less chunky pumpkin.
Hook:
- Size N (9.0 mm) crochet hook
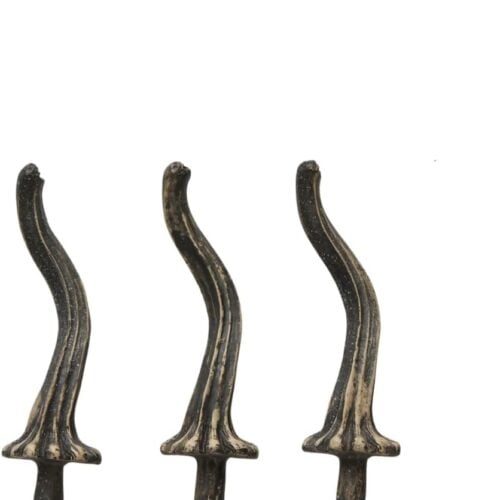
Faux Pumpkin Stems
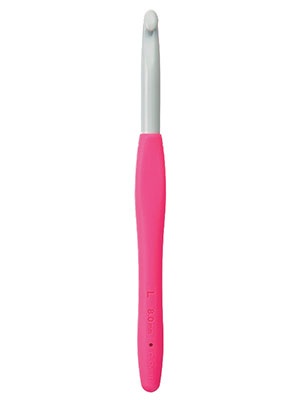
Amour Plastic Bulky Hooks
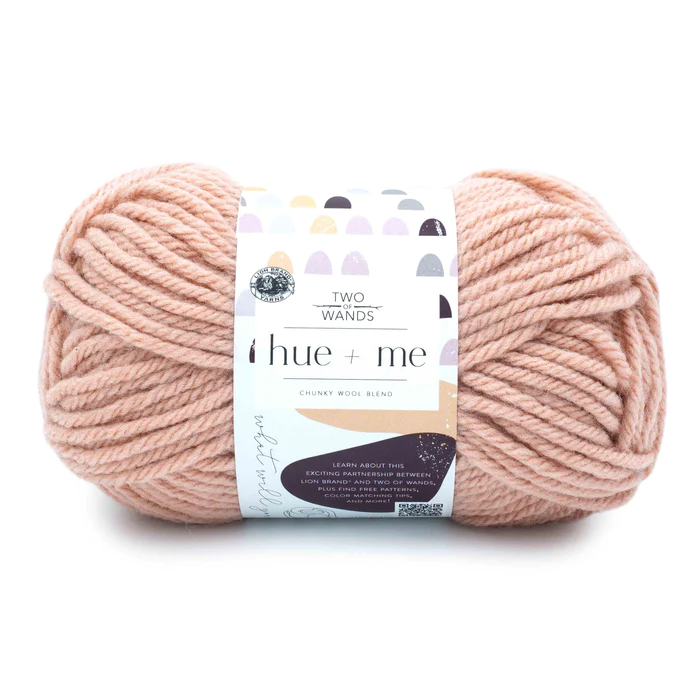
Hue + Me Yarn
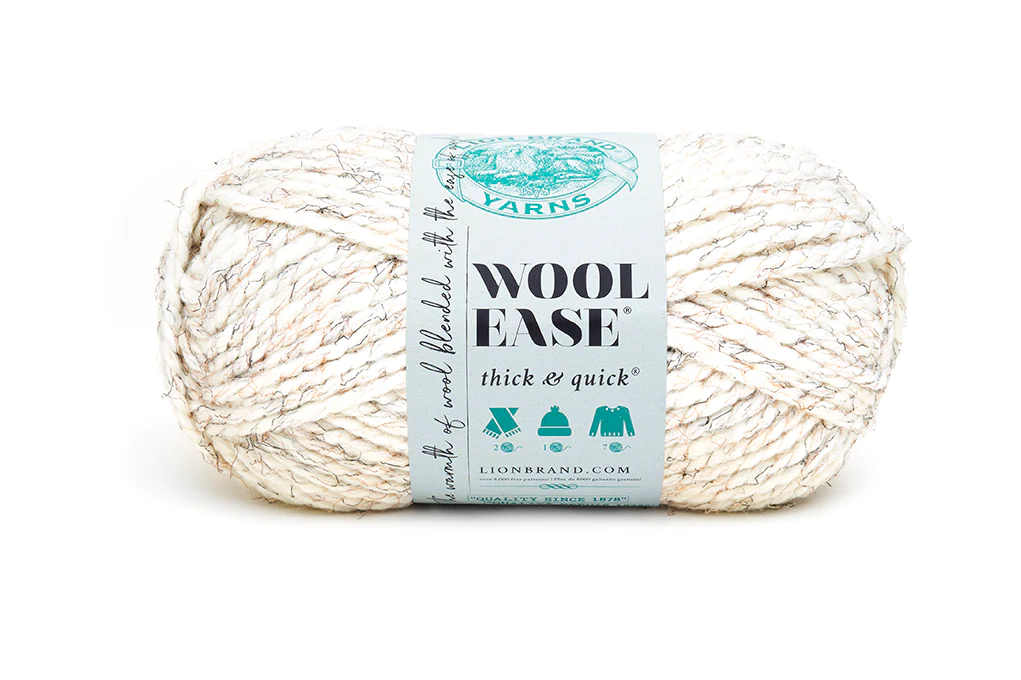
Wool Ease Thick & Quick Yarn
Crochet Notions
- faux pumpkin stems
- hot glue gun, glue
Sizing (Small Pumpkin):
| Inches | Centimeters | |
|---|---|---|
| Diameter | 4 | 10 |
| Height | 3 | 7.5 |
Gauge: 4″ (10 cm) square: approx. 9 sts by 8 rows with Size 6 yarn (gauge is not critical)
Crochet Abbreviations
(US terms)
- ch – chain
- sc – single crochet
- blo – back loop only
- st(s) – stitch(es)
- rep – repeat
Upgrade to the Printable PDF
Want to make a whole pumpkin patch? The ad-free, printable PDF includes this pattern in all three sizes — Small, Medium, and Large — plus step-by-step progress photos and tips for adding pumpkin indentations. Grab the PDF in my shop – it’s the easiest way to keep this pattern handy every fall:
(The premium Ad-Free PDF can also be purchased on ETSY)
Chunky Crochet Pumpkin Pattern
Note: All “Ch 1” do not count as a st.
You’ll make this pumpkin in four simple stages:
- Crochet a small rectangle by working the indicated number of rows.
- Fasten off and seam the short ends together to form a tube.
- Cinch the bottom closed and stuff the pumpkin.
- Cinch the top closed, add a stem, and give it a little “smush.”
Tips before you start:
- Want a slightly less chunky pumpkin? Use a Bulky (size 5) yarn and a similar hook size.
- Be sure to fasten off with a long tail that you can use to seam the short ends.
- Try not to over-stuff. You don’t want stuffing peeking out between the stitches.
- After tightening the top and bottom with a running stitch, add a few back-and-forth stitches to fully close any gaps.
Pumpkin Rectangle (Size Small)
With size N (9 mm) hook, chain 9 with Size 6 yarn.
Row 1: Sc into 2nd ch from hook and in each ch across. Turn. (8 sts)
Row 2: Ch 1, sc in blo of each st across. Turn. (8 sts)
Rep Row 2 13 more times for a total of 15 rows.
Fasten off, leaving approx. 12–15″ tail for seaming.
Finishing Crochet Pumpkin
Seam Short Ends to Join
Use a tapestry needle and the tail yarn to work a seam joining the first and last rows of the pumpkin rectangle together. This will form a tube.
Close Up Bottom of Pumpkin
Using a tapestry needle, thread new yarn (or tail yarn if there is enough) through the bottom stitches of the pumpkin using a running stitch. Pull the yarn to tighten, close the gap with stitches, then secure the yarn.
Stuff Pumpkin
Use polyfill stuffing to stuff the inside of your pumpkin. Stuff it well, but not so much that the stuffing pops through the stitch gaps.
Close Up Top of Pumpkin
Using a tapestry needle, thread new yarn from the skein through the top stitches of the pumpkin using a running stitch. Pull this remaining tail down through the middle of the pumpkin and out through the bottom center hole.
Add Stem
Now is a good time to insert a faux pumpkin stem into the top center hole, using hot glue to secure it.
Smush Pumpkin
Tighten the tail by pulling it firmly through the bottom, then secure it to the bottom of the pumpkin. This tightening lets the pumpkin “smush” down a bit into that classic squat pumpkin shape.
Secure any loose yarn ends and tuck them inside the pumpkin.
That’s it — your chunky pumpkin is officially finished! (Now make three more.)
Tips to Customize Your Pumpkins
- Make a pumpkin patch: The PDF includes Medium (5″) and Large (6″) sizes, so you can build a graduated cluster that looks like it came from a farm stand.
- Add indentations: For a more defined pumpkin shape, thread yarn from the bottom center up through the top center, then pull it snugly down over the side and back up through the bottom. Repeat 4–8 times, evenly spaced.
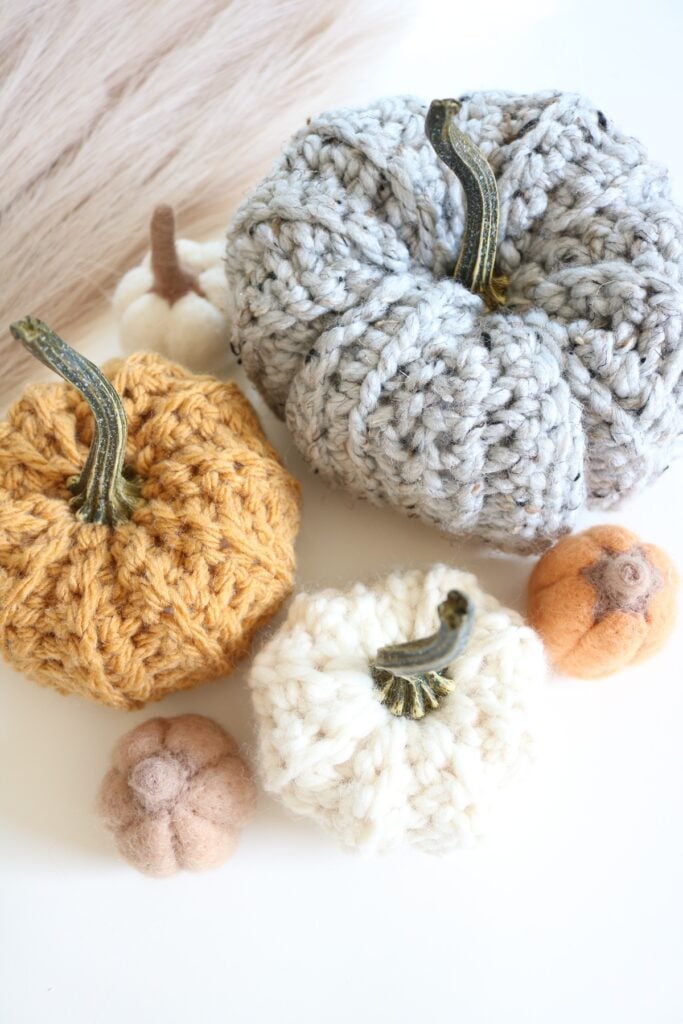
- Play with neutrals: Try Fisherman, Marble Grey, oatmeal, or a soft caramel for a quiet, tonal look — or one mustard pumpkin as a warm accent in a cream grouping.
- Swap the stem: No faux stems on hand? A cinnamon stick or a small twig from the yard works beautifully and adds a little natural texture.
- Go a little smaller: Use Bulky (size 5) yarn for a petite pumpkin that’s perfect for place settings.
How to Style & Gift Your Chunky Crochet Pumpkins
These little pumpkins are made to be moved around your home all season long. Here are a few of my favorite ways to use them:
- The mantel cluster: Group 3–5 pumpkins in mixed neutrals alongside taper candles in brass holders and a few stems of dried wheat or eucalyptus. Keep everything tonal so the chunky texture is the star.
- The coffee table tray: Set two small pumpkins on a wooden tray with a stack of books and your favorite candle for an easy, lived-in fall look.
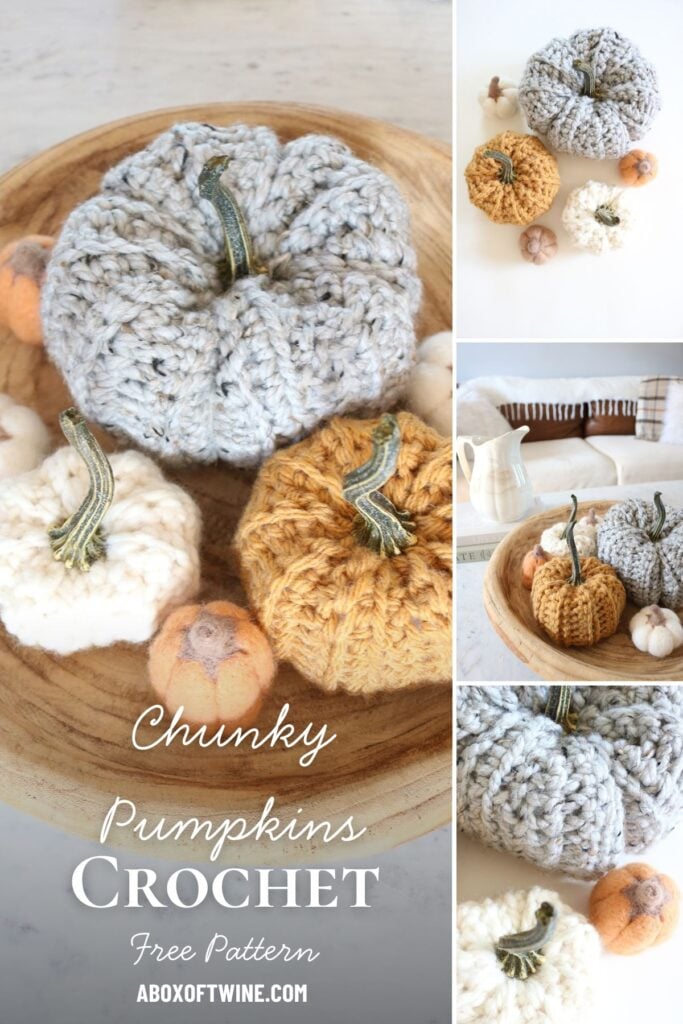
- The dough bowl: Pile a handful into a wooden dough bowl or a woven basket on your kitchen island for instant farmhouse coziness.
- The Thanksgiving table: Set one small pumpkin at each place setting with a handwritten name tag tied to the stem. Your guests can take them home as favors.
- The bookshelf: Tuck a single cream pumpkin between books for a subtle seasonal touch that doesn’t feel cluttered.
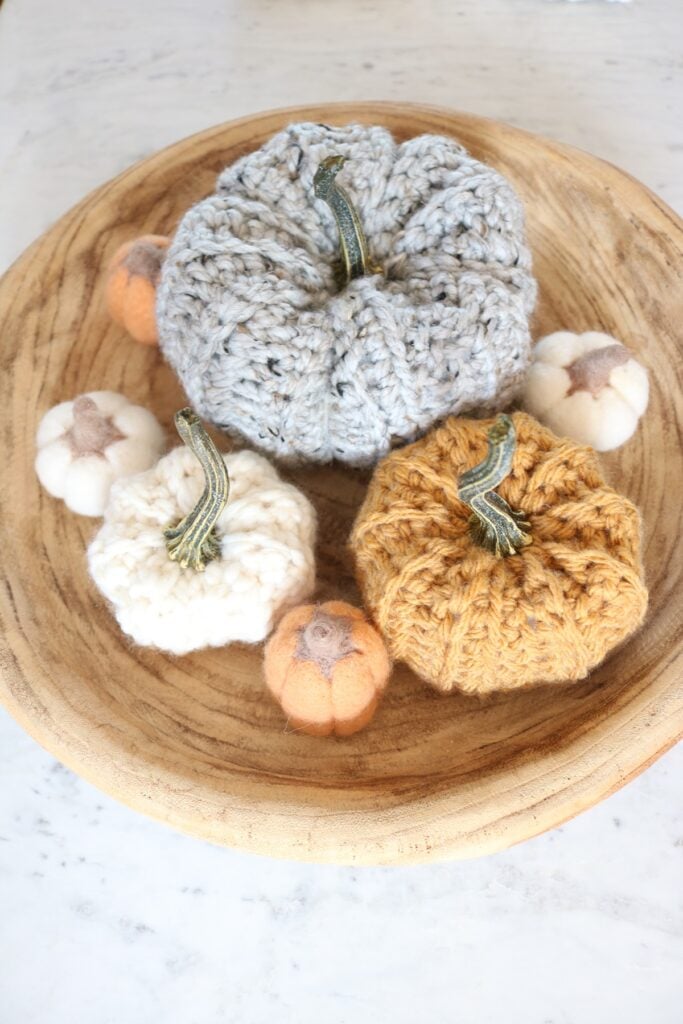
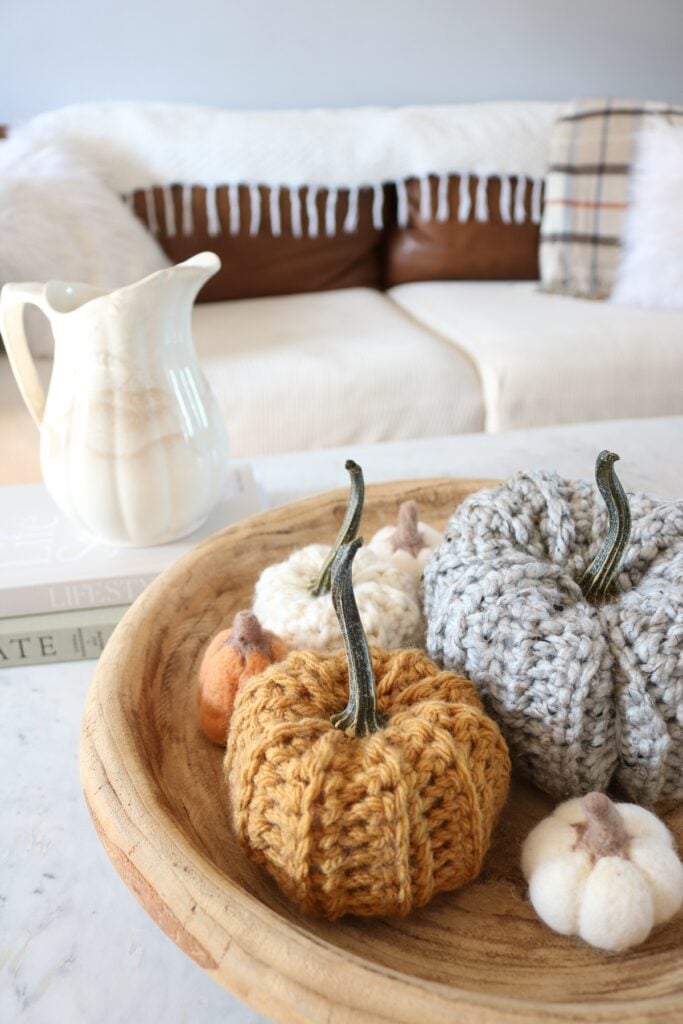
Gifting ideas:
- Hostess gift: Pair a pumpkin with a candle or a bag of local coffee.
- Teacher gift: Tie a kraft paper tag to the stem with a little note. It’s so much sweeter than a store-bought card.
- Neighbor treats: Since they only take about 30 minutes each, you can make a whole batch in a weekend and drop them off on doorsteps.
- Gift basket filler: Tuck one into a fall gift basket with a mug, cocoa, and a cozy pair of socks for a thoughtful handmade touch.
Caring for Your Crochet Pumpkins
Since these pumpkins are stuffed and have glued-on stems, they’re best as spot-clean decor. Use a damp cloth with a little mild soap to lift any dust or marks, and let them air dry. Store them in a lidded bin with your fall decor so they stay fluffy and fresh for next year.
Related Patterns You’ll Love
- Striped Crochet Pumpkins — another easy, worked-flat pumpkin with a simple two-color stripe, perfect for mixing into your patch.
- How to Crochet a Pumpkin — if you’d like to try a version worked in rounds with defined vertical ridges.
- Simple Knit Pumpkin Pattern for Beginners — a chunky knit version for your knitting friends (or your knitting days).
- Harvest Basket – Free Crochet Basket Pattern — the perfect basket to pile your finished pumpkins into.
- Chunky Crochet Infinity Scarf — uses the same Wool-Ease Thick & Quick yarn, so your leftovers can become a cozy scarf.
Final Thoughts
These chunky pumpkins are one of those projects I come back to every single fall. They’re quick, forgiving, and there’s something so satisfying about watching a flat little rectangle turn into a plump pumpkin in your hands. If you’re brand new to crochet, this is a wonderful first project. But if you’ve been crocheting for years, it’s also the perfect relaxing make for a cozy evening with a cup of tea.
Don’t forget that this crochet pumpkin pattern is also available in an ad-free digital pdf pattern. The pdf has a few helpful photos and all 3 sizes. Grab the CROCHET PUMPKIN pattern in my pattern shop.
If you make a pumpkin (or a whole patch!), I’d love to see it! Tag me on Instagram @aboxoftwine. And don’t forget to save this pattern to Pinterest so it’s easy to find again next fall.
===> Remember to PIN for later! <===