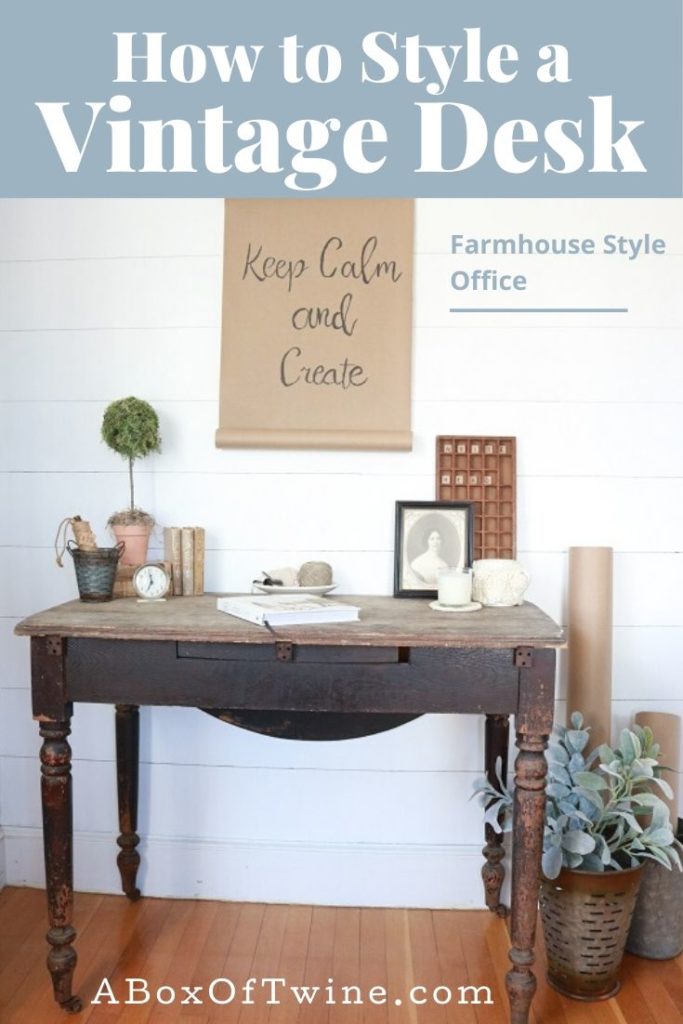
How to Style a Vintage Desk
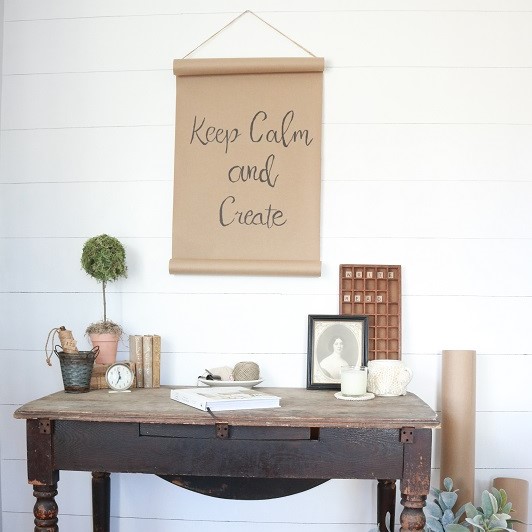
Recently I decided to make a creative area in our living room by styling an old vintage desk. Since we’re all spending much time at home these days, perhaps you also need a peaceful creative area of your own. It can be a lovely place to sit, read, write, pray, craft, dream, and get inspired. Personalize this space with your favorite books and supplies to get the creative juices flowing.
Keep reading to see how I styled this vintage desk in our living room corner. I hope you can create or update your own farmhouse style office area and join me in styling it!
Also, here’s a quick video showing the desk in progress…
(Video Music – “Holiday”
Exzel Music Publishing (freemusicpublicdomain.com)
Licensed under Creative Commons: By Attribution 3.0
http://creativecommons.org/licenses/by/3.0/)
This post may contain affiliate links. That means if you click and buy, I may make a commission at no cost to you. Please see my full disclosure policy for more details.
Step 1 – begin with anchor pieces
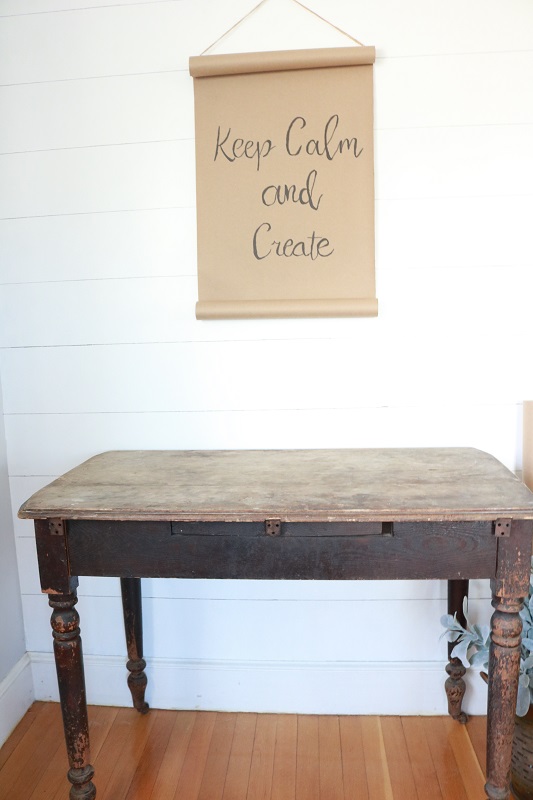
First you’ll want to begin with the anchor pieces. These are the large foundation pieces for your creative area. You’ll want a good-sized desk, preferably vintage, and a large piece of wall art or shelving to hang over the desk.
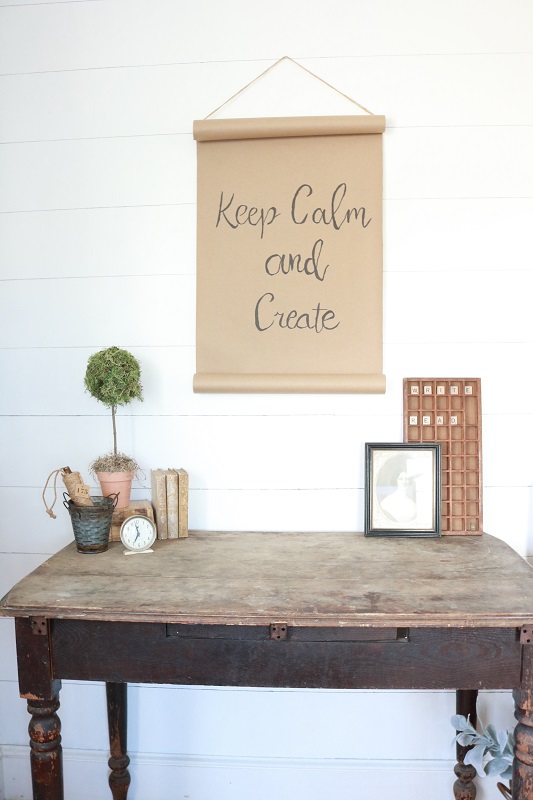
I began with this vintage (and very rustic) drop-leaf table that I’m using for a desk. This piece has been in my garage since I used it as a display table at a vintage bazaar years ago. It doesn’t have storage, but that’s fine by me since I’ve got storage elsewhere. This will be more of an inspirational corner. See what you can find in your garage or vintage stash!
I also hung a handmade scroll sign for my wall art (on our faux-shiplap wall). It’s important to have a large focal point to draw you in.
Step 2 – add first layer in background
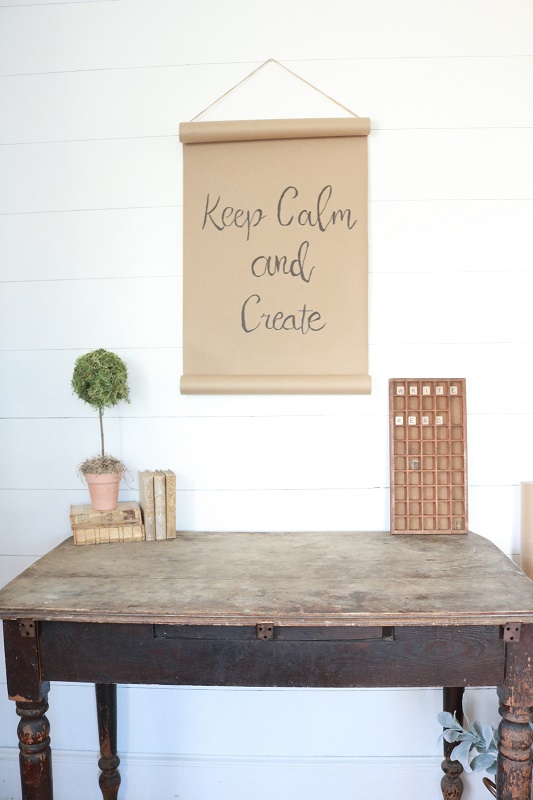
Next you’ll want to add your background layer. This layer will give height and a flat background for your desk. It will also fill in some of the empty space under your wall art.
I added a vintage printer’s tray and a DIY faux topiary for my background. I wanted them to have a similar height, so I placed the topiary on a stack of books. More books were added alongside to widen that background.
You could also add a tall lamp here for height and practicality.
Step 3 – add next layer for depth
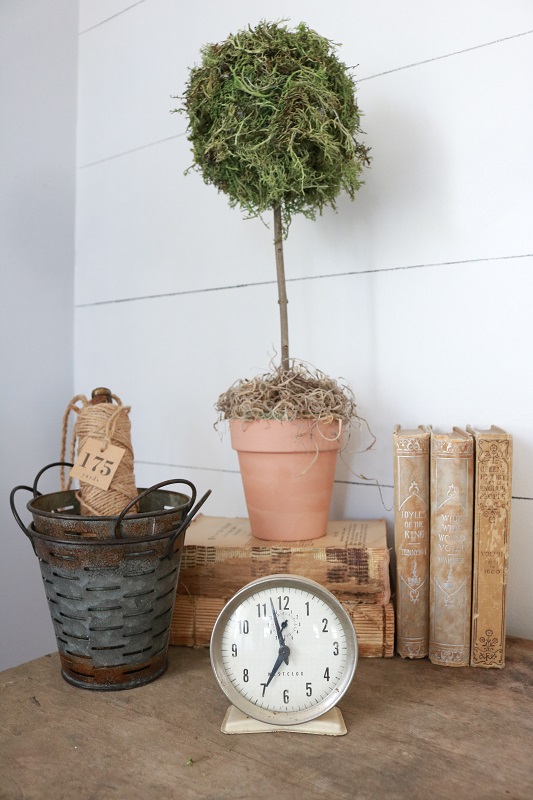
At this point I wanted to add another layer in front of this first layer to give more depth. I added a small portrait in front of the printer’s tray, and some small olive buckets & a vintage clock in front of the books.
Step 4 – include soft texture & light
Although the faux topiary provides greenery and texture, I think it is important to add soft texture to a desk as well. We don’t want the desk to appear too hard & cold. Adding soft textured pieces will create a more inviting look.
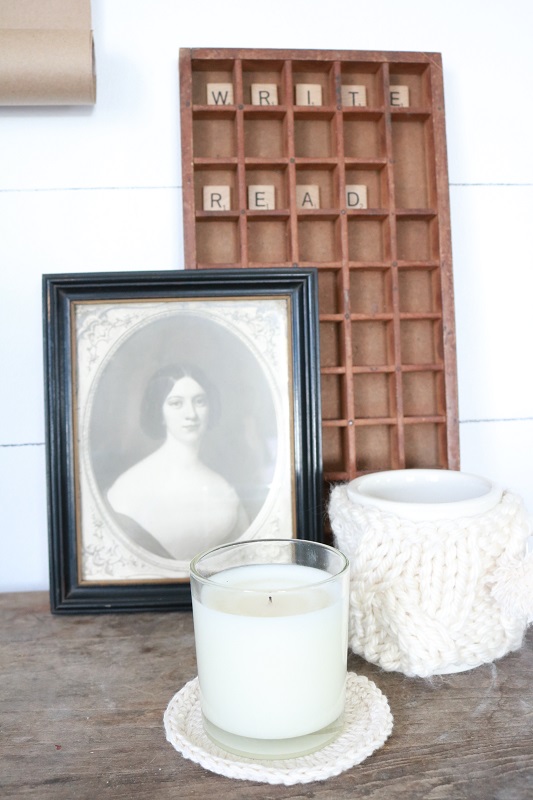
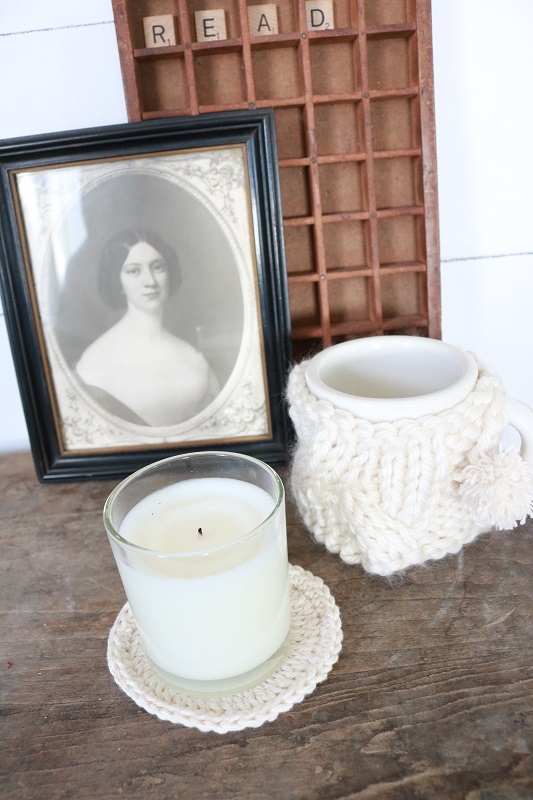
Here I’ve added handmade yarn items to my desk – a knitted mug cozy to keep my coffee warm, and a crochet coaster under a candle. Any soft candle with a soothing scent will lure you into your peaceful creative area.
Step 5 – add small accessories
The last step is certainly a fun one, but you don’t want to get carried away with it. Accessorize!
Keeping with my creative writing theme, I added vintage stamps, postal bag, a vintage clip, and twine.
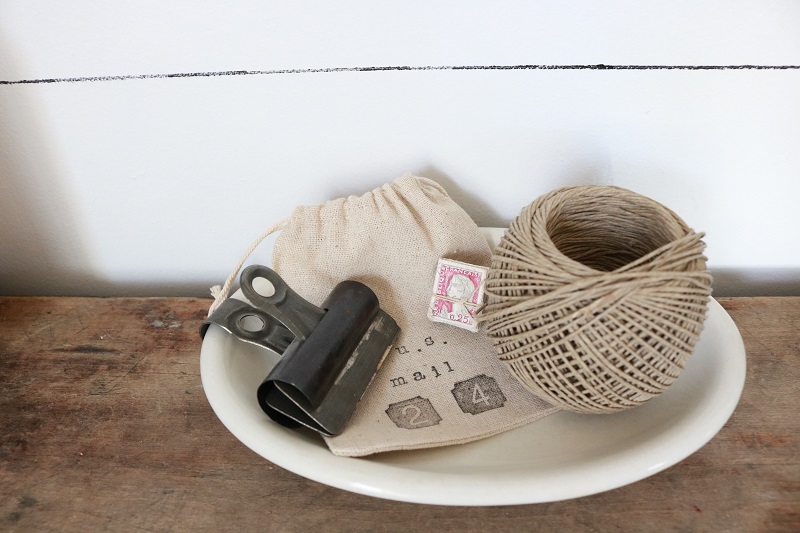
I like to use a rule of 3’s when grouping items: group 3 items of various sizes together. For instance, there are 3 main items in the ironstone tray (clip, stamp bag, twine) and 3 items in the left corner (topiary/books, olive buckets, vintage clock).
The portrait & printer’s tray background layer, mug, and candle make up another group of 3. You want to layer a group of 3 with largest in back followed by smallest in front.
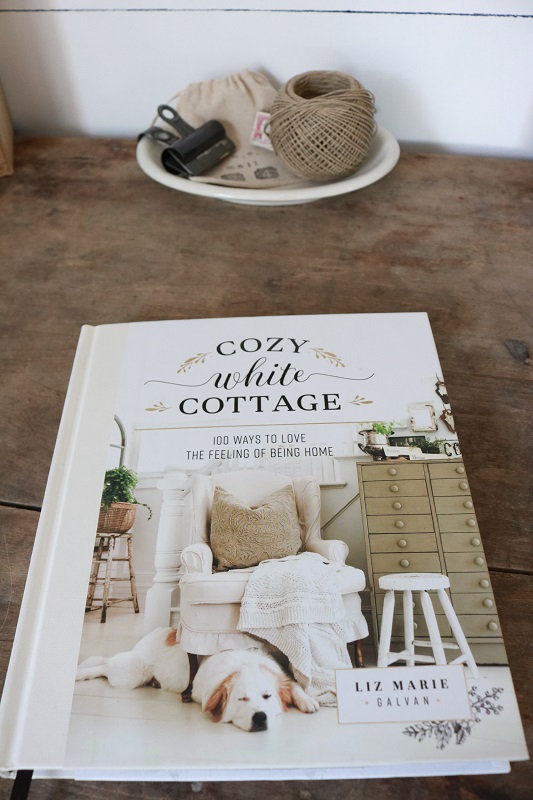
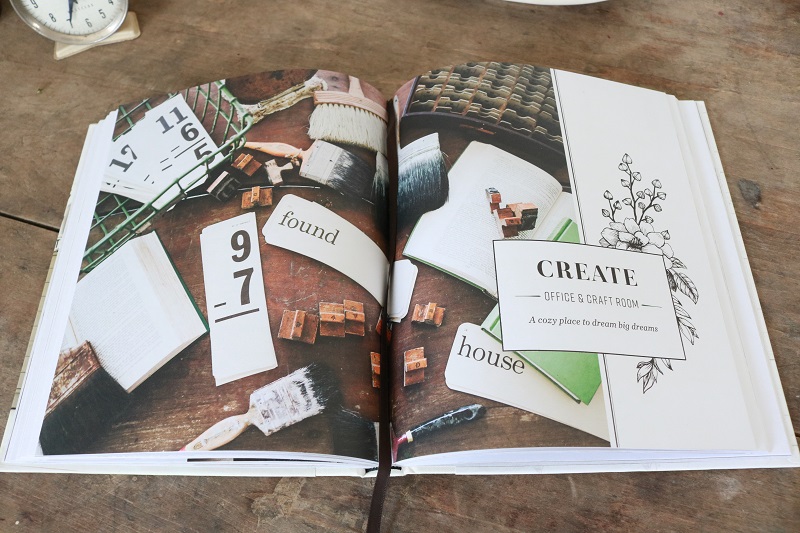
It doesn’t hurt to have a favorite inspirational book on hand while you’re styling. My book, Cozy White Cottage by Liz Marie Galvan, is full of unique ideas for styling vintage pieces.
Enjoy the vintage desk in your creative corner!
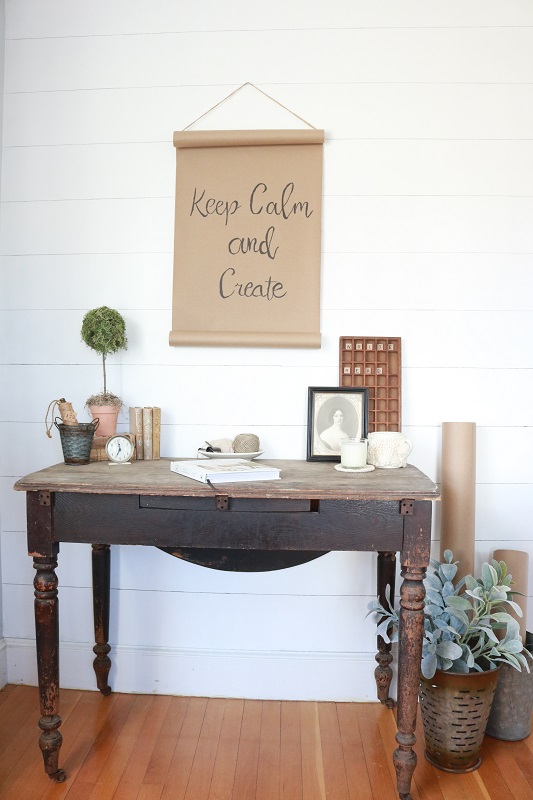
Now that you’ve styled a vintage desk, it’s time to enjoy this little corner in your room. Grab a comfortable chair, coffee, books, and art supplies, then get those creative juices flowing.
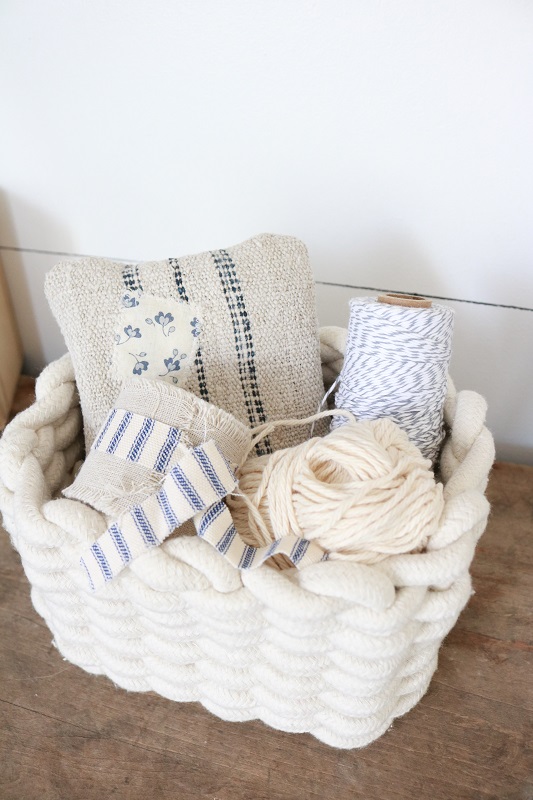
Keep calm and create!
Bonus – I’ve got a free printable for your desk area! It’s got two different phrases you can print on 8.5″ by 11″ paper: “Keep Calm and Create” or “Keep Calm and Write”.
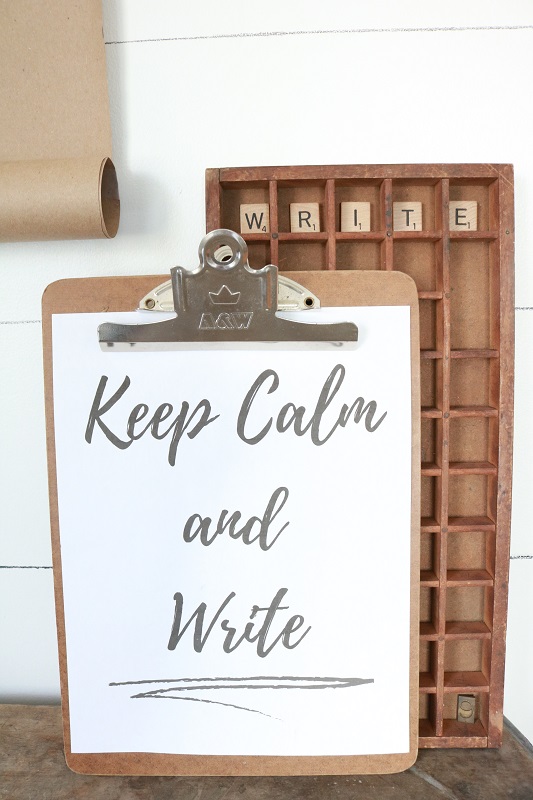
Subscribe and gain access to the free printable below…
Want to remember this idea? Post this vintage desk article to your favorite Pinterest board!


