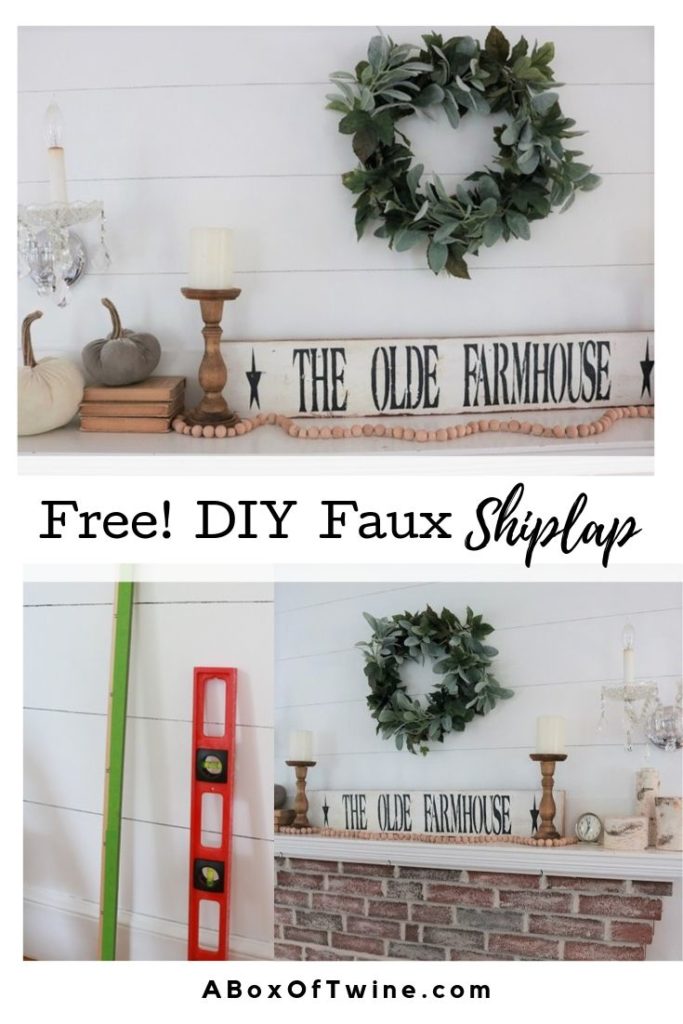
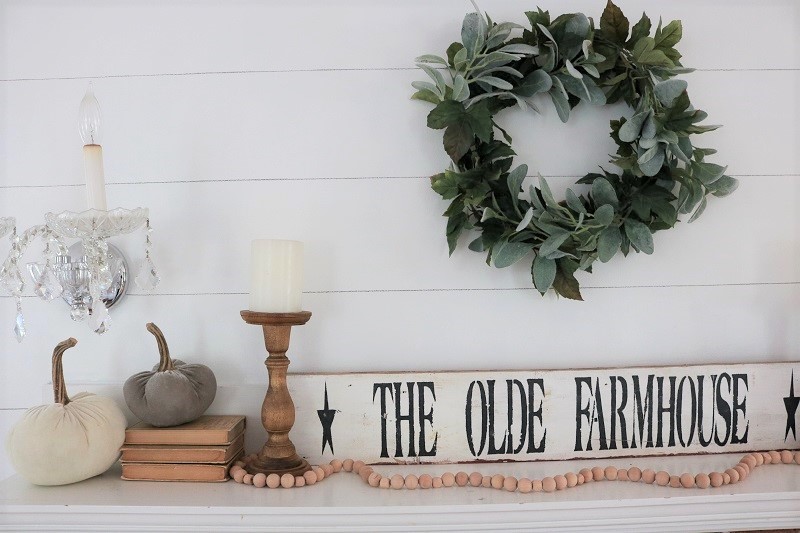
Faux Shiplap that Costs Nothing
I know shiplap has been popular for quite a few years now thanks to Fixer Upper and the Gaines couple, but I’ve never been one to jump into a trend right away. That is my excuse for waiting this long to jump on board the ‘ship’! Thankfully shiplap may be here to stay, mostly because it’s been around a lot longer than the Fixer Upper show. It has a timeless, cottage and farmhouse feel to it, especially when painted all white. I’ve admired it for years, but never had the opportunity to incorporate the look into our house…until now!
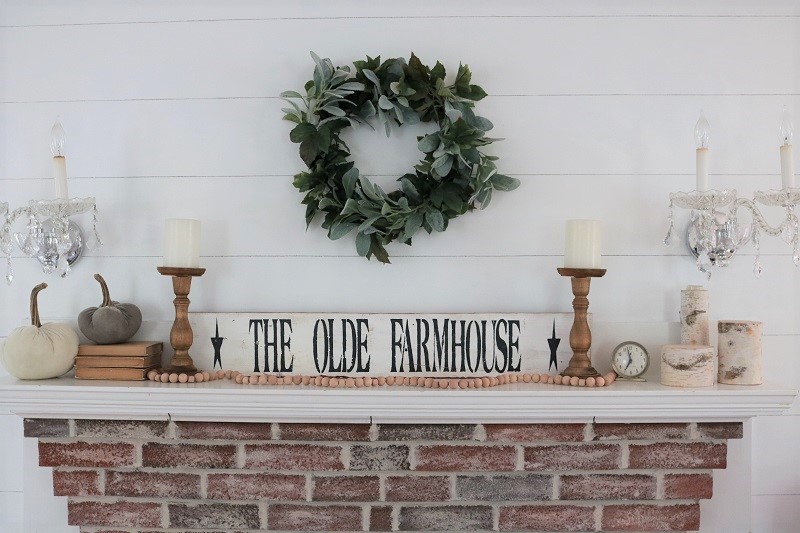
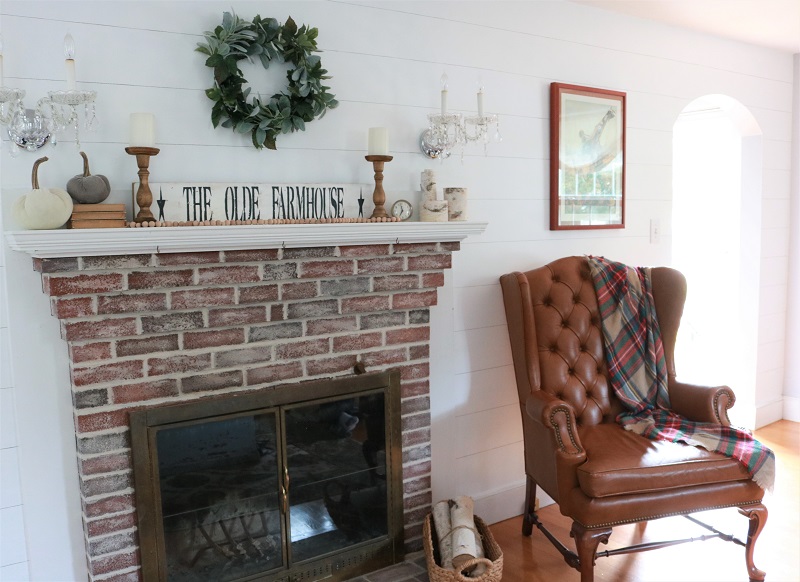
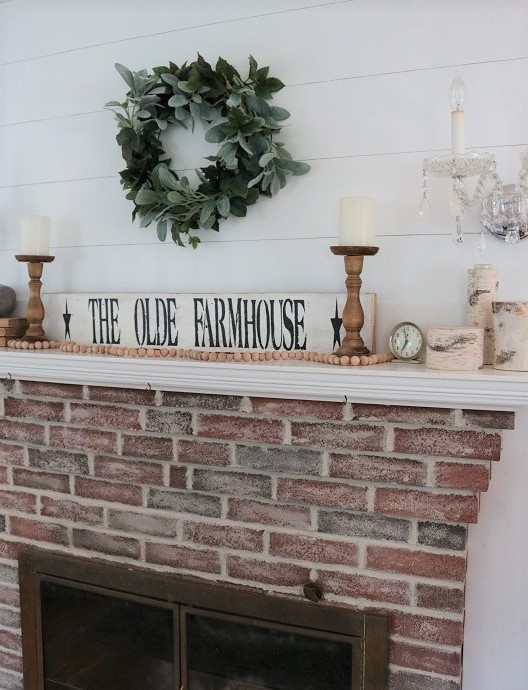
You may recall that our contractor installed shiplap boards in our renovated modern farmhouse kitchen. I LOVE them! One of the fellows on the construction crew even commented how our kitchen now has a ship-like feel.
Search for Faux Shiplap
My adoration for this wall treatment got me itching to put it in our living room. However this room is very large, and I wouldn’t want to cover the entire room with shiplap. Instead I decided to take a budget-friendly approach – give one focus wall a faux shiplap treatment!
I diligently searched for faux shiplap ideas on Pinterest to find something we could do ourselves and didn’t cost much. One project that popped up frequently is the use of plywood to form planks spaced a nickel apart. I don’t have the proper tools, time, or wherewithal to accomplish that sort of task, nor does my husband. Therefore I chose the most inexpensive and easiest option – applying black horizontal lines to white walls!
Friends, I’m going to share with you the steps I took (which somewhat mimicked projects I found) and lessons learned along the way.
Supplies
Hopefully you already have these supplies on hand, so this project can truly cost nothing:
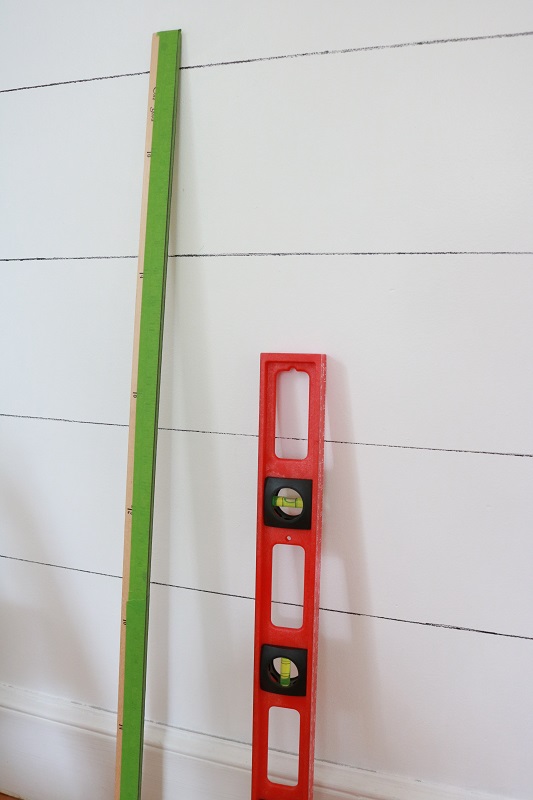
- good-sized level
- black coloring pencil
- yardstick
- painter’s tape or frog tape
- step stool
Steps for Faux Shiplap that costs nothing
- begin with a white wall. I had to paint my focus wall white because our living room was originally painted a soft blue color. Since I already had leftover paint from our kitchen (Behr Ultra Pure White), this only cost me time – no $!
- starting from the ceiling, measure out 7″ increments down to the baseboard and mark them with small pencil lines. Note: I only found this necessary to do once in one corner, rather than across my whole wall.
- using these pencil marks as a guide, hold the level to the wall and lightly draw a horizontal line at the pencil mark with your black colored pencil.
- repeat the above step for each pencil mark that is 7″ down from the previous one.
- using your step ladder and the level, continue writing these horizontal lines across your wall. It’s easiest to proceed from top to bottom, then up again for each section of your wall.
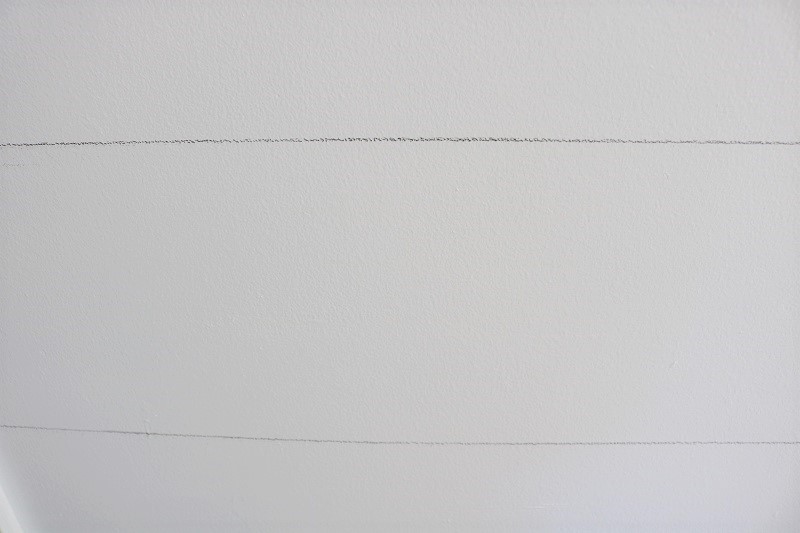
- since the level is a bit more cumbersome to hold than the yardstick, you are only drawing light lines at this point. Here is how my wall looked after this first go-around:
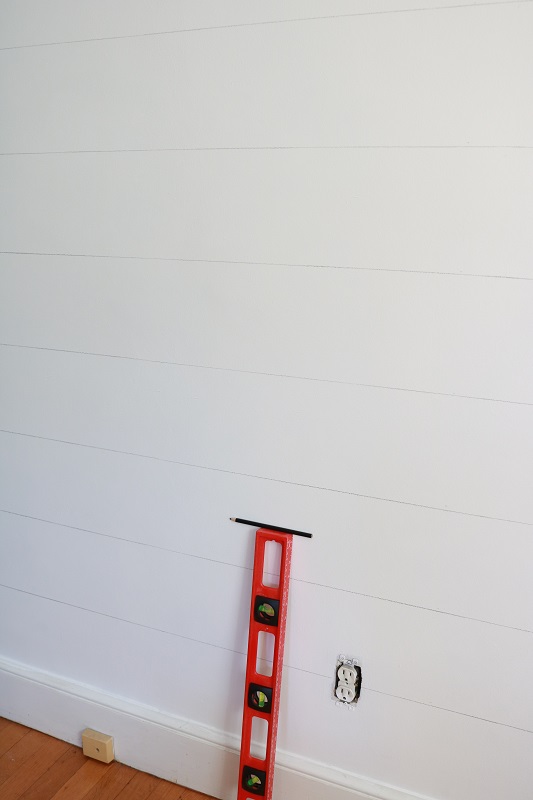
- Next, I used frog tape to protect my yardstick from pencil lines. You can skip this step if you don’t mind marks on the side of your yardstick.
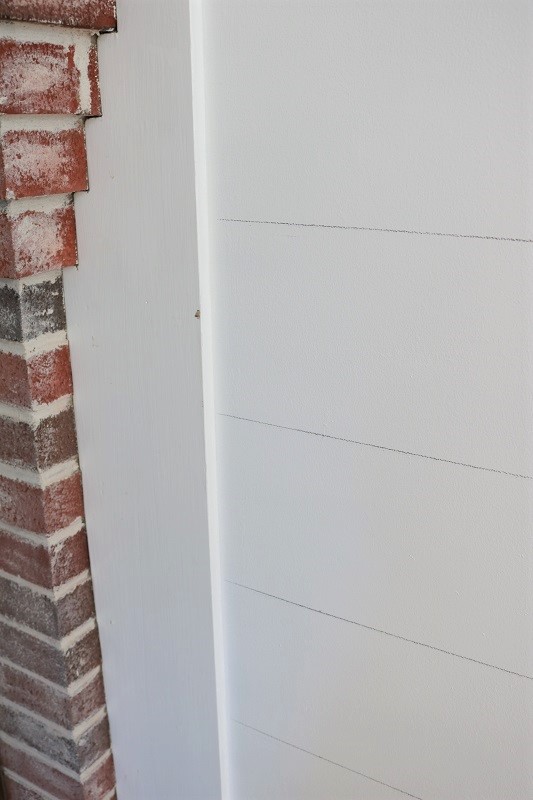
- At this point you will go over your original lines again, this time using the yardstick to guide the pencil straight across. You will want to press firmly with the pencil and perhaps go back & forth a bit to get a darker black color here. The intent is to mimic the depth between shiplap planks.
[This is where I learned a lesson about which writing utensil to use. Originally I had purchased a Sharpie paint pen (oil-based) to cover my pencil lines, since I had seen several tutorials on Pinterest recommending them. I didn’t have much luck with that. Although the paint pen did go on darker (see photo below), it was time-consuming to keep shaking it to apply enough paint. I also found it more difficult to write a consistent line with this pen. (If you use this pen, make sure you put the cap on when shaking the pen to avoid a mess. Ask me how I know).]
Once you finished going over your lines again with the black pencil (using the yardstick), you are done! Some folks recommend sealing your lines at this point, but I didn’t bother. I’ll give you an update if they smudge, but supposedly the wax in the colored pencil holds up well.
What do you think? Would you try it?

