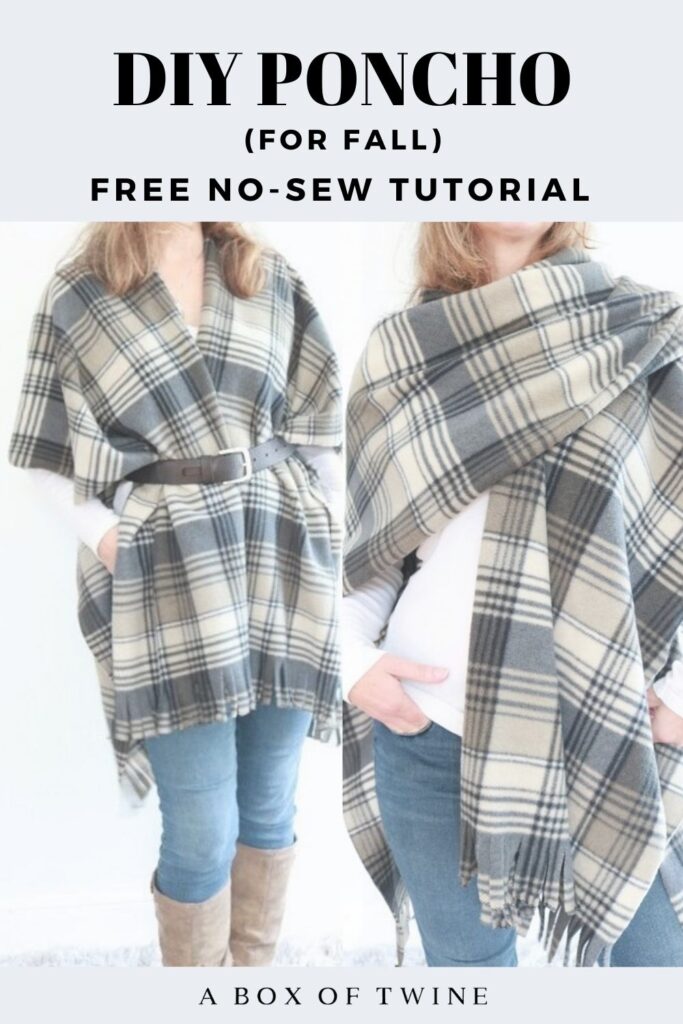
How to Make a Poncho {no sew!}
Who doesn’t love ponchos? I adore these cozy and easy cover-ups come fall. They pack both function and fashionista style all in one. Would you love to make your own, but don’t know where to start? What if I showed you how to make a DIY poncho in under 30 minutes? Yes!! You just need your favorite plaid fleece fabric and fabric scissors to design a gorgeous poncho. Your friends and family will love your new look and may even ask you to make them one!
Keep reading for the full tutorial on how to make a poncho without sewing.
This post may contain affiliate links. That means if you click and buy, I may make a commission at no cost to you. Please see my full disclosure policy for more details.
DIY Poncho
You may be wondering, “how much material do I need to make a poncho?”. Check out my list of supplies below for specifics on what you’ll need…
Supplies
- one yard of 60″ wide plaid fleece fabric (or 2 yds of shorter width fabric). I used Pico Textiles Camel & Charcoal.
- straight pins
- fabric SCISSORS
You want fleece weight fabric to ensure heavy coverage. A light-weight flannel doesn’t have the heft for a warm poncho.
How to Make a Fleece Poncho
How do you make a poncho without sewing? Follow these steps for this easy poncho tutorial that will take you minutes to complete…
Step 1 – Wash and prepare fleece fabric
The first thing you need to do to create your DIY fleece poncho is to make sure your fleece fabric has been washed.
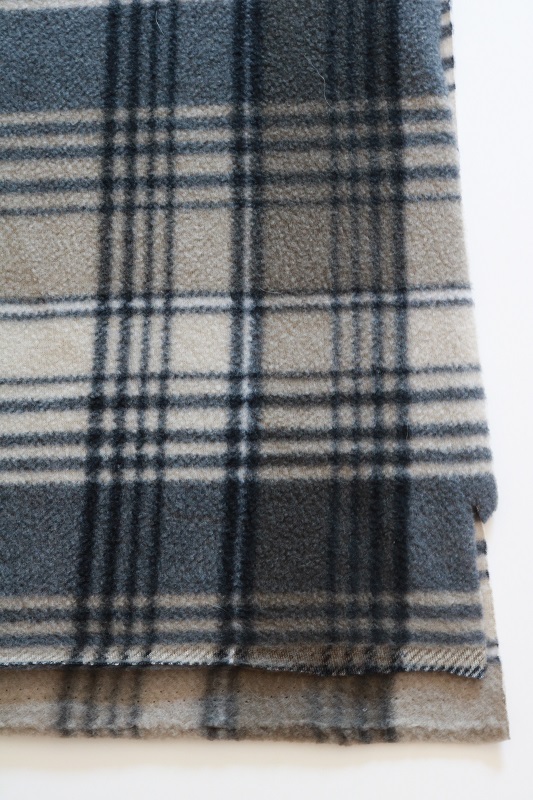
Ensure the fabric measures at least 60” length by 36” width (minimum). You can trim any side selvage at this point, but that’s not necessary. Just make sure the 36” (shorter) edges are smooth.
(Note – the yard I received was more than 36″, which is great. The longer the width of your fabric, the more coverage over your arms.)
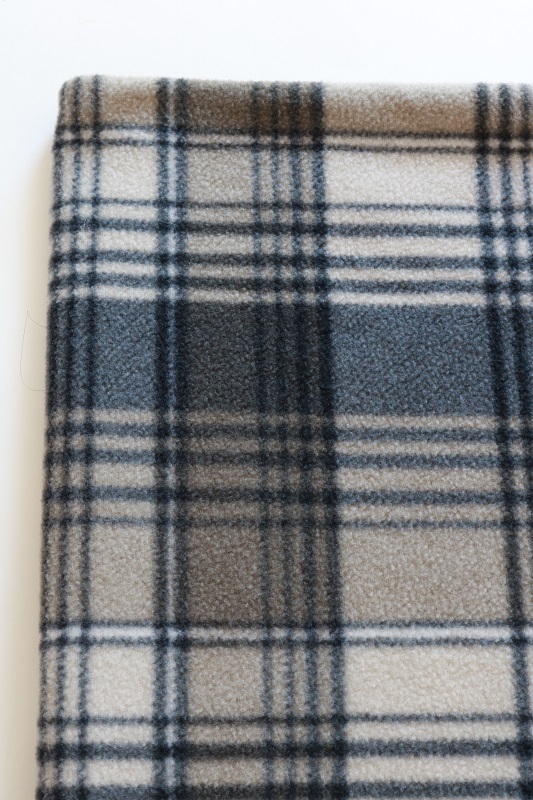
Step 2 – Fold fleece fabric
Next, fold your fabric in half lengthwise, wrong sides together. (The ‘wrong’ side is the duller-colored side. The ‘right’ side is the one that will be shown outwards, and has the fuller color).
Your folded piece will measure about 30” length by 36” width. These folded pieces will represent the front and back of your poncho.
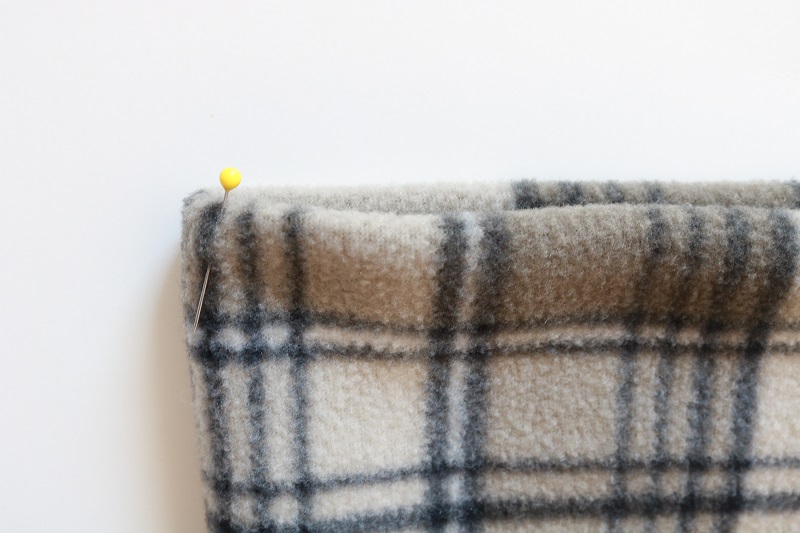
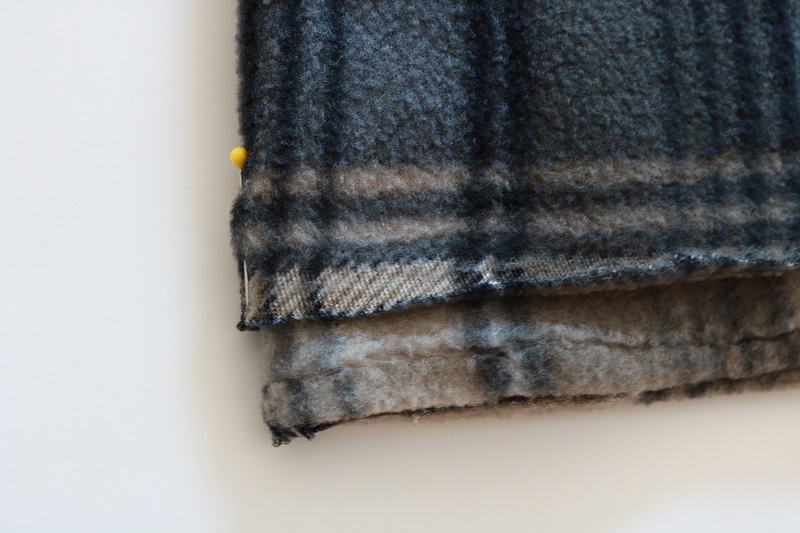
At this point, it is a good idea to pull the fold up about 1” so that one half is shorter than the other half. This helps drape your poncho so that the front is slightly shorter than the back:
After making the front half shorter than the back, prepare to separate your front piece only into two pieces. Fold the poncho in half widthwise, so that the top folded piece is now just 18” wide:
Mark this halfway mark with a straight pin on the top of your fold, as well as at the bottom edges:
Step 3 – Cut poncho front
Lastly, open up the folded poncho widthwise again so that the width is 36”.
Using your top and bottom straight pins as a guide, cut from the bottom edge of the front half only to the pin at the upper fold using fabric scissors. It may be helpful to follow a vertical line in the plaid pattern as you cut.
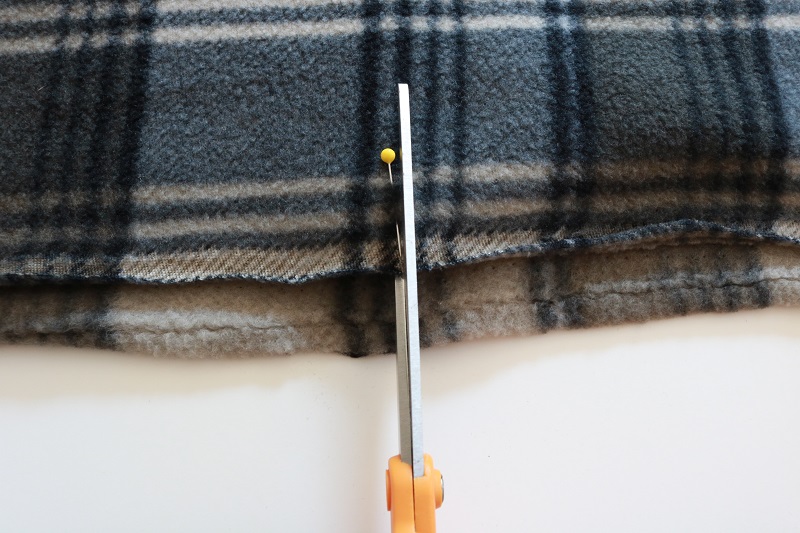
You now have the general shape of your poncho completed.
The fleece poncho pattern literally takes just minutes to finish!
Optional – Cut fringe on bottom for DIY Poncho
How do you make a blanket poncho?
If you would like your poncho to resemble a plaid blanket with fringe, you can create fringe at the bottom edges. They add texture and interest to your poncho, and makes it look customized.
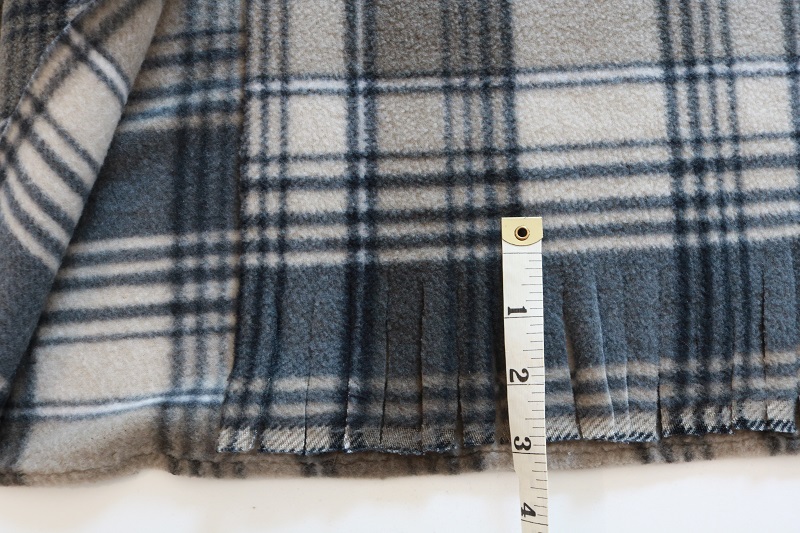
Measure fringe length
Mark about 3” up from your bottom front edges. If you are working with plaid, it’s helpful to find a horizontal line around that location.
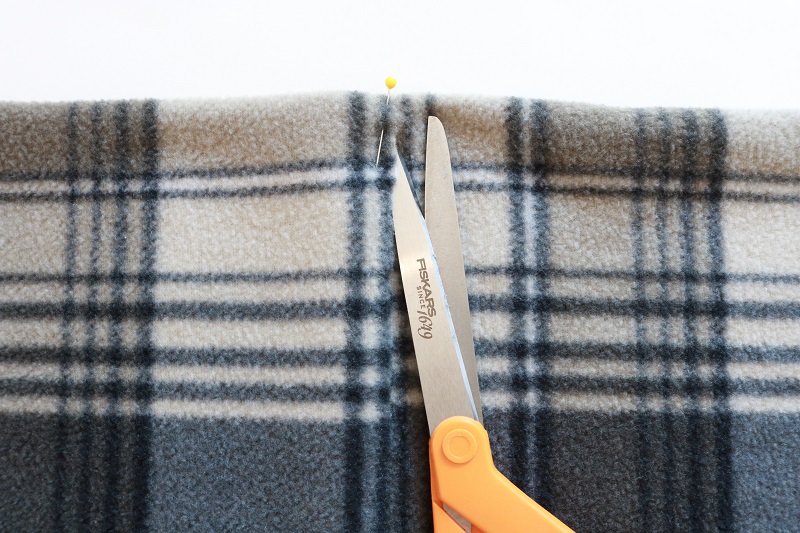
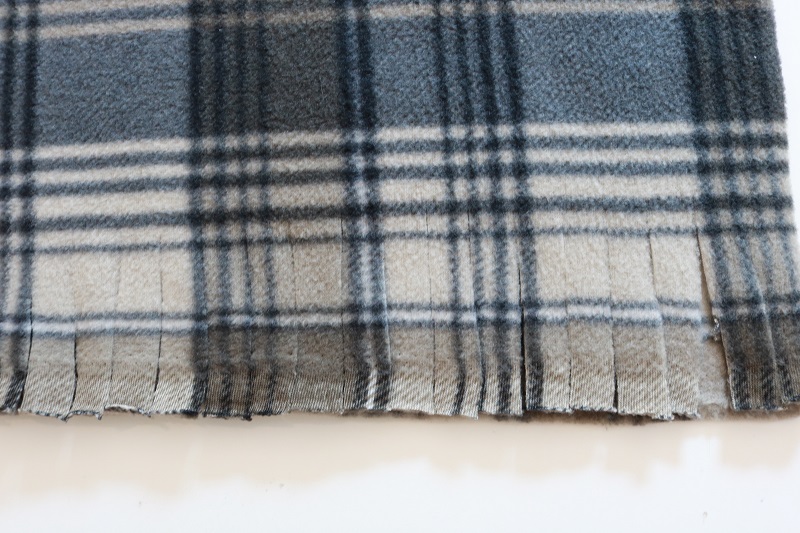
Cut fringe
Using fabric scissors, snip lengths of fringe from the bottom up to the 3” mark, spacing each piece about ½” apart. There’s no need to measure each fringe exactly ½” apart with a ruler. You can just eyeball each piece as you go, attempting to make them the same size width.
Follow these steps for each of the two front bottom edges:
Next, follow the same steps to add fringe to the entire 36” width of the back bottom edge:
That’s it!
The best part about using fleece fabric is that the edges won’t fray. Any cuts you make won’t disturb the fabric and cause it to have loose threads. You may want to wash the poncho on delicate cycle in the future, just to maintain the fabric strength and color.
Wear your No-Sew Poncho
How do you wear a poncho?
Next comes the fun part – wearing your DIY poncho in unique and stylish ways!
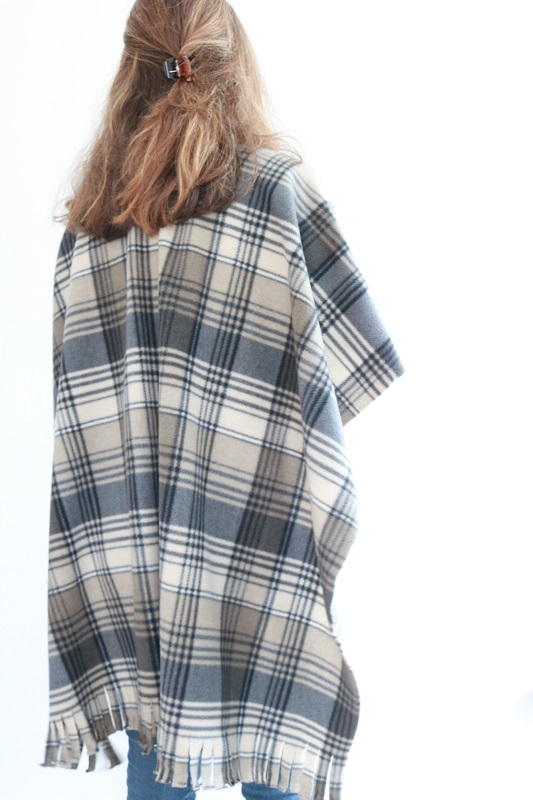
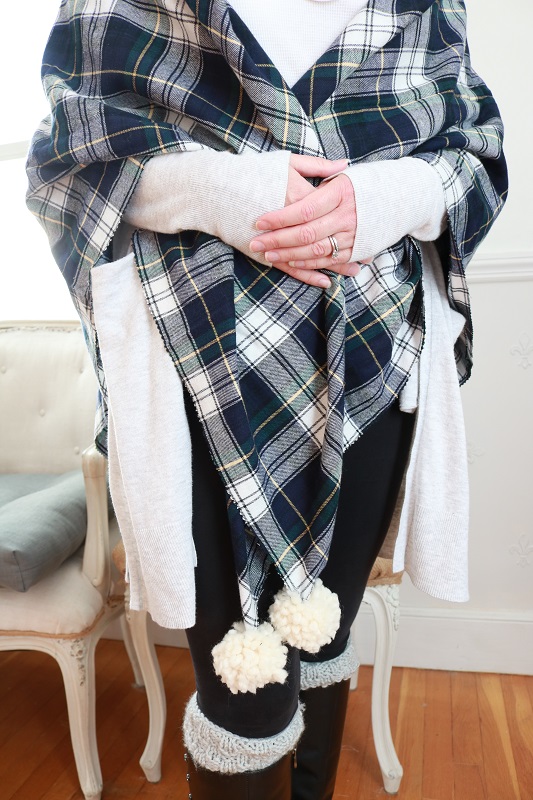
Loose Poncho
The simplest way to wear the fleece poncho is to wrap it over your shoulders. The two cut pieces will hang in the front, while the longer back piece hangs over your back.
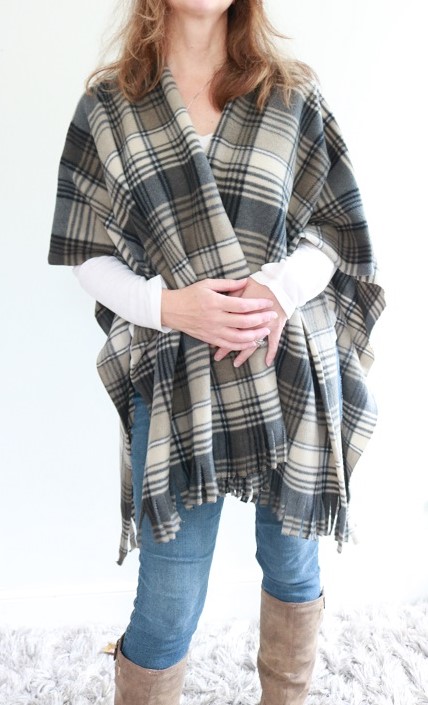
The loose poncho is perfect acting as a cozy cover-up for casual outings. Wear it to an outside gathering, sports game, or shopping trip. It’s also perfect for a morning coffee run to the café, or a visit to a flea market.
Wearing the poncho loosely also makes for a cozy throw-blanket feel. Grab it for your next bonfire or moonlit hayride, and snuggle up.
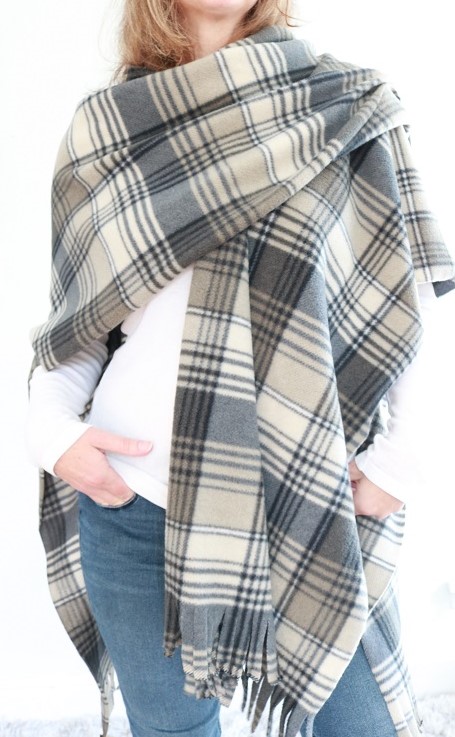
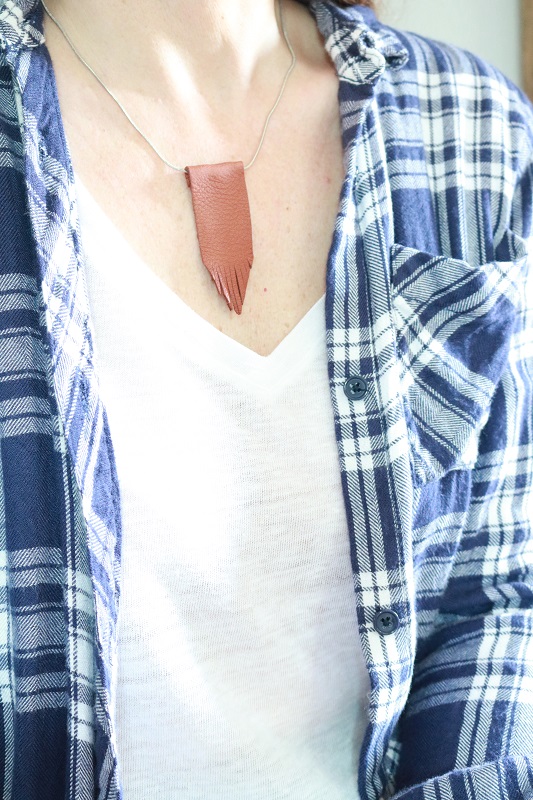
Poncho over the shoulder
You can showcase the poncho as an oversized scarf by simply tossing one of the front pieces over your shoulder. In this sense the poncho could function as one extra layer of warmth on an especially chilly day. Toss it over a sleek leather jacket and it will keep your neck toasty warm.
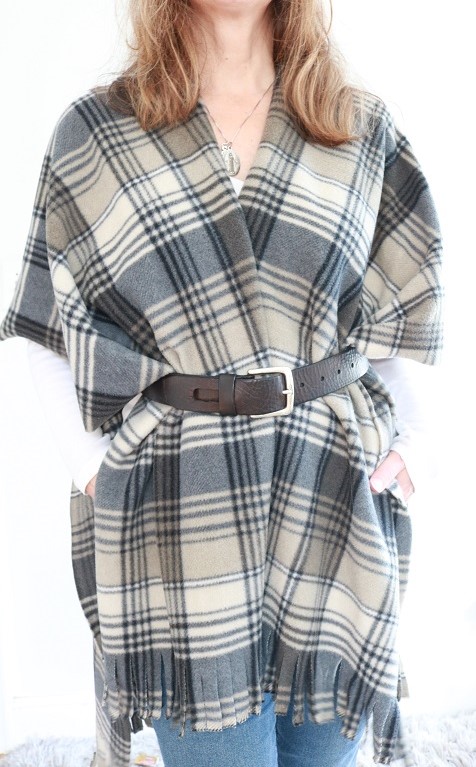
Poncho with Belt
If you want a more tailored look with your poncho this fall, add a thin, simple belt around your waist.
Just wrap the belt around your back (under the back part of the poncho), then fasten it in front, on top of the two front pieces of the poncho.
Align the two front pieces in a symmetrical way underneath the belt. Voila!
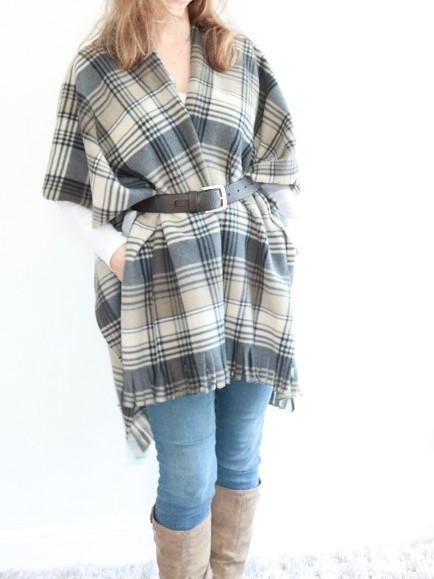
This tailored belted look works well at a more formal outing, such as a work event, church service, or outdoor party. Pair the belted poncho with a dress, or jeans & heels.
How would you wear your DIY poncho? I’d love to hear any other ways you can think of. However you wear the fleece blanket poncho, I can guarantee you’ll feel warm & cozy.
Ponchos for Purchase
Don’t have time to make your own poncho? (even if it only takes 30 minutes!)
If you are nervous about attempting your own DIY fleece poncho, or just can’t find the time, here are some wonderful off-the-shelf options for fall plaid ponchos. The only catch is that you can’t brag that you made it yourself…
I hope you enjoyed this tutorial for a no sew poncho. It is SO easy, you can’t resist making more than one. Make them for gifts this Christmas and you can batch the work together in one afternoon!
Looking for more fall fashion? Try some of these other simple sew/no-sew fashion DIY projects…
===> Remember to PIN for later! <===


4 Comments
Kimberly
I love this idea! I was overly ambitious one year buying fleece on sale from Joann’s when they had a big sale on it, and then ended up not using it all. I’ve had it sitting around for a while now, contemplating what to do with it, and am so excited to see such a simple and practical (and giftable) project for it! At least a couple of people on my list will be getting a fleece poncho this year… 😀
Susan
Yes, such a wonderful way to use fleece that you have on hand. I love that all you need for this project is measuring tape and scissors. 🙂 I’m sure your recipients will love the ponchos as gifts!
Kelly
Adorable! Always love the fabrics/plaids you choose!
Susan
Thanks Kelly – glad you like the project!