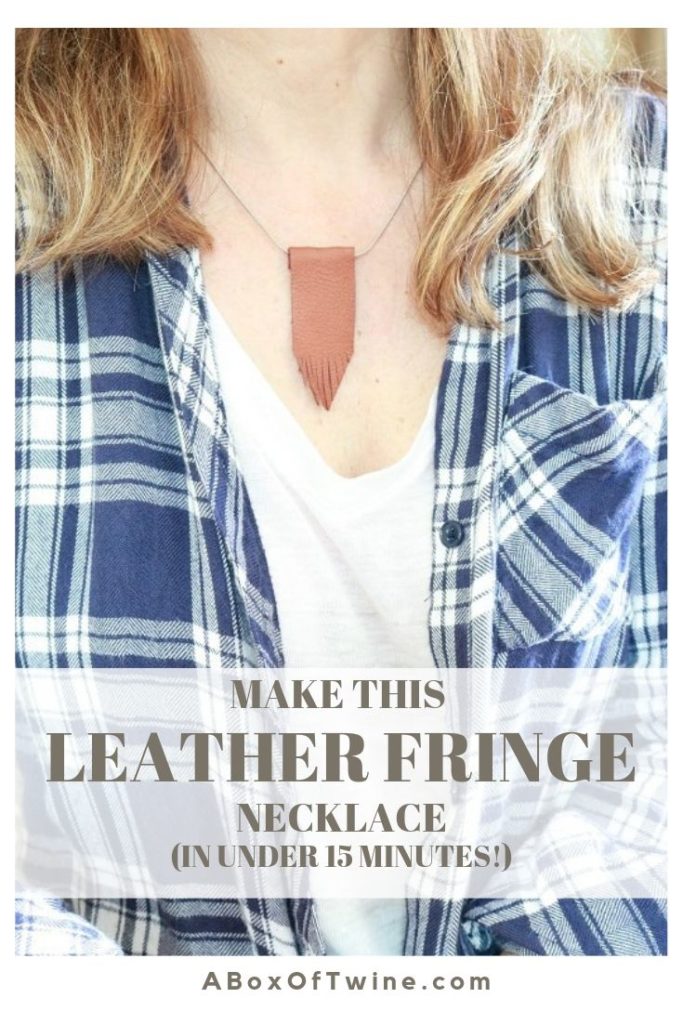
How to Make an Easy Leather Fringe Necklace
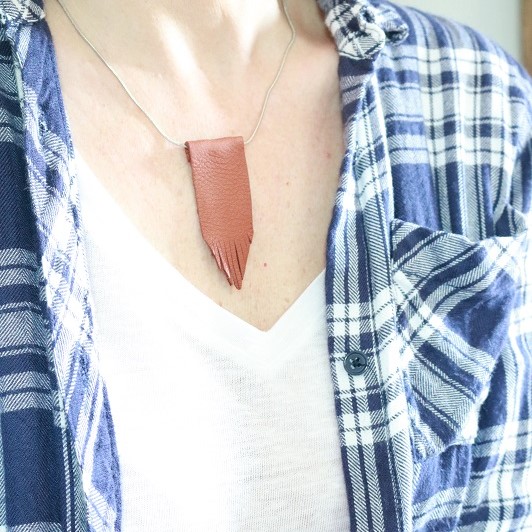
Fall is right around the corner and these days I’m finding myself drawn to leather accessories for both home and fashion. I love the tone and feel of soft leather, especially on a simple chain pendant necklace. Today I’ve got a super easy DIY necklace tutorial for a leather fringe necklace. It will look so pretty on your neck this fall (and during these last days of summer, too)!
This blog A Box of Twine is all about simplicity, so my goal is to provide quick projects. The leather fringe necklace should take under 15 minutes to make! And yet the style of it is so classic and timeless. Continue reading for the full DIY.
This post may contain affiliate links. That means if you click and buy, I may make a commission at no cost to you. Please see my full disclosure policy for more details.
Supplies
- Small piece of soft leather fabric. I found a Brown 9″x 3″ Deertan Trim piece at AC Moore called “Realeather Crafts” made by Silver Creek Leather Co.
- 18″ Chain of your choice. I found a package of 2 chains at AC Moore by Cousin DIY.

You can find similar supplies here:


- Sharp sewing scissors
- paper, pencil and paper scissors
- measuring tape or ruler
- hot glue gun
Leather Fringe Necklace Instructions
How do you make a leather fringe pendant necklace?
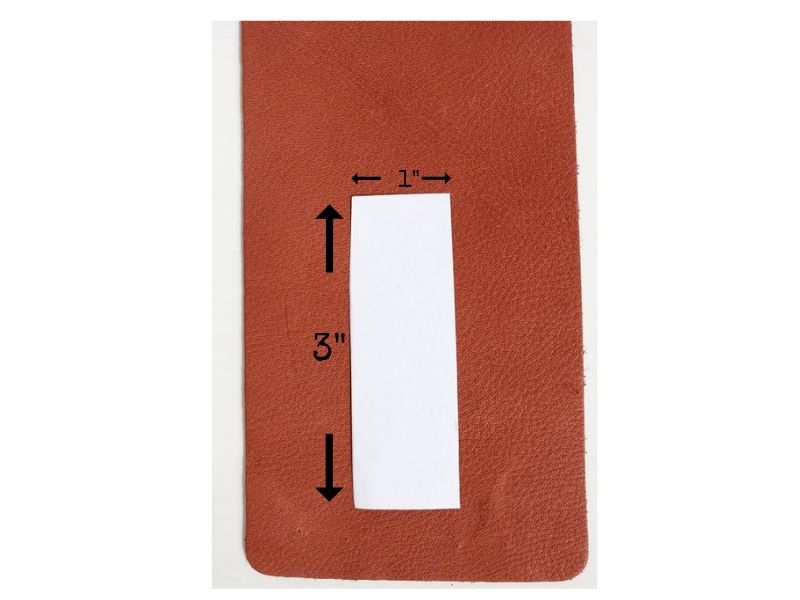
Step 1 – Make a paper template
First you will need to make a template of what your leather fringe piece will look like. This template will be used to cut out the leather. The template is also useful to first ‘try on’ with the chain to see if you like the look prior to cutting the leather.
Cut out a 1″ x 3″ rectangle from a piece of paper as follows:
Fold the paper template in half vertically, and mark a line 1″ from the bottom with a pencil:
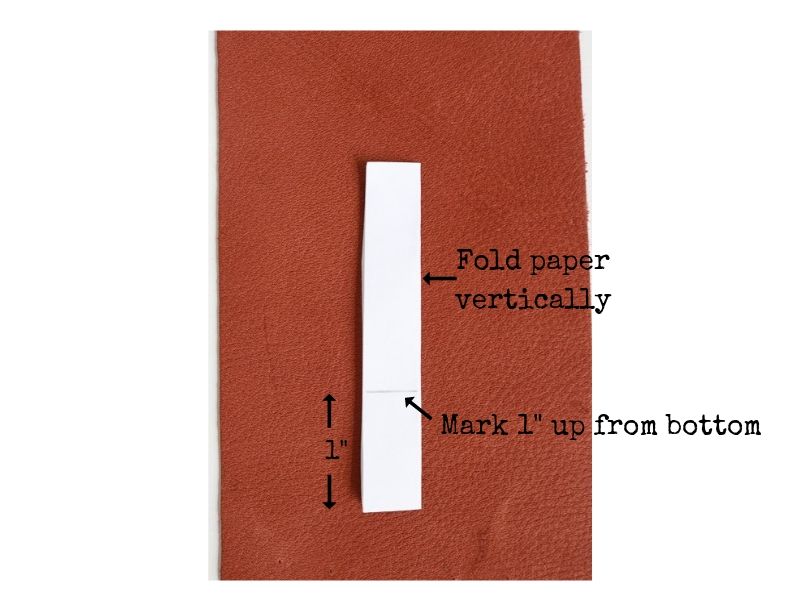
Next, cut a slant at the bottom of the folded paper from the 1″ mark to the bottom. Make sure to cut the slant on the open side of the paper, not the fold. See photo below (slanted cut is shown by dotted line):

Open up the paper piece and you now have your paper template, which should look like this:
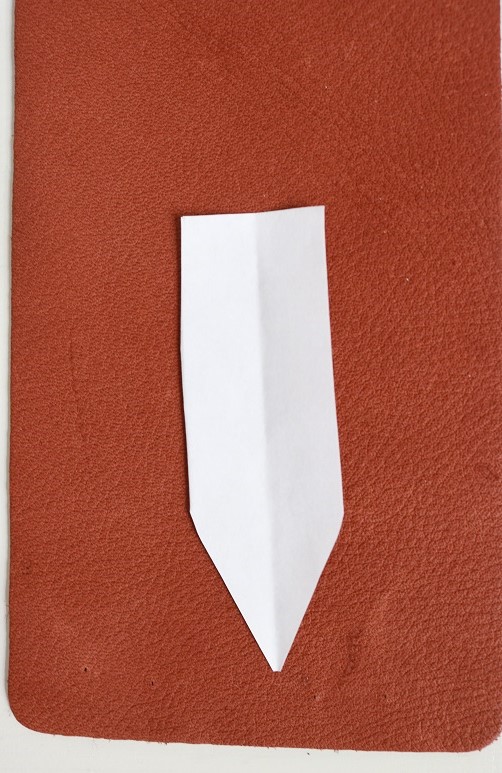
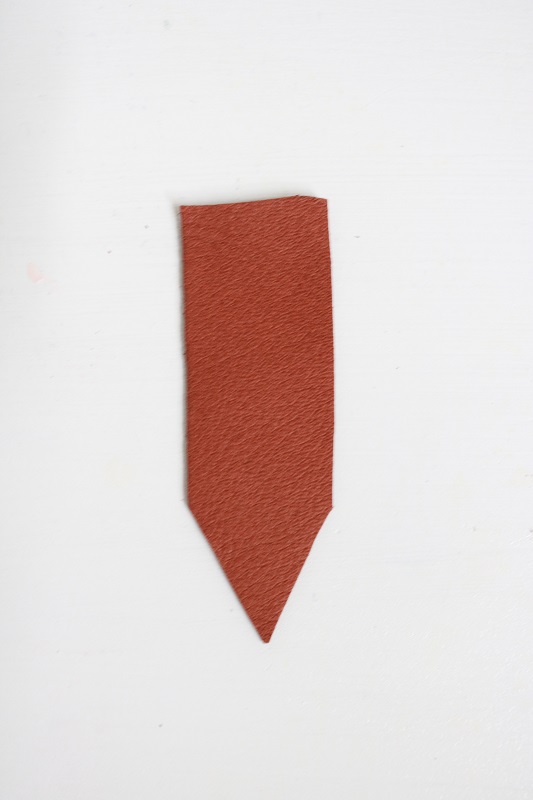
Using this paper template as a guide, cut out the shape from a corner of your leather fabric piece:
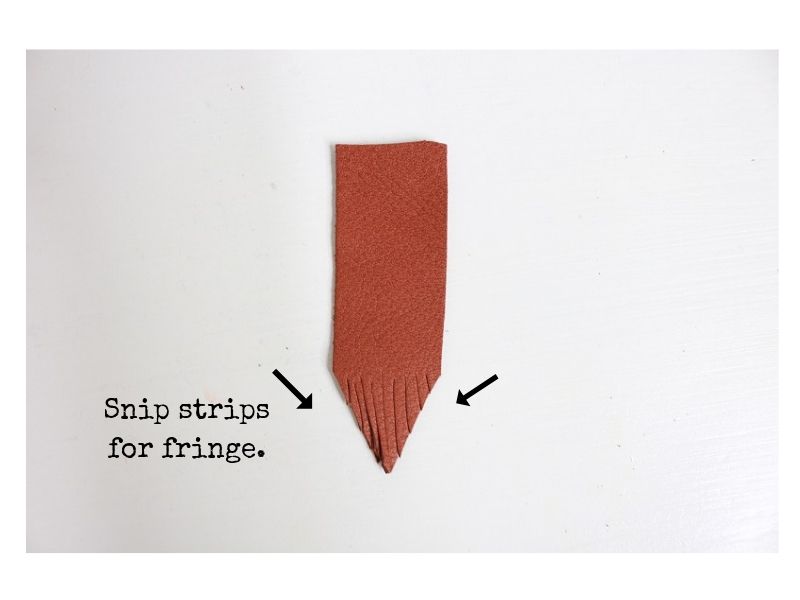
Trim leather fringe
Using sharp sewing scissors, snip fringe from the bottom point (‘arrow’) of the leather piece. I started from the center tip and worked my way to each side, snipping narrow fringe pieces. You want to stop at the 1″ mark where your slanted cut had ended.
Attach leather piece to chain
Place the leather piece you cut out with right (smooth) side facing down, with the point directed downward. Put the middle of the chain against the top of the leather piece. At this point you want to ensure your clasp is at your preferred side (right or left) for easier fastening.
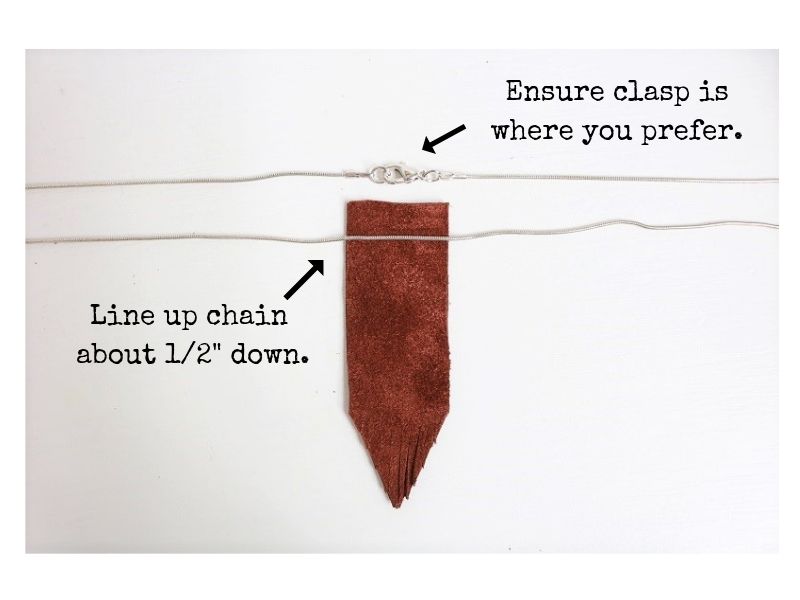
Apply a narrow line of hot glue on the back of the leather piece, under the chain (about 1″ down).
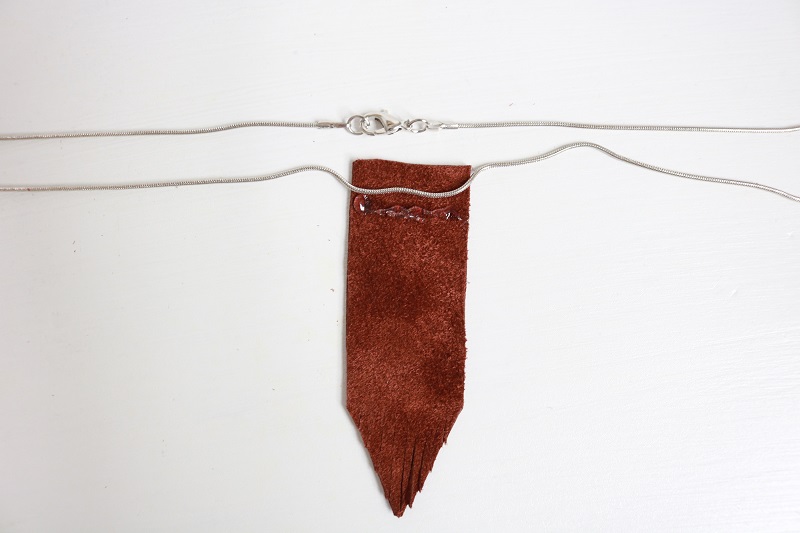
Fold the top of the leather piece over the chain and adhere to the hot glue. Press firmly for several minutes to ensure the leather adheres.
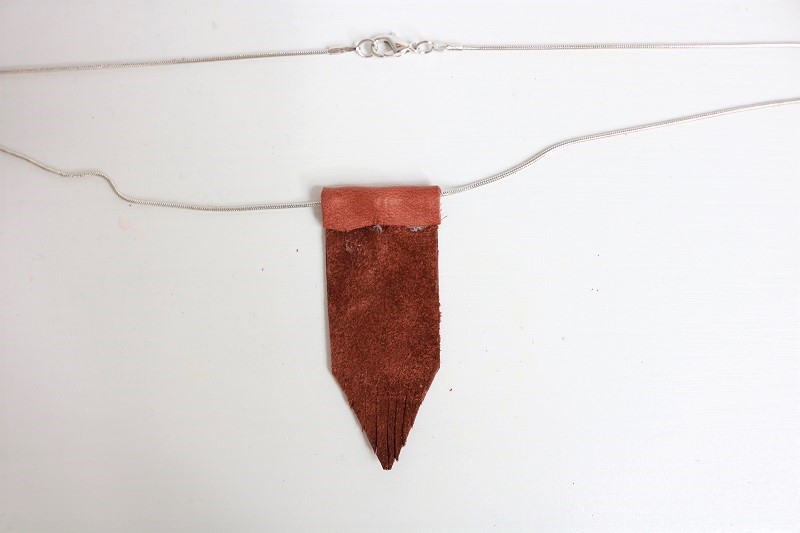
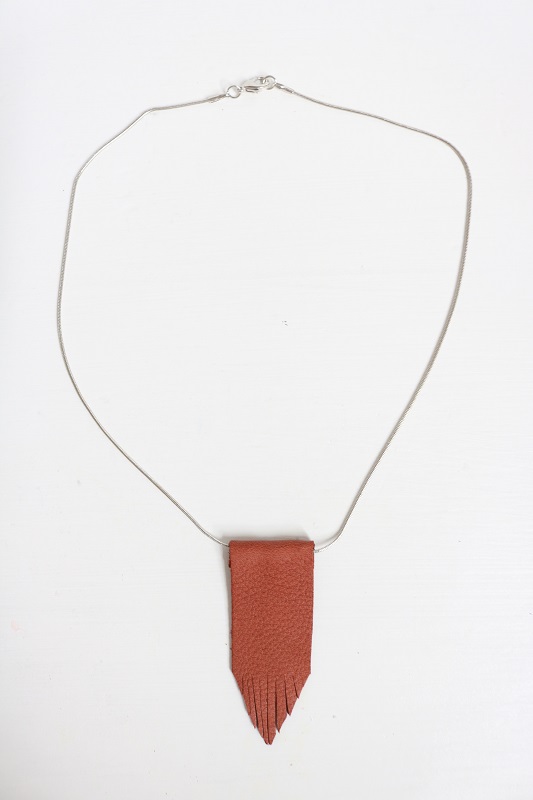
Allow time for the glue to dry. Here is a view of the front of the necklace:
Finished Necklace – Adjust Fringe
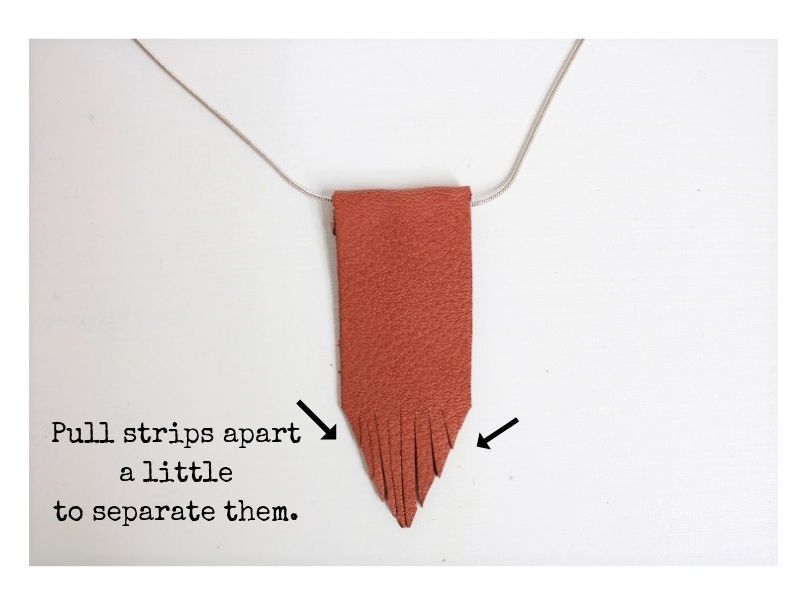
Once the leather piece is firmly in place on the chain, you can adjust the fringe to your liking. I separated the fringe on my necklace by pulling it back and forth a bit.
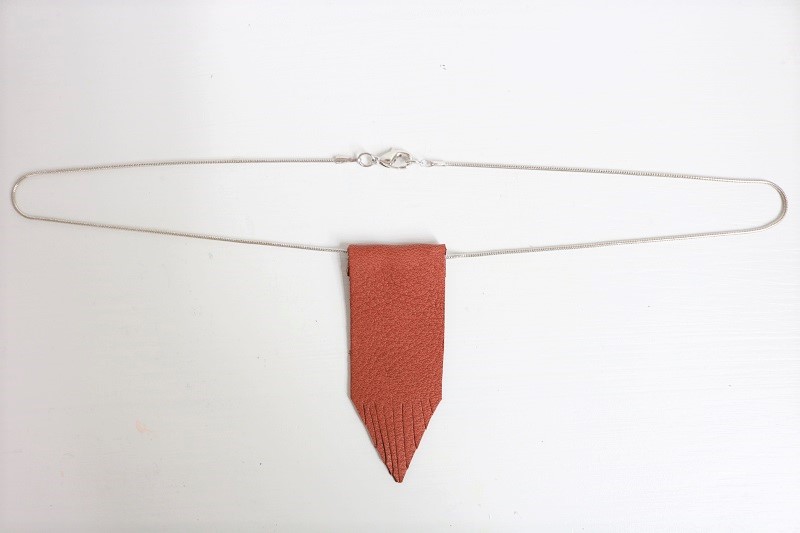
Voila! You’re done. This is such a quick and easy necklace to make, and yet it provides a timeless and classic look that you can wear for years. The leather necklace is also easy to customize; feel free to make your leather piece longer/shorter or wider/thinner by adjusting the paper template.
Wear your fashionable necklace!
Now you’re ready to wear the necklace with style. Pair it with a simple t-shirt and jeans, or perhaps a fall plaid shirt as the cold weather beckons. Let me know if you give this project a try. I’d love to see!


2 Comments
Michelle
What a great little project ! Such a simple and classic piece would compliment most any style. As always, thank you for sharing!
Susan
Thanks Michelle. I so appreciate your input, considering that you are the jewelry-making queen!