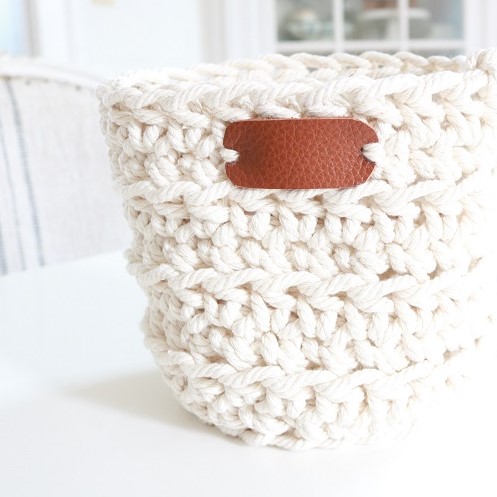
How to Make a Crochet Basket for Plants
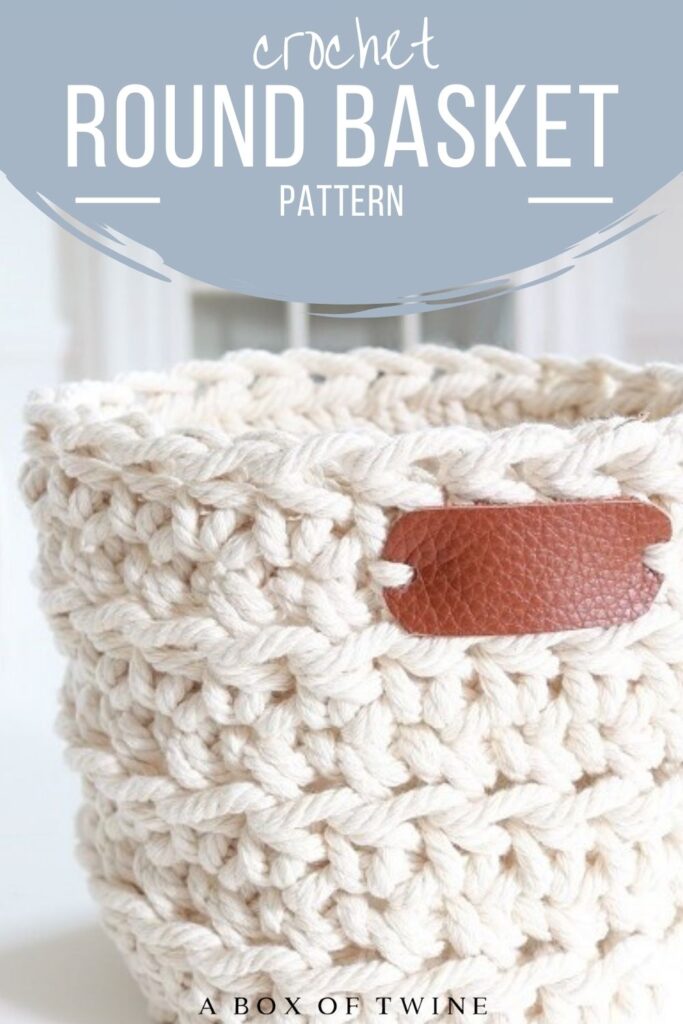
If you have a green thumb, you may collect potted plants around the house. Why not showcase them in a handmade crochet basket? Keep reading for the free crochet pattern for a round crochet basket that is the perfect size for potted plants. You can even add an extra touch with a leather tag!
This round crochet basket can be made quickly with cotton cord, which is thicker and stiffer than regular yarn. Using the cord will ensure your plant basket stands upright firmly. Grab these few supplies and get ready to make a gorgeous basket for your home…
This post may contain affiliate links. That means if you click and buy, I may make a commission at no cost to you. Please see my full disclosure policy for more details.
Supplies
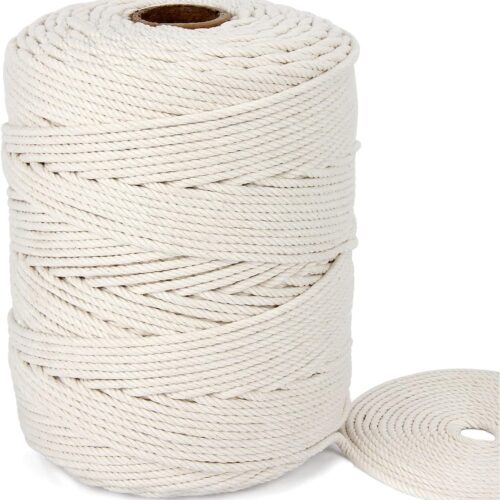
- about 50 yards of 4 mm COTTON CORD.
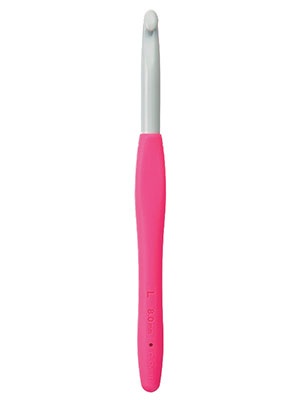
- size P-15 (10mm) crochet hook
- scissors, tapestry needle
- optional – 2″ w by 1″ h piece of LEATHER, leather HOLE PUNCH, scrap of coordinating yarn (to add leather tag)
General Crochet Terms to Know:
Ch – chain SC – single crochet
ST – stitch SL – slip stitch
HDC – half double crochet
BLO – back loop only
Rep – repeat
PATTERN INFORMATION
The free pattern for the crochet basket is provided below.
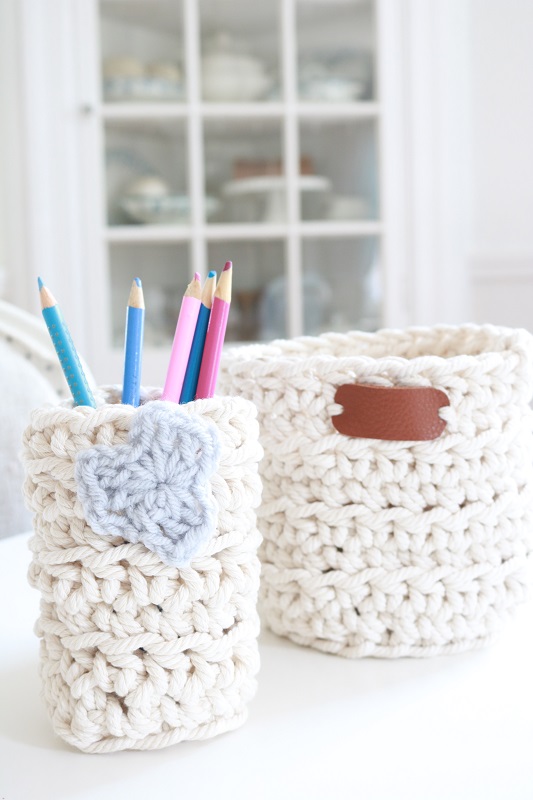
- but you can also get the ad-free, printable pdf pattern for both the BASKET AND COORDINATING PENCIL HOLDER as part of a bundle in the ETSY SHOP! The pdf has step-by-step tutorial photos included.
Pattern for Crochet Basket
NOTE – You will be crocheting the plant basket in the round, increasing stitches per round to form the base of the basket. Next, you will continue crocheting the same number of stitches in the round, adding height to the sides of your plant basket. Use a place marker (PM) to keep track of the first stitch in each round.
Step 1 – Crochet Basket Flat Base:
Using the COTTON CORD, Chain 4, sl st with first ch to join.
Round 1: 6 SC into the ring you just made (with the chain 4). Join with sl st to first sc. TURN. (6 sts)
Round 2: Ch1, 2 SC in each st around. Join with sl st to first sc. TURN. (12 sts)
Round 3: Ch1, *2 sc in next st, sc in next st; rep from * around. Join with sl st to first sc. Do NOT turn. (18 sts)
Round 4: Ch1, *2 sc in next st, sc in each of the next 2 sts; rep from * around. Join with sl st to first sc. Do NOT turn. (24 sts)
Step 2 – Crochet Basket Sides:
Note – at this point, you will be adding height to build the sides of the round basket. You will not need to turn after any of the rounds. The stitch count will remain at 24 sts per round. Make sure to use the PM to keep track of the first st of each round.
Round 5: Ch1, sc in blo of each st around. Join with sl st to first sc.
Round 6: Ch2, hdc in each st around. Join with sl st to first hdc.
Rounds 7-12: Repeat Rounds 5 and 6 three times or until you reach the height you desire to enclose your plant pot.
Fasten off.
Weave in loose ends.
The finished crochet basket will measure approximately 5″ diameter by 5.5″ height.
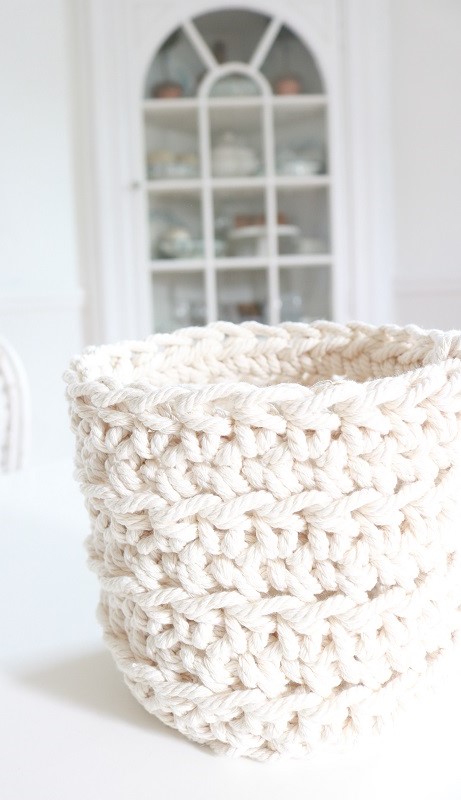
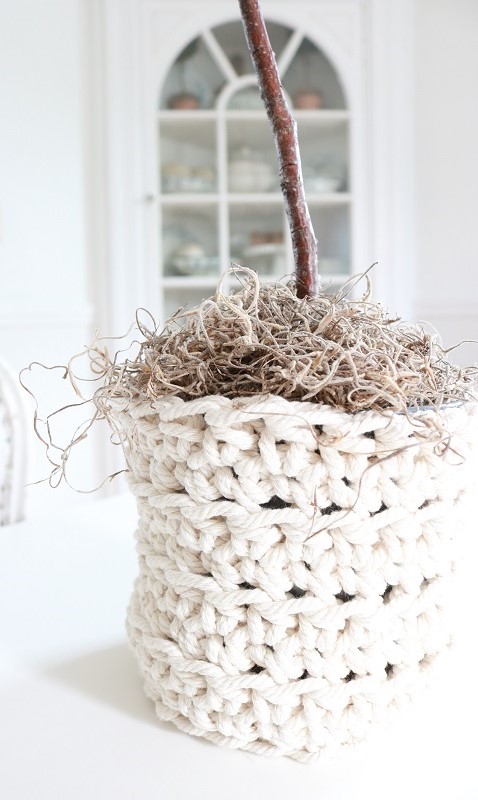
You can consider your crochet plant basket finished at this point, keeping it simple. Just plop a plant inside.
Step 3 – Optionally add a small leather tag:
Another option is to add a cute leather tag to the side of the basket. I love the pop of interest the tag can bring.
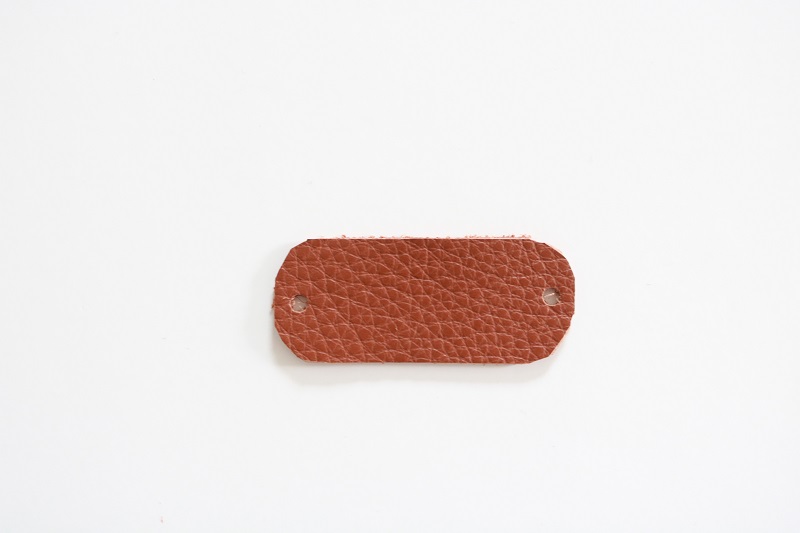
To add a leather tag to your round basket, simple cut a piece of LEATHER approximately 2″ w by 1″ h, then round the corners a bit.
Using a LEATHER HOLE PUNCH, put two small holes centered at each end of the leather tag.
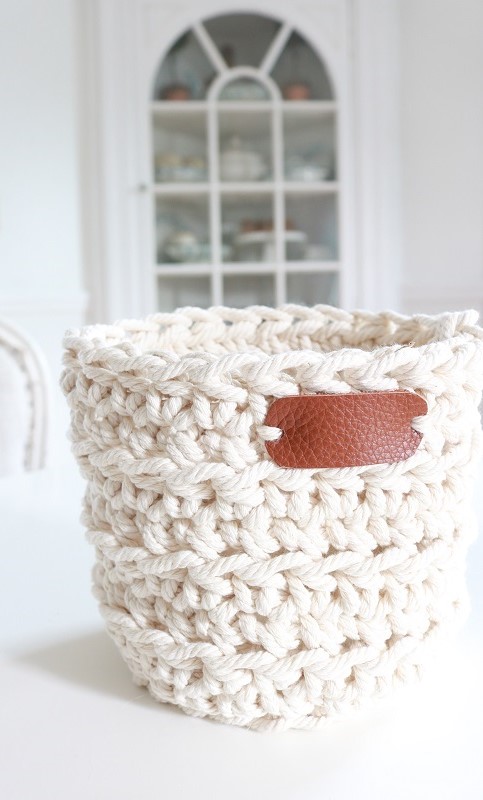
Grab some coordinating cotton yarn (size 4) and a tapestry needle, then sew the tag on the upper part of the crochet basket.
Voila! You’ve added a lovely finishing touch.
Display your Crochet Plant Basket
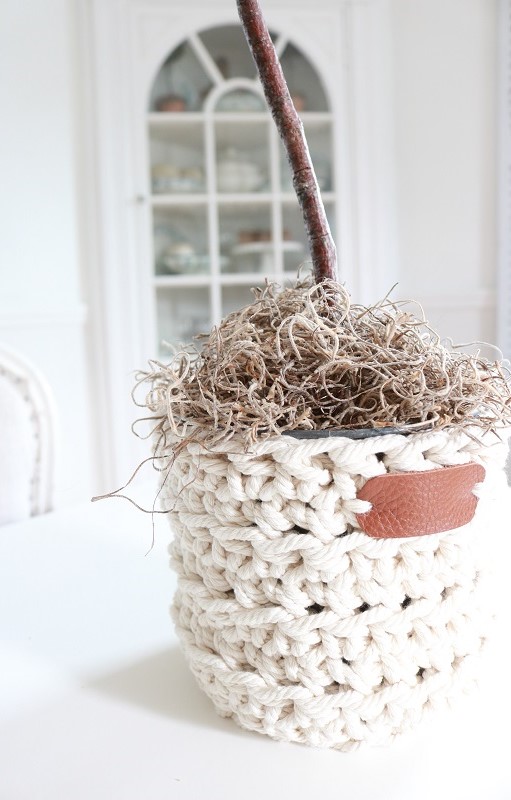
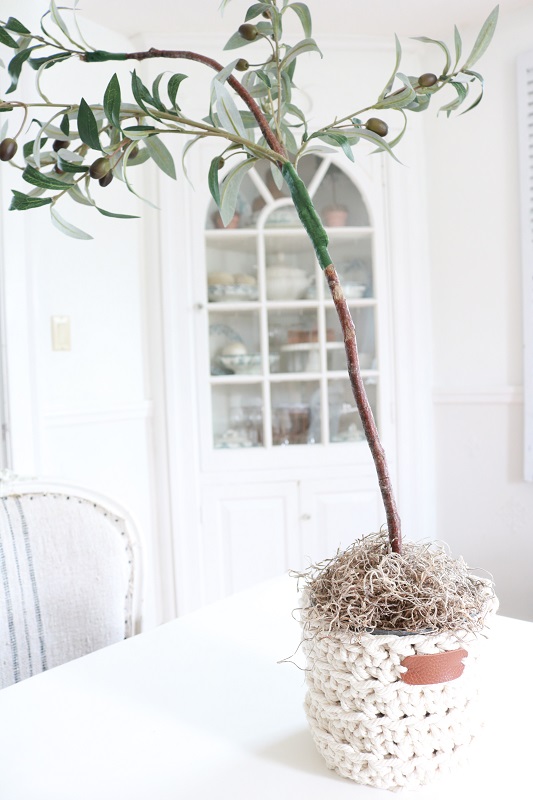
Now arrives the fun part….showcasing your handiwork. Simply place a potted plant (with 5″ diameter or less) inside the round basket and set the basket where it can be admired.
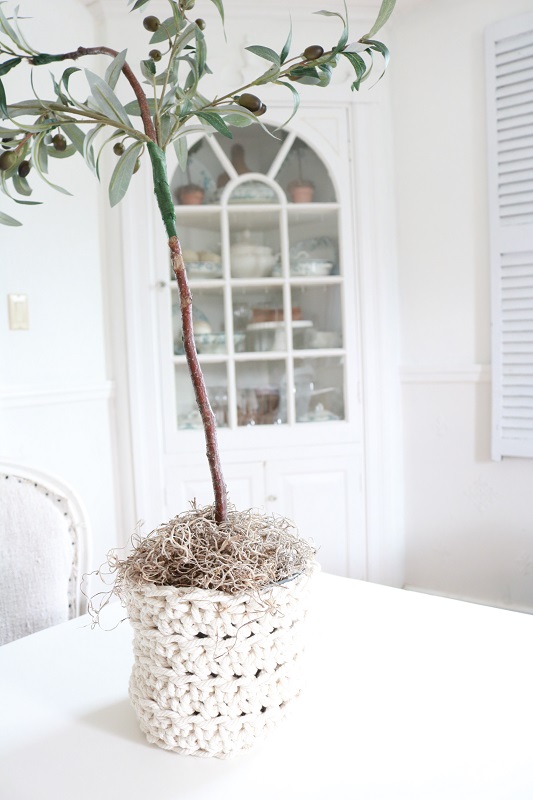
Here I placed my DIY OLIVE TOPIARY inside the crochet basket. It coordinates well with a farmhouse, Hygge or Scandinavian style home. Although the cotton cord is a classic neutral ivory color, the ribbing made by the ‘blo’ stitches provides textural interest. This will be one of my favorite displays for spring, and I can definitely envision it being used to hold a mini Christmas tree for the holidays.
If you love this project, you may also enjoy my pattern for a SMALL CROCHET PLANT HANGER, which fits a 3″ diameter vase.
Grab this pattern as part of a BASKET AND PENCIL HOLDER BUNDLE in my ETSY SHOP! You’ll also find more ad-free pdf files of crochet patterns there.
I do hope you enjoyed this tutorial on how to make a crochet basket. Give me a shout if you make your own – I would love to see it!
===> Be sure to PIN this crochet basket pattern for later! <===
