
How to Make a Crochet Plant Hanger
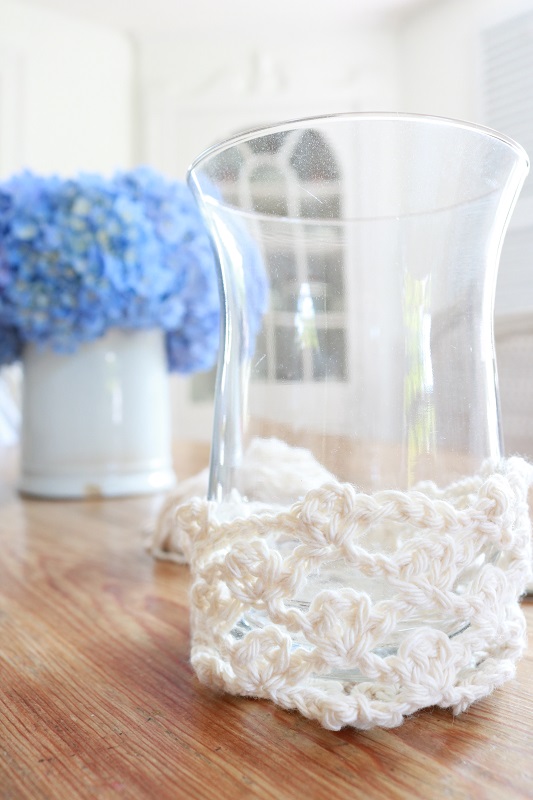
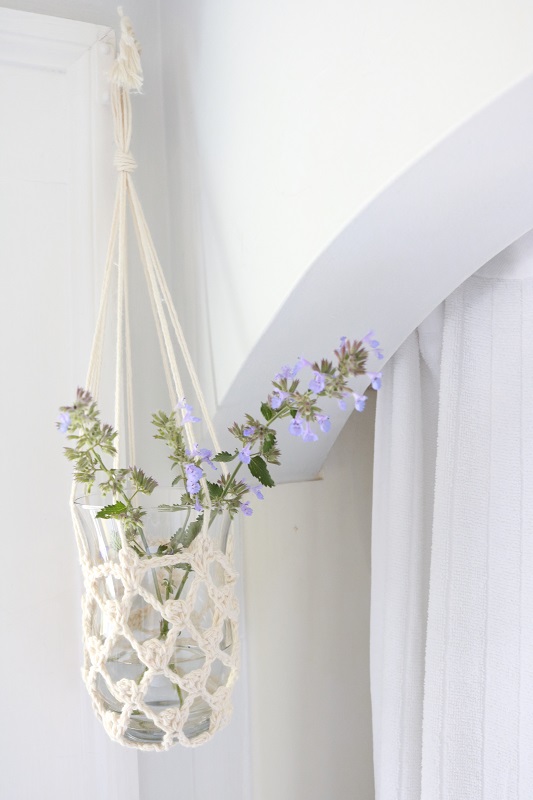
Recently I shared our Modern Farmhouse Bathroom, and I made sure to include photos of a new crochet plant hanger that I designed. It’s my favorite new addition! I placed a small vase of stems inside the hanger and hung it near the window. It gives a sweet handmade touch to the room.
Today I’m sharing the crochet pattern for the plant hanger for free! We don’t often think of summer as a good time to get out yarn, crochet hooks, and knitting needles (HOT!), but we can certainly find the time for quick open weave designs such as this. Agree?
The crochet plant hanger doesn’t take long to make, but does require you to stitch in rounds, rather than straight rows. Would you like to give it a try?
This post may contain affiliate links. That means if you click and buy, I may make a commission at no cost to you. Please see my full disclosure policy for more details.
Supplies
- 35-40 yards of cotton yarn of Medium Weight (size 4). I used PREMIER HOME IN THE COLOR CREAM.
- Size US H (5 mm) Crochet Hook
- Scissors, yarn needle
And here are some vase or pot ideas that would look gorgeous in your plant hanger…CLICK THE PHOTOS TO BE TAKEN TO THE LISTING:


Crochet Plant Hanger Pattern
Abbreviations
Ch – chain
ST – stitch (sts – stitches)
SK – skip
SP – space (e.g. ch-5 sp means the space made by “chain 5” in previous Round)
SC – single crochet
SL – slip stitch
You will be using a special stitch called ‘Picot’ which enhances the main design. It is very simple to do.
Also, you can determine the height of your crochet plant hanger as you go. Stitch as many rounds as you see fit to achieve the height you desire for your particular pot or vase. The base diameter will be 3″.
Special Crochet Term to Know:
Picot – (sc, ch3, sc) (The instructions require you to work the picot into the center chain of ch-5 spaces, instead of inserting in the space under it)
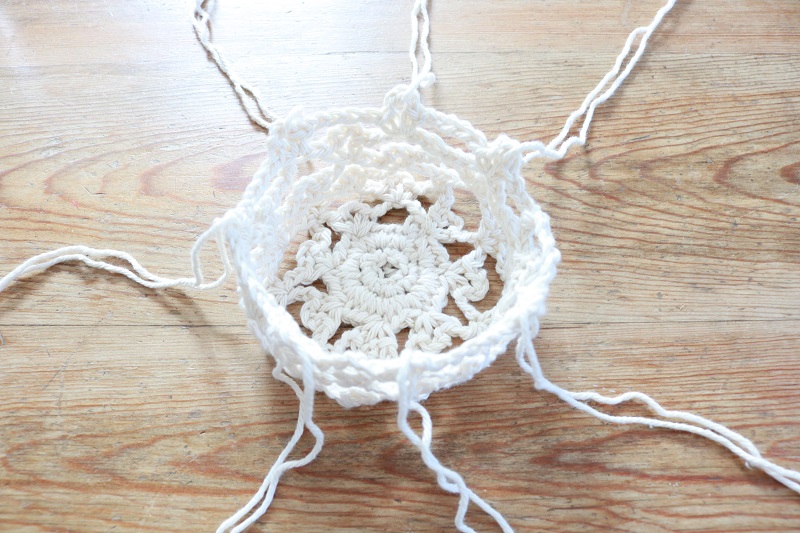
Steps
NOTE – The plant hanger will be crocheted in the round, rather than straight rows. You will make a circle for a base with tighter stitches, then a more open picot mesh design for the sides. It may be a good idea to use a stitch marker (SM) to keep track of the rounds.
Chain 5 loosely, sl st with first ch to join.
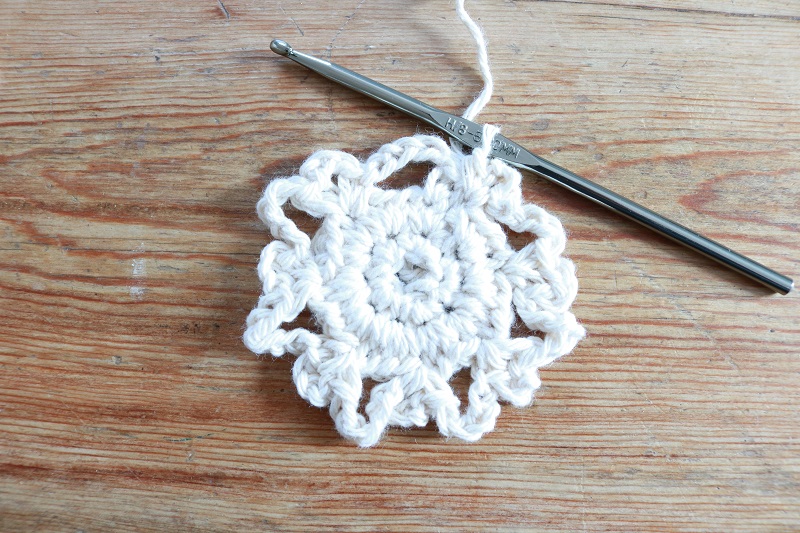
Round 1: 2 SC in each ch around. Sl to join with first st. (10 sts)
Round 2: 3 SC in each st around. Sl to join with first st. (30 sts)
Round 3: SC in first st, *ch5, sk 3 st, picot in next st, rep from * around, finishing with picot before the first ch5 at beginning of round.
Round 4: Ch5, *picot in 3rd ch of next ch-5 sp, ch5, rep from * around, SC in 3rd ch of first ch-5 sp.
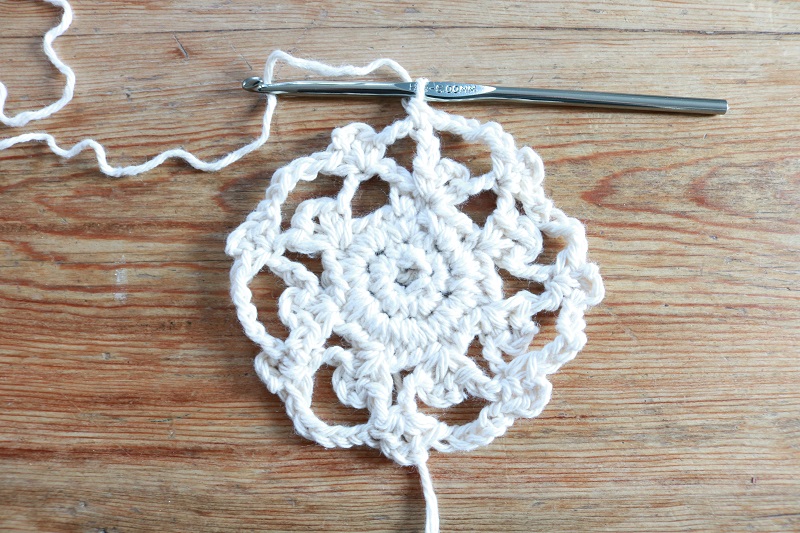
Round 5: Ch5, *picot in 3rd ch of next ch-5 sp, ch5, rep from * around, picot in 3rd ch of first ch-5 sp.
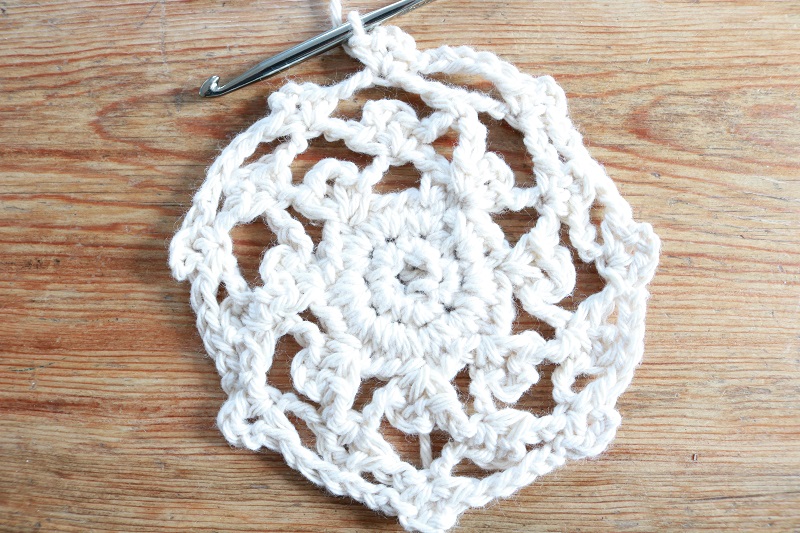
Repeat Rounds 4 and 5 until you reach the height you desire to enclose your vase or pot. Try fitting the vase inside your piece as you finish each round. (I finished after 8 rounds).
Fasten off. Weave in ends.
The finished piece will measure about 3” diameter by the height you choose. My crochet piece measures 4” high from the base of the vase.
When you’re finished stitching, next you will simply add double strands of yarn along the top edge to use for hanging.
Add Hangers
Cut 7 strands of yarn that are 36” long each. You will need one strand per ‘picot’ in your top round.
Starting with 1st strand, thread one end halfway through a picot from your last round.
Repeat this for all the other picots.
Continue with the other strands evenly distributed through each picot:
Lastly, gather all the ends of your strands evenly.
Tie the strands together in one center knot (about 6” from bottom), then in another knot near the ends.
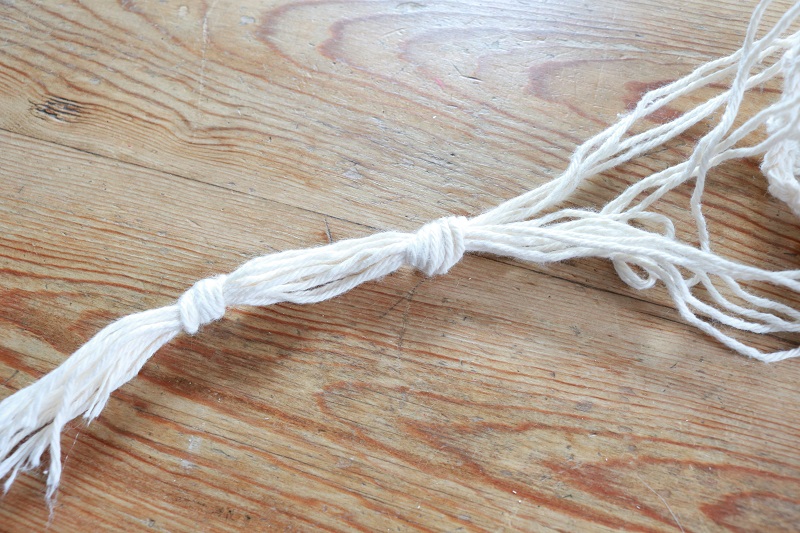
Simply hang the finished piece from this top knot, ensuring it is tightened and secure.
===> You can also find this pattern ad-free in my ETSY SHOP for a modest price. I hope you give it a try! <===
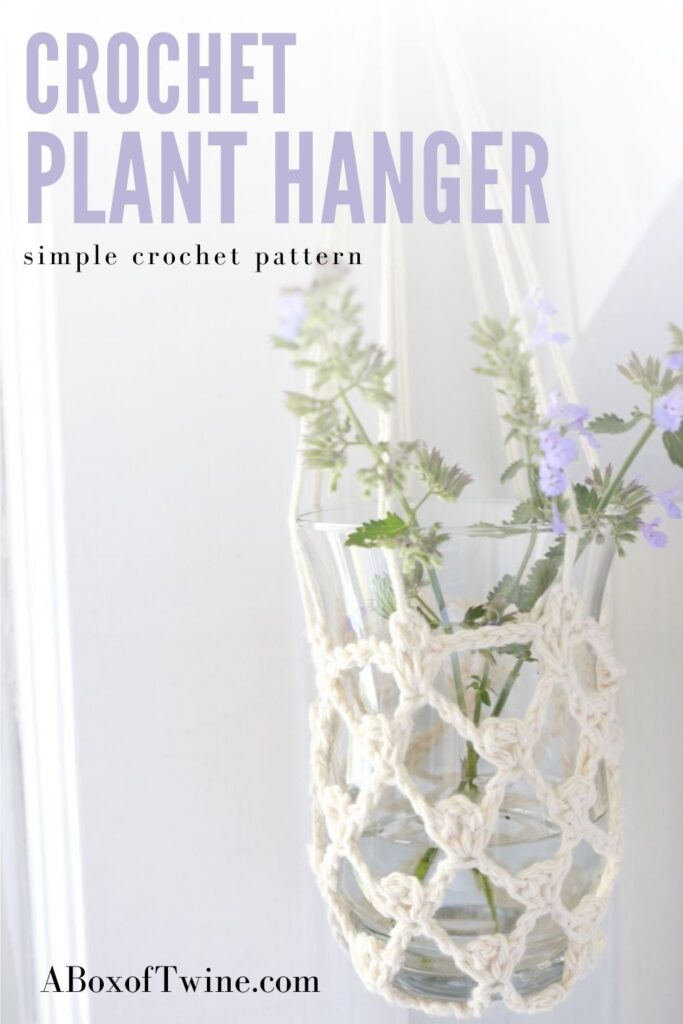
Want to remember this crochet pattern? Post this crochet plant hanger to your favorite Pinterest board!


4 Comments
Merissa Gray
Can I use a magic circle to start? When I make a chain of 5 it does not look tight like the image.
Susan
Absolutely! Feel free to use a magic circle if that looks better to start.
Enjoy the pattern,
Susan
Mols
If the center sc ring was bigger would the pattern still work please 😁
Susan
Hi,
Thanks for your question. I gather you would like to make a plant hanger to fit a wider pot? I do think the pattern could still work if you decided to start with a bigger center sc ring. Just make sure that the total number of sts for your finished ring is a multiple of 4, plus 2. For instance instead of the 30 sts total in this pattern, you could make a ring that is 38 sts total (36 is a multiple of 4, plus 2 = 38). You could do this by adding another sc round with 8 more increases spaced out.
Then proceed with the pattern and work the hanger to your desired height. It would mean that you have more picots in each round.
Best,
Susan