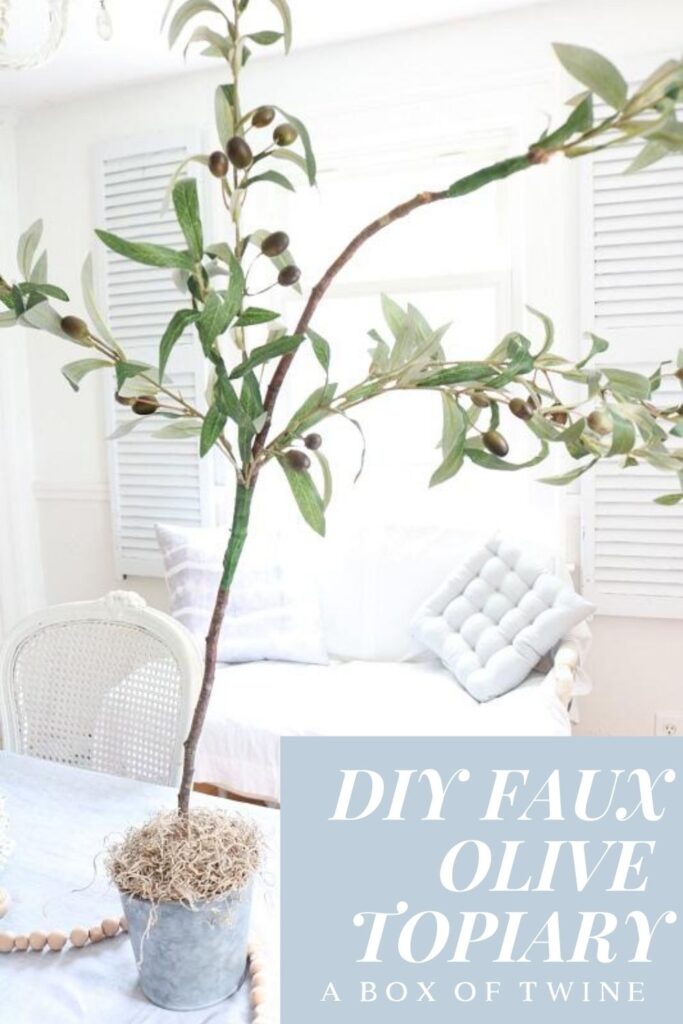
How to Make a DIY Faux Olive Topiary
There I was perusing an old issue of “The Magnolia Journal” magazine, circa 2017, and I couldn’t take my eyes off two gorgeous rustic planters in galvanized pots. They stood tall and proud, conveying ultimate farmhouse style. I was immediately inspired to create my own pots in a smaller scale. The result: a DIY faux olive topiary that is friendly on the budget, with little effort involved.
I’ve got a tutorial for you to make your own faux topiaries, so read on to see how easy they are…
This post may contain affiliate links. That means if you click and buy, I may make a commission at no cost to you. Please see my full disclosure policy for more details.
Supplies
For this project, you’ll need to gather the following supplies to make a pair of topiaries.
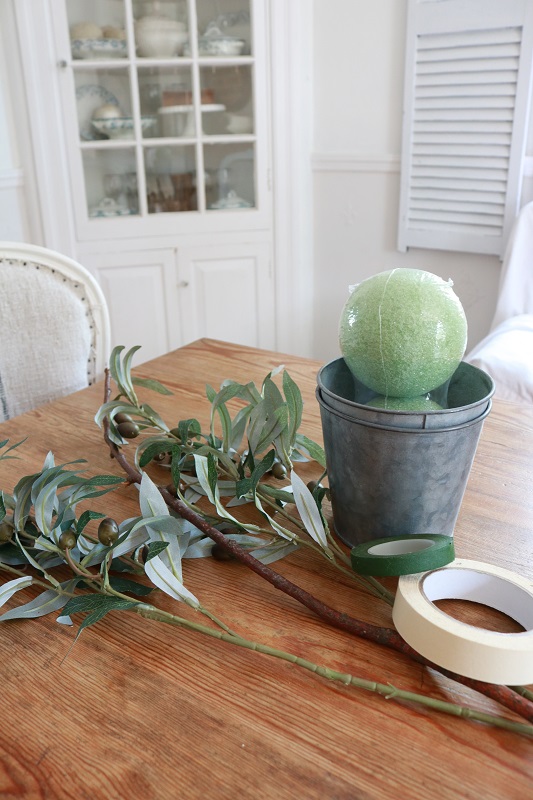
- pair of galvanized pots (mine were about 4″ diameter at bottom and 6″ diameter at top). (click on the photo below right for an option).
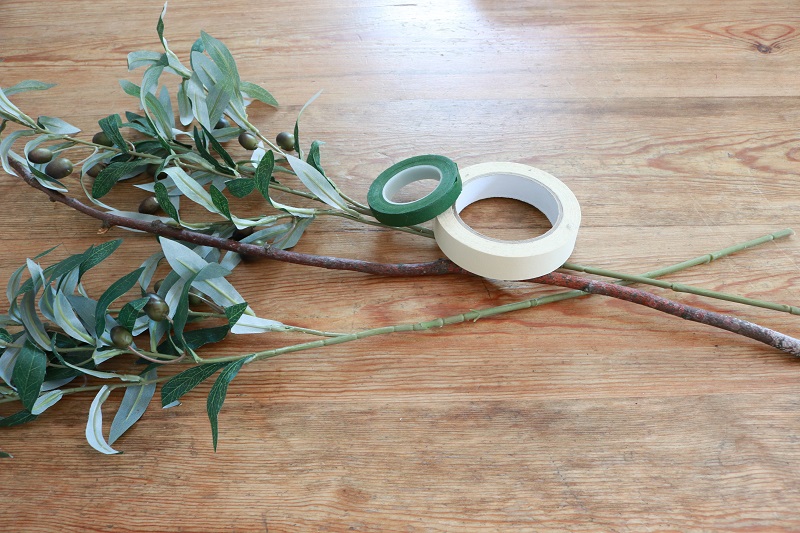
- OLIVE BRANCH STEMS (approximately 4 stems, 28″ tall) (click on photo below left for the stems I used)
- a pair of STYROFOAM BALLS, 4″ diameter
- handful of SPANISH MOSS
- 2 sticks from the yard, approx. 28-30″ long each
- BROWN FLORAL TAPE (try to match with your stick color. I only had green on hand, but brown would have been better)
- masking tape, newspaper
- handful of heavy rocks from the yard
- hot glue gun & glue sticks, pen/pencil or screwdriver, strong scissors or garden clippers


Steps to make DIY faux olive topiary
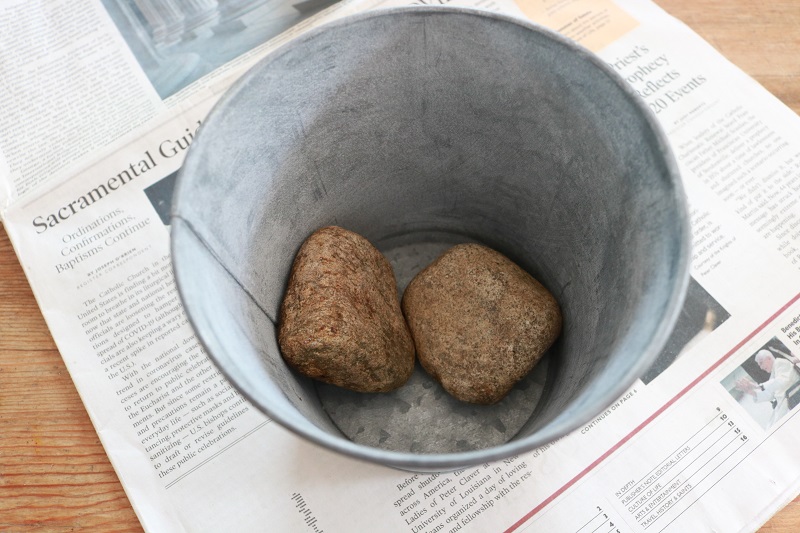
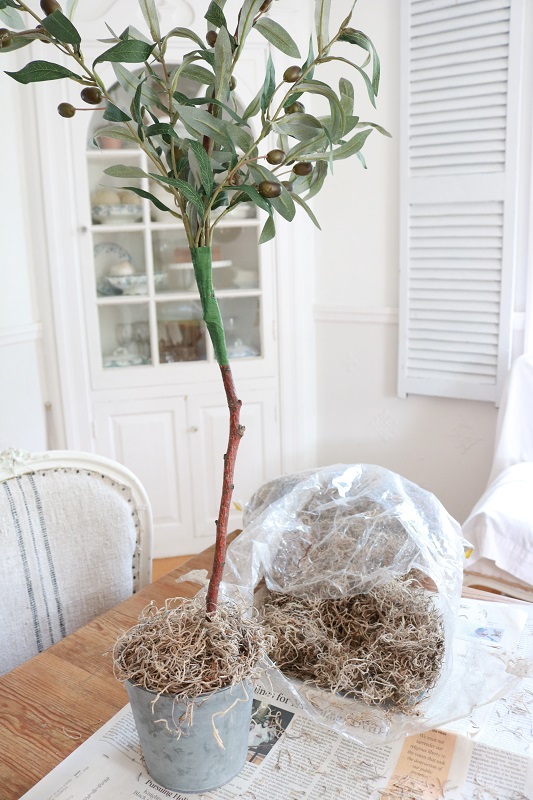
First you’ll want to put rocks inside your galvanized pot. This will help anchor the pot and keep it from toppling over with the weight of the stems.
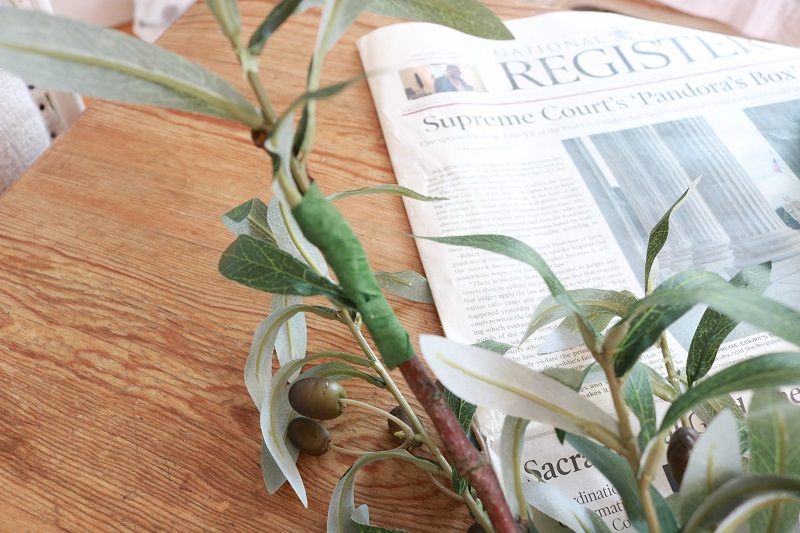
Meanwhile, gather 2 of the 4 olive branch stems and lie them next to a stick. Adjust the placement of the stems near the stick so that they are of varying heights.
Attach olive branch stems
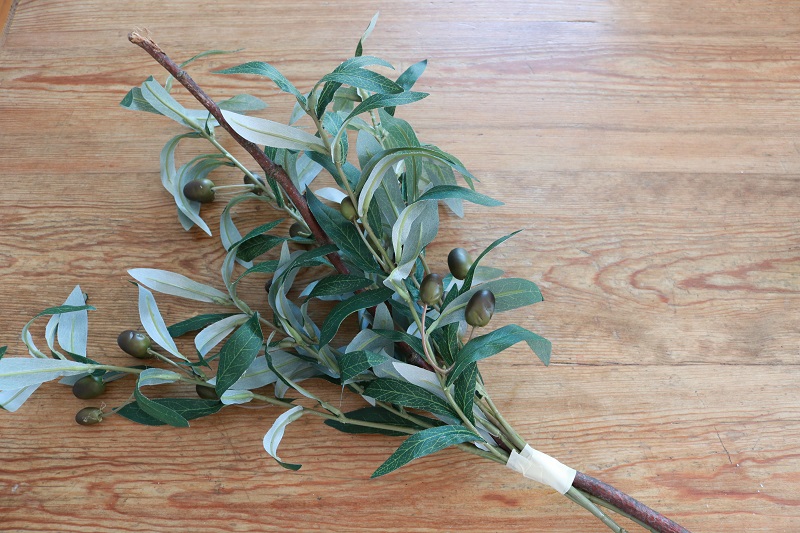
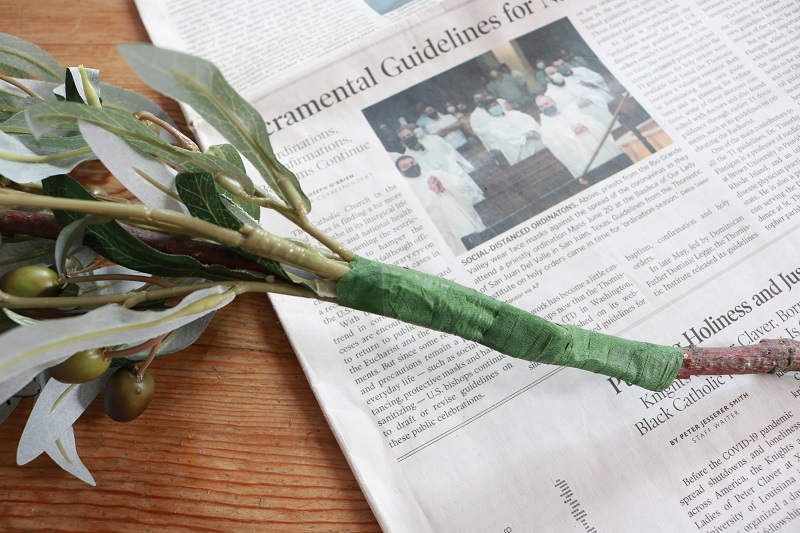
Once you are happy with the arrangement, carefully secure the stems to the stick with masking tape at the bottom of the leaves. Ensure that the top of the stick is above the tape along with the stems:
Next, cover the masking tape with floral tape and remove a small stem from the arrangement. You can use strong scissors or garden clippers to do this.
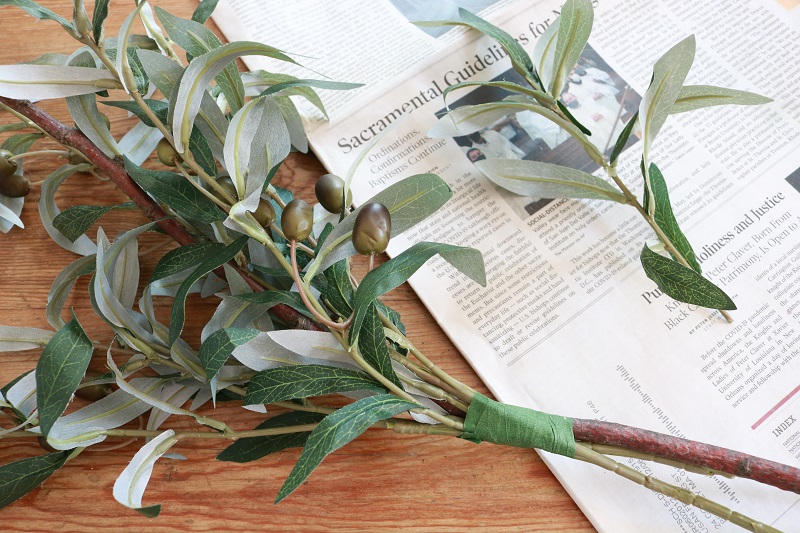
Attach this small stem to the top of the stick using masking tape, then floral tape, as before. At this point the stick will blend in with the arrangement.
Lastly, you will want to trim the bottom of the faux olive stems so that only the stick will be seen. To do this, use strong scissors or garden clippers to loosen the faux stem. Then bend the stem back and forth and it will break. Cover this break mark with more floral tape:
Add olive stems to galvanized pot
Make a hole in the center of the styrofoam ball using the pen/pencil or screwdriver. Move it around to widen the hole so that your stick will fit inside.
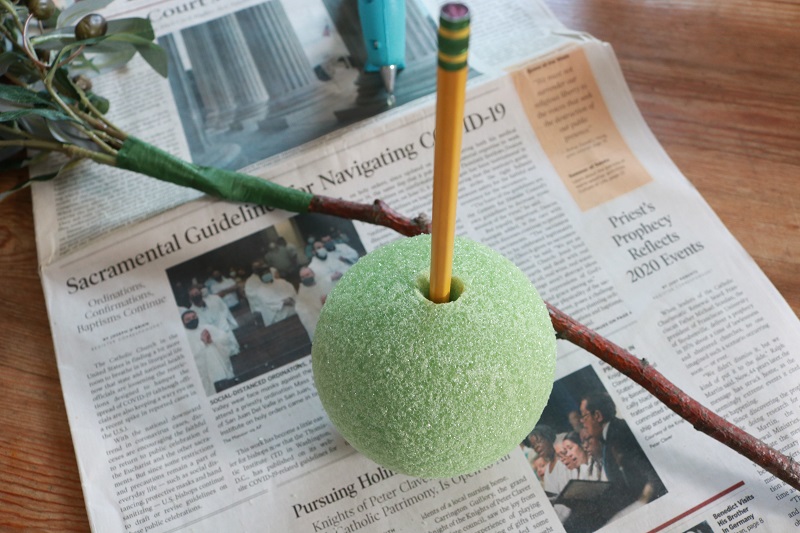
Next, gently insert the bottom end of your stick all the way down into this hole and secure with hot glue.
Stuff the pot with some newspaper to make a cushion for your styrofoam ball. Secure the ball inside the newspaper with hot glue, making sure to arrange your stick in an ideal position:
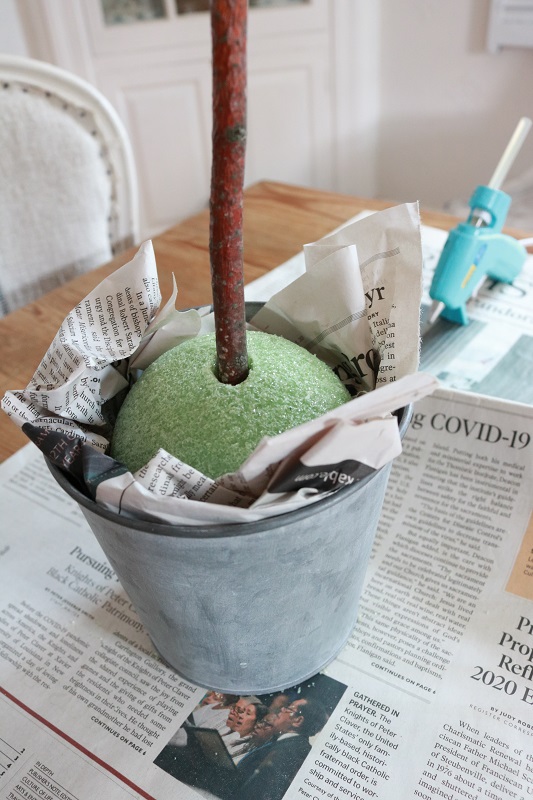
Lastly, tuck in the newspaper and cover the top of the foam ball & newspaper with Spanish moss (or Reindeer Moss if you prefer), securing with hot glue. Make sure the ball is stable and will not move around inside the pot:
Allow time for the glue to dry, and you are done!
Since I only had green floral tape available at home, I decided to use brown & black markers to color my tape so that it blends in with the stick. If you have the same challenge, matching paint would also work.
Another idea is to wrap twine around the stick to add texture.
Faux Olive Topiary on Display
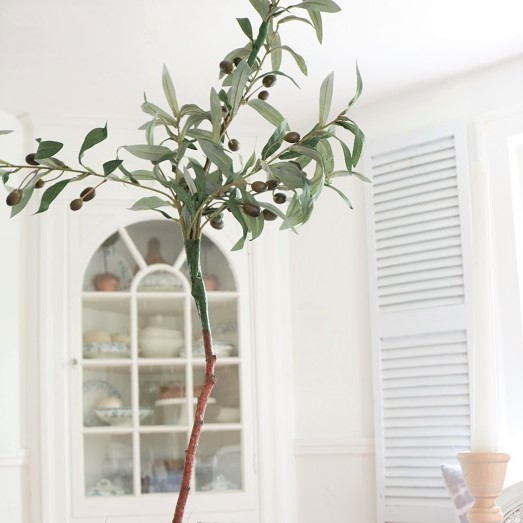
Once I finished a pair of the faux olive topiaries, I spread their leaf stems a bit to spread out. The stick helps them appear a bit more realistic, especially with a wonky bend.
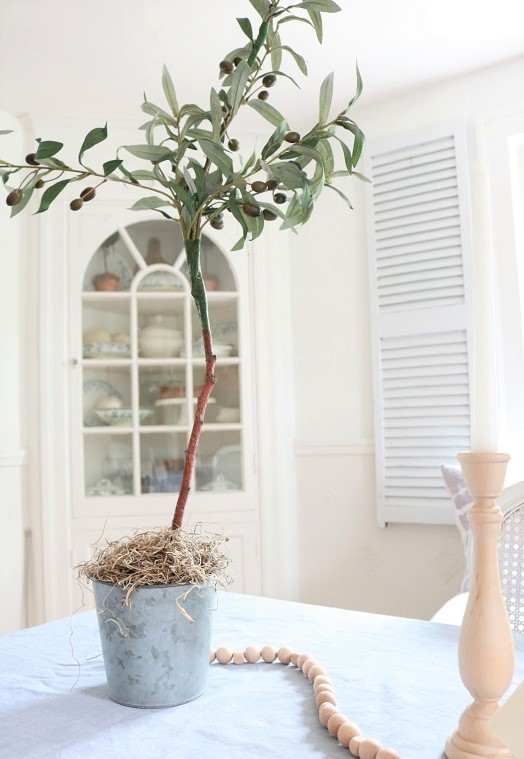
Here are my topiaries displayed on a Scandinavian style table setting with my HAND DYED TABLECLOTH:
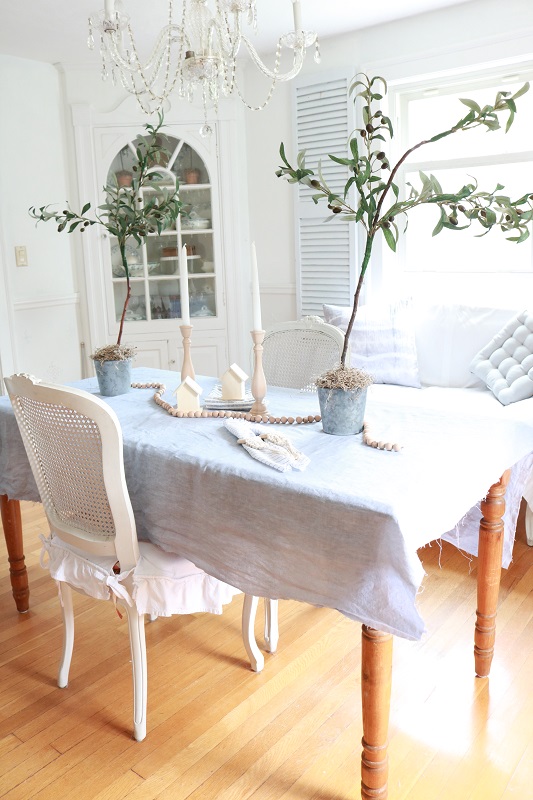
I like the contrast of the greenery with the rustic galvanized pots, along with the texture of the Spanish moss:
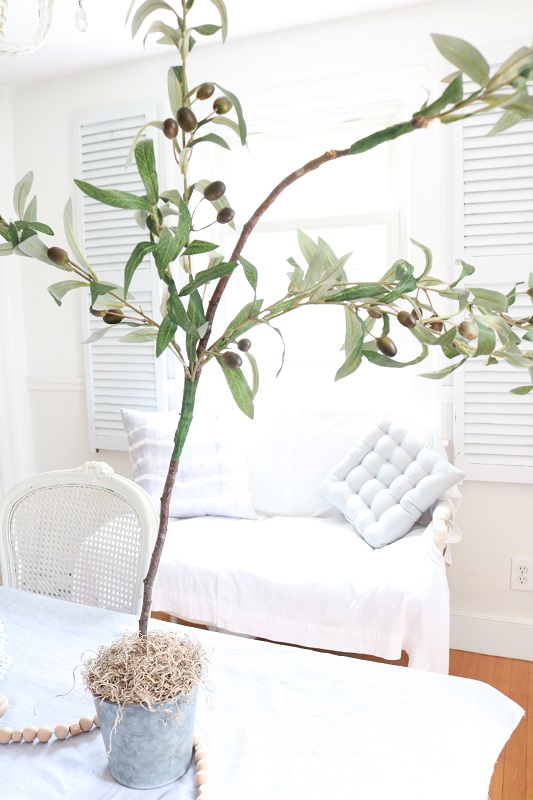
The olives on these stems look realistic, too!

This was definitely a very easy project to tackle. In hindsight, I wish I had searched for brown floral tape prior to using the green tape I had on hand.
Nevertheless, I don’t mind imperfections in my craft creations. I hope you don’t mind them in yours either. Life is too short.
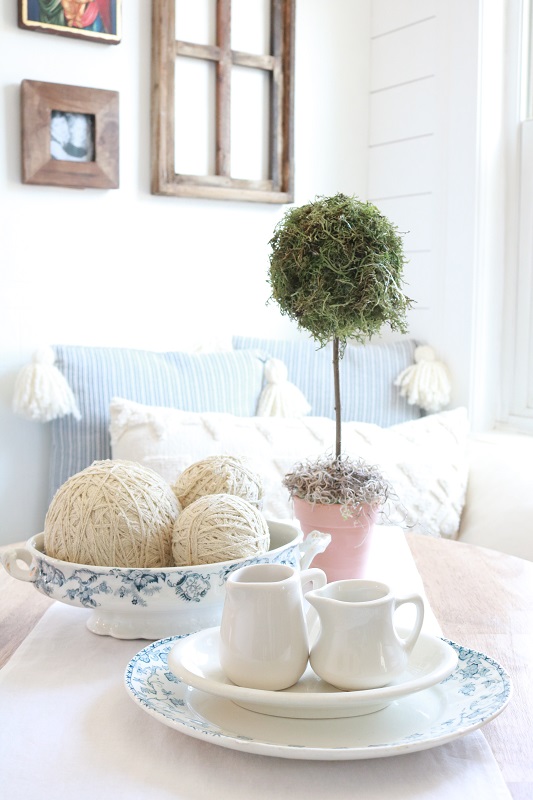
I hope you give these faux olive topiaries a try! And be sure to check out my other simple DIY faux topiaries I made with green moss:
Want to remember this DIY craft? Post this faux olive topiary idea to your favorite Pinterest board!