Make These Chunky Crochet Fingerless Mittens
My crochet hooks and knitting needles are getting more use these days now that the weather breathes autumn and colder days are arriving. I get the itch to create warm and snuggly yarn beauties. Crochet fingerless mittens have been on my ‘to do’ list for quite a while, so I finally sat down and designed a cozy fingerless mitten crochet pattern. I’m loving how they turned out!
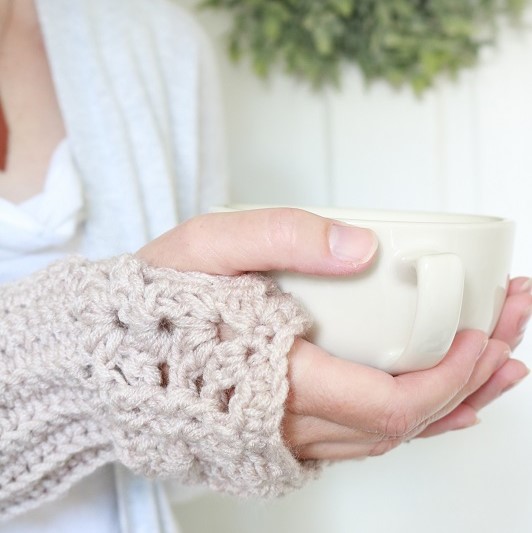
Keep reading to see the free pattern, suggested yarn, and some fun photos of my hands getting all snuggly! There may have also been a guest hand model, my sweet girl:

This post may contain affiliate links. That means if you click and buy, I may make a commission at no cost to you. Please see my full disclosure policy for more details.
Chunky Yarn Fingerless Mittens
I specifically wanted to use chunky yarn for these crochet fingerless mittens, because I wanted a cozy chunky texture that would crochet up quickly.
Supplies
- approximately 90 yards of size 5 chunky yarn (wool, or wool/acrylic mix) to make 2 mittens.
- I used Downton Abbey Yarn ‘Branson’, in the Oatmeal Cream color (but this yarn is discontinued).
- You could try substituting with Brava yarn
- size I crochet hook (5.50 mm)
- scissors, large needle to weave in ends

Crochet Fingerless Mittens Pattern
Abbreviations
ch – chain
sl st – slip stitch
sc – single crochet
dc – double crochet
blo – back loop only (you will put the hook through the back loop of the stitch only)
ch-sp – the space you made in the previous row by chaining a certain number
fpdc – front post dc (Double Crochet through the ‘post’ as follows: YO, insert hook from front to back to front around post of designated stitch and draw up loop, then [YO and draw through 2 loops] twice)
bpdc – back post dc (Double Crochet through the ‘post’ as follows : YO, insert hook from back to front to back around post of designated stitch and draw up loop, then [YO and draw through 2 loops] twice)
You will be crocheting the mittens in two pieces – first, the ribbing that is worn around the wrist cuff and second, the decorative piece that covers the hand.
Gauge for decorative piece stitches: 16sts x 4 rows for 4” by 4”
Steps to make wrist cuff:
Using size I crochet hook, chain 15.
Row 1: SC in 2nd ch from hook and in each ch through BLO to end of row. (14 sts)
Row 2: Ch1, Turn. SC through BLO of each st to end of row. (14 sts)
Repeat Row 2 until the ribbing cuff measures approximately 6 inches. Keep track of how many rows you made so you can repeat them for the 2nd mitten. (The ribbing on my mittens took 21 rows).
Fasten off.
Steps to make decorative stitching over the hand:
The foundation and beginning rows of this piece will actually end up being the top edge of the mitten because it is a straight edge. The last row (4) will be the row you attach to the cuff. This last row will be curvy with ‘shells’.
Using size I crochet hook, chain 32.
Foundation Row: SC in 2nd ch from hook and in each ch through BLO to end of row.
At this point your decorative piece should measure about 8 inches wide. If not, check your gauge.
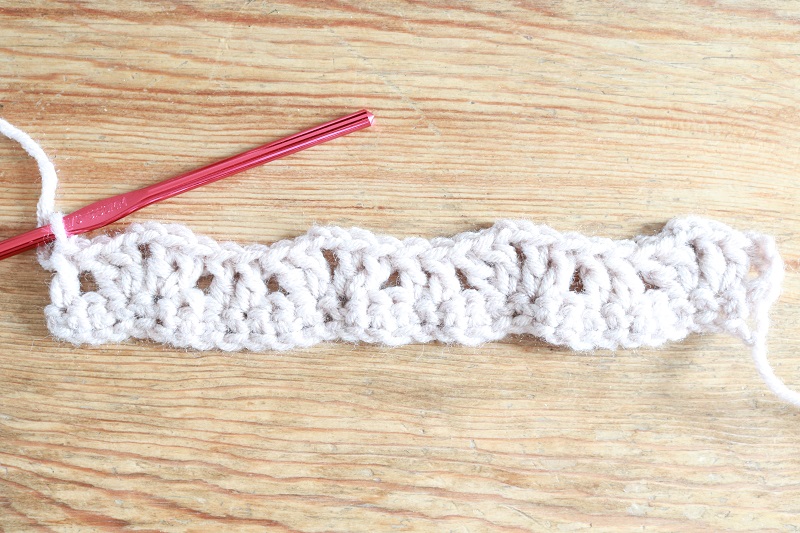
Row 1: Ch 4, 2 DC in next st, *Ch 2, 2 DC in next st, skip 2 sts, 1 DC in next 2 sts, skip 2 sts, 2 DC in next st; rep from *, end last repetition with Ch2, 2 DC in next st, skip 2 sts, 1 DC in last st. Turn.
Row 2 (Right Side): Ch 4, * [2 DC, Ch 2, 2 DC] in next ch-2 sp, FPDC around next 2 DC (note: these 2 DC are the ‘posts’ that stand tall in between each ‘shell’); repeat from *, end last repetition with Ch 1, 1 DC in last ch-sp. Turn.
Row 3: Ch 4, * [2 DC, Ch 2, 2 DC] in next ch-2 sp, BPDC around next 2 DC; repeat from *, end last repetition with Ch 1, 1 DC in last ch-sp. Turn.
Row 4: Repeat Row 2.
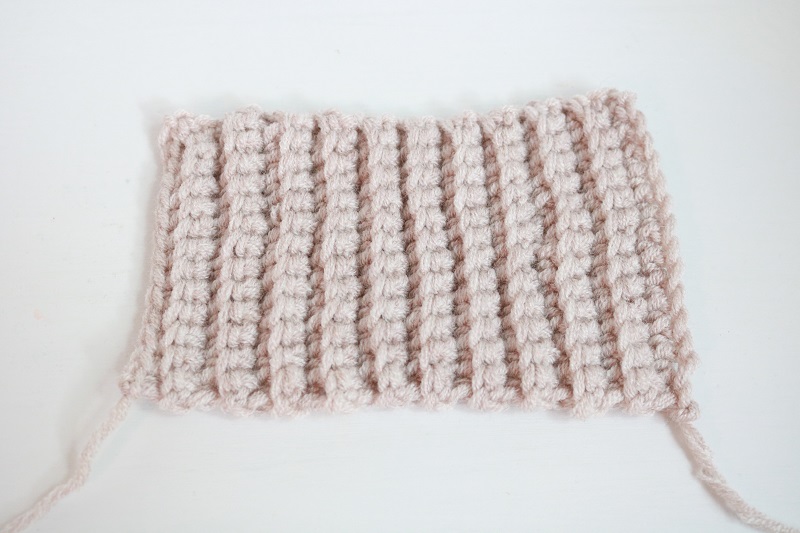
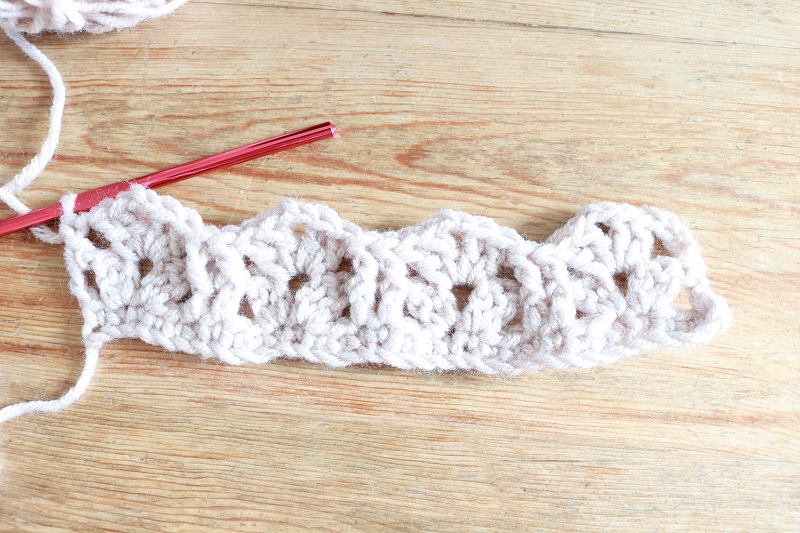
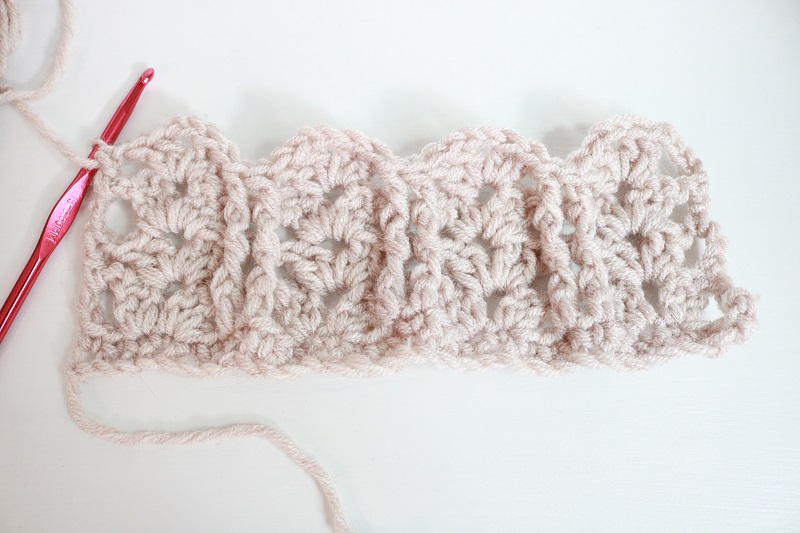
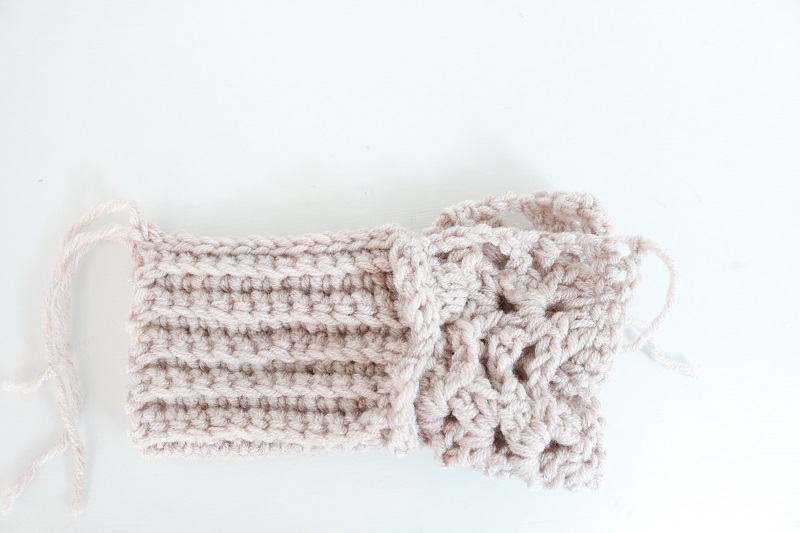
Your finished decorative piece should look like the photo below (about 8” by 3”). Do you see how the top finished edge is curvy with ‘shells’ or ‘fans’? This is the edge you will be attaching to your wrist ribbing piece:
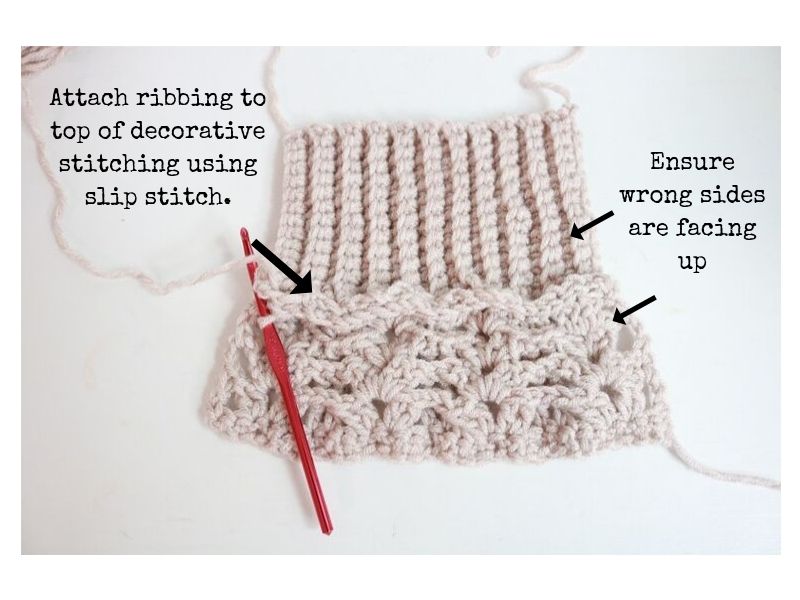
Before fastening off, you can go ahead and attach the decorative stitching to your cuff using a slip stitch as follows:
Attach decorative stitching piece to ribbed cuff:
First, align your two pieces so that the ribbed cuff lies horizontally, and Row 4 of your decorative stitched piece is lined up to the cuff. The decorative piece will be a bit longer, so you can smoosh the shells together a bit.
Ensure both pieces have wrong sides up (it doesn’t really matter with the cuff, but does with the other piece).
Using a slip stitch, attach the two pieces together at these edges. You don’t need to fasten off yet after attaching here:
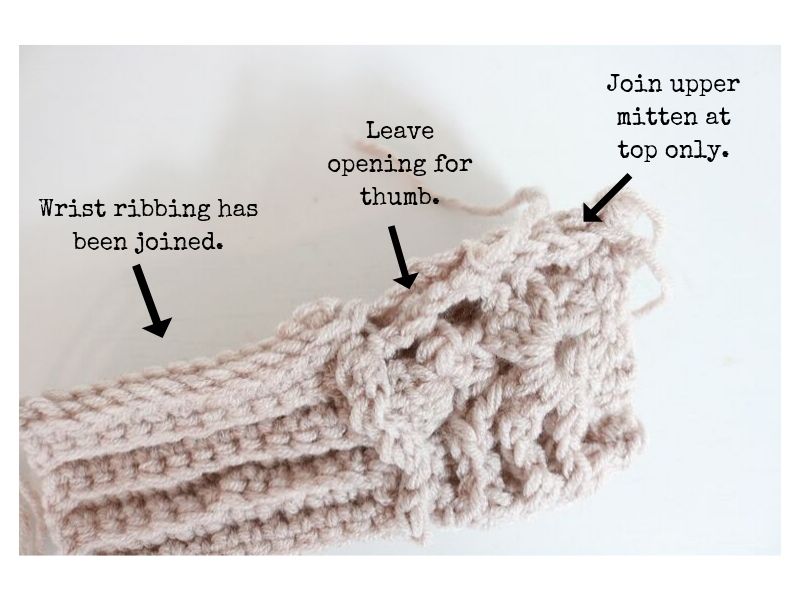
Next, you will fold your mitten in half length-wise, right sides together, in order to sew up a side seam. Continue with a slip stitch to attach the short ends of the ribbing together:
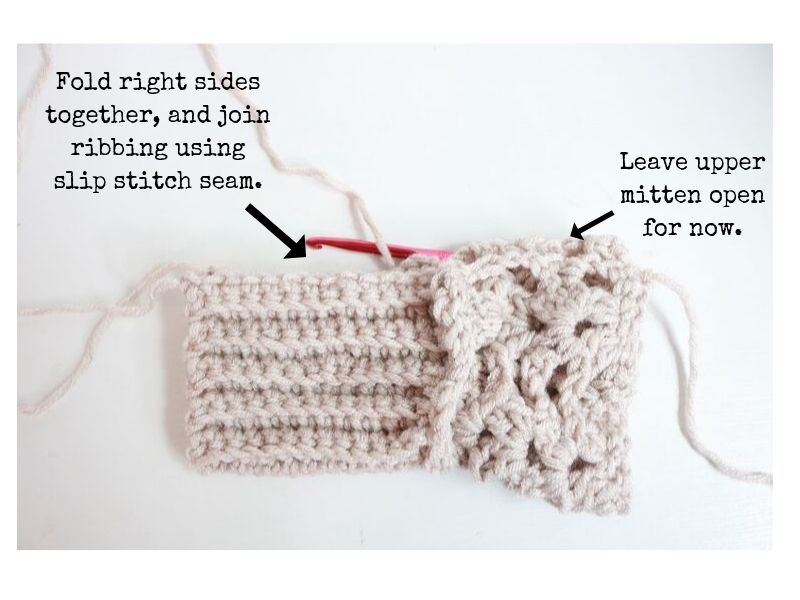
Ribbing stitched together, top left open:
Lastly, you’ll want to join the top of your mitten together, leaving an opening for your thumb. You can use a slip stitch here as well:
Weave in ends, and turn the mitten inside out. Finished!
Now repeat those steps for your 2nd mitten.
Wearing Your Chunky Fingerless Mittens
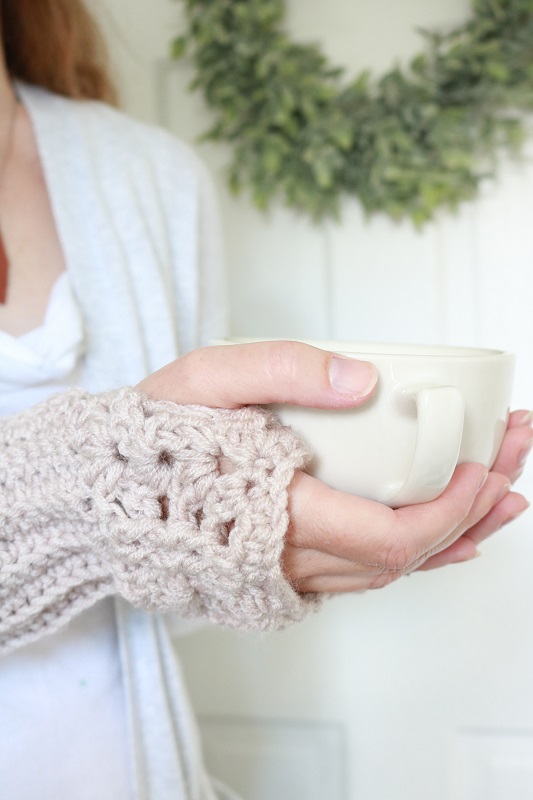
Once you’ve completed two mittens, it’s time to wear them! My daughter and I had fun showcasing the fingerless mittens in this photo shoot.
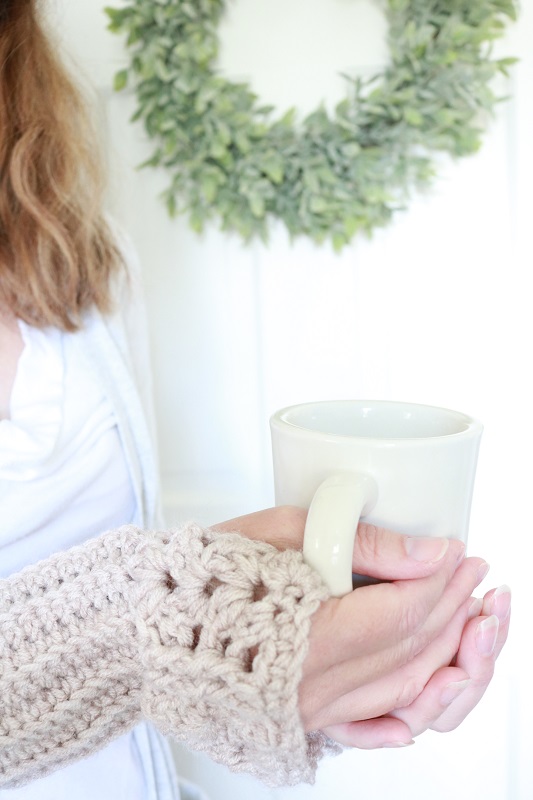
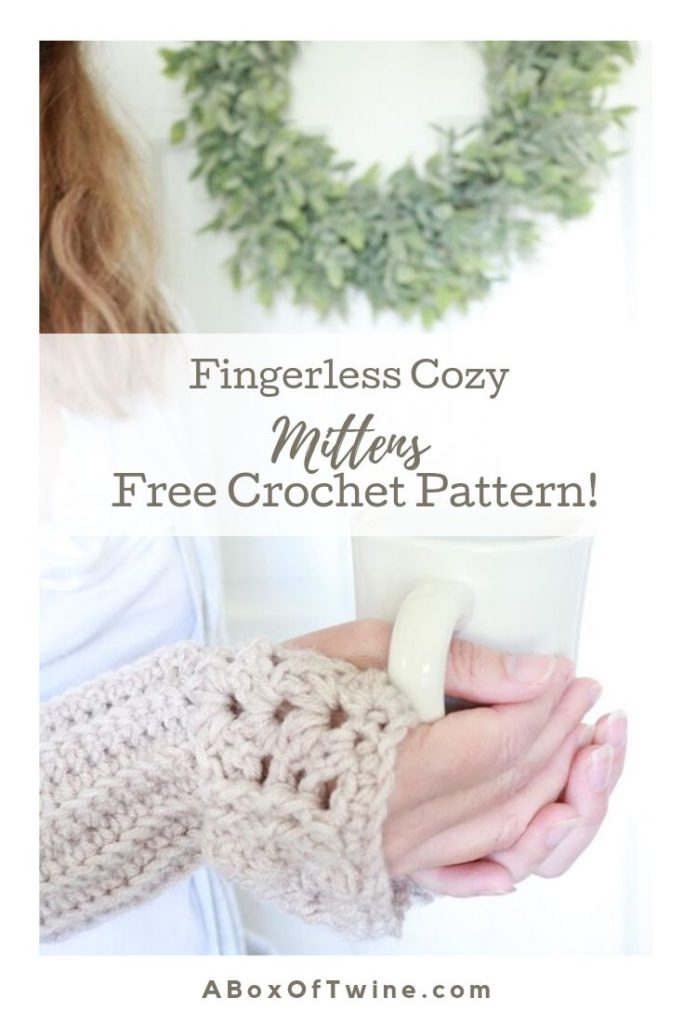
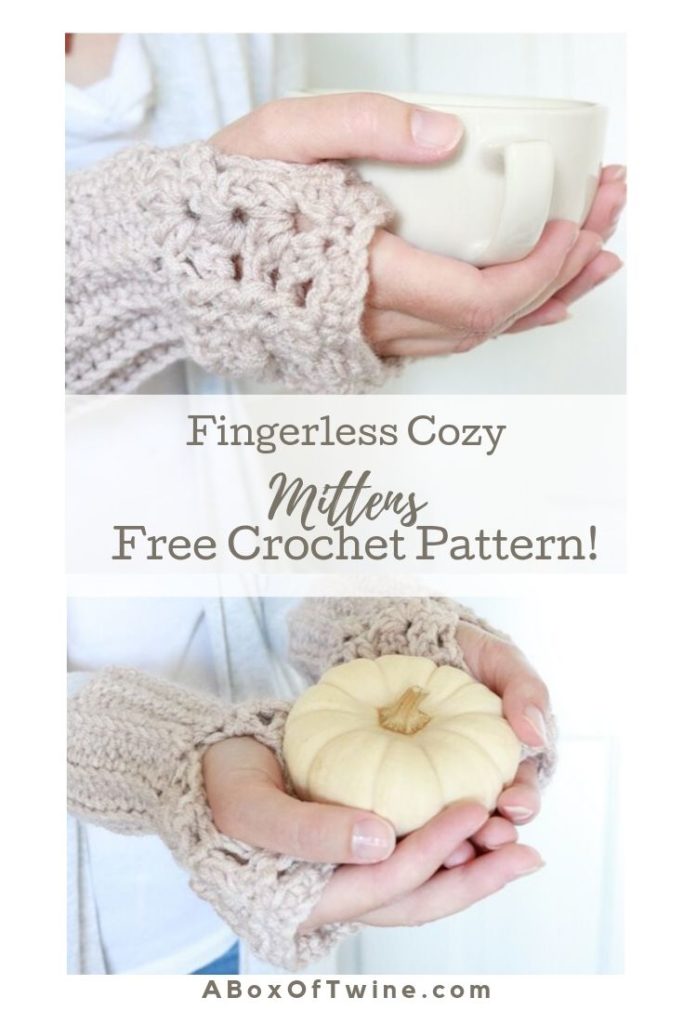
Wrap them around a cozy mug…
Head outside to collect some apples (and display in this harvest basket) or cute Baby Boo pumpkins…
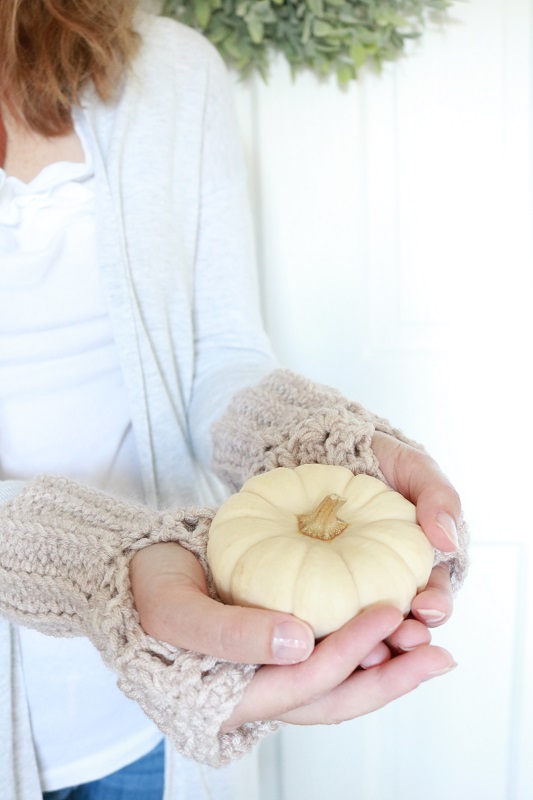
Or simply wear them around the house when there’s a chill…do you also spy the leather fringe necklace I made? They’ll pair up well this fall:
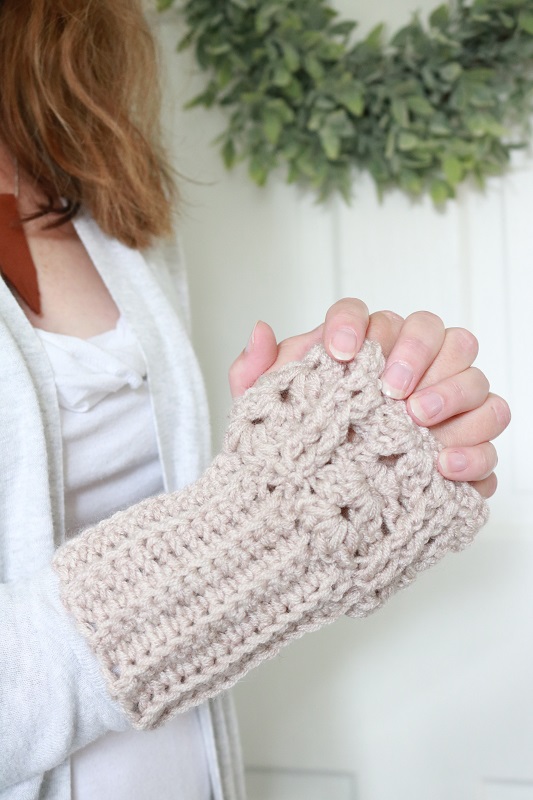
However you decide to wear them, these mittens will add beautiful texture to your wardrobe and you can boast about making them yourself. Not to mention, this is a great time to start making pairs for Christmas gifts. (No one needs to know how simple they are to make)!
I’d love to hear if you’ve given this pattern a try. Be sure to check out my other crochet and knitting patterns on the blog.
Want to remember this craft? Post this crochet pattern to your favorite Pinterest board!


11 Comments
Pam
After 2 dc chain 2 2dc in chain 2 space then says dcfp next 2 dc. There are 4 dc in between chain 2 spaces . Do I dcfp around 2 post or 1 post and skip the next 2? Hope this makes sense. I cannot get mine to look like yours 🙁
Susan
Hi Pam,
I’m so sorry for the confusion. I will plan to update these instructions with another photo of what the piece looks like after Row 1. It should look like a series of ‘shells’ with two ‘posts’ in between each one. Therefore, the “2DC, Ch2, 2DC” stitches make up ONE shell, and the “1 DC in next 2 sts” each make up a ‘post’. So after Row 1, you should have 1 post (the chain 4 at beginning), 1 shell, 2 posts, 1 shell, 2 posts, 1 shell, 1 last post (the last DC). The shells resemble a seashell, and the posts stand straight up tall.
So in Row 2, after you make a new shell in the ch-2 space (2DC, Ch2, 2DC), you are doing the FPDC around the next 2 ‘posts’ (where you had the 1 DC in next 2 sts from Row 1). I hope that makes sense? Even though you can see several DC’s in between the ch-2 spaces, the first two DC’s are still part of that ‘shell’ so you won’t be putting FPDC around those. You only want to put the FPDC around the DC’s that look like ‘posts’ (standing tall).
Thanks for your question, and I will definitely update my photos. Let me know if you have any other questions.
Lynda Thompson
Hi when I do the 1st row of the “decorative stitching over the hand”, I have 31 stitches, but everytime I get to the end of the row I have an extra stitch at the end. I have counted the stitches in the instructions which do come to 31, but I still have a stitch left at the end if the row. Help, what am I doing wrong?
Susan
Hi Lynda,
So sorry you are having trouble with the 1st row of decorative stitching. I’m wondering if it could be the way the term ‘next st’ is being interpreted in the beginning of Row 1? After you chain 4, you want to work the 2 DC in the st following the very 1st stitch. Then I think the rest of your row will be shifted over.
Hope that helps!
Susan
Mary Ann
Beautiful Chunky Fingerless Mittens. Thank you, making them for my granddaughters. Question: Is the Right Side row one or two for the ribbing? Same for the decorative part. Is it row 1 or 2 for the Right Side? Thank you.
Susan
Hi Mary Ann,
So happy to hear you plan to make these cuffs for your granddaughters. As far as the ribbing cuff (worn on the wrist), either side can be the ‘right’ side. It doesn’t really matter. With the decorative piece for the hand, the ‘right’ side will face you starting with Row 2. You can also see the right side facing up in my finished photo of the decorative piece (the photo is shown after the ‘Row 4: Repeat Row 2.’ step). I hope that helps! I’ll try to update the photo with that information.
Thanks for taking a look!
Ann LaBossierere
Glad to see a chunky yarns pattern. Thanks
Susan
Glad you found my pattern Ann!
Ann labossiere
Glad to see a chunky yarns pattern . Thanks
Tiffany Geier
My decorative stitching is bigger than my rubber cuff is that how it’s supposed to be?
Susan
Hi Tiffany,
Yes, the decorative stitching for the hand section will be slightly wider than the ribbing cuff. That is because the decorative hand section has a ‘shell’ effect at the end edge. When you attach them, just ensure the side edges are aligned & try to center the decorative piece against the ribbing. It doesn’t have to be one-for-one stitching when you attach.