Chunky Crochet Mittens Pattern {FREE!}
Chunky crochet mittens are the perfect cold-weather project when you want something cozy, stylish, and fast to make. In this free chunky crochet mittens pattern, you’ll learn how to create warm mittens using simple stitches and bulky yarn – ideal for winter walks, last-minute handmade gifts, or adding a timeless accessory to your handmade wardrobe. These cozy mittens work up quickly, have a classic texture, and are designed for comfort without fuss. Plus, you’ll only need one skein of Super Bulky yarn to make them!
Because they’re worked with chunky yarn, these crochet mittens come together quickly while still offering warmth and structure. The mittens are pactical, beautiful, and made to last.
If you enjoy crochet winter patterns that balance ease with intention, and you prefer timeless accessories over fast trends, this chunky crochet mittens pattern is a satisfying project to add to your winter making list.

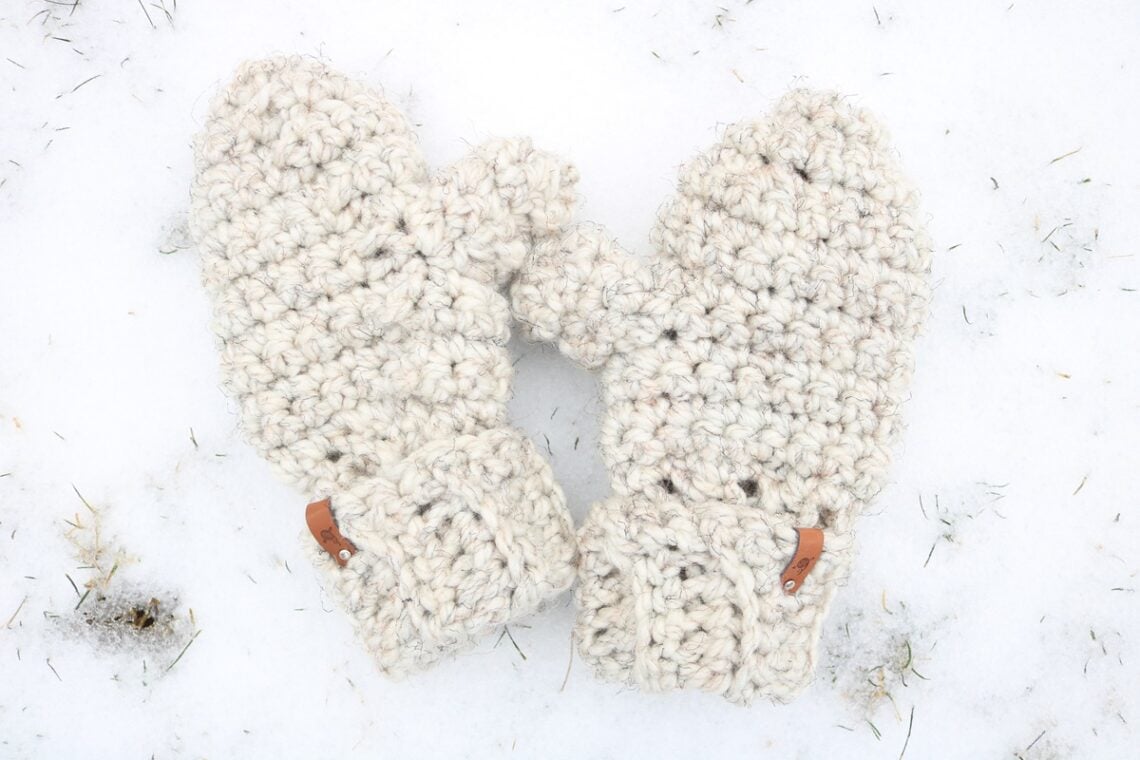
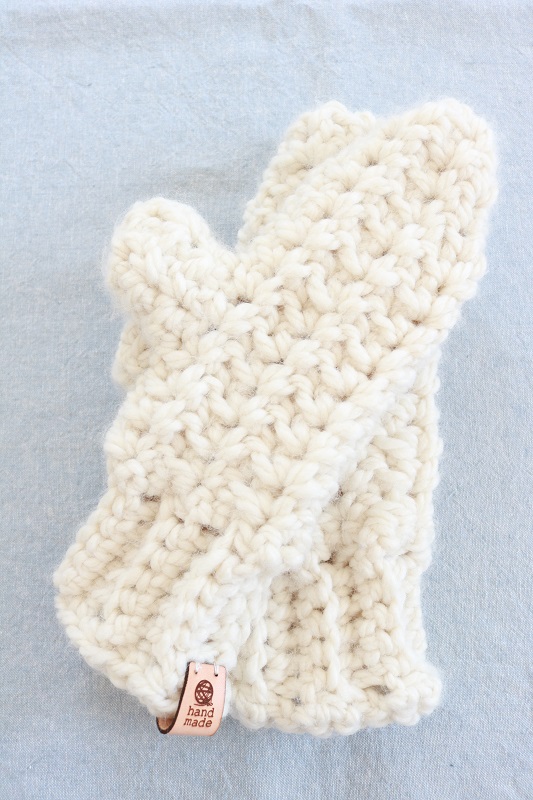
Below you will find the Easy Mittens Crochet Pattern Free. In it, you will learn how to crochet mittens that are both cozy & stylish. If you love Free crochet mittens pattern for adults with simple designs, you will really enjoy the beautiful texture of these traditional style mittens. They are made with the popular Lion Brand Wool Easy Thick & Quick super bulky yarn in the neutral color ‘Wheat’.
This project would also make a great gift for a friend!
This post may contain affiliate links. That means if you click and buy, I may make a commission at no cost to you. Please see my full disclosure policy for more details.
FREE MITTENS CROCHET PATTERN
How to crochet mittens
The Mitten Crochet Pattern Free is easy to work once you get the hang of working in both rows & rounds, and adding decrease stitches for the top. You will crochet the cuff in rows, then the upper mitten in the round, working up and decreasing stitches at top. You need to know the BASIC CROCHET STITCHES as well as SC2TOG to work this piece.
Can a beginner crochet these mittens?
Yes, an advanced beginner can give these a try! This free pattern is listed as Intermediate, but is also beginner-friendly if you’re ready for a challenge. You can handle the decrease stitches with practice. And if you enjoy Crochet Mitten Patterns Free, a simple design is a popular choice for beginners.
You will need the following supplies:
Supplies
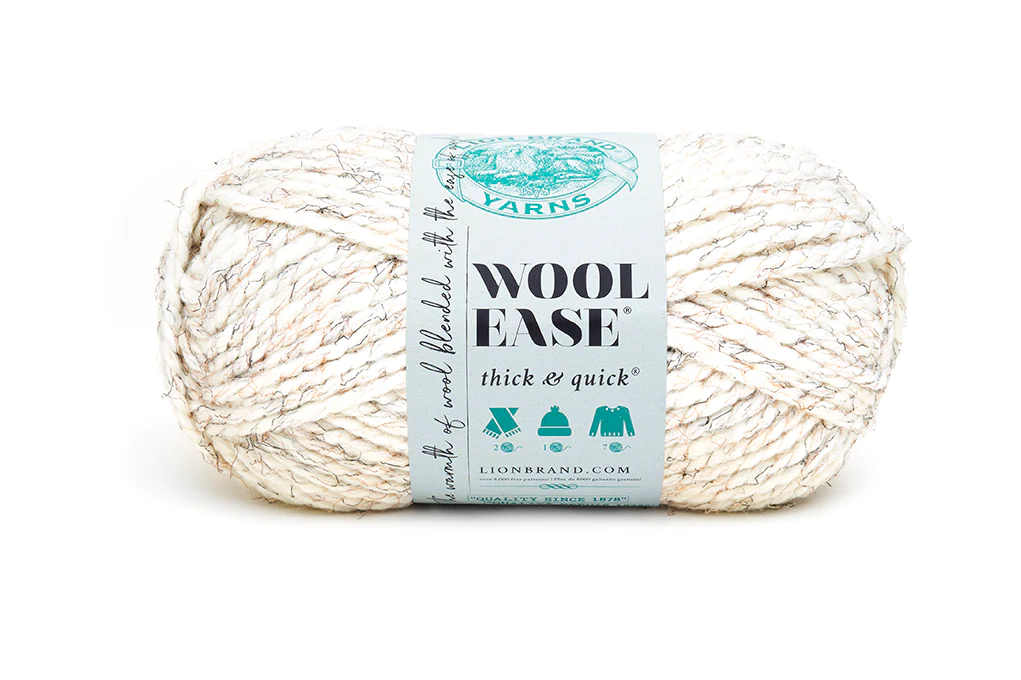
- Size 6 Super Bulky yarn – Lion Brand Wool Ease Thick & Quick
- Approx 105 yds for 2 mittens (1 skein=106 yds)
- Color: “Wheat”
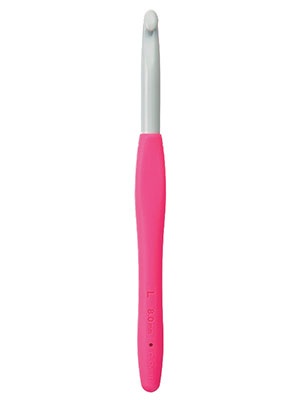
- Size M/N-13 (9.0 mm) hook
- optional leather tags for embellishing

Crochet Notions
Crochet Abbreviations
US Crochet terms are used.
Ch – chain
rep – repeat
RS – right side
sc – single crochet
sl st – slip stitch
sc2tog – single crochet 2 stitches together (1 decrease)
st(s) – stitch(es)
RS – right side
WS – wrong side
[ ] – repeat what is inside brackets # of times indicated
PATTERN INFORMATION
The Simple Crochet Mittens Free Pattern is provided below, but you can also get the ad-free, printable pdf pattern of the CROCHET MITTENS in the pattern SHOP! The pdf has helpful photos included:
(The premium Ad-Free PDF can also be purchased on ETSY)

One Skein Pattern for Mittens
Gauge: 4″ (10cm) square = approx 7 sts by 8 rounds for upper mitten
How to crochet chunky mittens
These Crochet Mittens work up simply to form mittens approx 10″ tall with cuffs rolled. They are a great size for adult women.
NOTES: You will be crocheting the mittens from bottom up, cuff to top. Use same instructions for both right and left mittens.
What yarn is best for a chunky mittens?
Super Bulky yarn is a great choice for chunky mittens, especially in a classic color for timeless style.
Instructions to make the mittens are as follows…
Mittens Crochet Pattern
Follow the instructions below in the order indicated.
NOTE – Ch 1 does not count as a st.
Working through the BLO will form a ribbed texture.
Cuff
Using size N/M (9mm) crochet hook, ch 13 with size 6 yarn.
Row 1: Sc in 2nd ch from hook and in each ch through BLO to end of row. Turn. 12 sts
Row 2: Ch1, sc through BLO of each st to end of row. Turn. 12 sts
Rows 3-11: Repeat Row 2. DO NOT TURN after last row.
Add finished bottom edge to cuff:
Working down the side edge of your ribbed cuff,
Ch1, sc approx 15 sts evenly down this side to add a finished edging.
Continuing with yarn,
SEAM rows:
Join the first and last rows together with sl sts to close the cuff.
(I worked these sl sts through one loop only to prevent a bulky seam).
DO NOT FASTEN OFF.
Lower Mitten
Next you will continue by working in the round to form the top of the cuff and the base of the lower mitten.
Use a stitch marker (sm) to keep track of first st in each round.
Round 1 (RS): Ch1, work 18 sc sts evenly around the top edge of the cuff.
Join with sl st to 1st st. Turn. 18 sts
Round 2 (WS): Ch 1, sc in each st around. Join with sl st to 1st st. Turn. 18 sts
Rounds 3-5: Rep Round 2.
Thumbhole
Next you will leave a gap for a thumbhole. The thumb will be added later.
Round 6: Ch1, sc in first st, ch 4, sk next 4 sts, sc in next st and each st around. Turn. 14 sts, 4 chs
Round 7: Ch 1, sc in first st and next 12 sts, 4 sc in ch-4 sp, sc in last st.
Join with sl st to 1st st. Turn. 18 sts
Upper Mitten
Next you will continue working in the round to form the upper mitten.
Rounds 8-10: Rep Round 2.
Top of Mitten Decrease
At this point you will begin to decrease stitches in the round to form the top of the mitten.
Round 11: Ch1, work [sc in next 4 sts, sc2tog] around.
Join with sl st to 1st st. Turn. 15 sts
Round 12: Ch1, work [sc in next 3 sts, sc2tog] around.
Join with sl st to 1st st. Turn. 12 sts
Round 13: Ch1, work [sc in next 2 sts, sc2tog] around.
Join with sl st to 1st st. Turn. 9 sts
Round 14: Ch1, work [sc in next st, sc2tog] around.
Join with sl st to 1st st. 6 sts
Fasten off and weave tail through rem 6 sts to tighten top of mitten.
Add Thumb
Next you will add the thumb to the thumbhole opening of the mitten.
Round 1 (RS): Beginning at the bottom of your thumbhole (closer to the ribbed cuff) with RS facing, join yarn and work 10 sc sts evenly around the thumbhole.
Join with sl st to 1st st. Turn 10 sts
Round 2 (WS): Ch 1, sc in each st around. Join with sl st to 1st st. Turn. 10 sts
Rounds 3-4: Rep Round 2.
Round 5: Ch 1, work [sc2tog] around. Join with sl st to 1st st. 5 sts
Fasten off and weave tail through rem 5 sts to tighten top of thumb.
Finishing Crochet Mitten
Secure and weave in all loose ends to Wrong Side (WS).
Fold cuff upwards.
Add optional leather tag to cuff edge.
Repeat all steps to make the 2nd mitten.

Important Tips for Crocheting your Mittens
Some things to keep in mind as you crochet the piece are:
- Use a stitch marker to keep track of the first stitch in each round of the mitten.
- Each mitten is made in the same way – there are no special steps for Right or Left mittens.
- Feel free to customize the mitten as follows:
- work more/less rounds if you would like the mittens longer/shorter
- be sure to have enough yarn for these customizations
Finished Size
The finished crochet mitten measures approximately 5″ width by 10″ length with cuffs rolled.
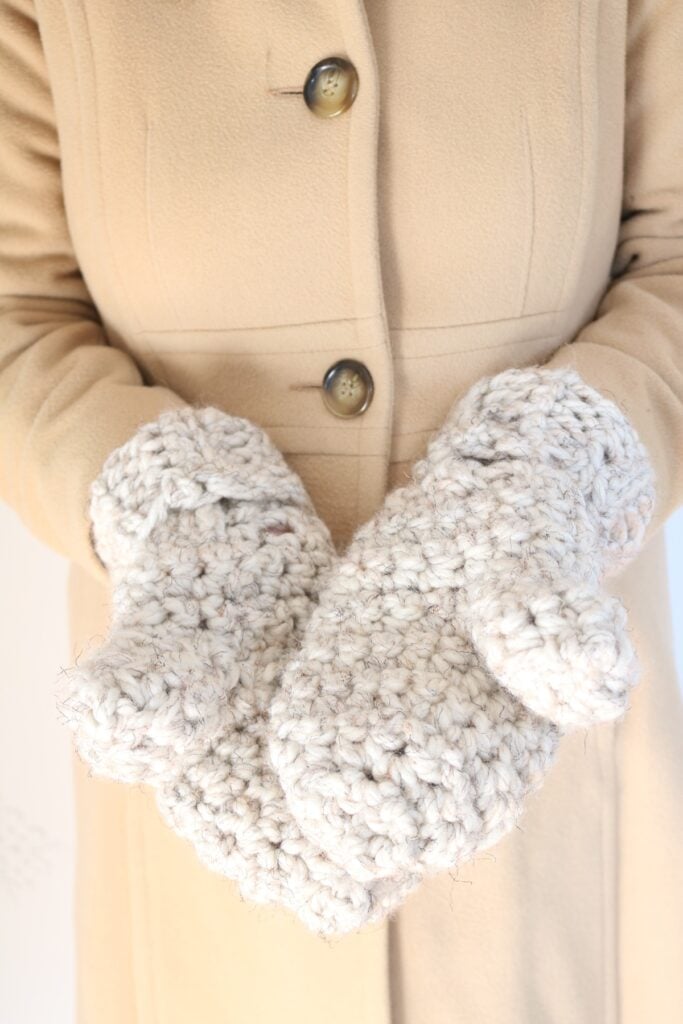
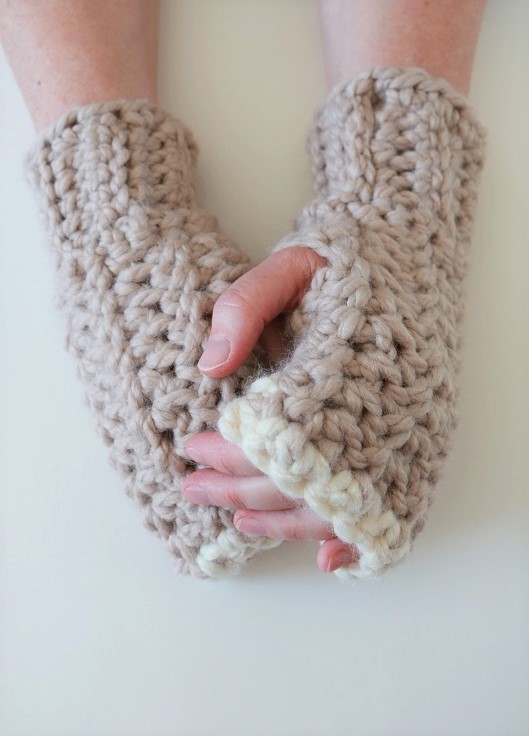
Wearing your Textured Crochet Mittens
Now it is time to enjoy wearing your crocheted mittens! Snuggle them on your hands for coziness and warmth this winter time.
If you love Crochet Patterns For Gifts, a pair of these crochet mittens make a great gift.
What do you think of this Crochet Mittens Free Pattern? If you are an enthusiastic beginner at crochet, you could try making a pair. The decrease stitches are simple to master, and it’s not too hard to work in rounds.
Be sure to add these crochet mittens to your list of Things To Do With Chunky Yarn this winter. They’re a great option for a quick afternoon project.
Don’t forget that this mittens crochet pattern is also available in an ad-free digital pdf pattern. The pdf has helpful photos. Grab the CROCHET MITTENS pattern in my shop.

Want more crochet mitten patterns? Check out these other FREE crochet patterns for chunky mittens…
===> Remember to PIN for later! <===


