10 Tips to Declutter Your Kitchen
With our kitchen renovation beginning next week, I am knee deep in a kitchen purge! Gosh, you don’t realize how much you have until you’re really digging through it. I thought this would be a timely way to share 10 tips to declutter your kitchen in this post. May as well share what I’ve learned…
This post may contain affiliate links. That means if you click and buy, I may make a commission at no cost to you. Please see my full disclosure policy for more details.
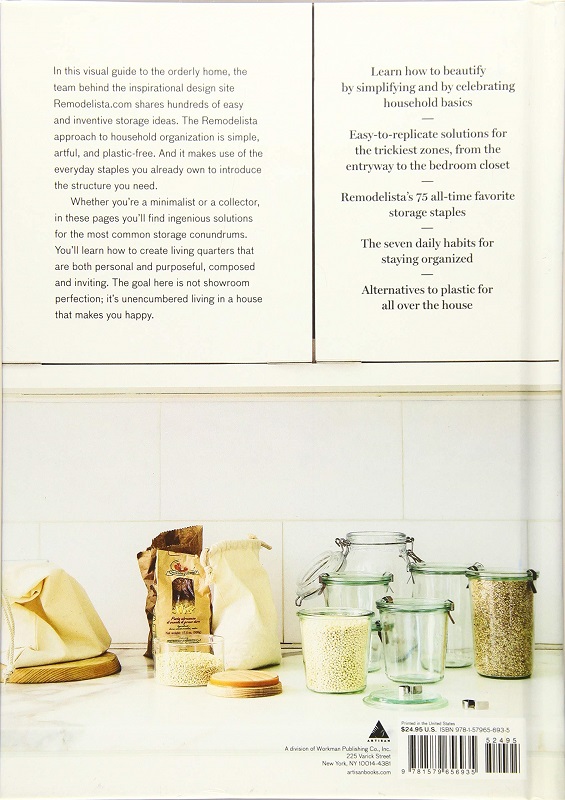
Before I list my favorite tips, I’d be remiss if I didn’t mention my favorite new book on decluttering – Remodelista, The Organized Home. It has become my bible for guidance on a simple, uncluttered home. The section on kitchen organization and style is not to be missed!

Tip 1 – Set up zones
I think the first thing you will want to do as you tackle a kitchen purge is to set up zones for all the stuff you’ll be going through. Organize your kitchen stuff by these zones. You can grab a few boxes or bins and label them with these zones, or just set up an area (preferably in the next room) to place items in these zones.
For instance, you can organize your zones as Baking, Pantry Foods, Spices, Serving Ware, Utensils (separate the baking utensils into the baking zone), Pots & Pans, Small Appliances, Food Storage, Entertaining Supplies, Linens, Cleaning Supplies, Command Central (more on that later), Cookbooks, Liquor (or perhaps set up a bar area in another room), etc.
Tip 2 – Purge one zone at a time
Rather than tackle an entire kitchen purge at once, it makes sense to assess what you have for each zone as time allows. Perhaps tackle the zone that feels the most overwhelming first, so that you can purge the most ‘stuff’ right away.
Gather up all items that belong to that designated zone, and honestly assess what you truly need and use. Discard or donate the rest. This will require you to ask some thorny questions of yourself, but it’s best to be honest and just let go of the gifts you never use and the baking or cooking ware that is collecting dust.
Tip 3 – Choose a theme
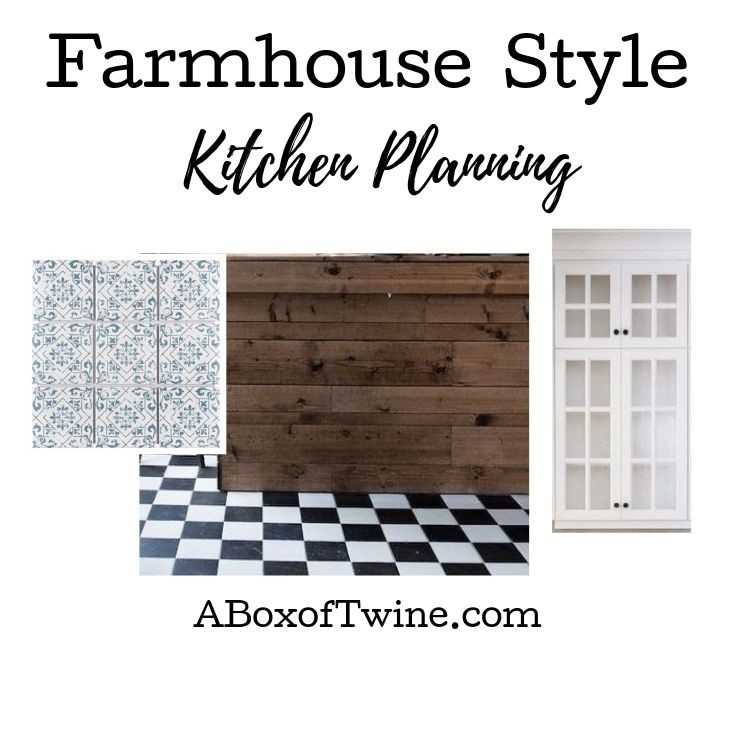
This tip may surprise you because it doesn’t have much to do with purging. However, it will save you from having a hodgepodge kitchen. Once you’ve cleared out the stuff you don’t need (see previous tips), you are left with what you really do need and use.
Question yourself – do I love this stuff or am I just making do because I need the item(s)? It is okay to sit back and reflect on your style (which may have evolved over the years), and narrow down what you love now (both visually and practically). Perhaps farmhouse style or a french country look makes your heart patter, or consider a modern and minimized style after years of country clutter. Decide the look you want today, and leave the past behind. This will be your new kitchen theme.
For example, our new theme is a mix of farmhouse and coffee house style (see photo above for our inspiration). I’m leaving my old styles behind!
Tip 4 – Replace anything that doesn’t fit your theme
Now that you’ve decide upon a look or style that you LOVE, run with it! Look at what is left from your kitchen stash and determine if it fits your new style. Do not feel guilty if it doesn’t. You shouldn’t have to live with stuff that you hate only because it still works fine.
For instance, how many dish towels do you have that are mismatched and stained, yet you keep just because they ‘do the job’?
That being said, by all means keep things that work fine and you just feel neutral about. If you don’t mind the look of your existing toaster, keep it. It doesn’t have to exactly go with your new theme, but it shouldn’t stand out like a sore thumb.
Simply replace items that don’t fit your theme with items that do. Donate (or sell) the old item if it’s still in good working condition.
Tip 5 – Clean everything!
At this point you’ve organized your items into zones and removed or replaced them to fit your style. Next, spruce them up!
Wash and polish your appliances, dust and clean your collections, and remove stubborn stains from your favorite linens. Sometimes just a thorough cleaning makes a kitchen seem rejuvenated!
Tip 6 – Set up zones with practicality
After you’ve organized your kitchen items into zones that make sense, next determine where exactly should those zones reside in your kitchen? It may not be where you’ve always put that stuff.
For instance, our ‘baking zone’ was just a couple of shelves in one of our kitchen cabinets over the main counter. But it only contained the baking pantry supplies, and not the baking utensils, bowls and appliances. Those were spread out in other parts of the kitchen.
For our new kitchen renovation, we plan to specifically have an island or work station dedicated to our baking zone. All baking pantry goods, utensils, appliances, and bowls will be stored there for when we have the urge to bake. Similarly, baking trays and tins will be stored in a drawer under the stove (or in our new toe-kick drawers) since these are flat and easily accessed nearby.
Based on the layout of your kitchen and how often you do certain cooking activities in there, establish where it makes most sense to group items for each zone task.
Tip 7 – Establish Command Central
Command Central is critical to a household’s success. It’s where you organize your daily activities and tasks, as well as perhaps where you keep your mail and bills. The kitchen is often the place where this command central resides.
If your command central is located in a place other than your kitchen, then go ahead and skip this tip. But I find that for most people, the kitchen is the hub of all household activity & organization.
In our kitchen, I have a small weekly planner as well as a large monthly calendar to keep me on schedule. In addition, I have a stand-up file bin that holds all my bills that are due, as well as other important papers and flyers. Notably, my command central is located next to our landline phone. You folks may have migrated off a landline to a cell-only household, but we still have a household phone number that we use for all the ‘business-type’ calls. Our 14 and 12 year old kids don’t have cell phones yet either, so this way they can receive calls from friends. (Off topic…we’re ‘radicals’ in that we don’t believe kids have the maturity to handle cell phone usage until 17 or so. Prove me wrong?)
You may have a designated area already for command central, and that’s terrific. If not, even a corner of your counter or shelf space can be set aside for that purpose. It will make a world of difference when you’re trying to find bills and forms.
Tip 8 – Limit your junk drawer
This next tip assumes we all have a ‘junk drawer’. You know, that drawer where odds and ends reside that are usually of the smaller sort? For example, the types of items found in the junk drawer are pens & pencils, tape, measuring tape, chalk, glue, box cutter, paper clips, batteries, notepads, scissors, rubber bands, coupons, old address books (wait, is that just me that hangs onto those?), etc.
Go through your existing junk drawer, and determine if anything belongs in another zone that you already defined previously. If not, scale down the quantity of duplicate items and just keep what you use on a regular basis. Get one of those drawer organizers to keep everything separated.
Next….breathe a sigh of relief as you open the drawer and are able to see some white space.
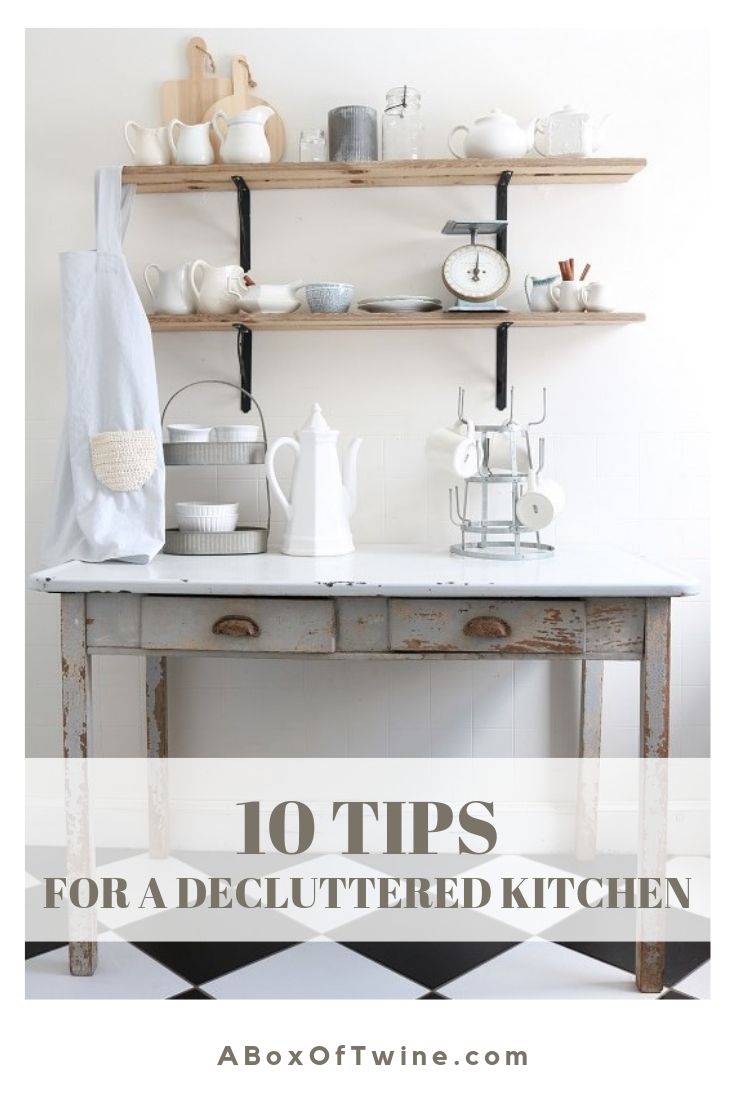
Tip 9 – Add some pretty
I know this post is meant to be about decluttering, but once you’ve done a good job of purging and organizing your items into zones it is time to have fun with your theme.
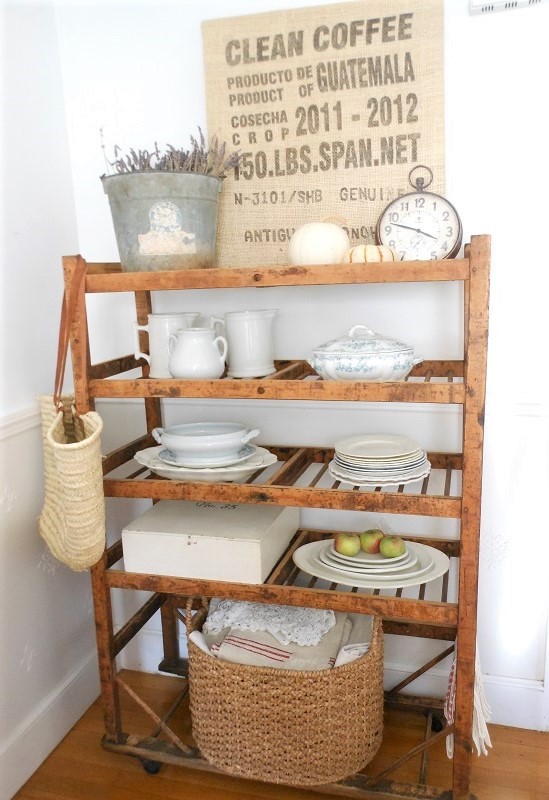
Do you have existing collections that go with your theme and you’d love to display? For instance, ironstone pitchers, colored glass jars, vintage kitchen pieces, copper accents? Now is the time to add these pretty collections if you can.
The first step is to assess whether or not you have room for these in your kitchen. No matter how much you love the look of these display collections, they will never shine if there is no visual room for them. Honestly assess whether adding open shelving or putting these collections on a counter would add to your clutter. You don’t want any more clutter!
If you do have the room and a designated spot, by all means put those items on display. Just make sure it is a cohesive display that ties into your kitchen theme (see tip 3).
Tip 10 – Layer with texture
Lastly, I think one of the best things you can do with your decluttered kitchen is to add some softness. At this point you should have purged enough ‘stuff’ to enjoy looking at a shiny clean space. That space could now have a cold look to it without texture.
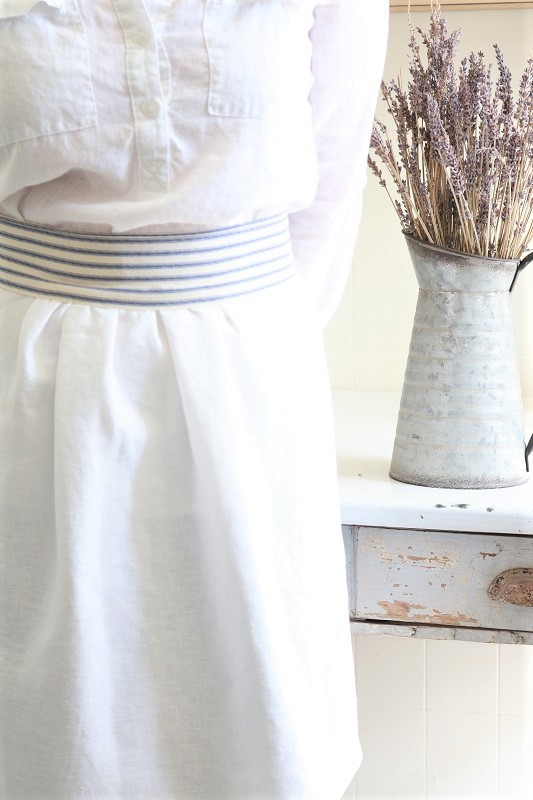
Layer your favorite dish towel on the oven handle, stack some crocheted dishcloths on your counter, hang pretty market bags on a hook by the door, and place a sweet runner or tablecloth on your kitchen table. Fasten a vintage hook nearby to hold your aprons such as this crossback or this waist-tied.
Now your kitchen is truly the heart of your home. Enjoy!


2 Comments
Michelle
These are all wonderfully-inspiring tips for decluttering and readying a kitchen for a new look. I love a good makeover…..especially the home Decor kind. Your vision board is just beautiful! I can’t wait to follow along as you make transform this space into the kitchen of your dreams! Bonne Chance!
Susan
Thank you Michelle, it is a challenging project – decluttering this old kitchen of mine, but has been well worth the effort!