How to Make a Simple Linen Apron – Sewing Pattern
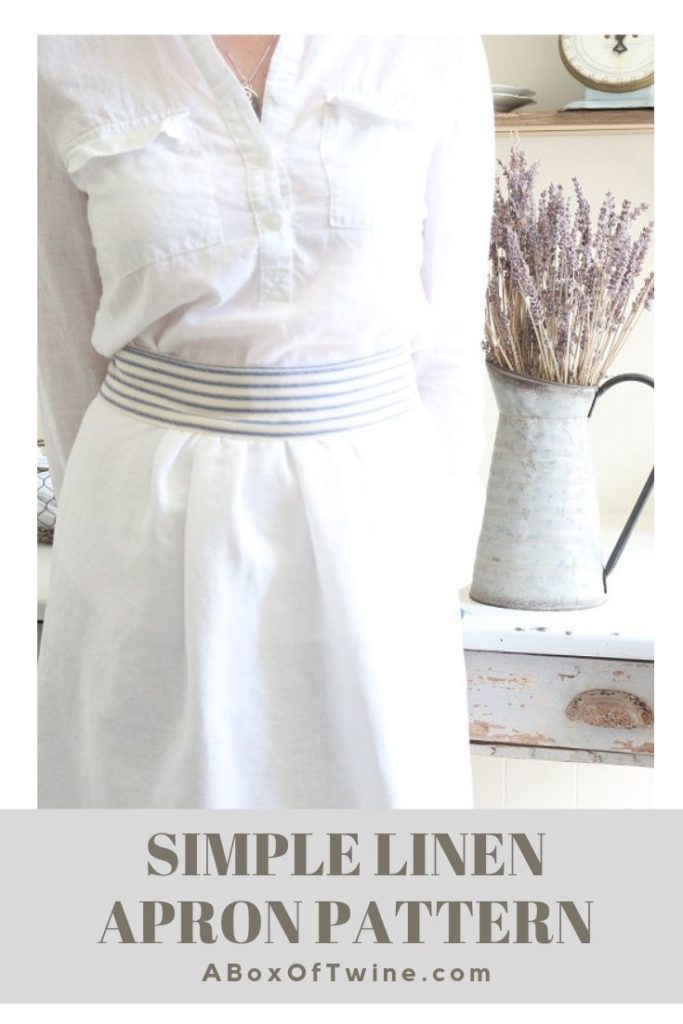
I’ve got a simple linen apron pattern for you today – classic farmhouse style. The apron doesn’t take long to make, and will look adorable on you this summer! Bonus: you will only need 1 yard of fabric to make it. Because of that, I’m including it in my One Yard Wonder series of sewing projects available here on the blog.
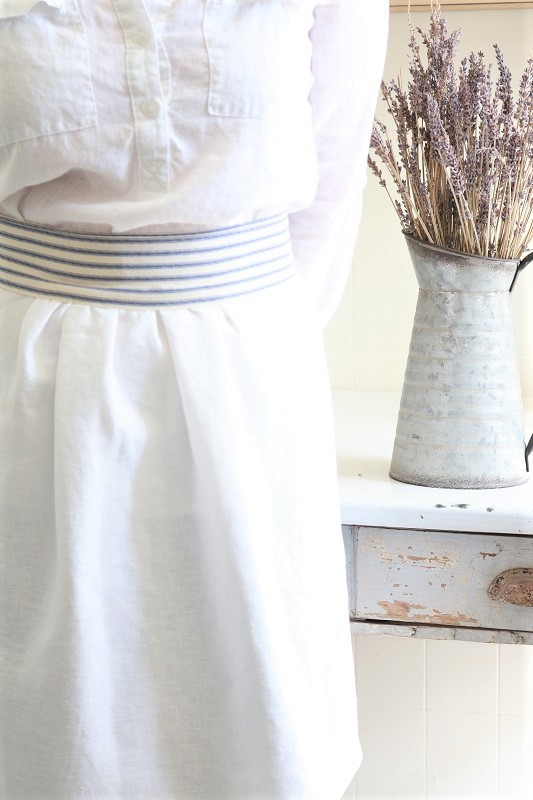
This particular apron was made with a white linen/cotton blend fabric for the body, and a blue ticking stripe fabric for the waist strap – perfect combination for a summery, cottage, or farmhouse style look. Also, it’s unique in that I subtly gather the apron fabric in the center only. I think this gives it a simpler, clean-lined front.
Here’s all you need to make one just like it….
This post may contain affiliate links. That means if you click and buy, I may make a commission at no cost to you. Please see my full disclosure policy for more details.
Linen Apron Pattern
Skills Needed
- Basic machine sewing skills
- Hand or machine-basting skills
Supplies
- 1 yard of linen or linen-blend fabric (1 yd. is enough for both apron & strap in the same color/pattern). (I used white fabric I already owned, but you can purchase similar fabric WHITE LINEN BLEND FABRIC. There are also various complimentary colors such as CHAMBRAY and LINEN).
- Optional – approx. 1/2 yard of a contrasting fabric for the waist strap (I used ticking fabric I already owned, but you can find similar MAGNOLIA TICKING or WAVERLY TICKING)
- Scissors, pin, thread, sewing machine
- Measuring tape, washable fabric marker
- Iron
===> If you prefer, you can also find this pattern as a pdf file in my ETSY SHOP for a modest price. I hope you give it a try! <===
Prepare fabric
Wash and iron your fabric, then cut pieces for apron body and waist strap as follows. All measurements include seam allowances:
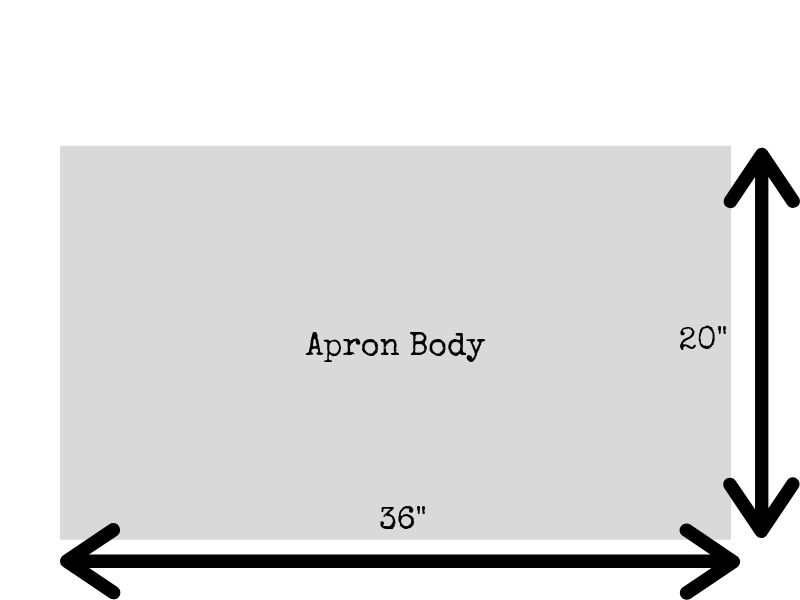
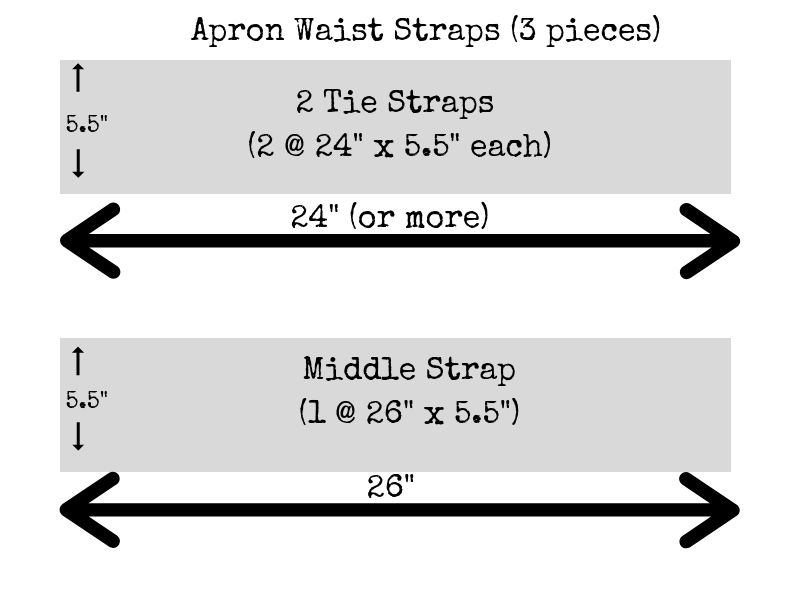
(Note – I actually ended up cutting my 2 tie straps only 16″ long instead of 24″ because I was using up some fabric I already owned & didn’t have enough. My ties are therefore a little shorter, but ideally you may want a longer length. Of course you can make the ties any length you want, as long as you are able to tie the apron in back.)
Step 1 – Make one long waist strap from the 3 cut pieces
Line up the 2 tie strap pieces with the middle strap piece you cut, ensuring the 26 inch “middle” strap is in the center. Pin their short edges together, right sides facing:
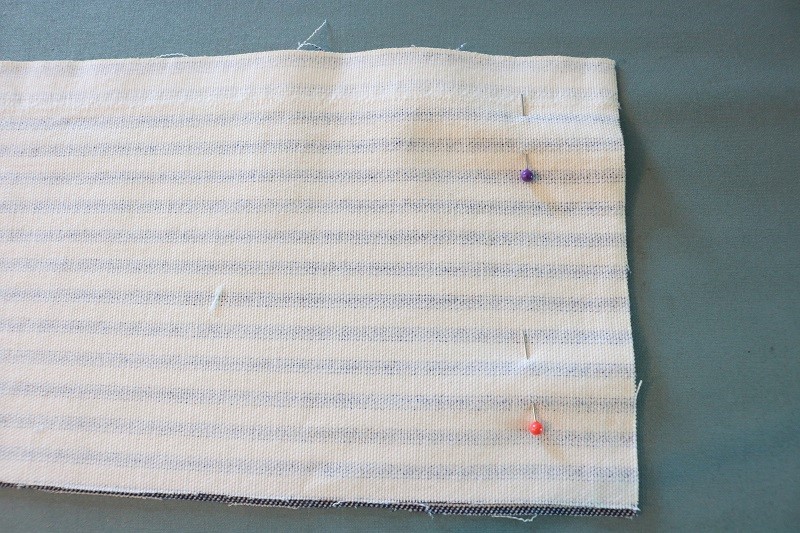
Sew these pinned short edges together and press the seams flat. Now you have one long strap piece at 5.5″ width. You’ll see 2 of these seams:
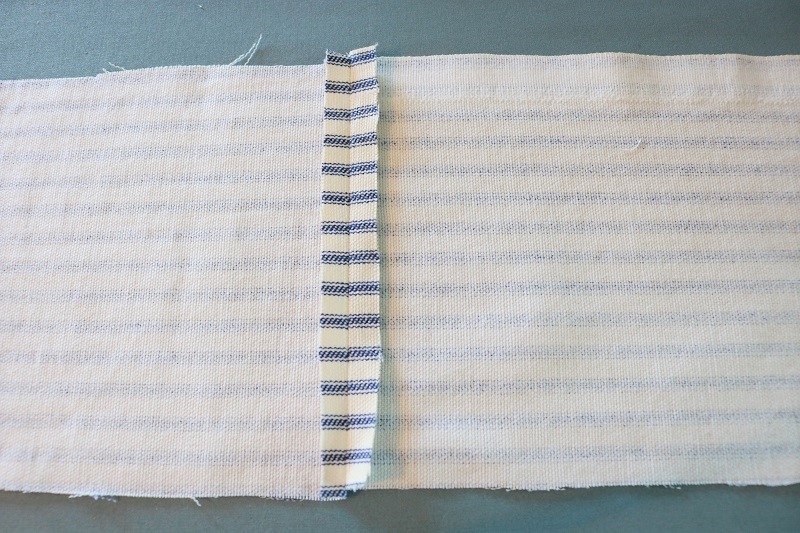
Fold this strap piece in half lengthwise, right sides facing, and press:
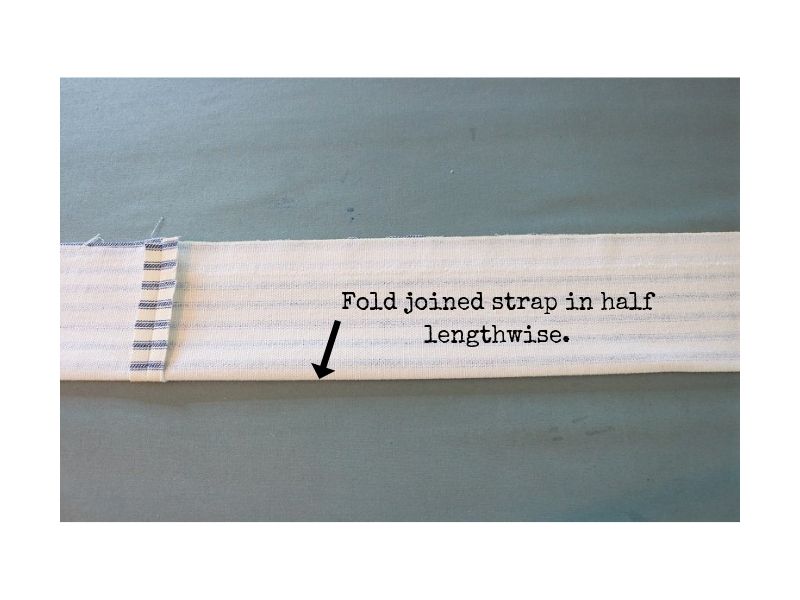
Sew a 1/4″ seam down the long raw edge of strap, turn the strap inside out, and press. Your strap should be around 2.5″ wide now:
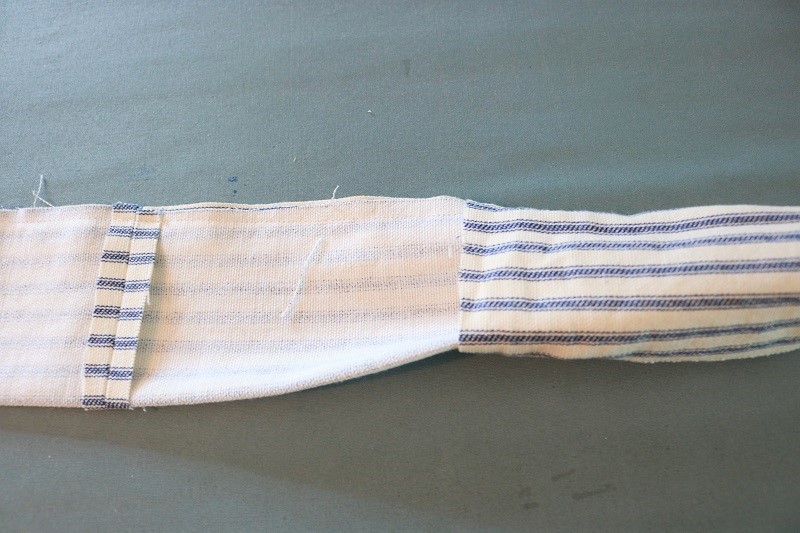
Next, tuck the 2 short raw ends of the strap under and press. Then sew up these short ends:
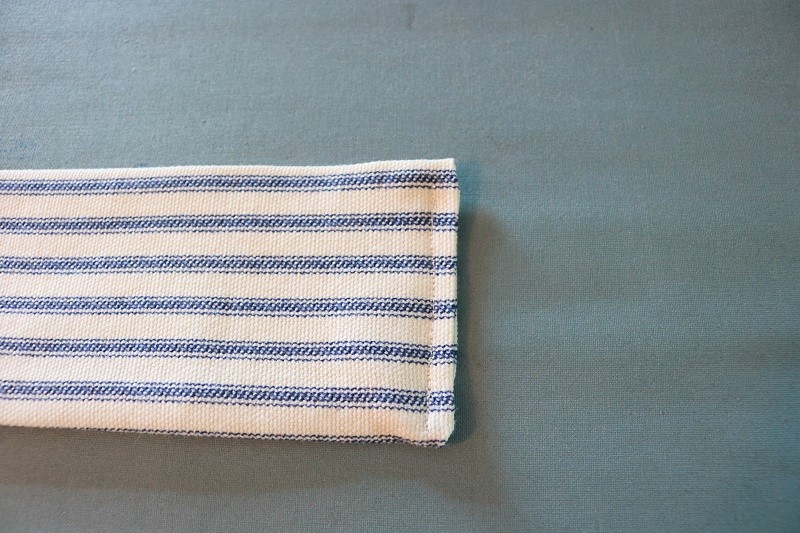
Waist strap is done! Now on to the apron body….
Step 2 – Hem apron body
Press the bottom and two side edges of the apron body toward wrong side 1/4″, then another 1/4″ in. Pin in place, leaving top edge raw:
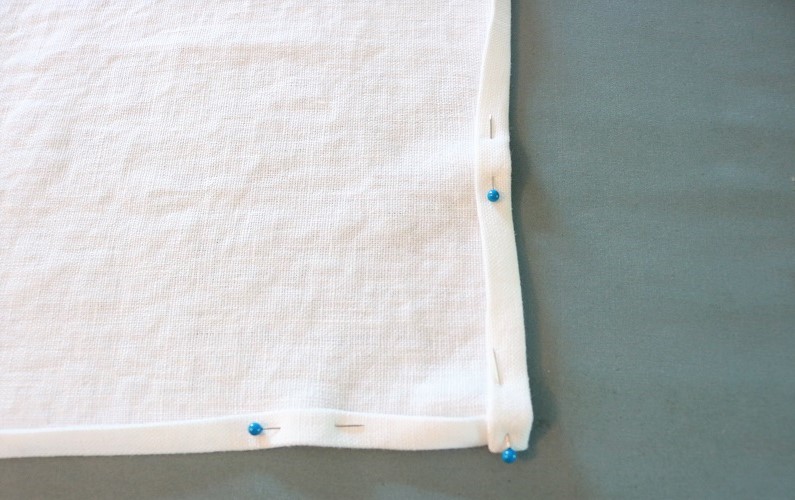
Sew this hem along sides and bottom, and then mark 10″ from each top side with a fabric marker:
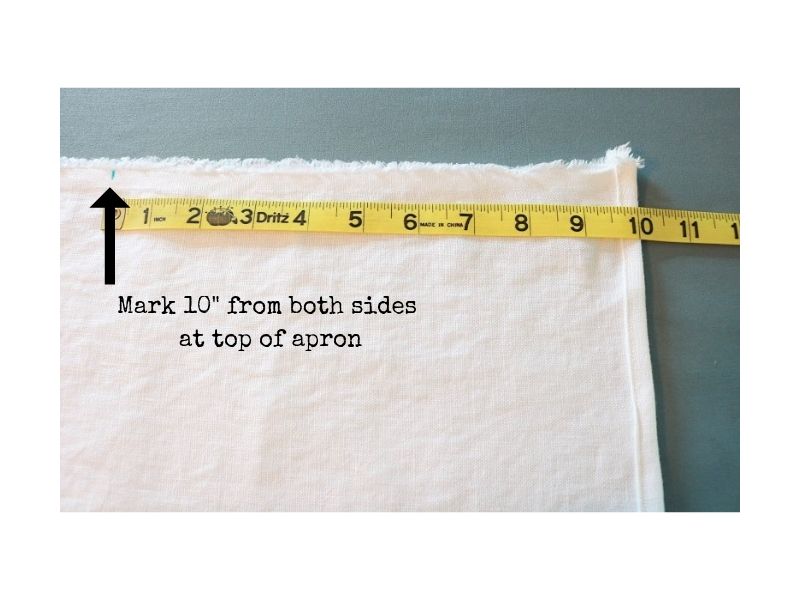
Step 3 – Gather up the middle of apron body
Using a basting stitch (hand or machine), gather up the top of the apron in the middle, between your two marks.
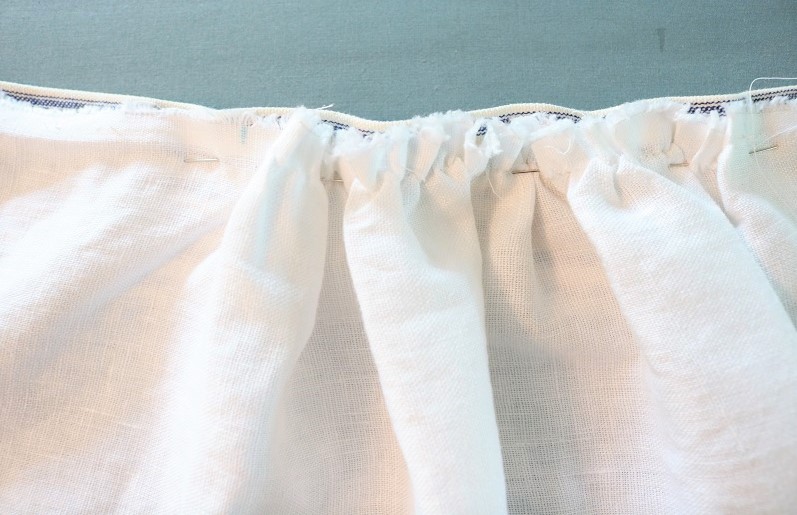
Next, align the middle piece of your long strap with the entire top of your apron body. The two seams that joined your strap should align with the edges of your apron body. Keep gathering in the middle until they do:
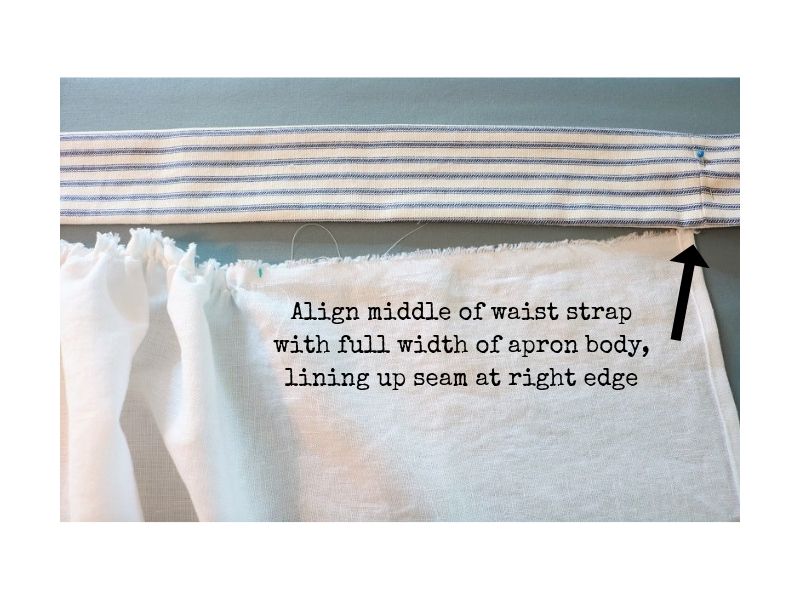
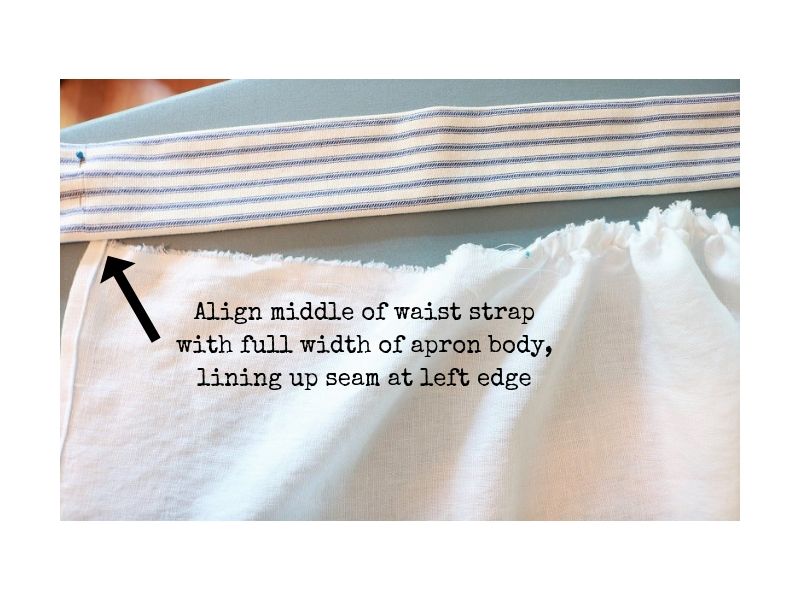
Step 4 – Pin waist strap to apron body
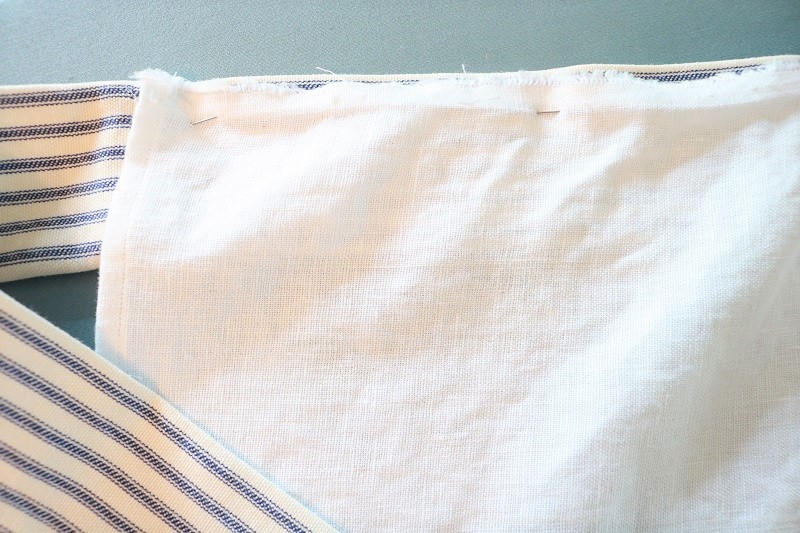
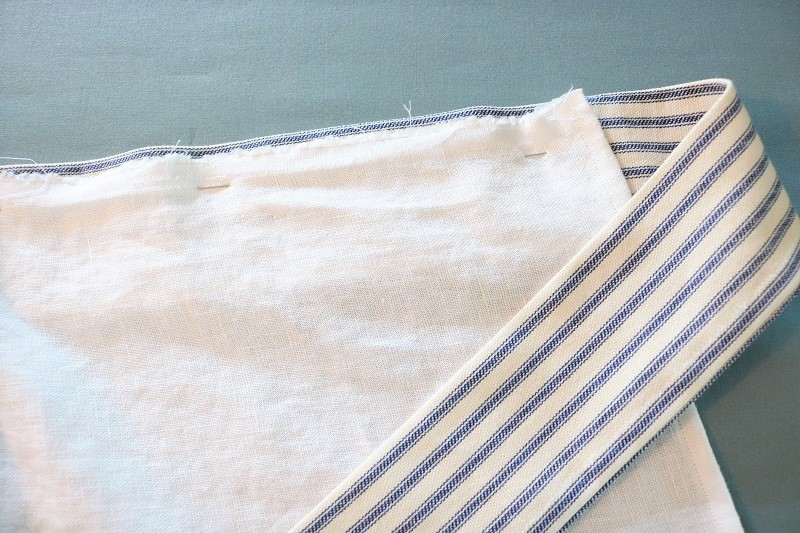
Pin your waist strap to the top of your apron on the wrong side of the apron:
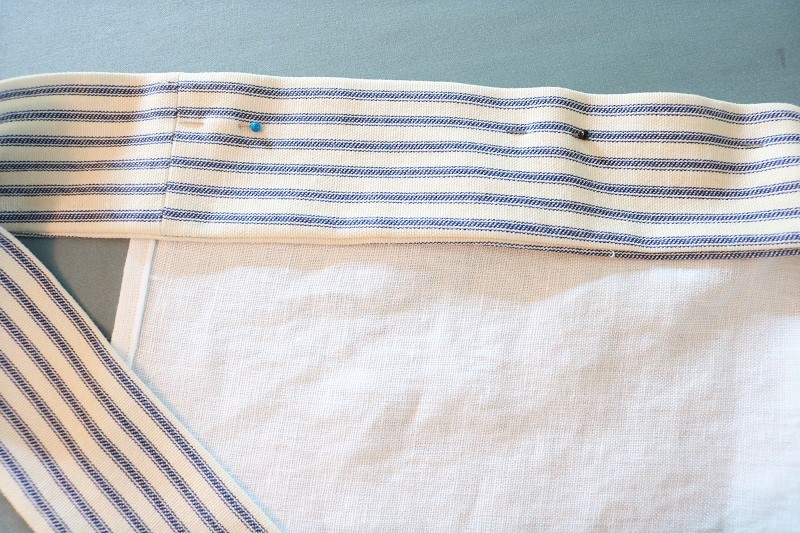
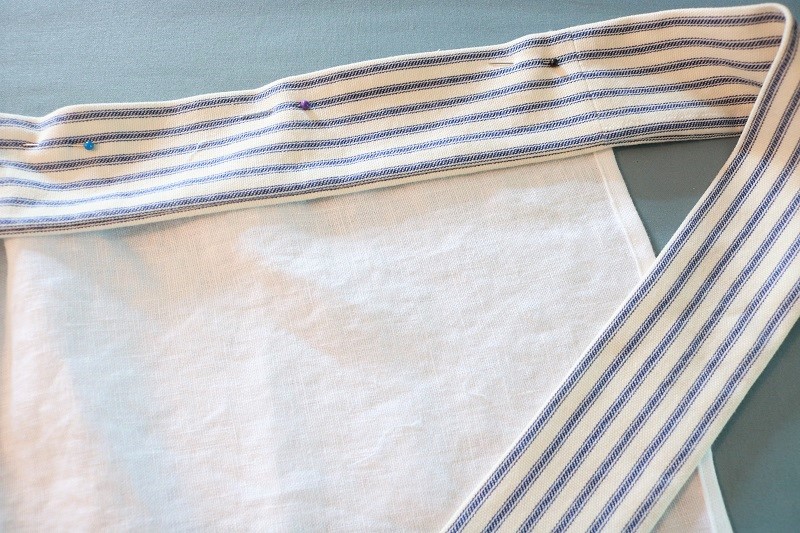
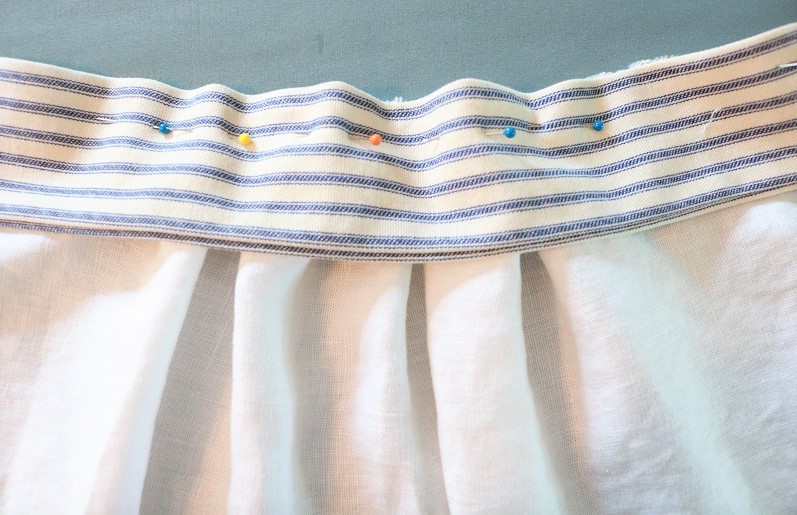
When you pin the strap to the apron, make sure the apron body is just below the long waist strap edge, not exactly aligned with it. You can see that in this view of the right side when pinned:
Step 5 – Sew waist strap to apron body with two seams
Sew a seam about 1/2″ down from the top edge, to attach the strap to the apron body. Make sure to sew under the basting stitches that were used to gather the middle.
After you sew this first seam, turn your waist strap to the right side of the apron and press. You will notice a slight pucker at the bottom:
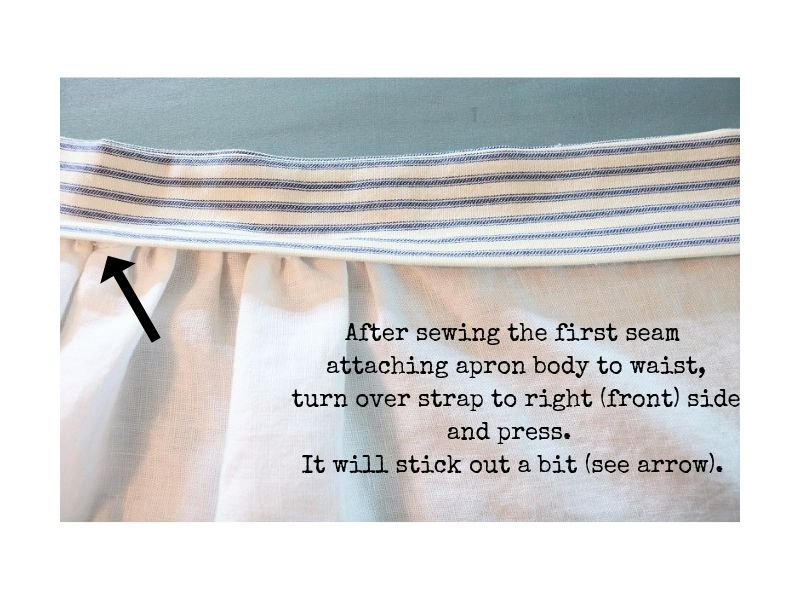
Next, you’ll fasten this ‘pucker’ flat to the apron front. Pin the strap flat to the right (front) side of the apron:
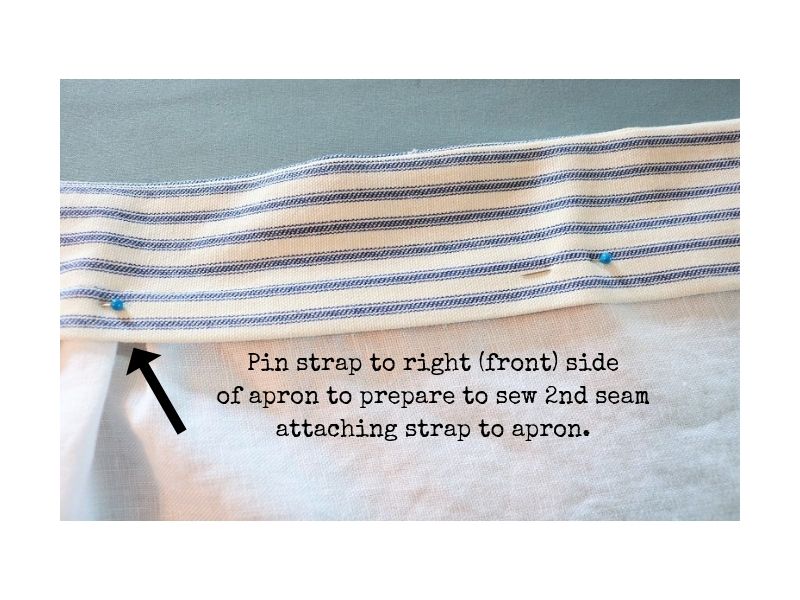
Sew a second seam along the bottom length of the waist strap to firmly attach to apron:
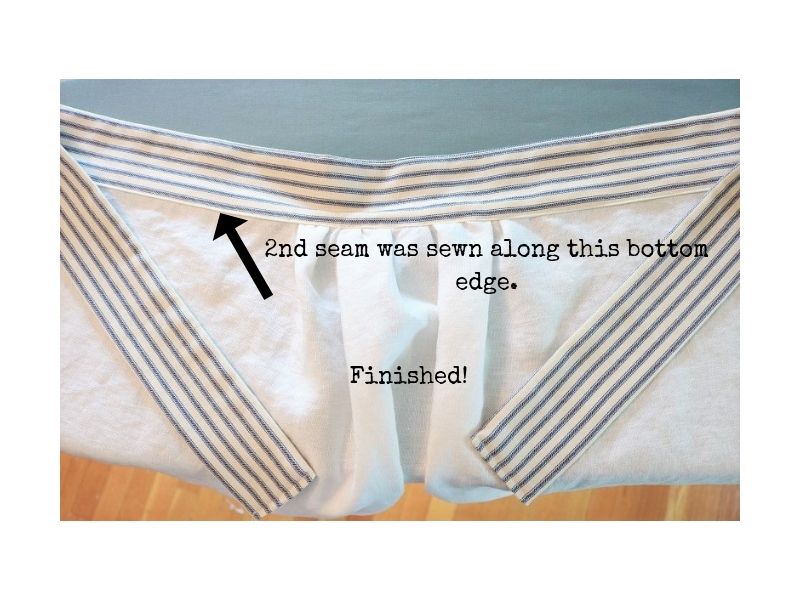
You’re finished! Now tie it on, and get to work (or not)…
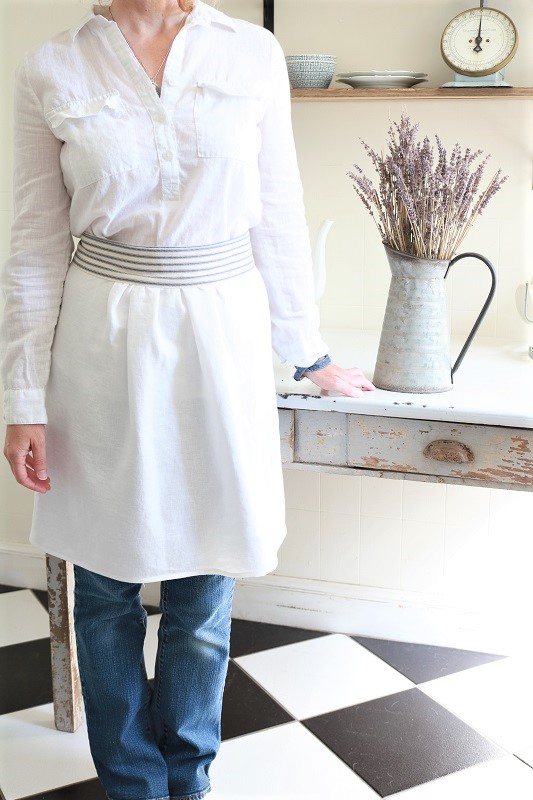
I’m modeling the apron in our kitchen here… You can see how my waist strap is a little shorter so my ties aren’t all that long. Follow the pattern as written to get your ties longer.

I hope you enjoyed this free pattern. Pin for later, and share with friends!
And remember…
===> If you prefer, you can also find this pattern as a pdf file in my ETSY SHOP for a modest price. I hope you give it a try! <===
Be sure to check out my other apron patterns available on the blog – a simple CROSS BACK APRON PATTERN and a farmhouse style POCKET APRON.
Like that lavender in the background? Find more inspiration IN THIS LAVENDER FILLED POST.
