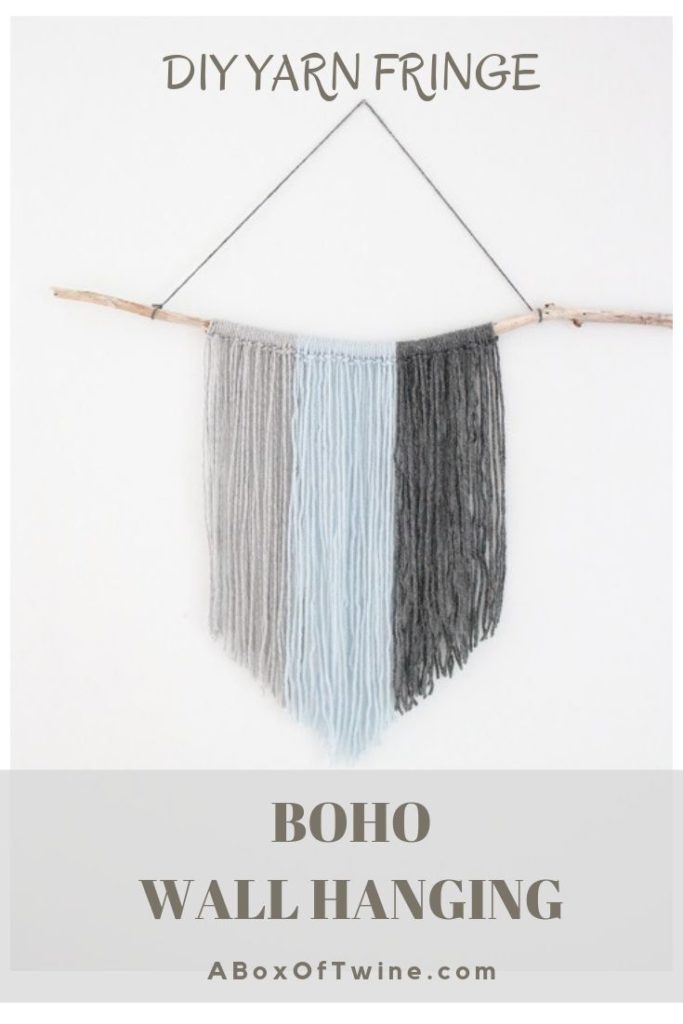
DIY Yarn Fringe Wall Hanging
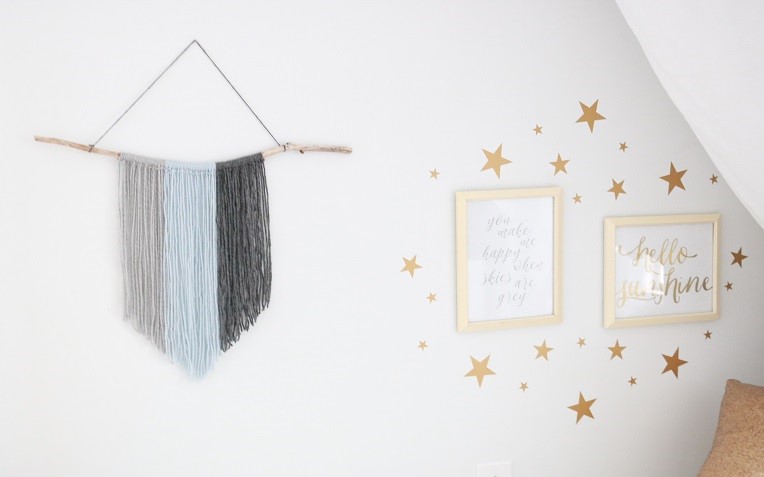
My daughter and I added a fun yarn fringe wall hanging to her Tween Girl’s Room recently, and it was a very simple project to do together. She picked out some of my yarn to match her room, and we grabbed a stick from the yard. Gotta love free supplies!
You can make your own, and we’ll show you how…
This post may contain affiliate links. That means if you click and buy, I may make a commission at no cost to you. Please see my full disclosure policy for more details.
Supplies
- stick from your yard in your desired width (ours is just under 2 ft. long, and has interesting curves)
- 3 different colors of yarn, Approx. 18-20 yds of each color Find some fun yarns like these…


Steps to make Yarn Fringe Wall Hanging
- clean up your stick with soap & water, then let dry
- cut 18-20 strands of yarn in 36″ lengths from each yarn skein
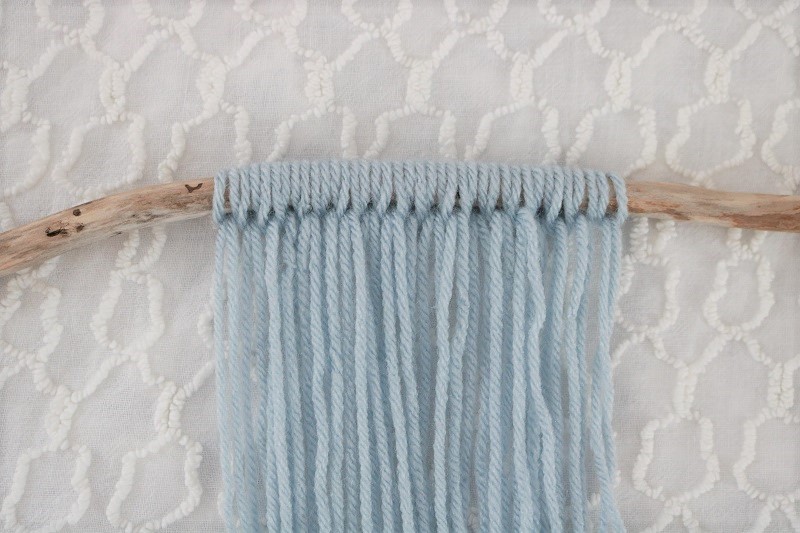
- starting with your first color, fold one strand in half and tuck it under the stick as so:
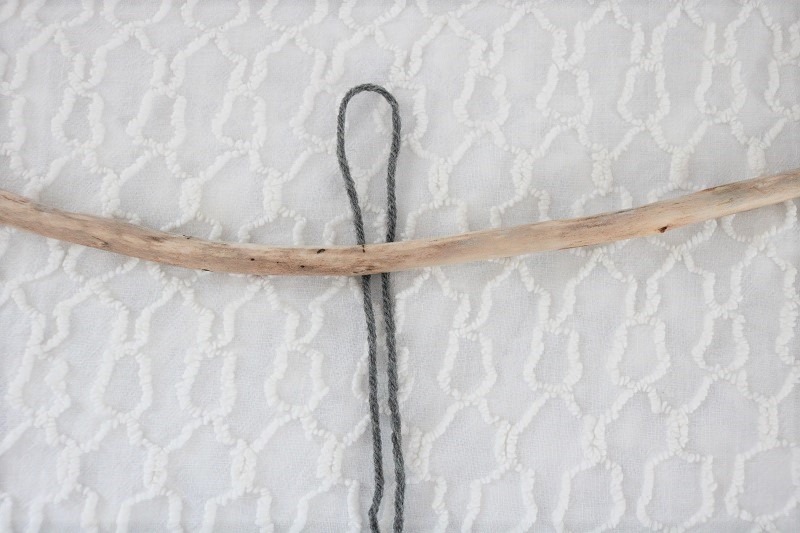
- bring the top loop over the front of the stick
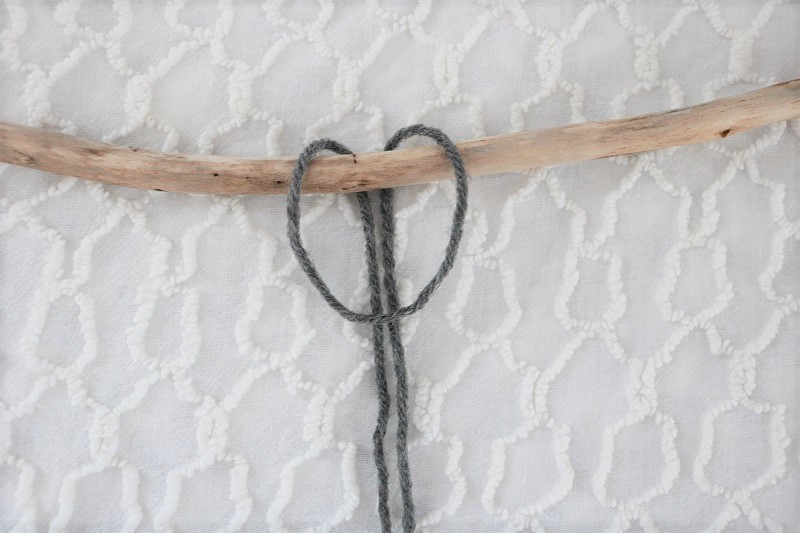
- pull the 2 long strands under the loop through it in front

- pull down tight on the 2 long strands

- continue doing that for all of your strands in that color. (Here is a photo of all of our blue colored strands fastened to the stick. This view is actually the ‘back’ of the wall hanging):
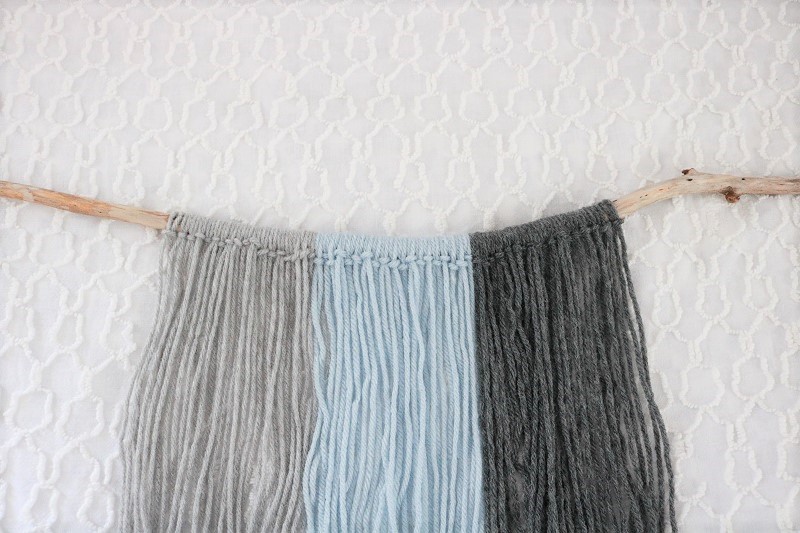
- Repeat the same process for your other 2 yarn colors, lining up in your desired order on the stick. Then turn the wall hanging over to the ‘front’. You’ll see all of your front knots lined up. This is a good time to adjust & straighten them if necessary:
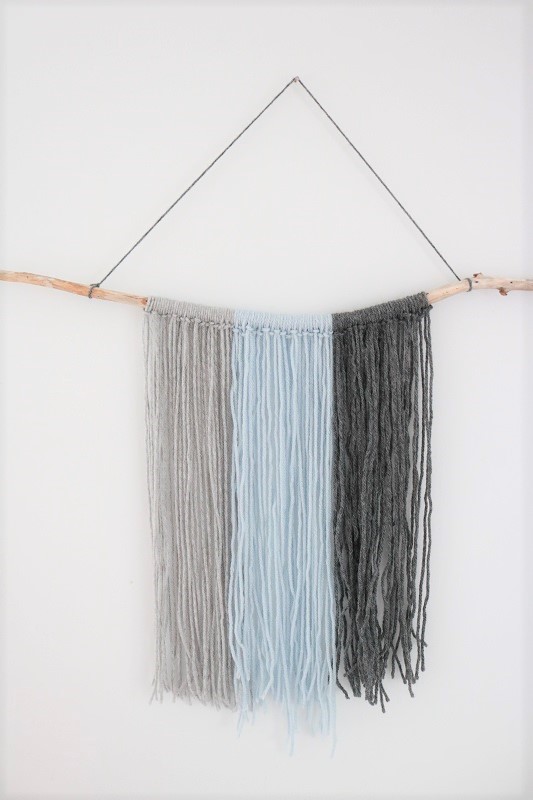
- Next, tightly tie a long strand of one of your yarns to both ends of the stick to hang it from a nail (or hook) on your wall:
- You’ll notice that the bottom edges aren’t even. This is where you can have fun trimming the yarns to whatever shape you desire. I just eyeballed the wall hanging to determine where to trim for a ‘V’ shape.
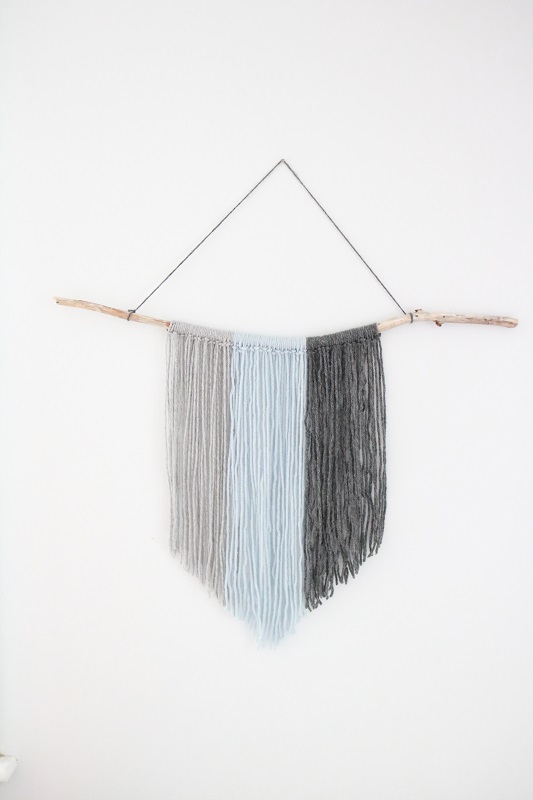
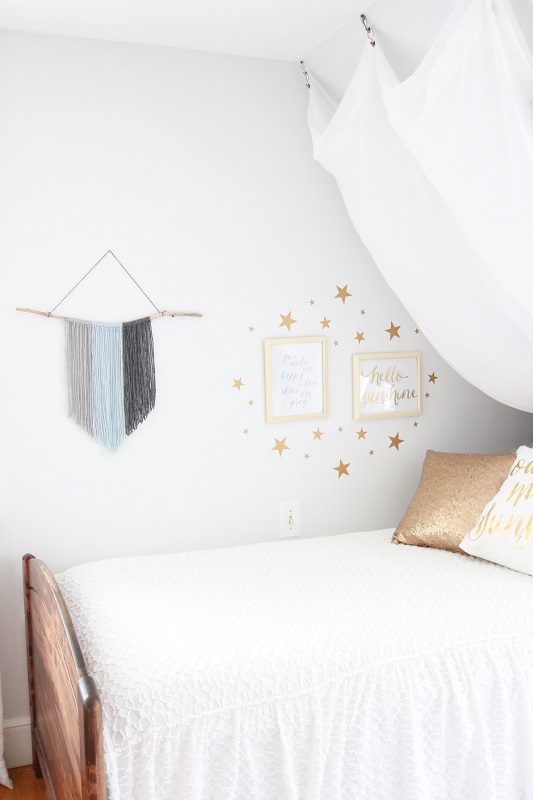
Done! It’s that easy. We love how it adds texture and interest to my daughter’s fun tween room. Now she’s got a little bit of a ‘boho’ vibe going on in here.
Want to remember this craft? Post this Boho wall hanging idea to your favorite Pinterest board!