
Knit Increase and Decrease Stitches
Have you tried knitting increase and decrease stitches? Are you a beginner knitter, and wondering how to knit increase and decrease stitches? What are the pros and cons of these particular types of stitches? What if I could guide you through the purposes for these stitches and the advantages & disadvantages of them? Let’s dig in and learn all about knit inc and knit dec stitches!!
NOTE: Throughout this article I may use the abbreviations for increase (inc) and decrease (dec).
This post may contain affiliate links. That means if you click and buy, I may make a commission at no cost to you. Please see my full disclosure policy for more details.
Before we begin, I wanted to make you aware of the photos I will share of what the common knit inc and dec stitches look like. I practiced each of these stitches using a swatch, and segregated the various types of inc/dec stitches by color as shown below. We’ll look closer at each swatch stripe in the sections following.

*** Please note that in the swatch, I began and ended each row with two regular knit stitches. You will often find this practice within knitting patterns. Some inc/dec stitches CANNOT be worked directly on an edge (such as M1L and M1R), and this practice also makes it easier to seam edges using regular knit stitches.
Let’s start this lesson by talking about the ‘WHY’ for using these types of stitches…
WHY use knit increase and decrease stitches?
The simple answer is – SHAPING!
Especially with wearables, you want to ‘shape’ the piece by increasing and decreasing stitches.
Use increase stitches to ‘widen’ your fabric.
Use decrease stitches to ‘shorten’ your fabric.
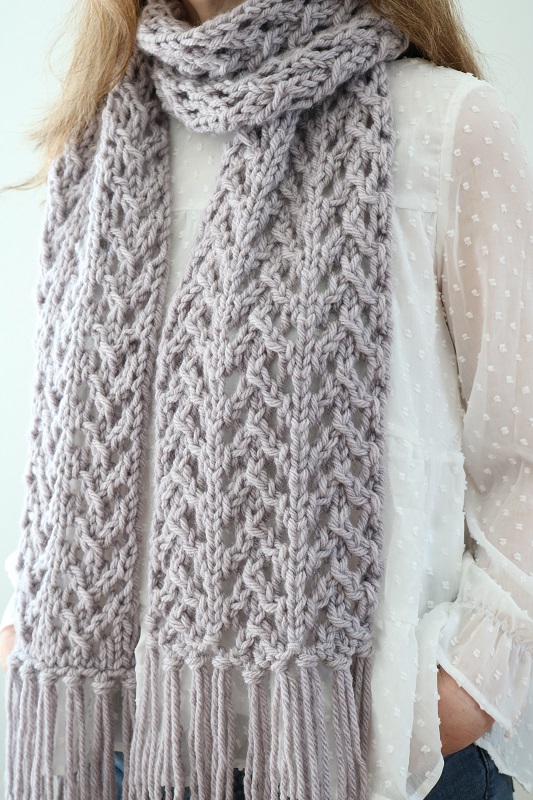
Increase and Decrease stitches can also be used together to create decorative texture without changing the stitch count and shape. For instance, I used both inc and dec stitches to offset each other in this BULKY KNIT SCARF PATTERN:
Struggling with Knit Increase and Decrease Stitches
How do you feel about working with knit inc and dec stitches?
Many knitters who are new to creating wardrobe pieces feel intimidated by inc and dec stitches. You may feel:
- confused about their placement
- anxious about mistakes
- worried about stitch count
But do not fear! You CAN use these stitches with confidence by:
- understanding where they are used
- practicing the techniques first on a swatch
- keeping track of stitch counts with tallies and stitch markers
Where are Knit Increase and Decrease Stitches Used?
You will often find increase and decrease stitches used to shape or add texture to:
- sleeves
- necklines
- waistlines, hiplines
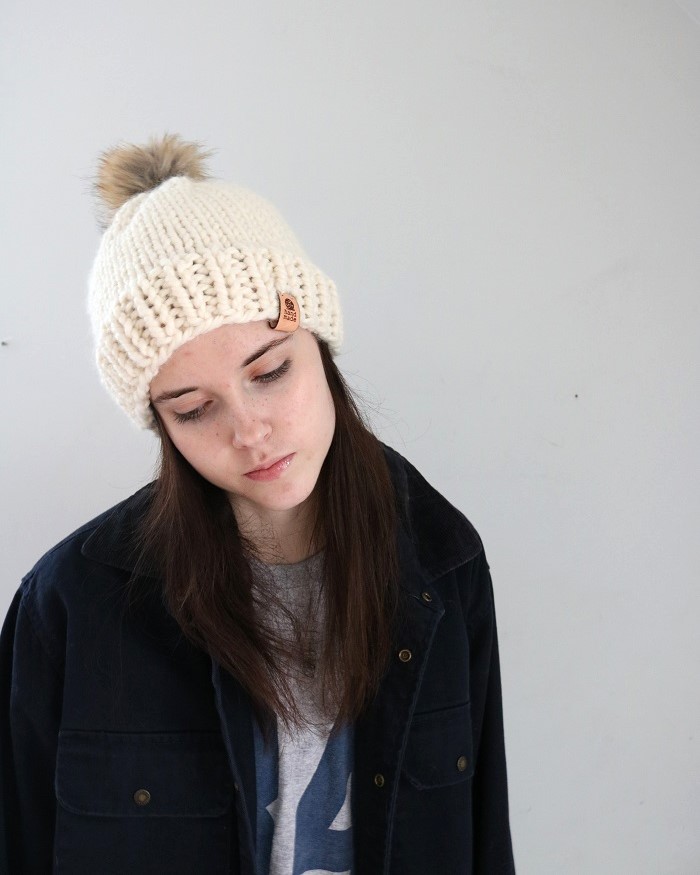
- hats
- socks
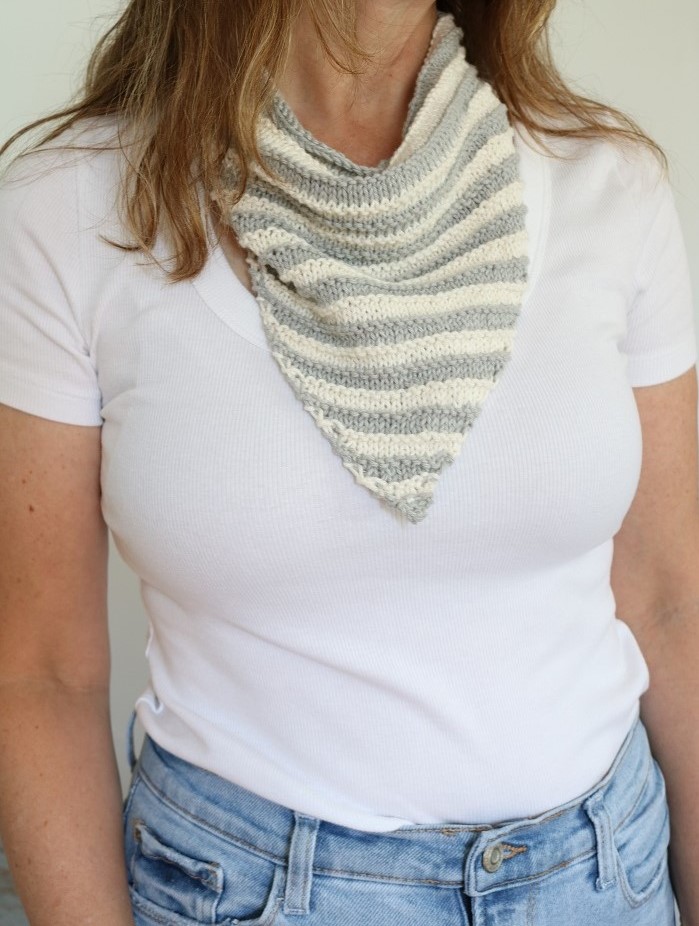
- shawls
- lace pieces
- raglan seams
- yokes
Use these stitches to expand or decrease sleeve width, depending on if you are working bottom-up or top-down, respectively. Add shaping to necklines, waistlines, and hiplines by shortening or widening the fabric there. Work inc/dec stitches when shaping hats top-down or bottom-up. Socks and shawls often have inc/dec stitches used for shaping.
Use knit increase and decrease stitches in lace pieces, too. They can create the open-work affect there.
Inc/dec stitches are also used to expand the top shoulder and chest area on sweaters when creating sweaters with raglan and yoke structures.
What are the most common Knit Increase Stitches?
Yarn Over (YO)
yarn over (can be single or multiple increases)
(makes an intentional ‘hole’ in fabric)
To work:
Wrap working yarn over the needle.
This can be from front to back, or back to front, depending on where you need the yarn to be placed for your next stitch.
You can do this once for single increase, or multiple times for multiple increases per the pattern instructions.
Yarn overs create intentional ‘holes’ in the fabric (see YO in the gray yarn swatch, bottom right):

Pros:
- easy and fast to work
- perfect for open, lace designs
Cons:
- makes a ‘hole’ in the fabric, which may not have been intended
- may affect shape & density of fabric, especially how it drapes
——————————————————————————————————————–
Knit into Front and Back (KFB)
Knit into the front AND back loops of the next stitch.
This creates a single increase, slanting left.
To work:
Insert right needle into the front of the next stitch on left needle and begin to knit. Do not slip the completed stitch off the left needle.
Continue by inserting the right needle into the back of the same stitch and knit another stitch.
Now you can slip the stitch off the left needle.
(KFB shown in bottom left gray yarn swatch)

Pros:
- easy to learn
- don’t need to work between stitches
Cons:
- creates a visible horizontal ‘bar’ at the increase
- can create a slightly tighter stitch in the new stitch than in the rest of the fabric
- need to keep your tension consistent to avoid puckering
——————————————————————————————————————–
Make 1 Left (M1L, M1, M1K)
Make 1 left.
To work:
Insert left needle from front to back into horizontal strand between last st worked and first st on left needle.
Knit this strand through the back loop.
This creates a single increase, slanting left.
(M1L shown in lower left yellow yarn swatch):

Make 1 Right (M1R)
Make 1 right.
To work:
Insert left needle from back to front into horizontal strand between last st worked and first st on left needle.
Knit this strand through the front loop.
This creates a single increase, slanting right.
(M1R shown in lower right yellow yarn swatch):

Pros:
- creates a smooth increase that blends well into the surrounding fabric
- can pair both to create symmetry in your increases, allowing you to make both left and right-leaning increases for shaping projects like sleeves, waistlines, or hats
- maintains the fabric’s consistency and density
Cons:
- working into the bar may be tricky for beginners
- takes longer to work
- can cause a slight twist in the fabric or create a small bump or gap
- cannot be used at the very end of a row
What are the most common Knit Decrease Stitches?
K2TOG OR P2TOG
Knit 2 stitches together (K2TOG) or Purl 2 stitches together (P2TOG).
This creates a single decrease, slanting right on the knit side of work.
Use k2tog for knit-based patterns, and p2tog for purl-based patterns.
(K2TOG shown in upper left pink yarn swatch):

Pros:
- easy and fast to work
- creates a smooth right-leaning decrease that blends well into the surrounding fabric
Cons:
- can create a slightly tighter stitch in the new stitch than in the rest of the fabric
- need to keep your tension consistent to avoid puckering not as decorative
——————————————————————————————————————–
SKP
Slip, Knit, Pass slipped stitch over.
To work:
Slip 1 st knitwise, then knit the next stitch. Insert left needle into the slipped stitch, pass the slipped stitch over the knit stitch and off the right needle.
This creates a single decrease, slanting left.
(SKP shown in upper right pink yarn swatch):

Pros:
- creates a neat, left-leaning decrease without having to work 2 sts at the same time
- often slightly looser than SSK, which can help reduce tension and prevent puckering
- more defined, sharper decrease than SSK
Cons:
- can be harder for beginners to learn
- can result in small loops or gaps at the point of the decrease, especially if the tension is uneven
——————————————————————————————————————–
SSK
Slip 1, Slip 1, Knit 2 slipped stitches together.
To work:
Slip 2 stitches knitwise from left to right needle, one at a time.
Insert left needle into the front of the 2 slipped stitches, and knit the 2 stitches together through the back loops.
This creates a single decrease, slanting left.
(SSK shown in upper right green yarn swatch):

Pros:
- creates a neat, subtle left-leaning decrease
- SSK doesn’t create holes or gaps
Cons:
- can be harder for beginners to learn
- can sometimes cause the fabric to pucker, especially if the tension is too tight
- may not be as visually sharp or defined as SKP
What’s Next for YOU to do?
Practice!
Make your own increase/decrease stitches swatch like I did to practice what you have learned.
Use different yarn colors to showcase the various stitches.
Find Patterns
You may be feeling overwhelmed when you first learn the knit increase & decrease stitches. I get it. My goal as a designer is to provide knitting patterns that are easy to follow and inspirational to make.
When you find beginner friendly knit patterns to advance your inc/dec skills, now you’re shaping!
Here at A Box of Twine, I aim to provide KNITTING PATTERNS that are simple, beautiful, and timeless. You can expect attention to detail and clear instructions from me. You’re sure to find some to practice inc/dec stitches with, such as these:
I do hope you enjoyed this lesson on knit increase and decrease stitches. Once you get the hang of them, you will love adding shape to your knitting projects!
===> Remember to PIN for later! <===


