How to Knit a Neck Scarf
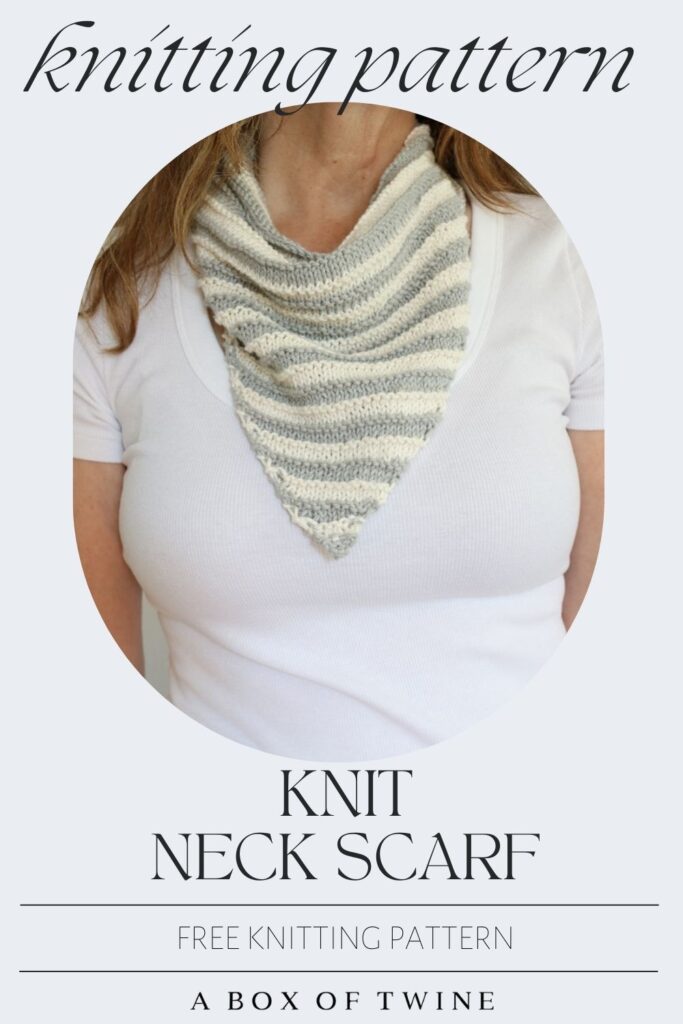
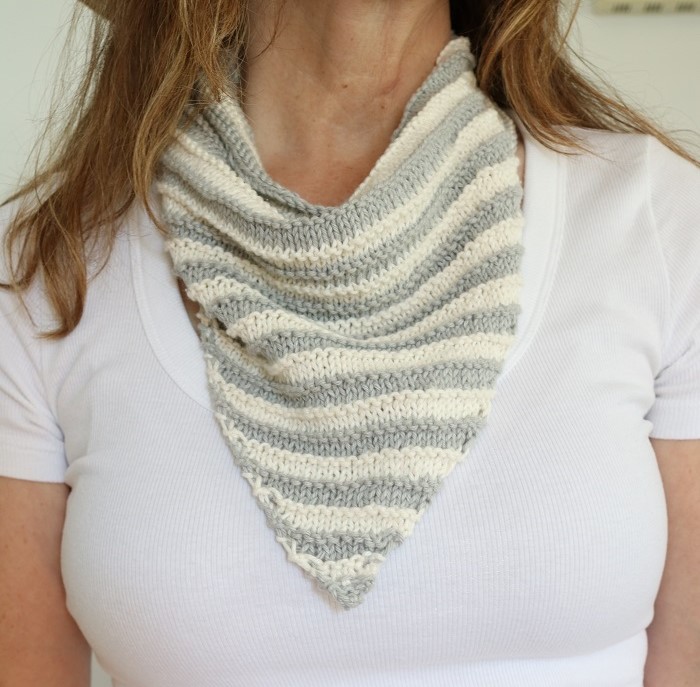
Spring and Summer are especially nice seasons to wear a knit neck scarf. A simple, small, triangle shaped neck scarf may be just the accessory to keep your neck cozy during cool summer breezes while adding some panache. How about knitting a cotton striped neck scarf for yourself or as a gift? You will love the look of this textured, striped knit neck scarf paired with a white t-shirt and jeans, or dressed up with a skirt and blouse. Check out the FREE knitted neck scarf pattern below!
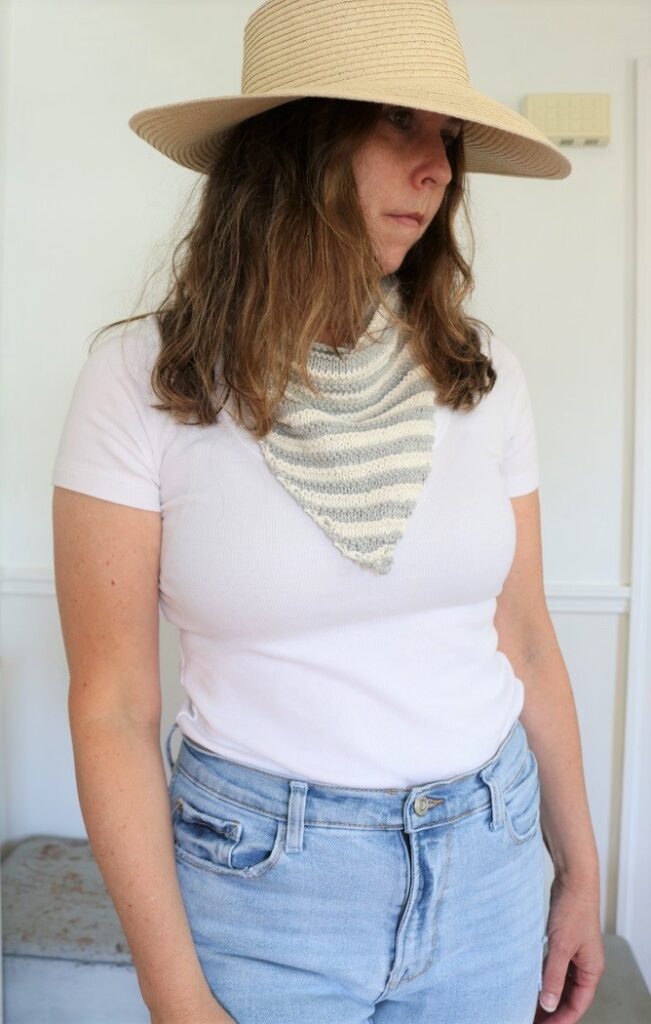
How to Make a Knit Neck Scarf
Knit Neck Scarf Pattern
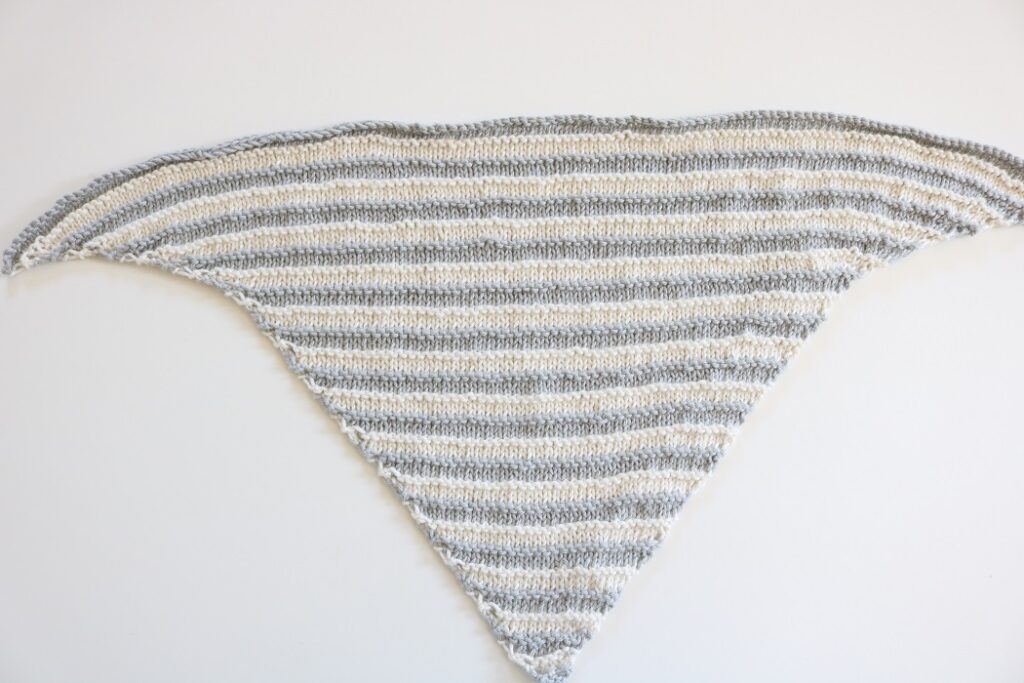
The free knitted neck scarf pattern is easy to work once you understand how to increase on each end of every odd-numbered row. This will form the neck scarf as a triangle.
The simple knit neck scarf pattern is worked from the bottom up, increasing stitches on the ends of every odd-numbered row to form a triangle, then doubling those increases toward the top to create the ‘ties’. The increases are formed with ‘yo’ (yarn over) sts, as well as ‘kfb’ (knit through the front and back) sts.
You will need the following supplies to make this cotton knit neck scarf:
Supplies
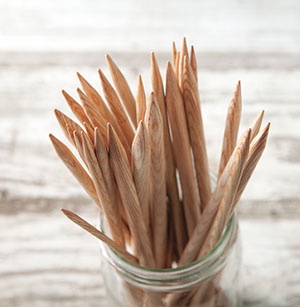
- Size 6 (4.0 mm) knitting needles, at least 14″ length
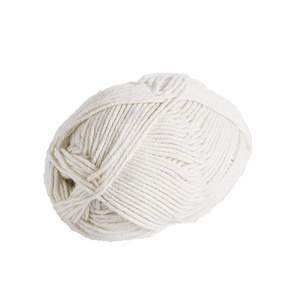
- 2 skeins of CotLin size 3 (DK) cotton yarn (123 yds per skein). One skein in each of two colors:
- Color A: Silver and Color B: Swan
- or similar weight yarn (140 yds total for 1 scarf)
- scissors
- tapestry needle
Knitting Abbreviations
CO – cast on
BO – bind off
K – knit stitch
P – purl stitch
kfb – knit 1 into front & back of stitch (single increase)
yo – yarn over (single increase)
sts – stitches
Rep – repeat
PATTERN INFORMATION
I enjoy naming my crochet and knit patterns after local New England places of interest.
This “Nahant Neck Scarf” is named after the coastal peninsula town of Nahant, Massachusetts. I can envision the bandana-style neck scarf being worn while walking the beaches of this beautiful place, but it would also look stylish in a city or rural setting if that’s where you live. The classic striped look goes with anything!
The FREE striped knit neck scarf pattern is provided below.
- but you can also get the ad-free, printable pdf KNIT NECK SCARF PATTERN in the ETSY SHOP! The pdf has helpful photos included.
Before we begin on this pattern, are you a brand new knitter? You may be interested in taking my knitting class first, to master the basics with similar cotton yarn…
——————————————————————————————————————–
Do you wish you could really learn how to knit beautiful things?
Click here to master basic knitting skills in under 2 weeks – even if you are a complete beginner, intimidated by mistakes, and lack design coordination!
KNITTING COURSE —>
——————————————————————————————————————–
SIMPLE KNIT NECK SCARF PATTERN
Gauge: 4″ (10cm) square = 23 sts by 34 rows (in pattern). NOTE – gauge is not critical.
How to knit a neck scarf
NOTES: First, you will begin the bottom of the neck scarf by casting on and knitting 4 rows.
Next, you will work a repetitive 4-row pattern, increasing stitches on odd-numbered rows and alternating yarn colors after every 4 rows. The RS (right side) of the neck scarf will face you on odd-numbered rows.
Lastly, you will finish by doubling the stitches being increased on the odd-numbered rows in order to widen the top width of the neck scarf.
Instructions are as follows for how to knit a triangle scarf…
Easy Knit Neck Scarf Pattern
With size 6 needles, CO 3 sts with size 3 cotton yarn in color A.
Bottom Tip of scarf
Rows 1-4: Knit. (3 sts)
Bottom of scarf
You will be increasing sts in each odd row.
Cut color A yarn. Join and work with color B at start of next row:
Row 1 (RS): K1, yo, k1, yo, k1. (5 sts)
Row 2: Purl.
Row 3: K1, yo, k3, yo, k1. (7 sts)
Row 4: Knit.
Cut color B yarn. Join and work with color A at start of next row:
Row 5: K1, yo, knit to last st, yo, k1.
Row 6: Purl.
Row 7: Rep Row 5.
Row 8: Knit.
Rep Rows 5-8, alternating yarn color every 4 rows until scarf measures approx. 9″ depth (up to about 72 rows of pattern).
You may want to use the method described in THIS VIDEO to weave in yarn ends and secure them as you work. (This is the method I used).
Top of scarf
Next, you will double the increase sts in each odd row to widen the top of the scarf.
This will allow you to use the top ends for tying the scarf.
Cut yarn. Join and work with the other color yarn at start of next row:
Row 1: K1, yo, k1, kfb, knit to last 3 sts, kfb, k1, yo, k1.
Row 2: Purl.
Row 3: Rep Row 1.
Row 4: Knit.
Rep Rows 1-4, alternating yarn color every 4 rows until scarf measures approx. 12-13″ depth and 28″ wingspan, ending with a Row 3. (You may be working this 4-row pattern a total of approx. 8 times).
BO Knitwise.
Finishing the Neck Scarf
Weave in loose ends if you haven’t already.
Block the scarf if desired, but it is not necessary.
Important Tips for Knitting your neck scarf
Some things to keep in mind as you knit the neck scarf are:
- Read all instructions before beginning. You will want to understand when to increase sts and when to alternate yarn colors.
- The Right Side (RS) of the neck scarf faces you when working odd-numbered rows.
- It’s a good idea to mark the sts at the beginning and end of each odd-numbered row to remind yourself when to increase. It can be easy to forget to increase at the end of the row when the rows get longer.
- Rather than have many yarn ends to weave in (after every 4th row color change), you can weave in the ends as you go. I used a method explained in THIS VIDEO (by ‘Very Pink Knits’) to weave both colored yarns in while I knitted. I also used her 2nd method of splitting cotton yarns and knotting them that she mentions at the end of the video.
Finished Size
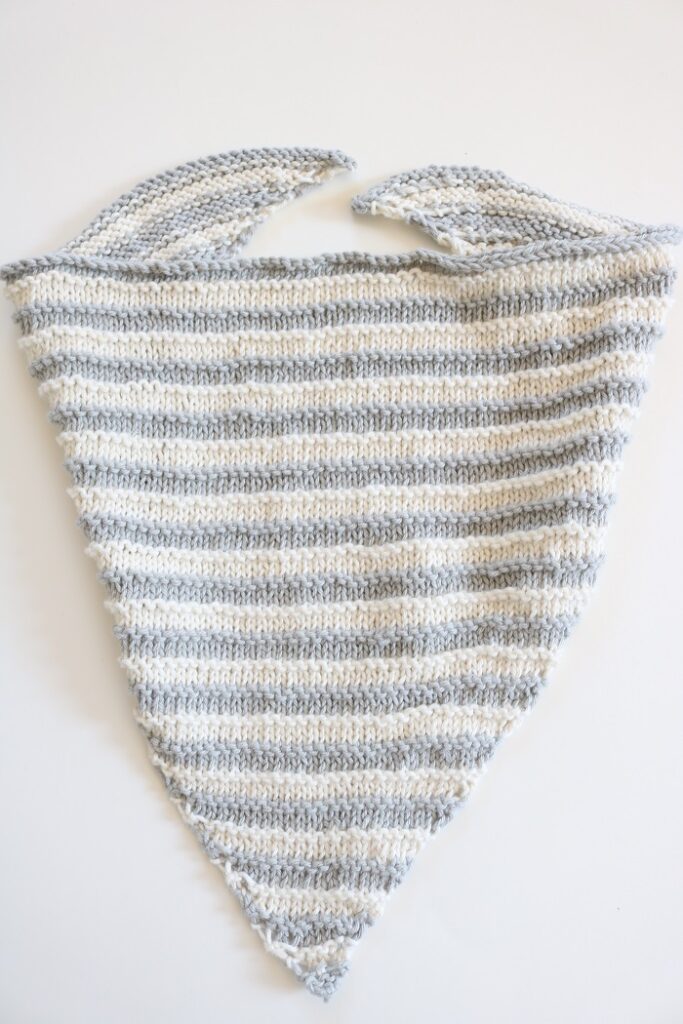
The finished neck scarf measures approximately 12-13″ length by 28″ wingspan as written.
Ways to Wear Your Knit Neck Scarf
There are several ways you could wear your knit bandana scarf. Try wearing it loosely tied, with the triangle hanging down. Alternatively, you could gather the scarf together to tie it tighter around the neck.
Dress it down with a t-shirt and jeans, or spruce it up alongside a romantic blouse and skirt.
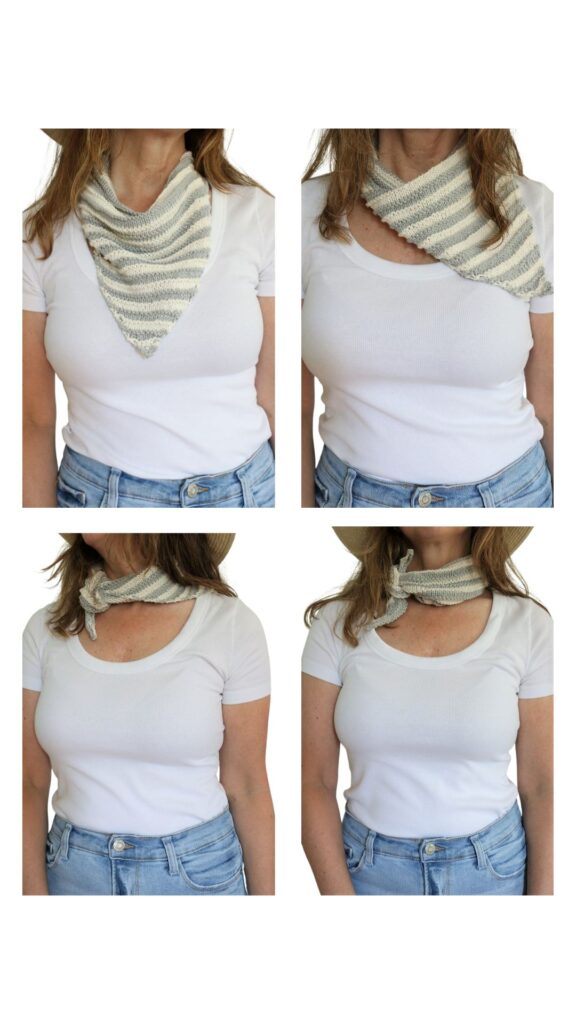
You could also try wearing it over your hair as a bandana!
What do you think of this free triangle neck scarf pattern? If you are a beginner at knitting, you can definitely handle this! The increase stitches are not too difficult, as long as you remember to increase at the end of each odd-numbered row (as well as the beginning).
If you are looking for more summer projects, check out my SUMMER category here on the blog.
Don’t forget that this knit triangle scarf pattern is also available in a digital pdf pattern. The pdf has helpful photo tutorials. Grab the TRIANGLE KNIT SCARF PATTERN in my Etsy shop.
===> Remember to PIN for later! <===
