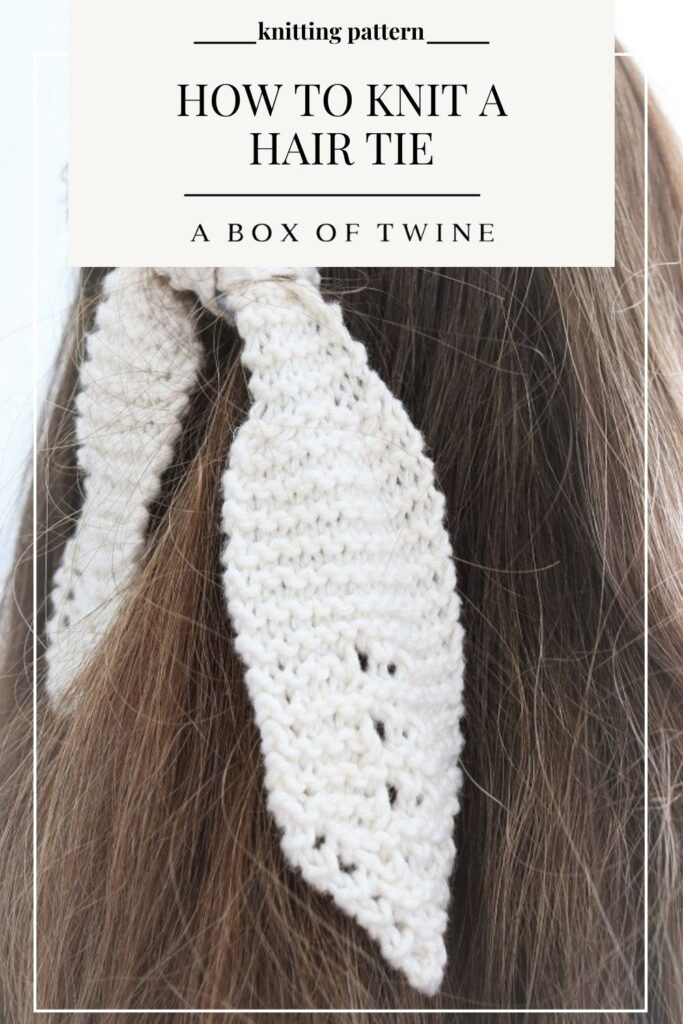
How to Knit a Hair Tie
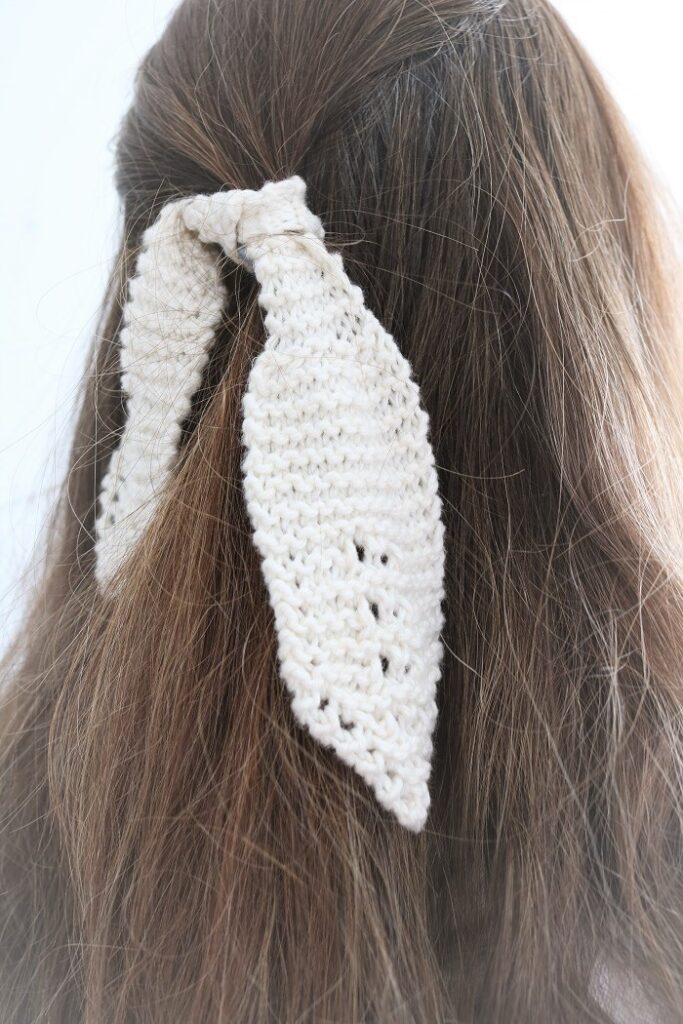
Sometimes you just want to add a special touch to your hairstyle. Why not cover up a boring ponytail holder with a handmade small knit hair tie? I have a quick and easy hair tie knitting pattern for you! The soft flow and lacy detail of this hair tie will fit right in with a classic style, or the Cottage Core or Ballet Core styles trending now.
This post may contain affiliate links. That means if you click and buy, I may make a commission at no cost to you. Please see my full disclosure policy for more details.
How to Make a Knit Hair Tie
Knit Hair Accessory FREE Pattern
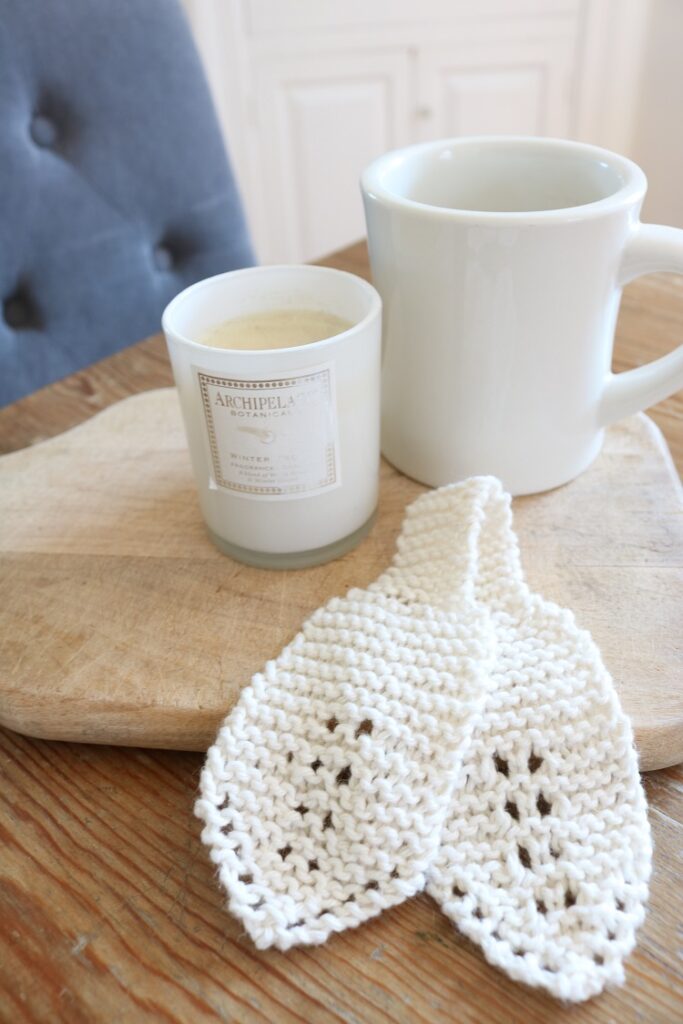
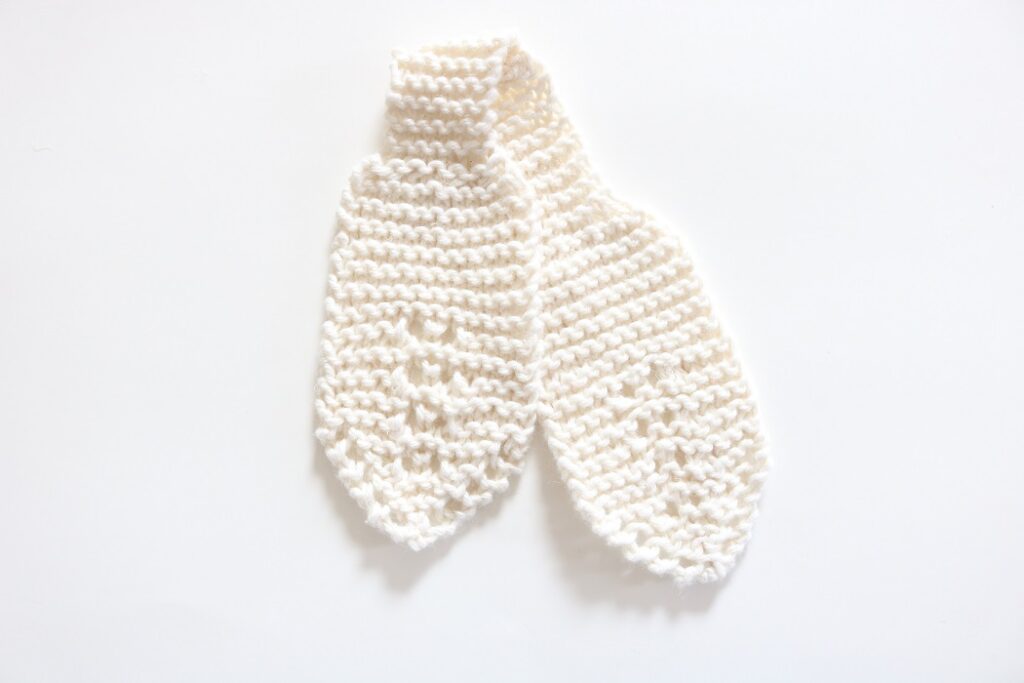
The free hair tie knitting pattern is easy to work once you understand where to increase and decrease stitches. The hair tie is worked in two pieces, then each piece is joined in a center band. The center band is used to tie onto your hair, and you can make it as long as you’d like.
The knit hair tie pattern is worked from the bottom up, increasing stitches to form a ‘petal’, then decreasing stitches for the center band. The increases are formed with ‘yo’ (yarn over) sts, and the decreases are worked with k2tog and skp stitches. These help form a lacy pattern on the petal.
You will need the following supplies to make this cotton knit hair tie:
Supplies
- Size 5 (3.75 mm) knitting needles
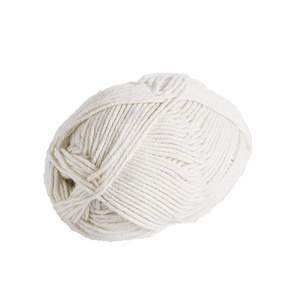
- 20 yards from 1 skein (approx. 123 yards) of size 3 cotton yarn. I used CotLin in color SWAN.
- scissors
- tapestry needle
Knitting Abbreviations
CO – cast on
BO – bind off
K – knit stitch
P – purl stitch
K2tog – knit 2 stitches together
skp – slip one st knitwise, knit next st, pass slipped st over
yo – yarn over
sts – stitches
Rep – repeat
PATTERN INFORMATION
Recently I began naming my crochet and knit patterns after local New England places of interest.
This “Hadley Hair Tie” is named after the lovely town of Hadley in western Massachusetts. The hair tie has a classic, timeless appeal not unlike these New England towns.
The FREE hair tie knitting pattern is provided below.
- but you can also get the ad-free, printable pdf KNIT HAIR TIE PATTERN in the ETSY SHOP! The pdf has helpful tutorial photos included.
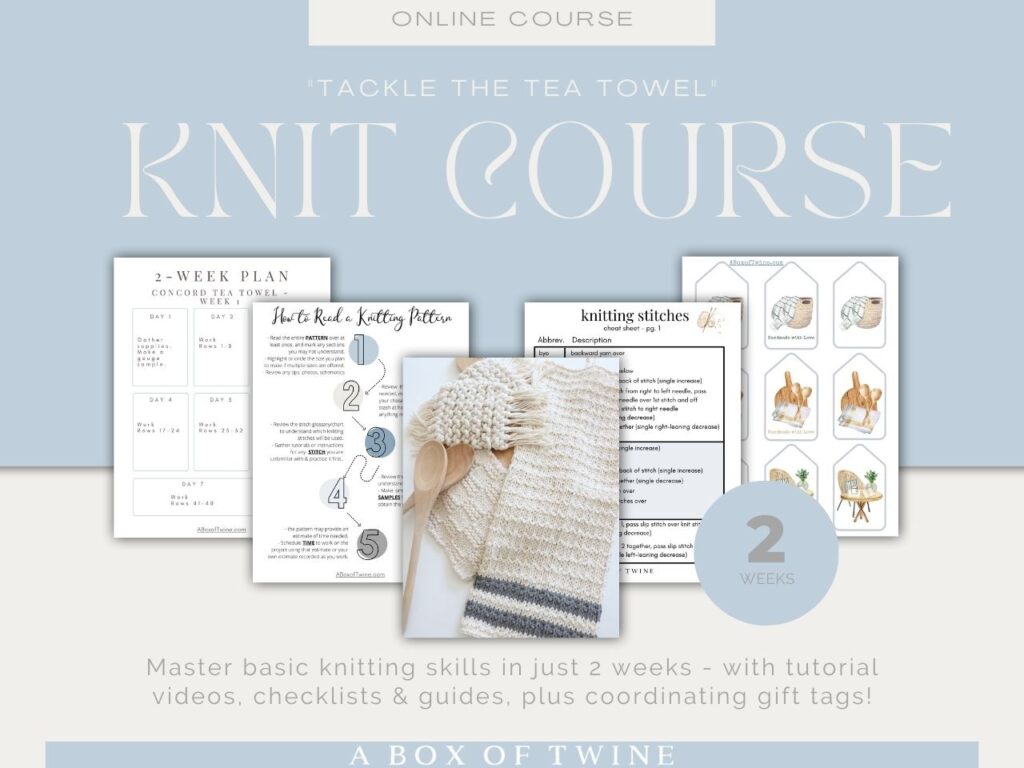
Before we begin on this pattern, are you a brand new knitter? You may be interested in taking my knitting class first, to master the basics…
——————————————————————————————————————–
Do you wish you could really learn how to knit beautiful things?
Click here to master basic knitting skills in under 2 weeks – even if you are a complete beginner, intimidated by mistakes, and lack design coordination!
KNITTING COURSE —>
——————————————————————————————————————–
HAIR ACCESSORY KNITTING PATTERN
Gauge: 4″ (10cm) square = 23 sts by 36 rows (in pattern). NOTE – gauge is not critical.
How to knit a hair tie
NOTES: First, you will work one half of the hair tie from the bottom up, using increases and decreases to shape the petal and center band. Then you will repeat the steps to make a 2nd half. You will finish by joining the two halves together with a seam to form one long center band.
Instructions are as follows…
Knitting Pattern for Hair Tie
With size 5 needles, CO 3 sts with size 3 cotton yarn.
You will be increasing sts in rows 3, 5, 7, 9, 11.
Petal
Rows 1-2: Knit. (3 sts)
Row 3: K1, yo, k1, yo, k1. (5 sts)
Row 4 and all even-numbered rows: Knit.
Row 5: K1, yo, k3, yo, k1. (7 sts)
Row 7: K1, yo, k5, yo, k1. (9 sts)
Row 9: K1, yo, k1, k2tog, yo, k1, yo, skp, k1, yo, k1. (11 sts)
Row 11: K1, yo, knit to last st, yo, k1. (13 sts)
Row 12: Knit.
Now you will stay at 13 sts – no more increasing.
Row 13: K4, k2tog, yo, k1, yo, skp, k4. (13 sts)
Rows 14-16: Knit.
Rows 17-24: Rep Rows 13-16.
Rows 25-36: Knit.
Center Band
Now you will decrease to 7 sts per row and stay at 7 sts.
Row 37: K2tog three times, k1, k2tog three times. (7 sts)
Rows 38-52: Knit.
BO knitwise.
Repeat all steps above to make a second piece for the hair tie.
Finishing the Hair Tie
Weave in loose ends.
Block the two pieces if desired, but it’s not necessary.
Join the two pieces together by working a seam neatly across the two bound off rows from each, ensuring RS facing same direction.
Important Tips for Knitting your hair tie
Some things to keep in mind as you knit the hair tie are:
- Read all instructions before beginning. You will want to understand how the petal shape is formed, as well as the band in the center.
- The Right Side (RS) of the hair tie faces you when working odd rows. Both Right and Wrong sides look similar.
- It’s a good idea to check your stitch count after the increase and decrease rows.
- Feel free to increase the length by adding more rows to work after Row 52, making sure to work the same number of rows on the 2nd piece.
Finished Size
The finished hair tie measures approximately 11.5″ length by 2.25″ width (at widest) as written.
Wearing your Knit Hair Tie
Simply tie your hair piece around a small section of hair, putting the knot in the center band.
Or you could tie it around a ponytail holder already holding your hair together. The center band will stretch a little.
What do you think of this free knitting pattern for hair tie? If you are a beginner at knitting, you can definitely handle this! The increase and decrease stitches are not too hard to master.
Don’t forget that this knit hair accessory free pattern is also available in a digital pdf pattern. The pdf has helpful photo tutorials. Grab the SMALL KNIT HAIR TIE PATTERN in my Etsy shop.
===> Remember to PIN for later! <===