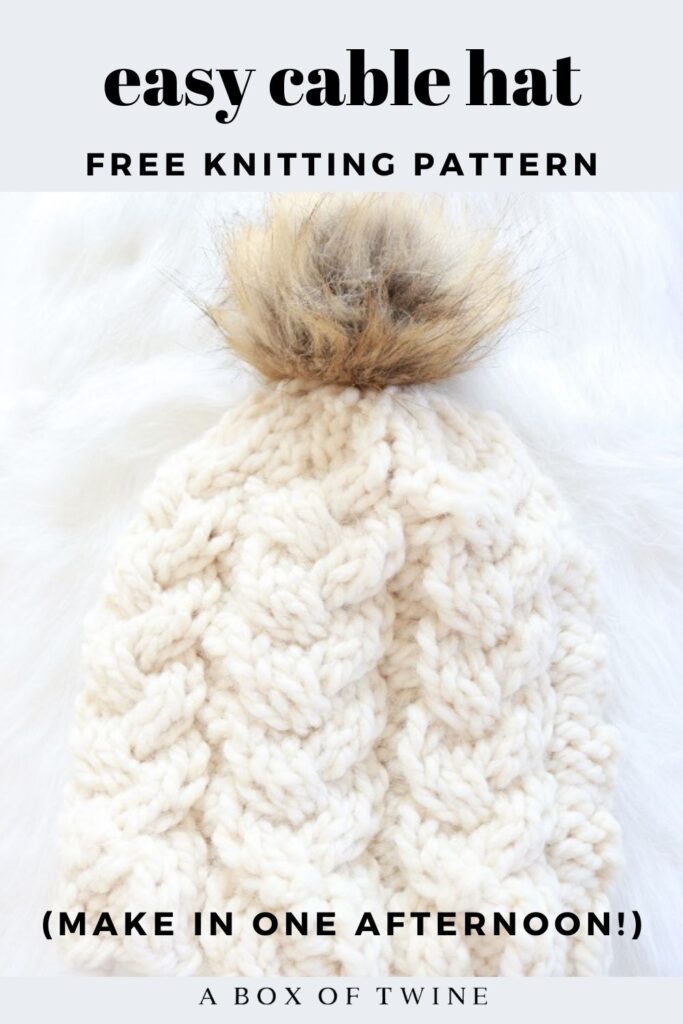
How to Knit a Cable Hat {FREE pattern!}
Do you love the look of a cable hat? Wondering how easy it is to make a round cable knit hat for winter? If you have never knit something ‘in the round’, you may feel challenged by the process. But don’t worry. Today I will show you how to knit a hat in the round, and it is super EASY and quick with bulky yarn. Keep reading for this easy cable knit knitting pattern. The stitches are repetitive, so I know you will get the hang of them in no time.
This post may contain affiliate links. That means if you click and buy, I may make a commission at no cost to you. Please see my full disclosure policy for more details.
FREE CABLE KNIT HAT PATTERN
How do you knit a hat in the round?
How to knit a cable hat with circular needles:
When knitting in the round using a circular needle, the stitches are joined to make a circle. This happens right after you cast on the initial stitches, as you begin the first Round. (You will be working in ‘rounds‘ instead of back-and-forth ‘rows’). Rather than stitching on needles back and forth, alternating between Right Side (RS) and Wrong Side (WS) facing you, the RS will always face you as continuously stitch around.
This knit hat is straightforward to knit once you join the first round and get the hang of the cable stitches. After 2 rounds of “knit 2, purl 2” ribbing, four rounds of cable pattern stitches are simply repeated around the hat. Lastly, you’ll slowly decrease the stitches in each round to form the top of the hat.
You will need the following supplies to make the cable knit hat:
Supplies
- Size 13 (9.0 mm) CIRCULAR KNITTING NEEDLES, 16” or 19″ length
- approx. 65 yards of Super Bulky weight (size 6) yarn to make 1 hat. I used LION BRAND’S WOOL-EASE THICK & QUICK in color FISHERMAN.
- cable needle
- stitch marker (SM) (I just used a piece of contrasting yarn as a marker)
- scissors, tapestry needle
- optional – pom pom for top of hat
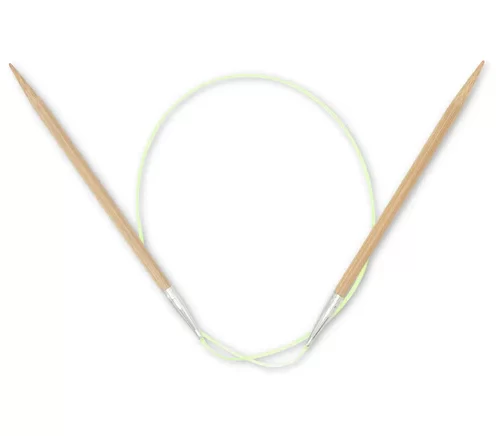
Circular Knitting Needles (various sizes)
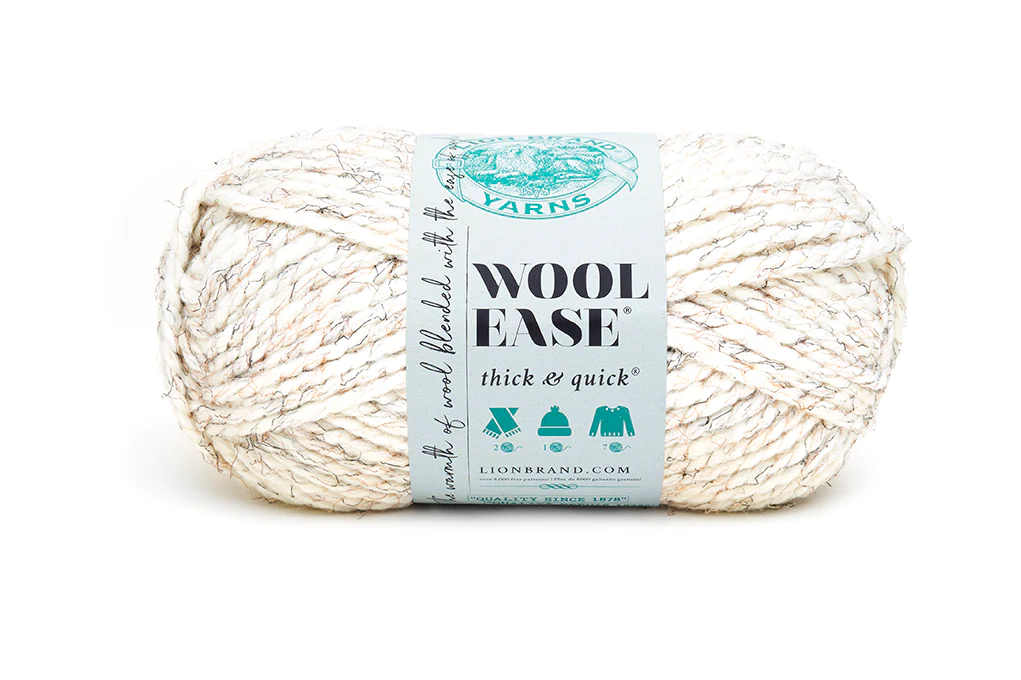
Wool Ease Thick & Quick Yarn
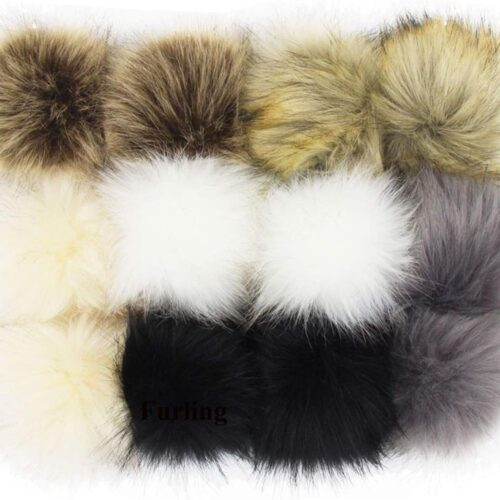
Faux Fur Pom Poms for Hats
Abbreviations
K – knit stitch P – purl stitch
K2tog – knit two stitches together
Sts – stitches Rep – Repeat
RS – Right Side (side that faces you when finished)
PATTERN INFORMATION
The free pattern for the cable knit hat is provided below.
- but you can also get the ad-free, printable pdf pattern for both the HAT AND COORDINATING NECK WARMER as part of a bundle in the ETSY SHOP! The pdf has step-by-step tutorial photos included.
How do you knit a chunky cable beanie?
NOTES: The cable hat is knit in the round, from the bottom to the top. The Right Side (RS) will always face you as you work in the round. The first few rounds are in a ribbing pattern to form the lower band.
The finished hat should fit a teen or woman’s head. It will measure approximately 8.5″ height by 18″ circumference (laying flat and unstretched).
Special Knitting Stitches:
C4B – “cable 4 back” – slip next 2 sts onto the cable needle and hold at back of work, knit next 2 sts from left hand needle, then knit 2 sts from cable needle.
C4F – “cable 4 front” – slip next 2 sts onto the cable needle and hold at front of work, knit next 2 sts from left hand needle, then knit 2 sts from cable needle.
KNIT CABLE HAT PATTERN in the round
Gauge: 4″ x 4″ = 14 rows by 10 sts
How to knit a cable hat with circular needles
Beginning with the Size 13 circular knitting needles, cast on 48 stitches with your SUPER BULKY YARN.
{Joining in the Round}
Place a stitch marker (SM) after the last stitch you casted on. This will help you to count each round going forward. In each subsequent round, simply slide the SM to the other needle. (I simply used a blue piece of yarn for my stitch marker).
At this point, your ‘right-hand’ needle holds the last st casted on, while the ‘left-hand’ needle holds the first st casted on.
Next, being careful that the stitches on your circular needle are not twisted, join the last st casted on with the first st in round by knitting the first st. This is the first stitch in Round 1 (see below).
Chunky Cable Knit Hat Pattern:
Cable Knit Hat Ribbing – Bottom
Round 1: *K2, p2; repeat from * around.
Rounds 2-4: Repeat Round 1.
Cable Knit Hat Body – Main Cable Pattern
{Can you knit cables in the round? – Yes! Knitting cables in the round is no different than knitting them straight. Simply place the designated stitches on a cable needle as you follow the pattern.}
The next 16 rounds will comprise the main texture of the cable hat.
Round 5: *K2, c4f, p2; repeat from * around.
Round 6: *k6, p2; repeat from * around.
Round 7: *C4b, k2, p2; repeat from * around.
Round 8: Repeat Round 6.
Rounds 9-20: repeat Rounds 5-8 three times.
Cable Knit Hat Decrease
At this point you will slowly decrease the stitches in each round, to shape the top of the hat.
Round 21: *K2, c4f, p2tog; repeat from * around. (42 sts)
Round 22: *k6, p1; repeat from * around. (42 sts)
Round 23: *C4b, k1, k2tog; repeat from * around. (36 sts)
Round 24: *K2, k2tog; repeat from * around. (27 sts)
Rounds 25-26: Knit around. (27 sts)
(note – in-process photos of the hat are provided in the pdf file on Etsy)
Round 27: K1, *k2tog; repeat from * around. (14 sts)
Your hat top will be getting smaller, and it may be a bit harder to knit on the circular needles, but you’re almost done!
Round 28: *K2tog; repeat from * around. (7 sts)
Finishing the Hat
Cut the yarn, leaving a tail to work with. Using a tapestry needle, thread this tail through the remaining 7 stitches.
Pull the yarn to draw the stitches tightly together.
Secure the tail, then weave in all loose ends.
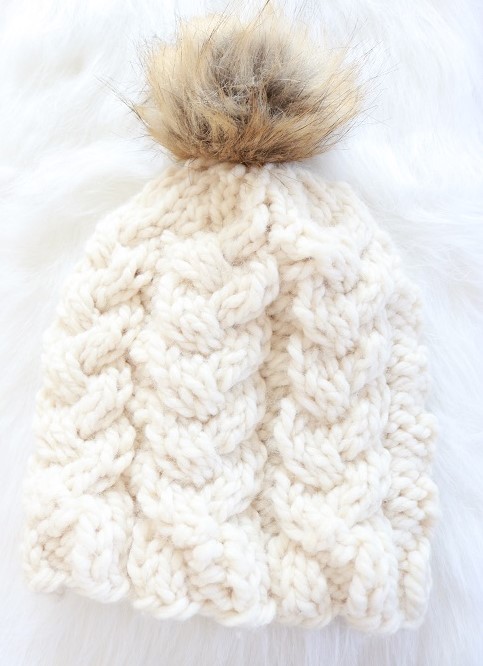
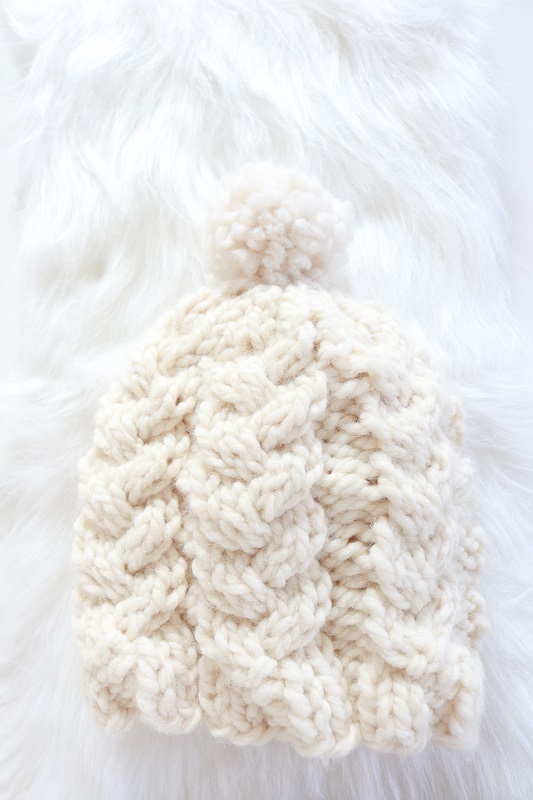
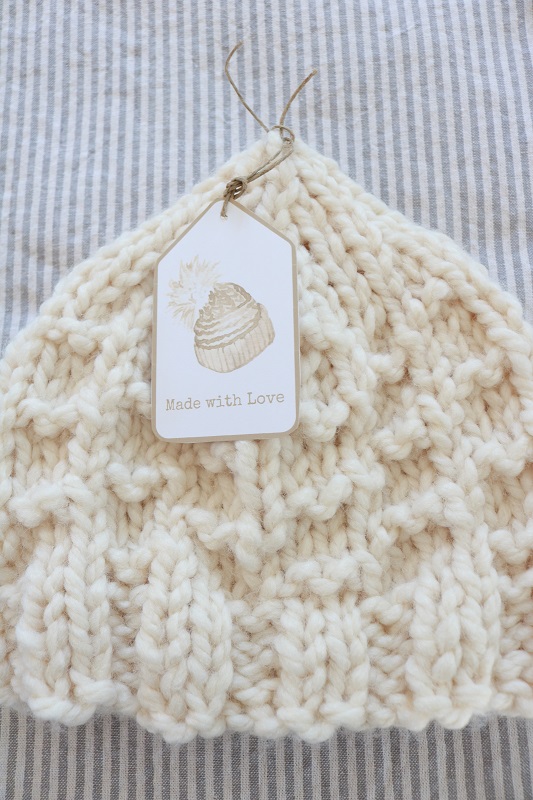
Here is the finished knit hat:
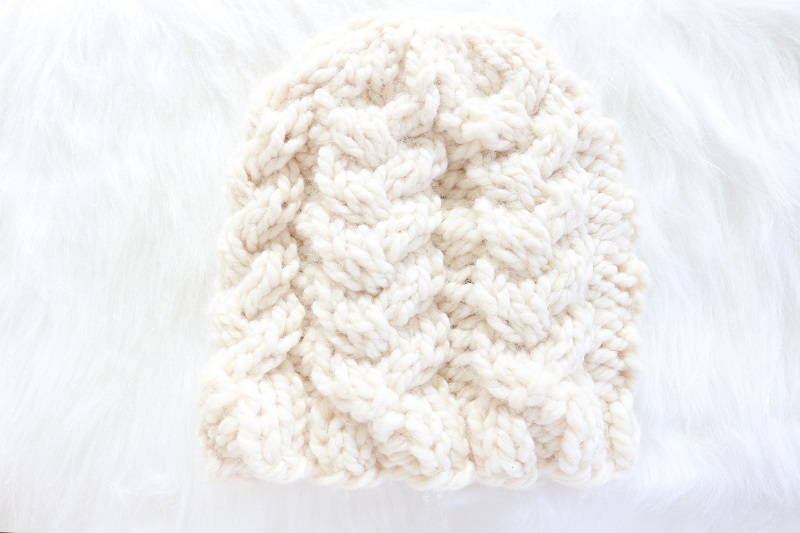
Finished Cream Cable Hat
Now it is time to enjoy your finished cable knit hat! Give it as a gift or add it to your wardrobe. You can boast that you made it yourself. No one needs to know how quickly it was made with this easy cream beanie pattern.
Add an optional handmade yarn pom-pom to the top for a fun look…
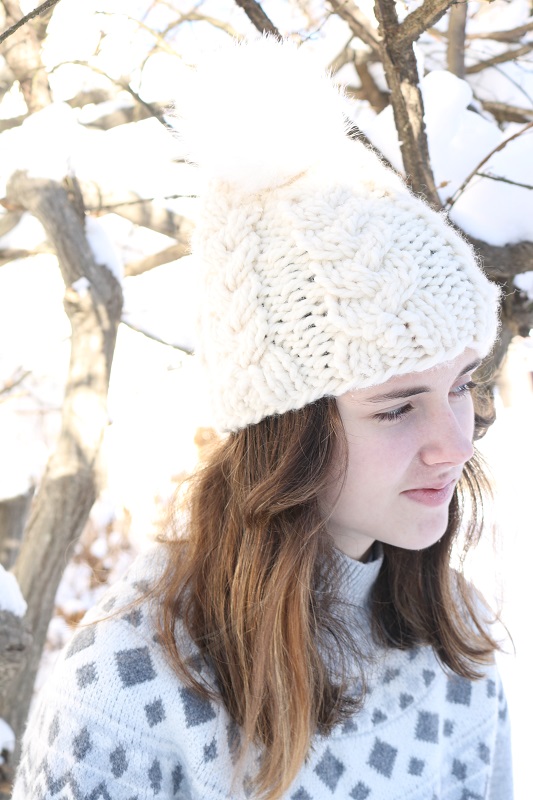
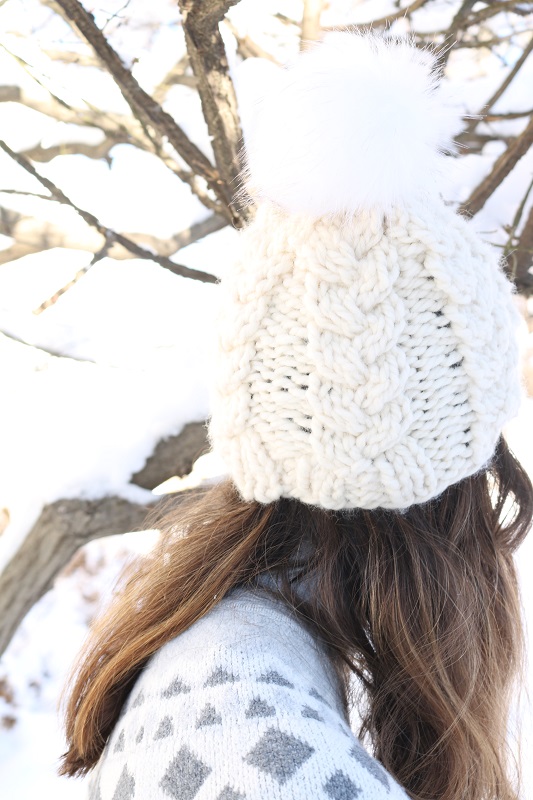
…or attach a fluffy pom pom to the top:
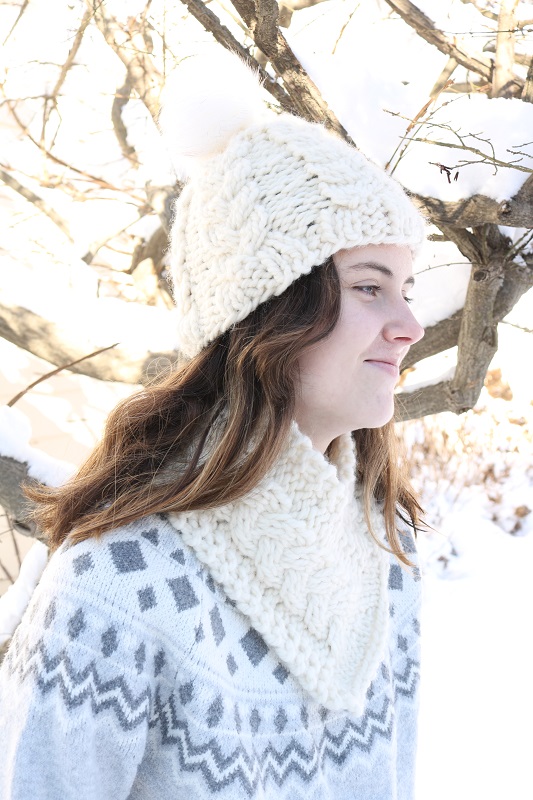
Pull the hat snugly over your head and head out for a pretty winter walk!
Important Tips for Knitting your Hat
Some things to keep in mind as you knit the cable hat are:
- Make sure your stitches are not twisted when you first join in the round after casting on stitches.
- Use a Stitch Marker (SM) to keep track of each round
- The Right Side (RS) is always facing you as you knit each round.
I hope you enjoyed this cream cable knit hat pattern (FREE!). Once you get rounds 5-8 down, the project will become repetitive and simple. I know you can handle the cable stitches and knitting in the round if you are a beginner. This is a perfect project to practice those skills on, as it isn’t too complicated.
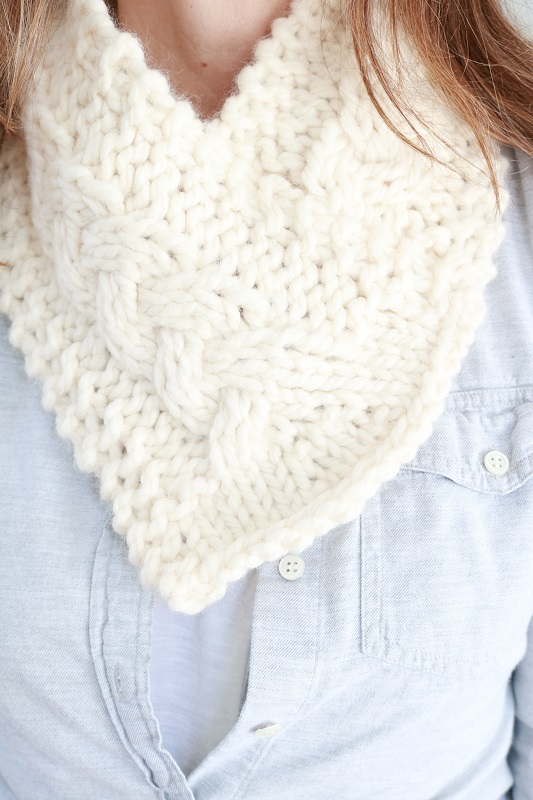
Don’t forget that the winter cable knit hat pattern is also available in a pdf pattern bundle with the coordinating neck warmer. The cable stitches are the star of the neck warmer, too! Grab the HAT AND NECK WARMER BUNDLE in my Etsy shop.
Here is a closer look at the coordinating neck warmer:
Love hats? Check out these other hat patterns…

===> Remember to PIN for later! <===