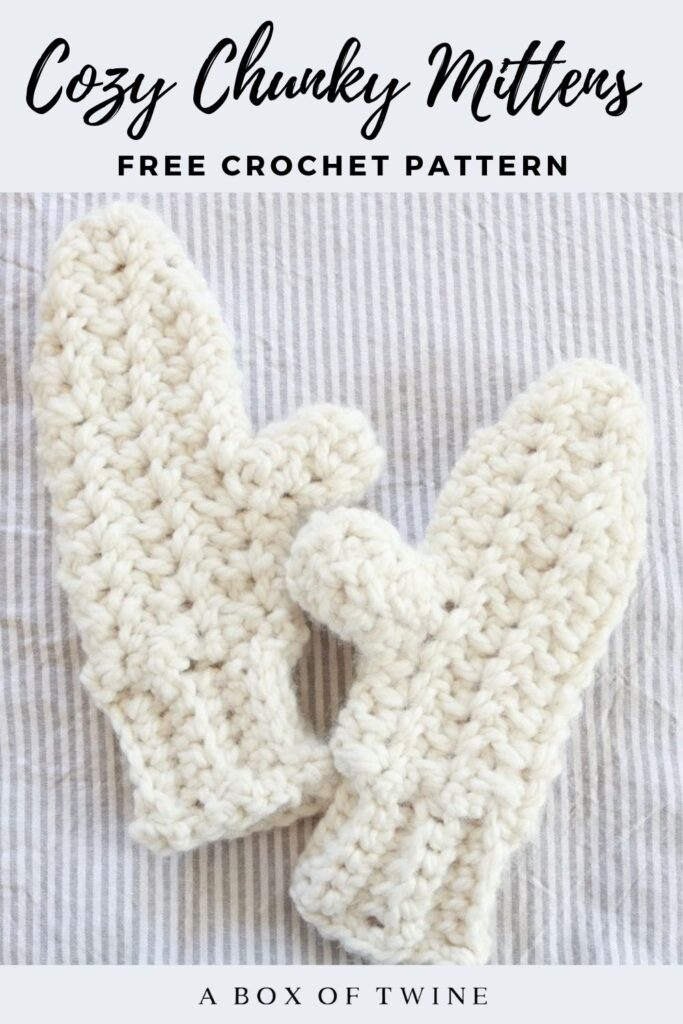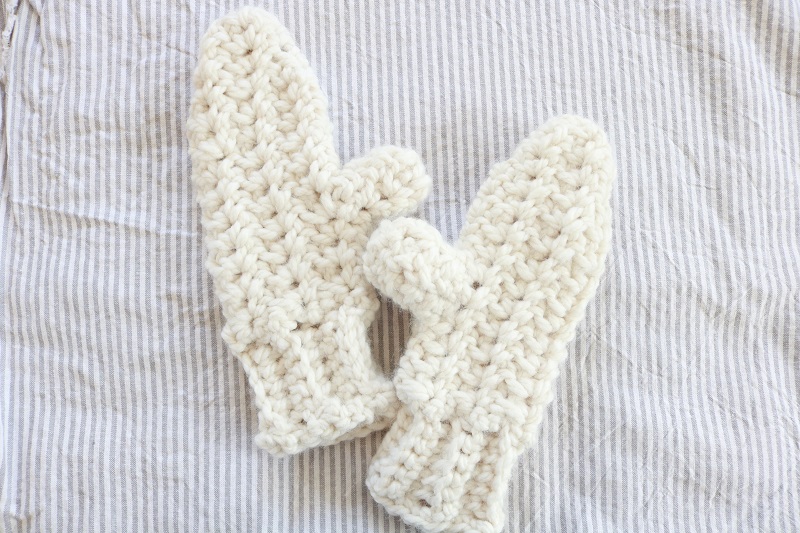
How to Crochet Chunky Mittens
You can make a pair of these quick and easy crochet mittens in under 2 hours! Keep reading for a free crochet pattern of lovely winter white mittens. They will be the chunky mittens you grab when you want a Hygge snuggly vibe. I designed the stitches in the pattern with crochet basics, so it is a beginner-friendly mitten pattern.
Be warned – the decorative stitching is a little more open, but that may be preferred if your hands get too hot in tightly stitched mittens. I also have an option to make fingerless mittens in the pattern available on ETSY.
This post may contain affiliate links. That means if you click and buy, I may make a commission at no cost to you. Please see my full disclosure policy for more details.
Supplies for Chunky Mittens
- approximately 85 yards of size 6 super bulky yarn (wool, or wool/acrylic mix) to make 2 mittens. I used Big Twist Natural Blend yarn in the color “Winter White”. Find a similar yarn with LION BRAND WOOL EASE THICK & QUICK in FISHERMAN
- size J crochet hook (6.00 mm)
- scissors, tapestry needle to weave in ends
- place marker (aka stitch marker)
- optional – LEATHER TAG LABEL
General Crochet Terms to Know:
Ch – chain SC – single crochet
ST – stitch SL – slip stitch
SK – skip PM – place marker
Ch SP – space (e.g. ch-2 sp means the space made by “chain 2” in previous Round)
blo – back loop only (you will put the hook through the back loop of the stitch only)
rep – repeat
SC2tog – SC 2 together
SIZE: The finished mitten measures about 10” long by 3” wide. The thumb measures about 2.5” long by 1.5” wide. It is meant to fit snugly on a small women or teen’s hand, but you can adjust the height of the mitten and thumb to be taller (see notes in the pattern).
PATTERN INFORMATION
- get the ad-free, printable pdf pattern for the CROCHET MITTENS as part of a mittens/hat bundle in the ETSY SHOP! It has tutorial photos included for every step of the way.
- find it in this CROCHET PATTERN BUNDLE filled with 8 accessory patterns!
Chunky Mittens Crochet Pattern
Notes:
The crochet pattern for mittens is designed in three sections –
first, the ribbing that is worn around the wrist cuff,
next, the decorative stitching that covers the hand, and
last, the thumb.
Each mitten is made in the same way – there are no special steps for Right or Left mittens.
Ribbed Cuff:
Using size J crochet hook, chain 7.
Row 1: SC in 2nd ch from hook and in each ch through BLO to end of row. (6 sts)
Row 2: Ch1, Turn. SC through BLO of each st to end of row. (6 sts)
Rows 3-11: Repeat Row 2 nine times.
Finish one long edge of ribbed cuff:
Do not turn. Working down the long side of your ribbed cuff, SC about 15 sts evenly down this long side for a finished edging.
SL st the short ends together to join the cuff.
Lower Mitten:
Next you will begin working in the round to make the base of the mitten.
Round 1: Ch1, work 18 SC sts evenly around the top edge of the cuff. (18 sts)
Do not join. Place a marker (PM) on your first SC st of this round. You will be moving this PM up for each round. (see below)
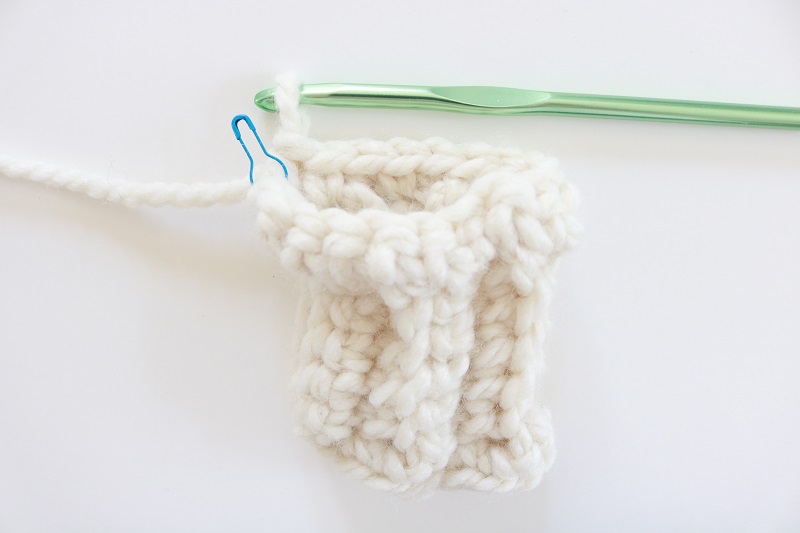
Round 2: SC in first st of previous round and move PM to this new SC st, sk next st, *(SC, Ch2, SC) in next st **, sk next 2 sts; rep from * around ending last rep at **.
Round 3: SC in first st of previous round and move PM to this new SC st, *(SC, Ch2, SC) in next ch-2 sp; rep from * around.
(Note – you should have 6 ch-2 spaces all around the mitten)
Rounds 4-5: Rep Round 3.
Thumbhole:
Next you will leave a gap for a thumbhole. The thumb will be stitched up later.
Round 6: Ch3. Move PM to 2nd ch, *(SC, Ch2, SC) in next ch-2 sp; rep from * around.
Round 7: SC in 2nd ch of ch-3 (with the PM), move PM to this new SC st, *(SC, Ch2, SC) in next ch-2 sp; rep from * around.
Upper Mitten:
Rounds 8-10: Rep Round 3.
(continue to repeat Round 3 if you would like a taller mitten on the hand, adding ½” per round)
(Visit the CHUNKY FINGERLESS MITTEN CROCHET PATTERN to see how to make these mittens fingerless).
Top of Mitten Decrease:
At this point you will begin to decrease stitches in the round to form the top of the mitten.
Round 11: SC in first st of previous round and move PM to this new SC st, (SC, Ch2, SC) in next two ch-2 spaces, SC in 3rd ch-2 sp, (SC, Ch2, SC) in next two ch-2 spaces, SC in last ch-2 sp.
Rounds 12-13: SC in first st of previous round and move PM to this new SC st, (SC, Ch2, SC) in next two ch-2 spaces, sk next SC, SC in SC (from previous row), (SC, Ch2, SC) in last two ch-2 spaces.
Round 14: SC in first st of previous round and move PM to this new SC st, SC in each ch-2 sp around.
Round 15: SC in first st of previous round and move PM to this new SC st, *SC2tog; rep from * to end.
Fasten off and remove PM.
Thumb:
Now it is time to add a thumb enclosure at the thumbhole you made.
Round 1: Beginning at the bottom of your thumbhole (closer to the ribbed cuff), join yarn and work 9 SC sts evenly around the thumbhole. (9 sts)
Do not join. Place a marker (PM) on your first SC st of this round. You will be moving this PM up for each round.
Round 2: SC in first st of previous round and move PM to this new SC st, sk next st, *(SC, Ch2, SC) in next st **, sk next st; rep from * around ending last rep at **.
Round 3: SC in first st of previous round and move PM to this new SC st, *(SC, Ch2, SC) in next ch-2 sp; rep from * around. (see below)
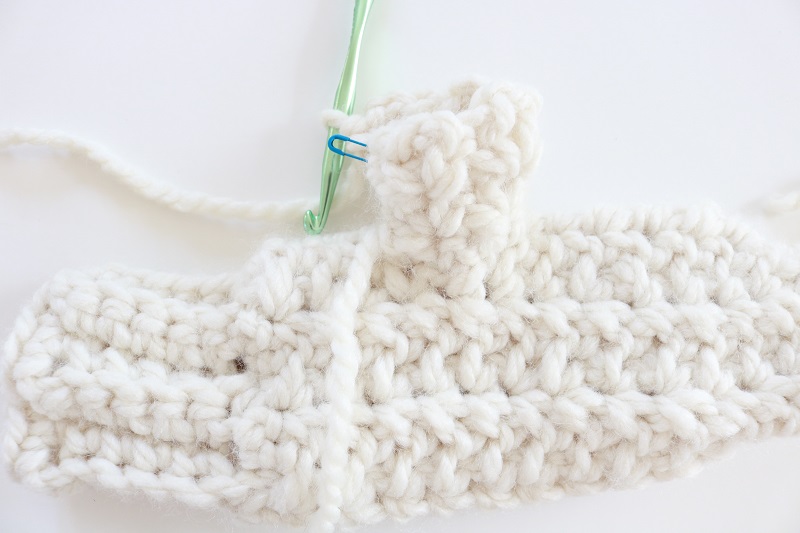
(Note – you should have 4 ch-2 spaces all around the thumb)
(continue to repeat Round 3 if you would like a taller thumb, until the height you desire)
Decrease Thumb:
Round 4: SC in first st of previous round and move PM to this new SC st, SC in each ch-2 sp around. SL st with first SC of round (with PM).
Fasten off and remove PM:
Weave in all loose ends. Finished!
Repeat all the above steps for your 2nd mitten.
For a custom touch, add a LEATHER TAG LABEL:
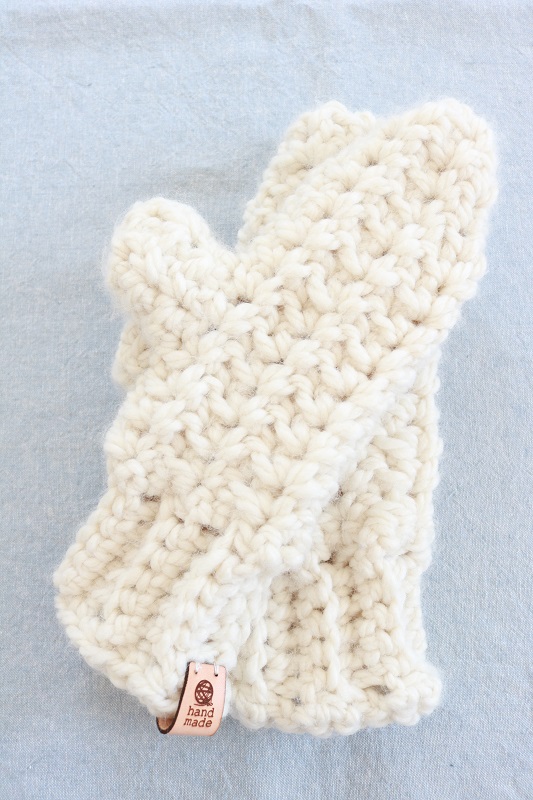
How long does it take to crochet these mittens? I’m guessing you could finish a pair within 2 hours since the yarn is chunky and the stitches are large.
Now that you know how to crochet chunky mittens, I bet your friends and family will be asking you to gift them a pair.
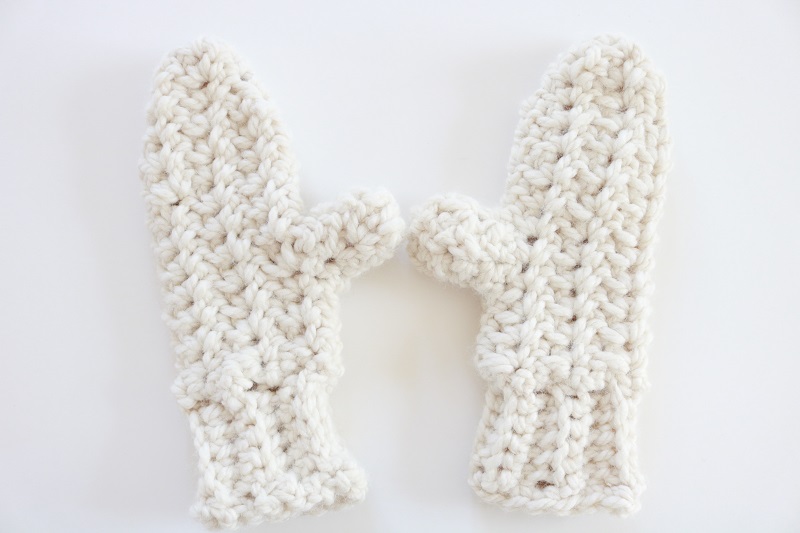
NOTE – the pattern in the ETSY SHOP also has instructions on how to make the mittens fingerless like this:
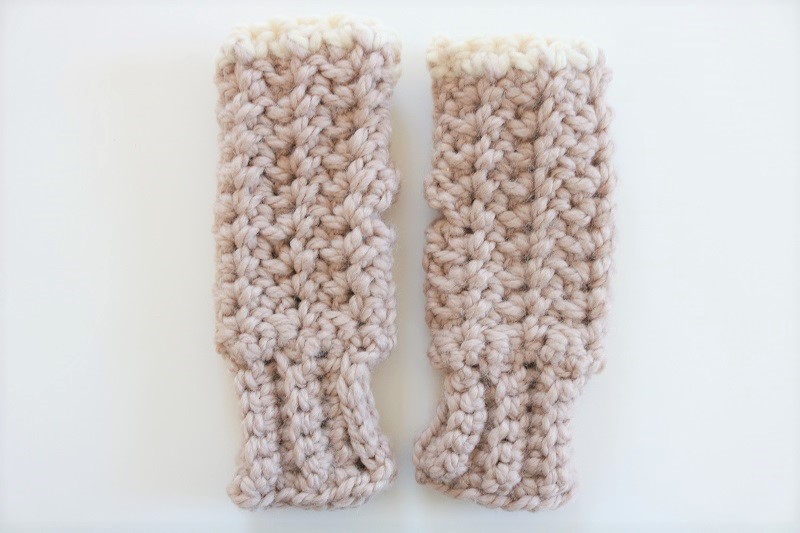
I also have a matching hat pattern included in this CROCHET PATTERN BUNDLE on Etsy. See how they look together:
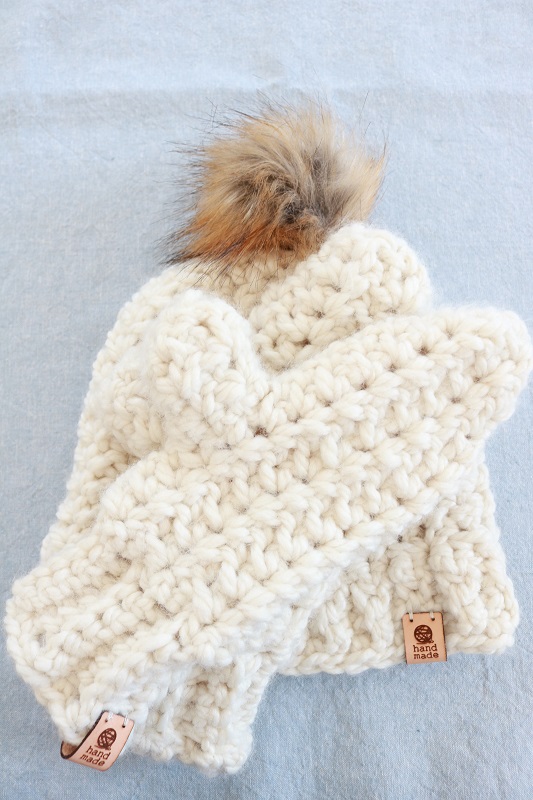
I added a FAUX FUR POM POM to the top of the hat.
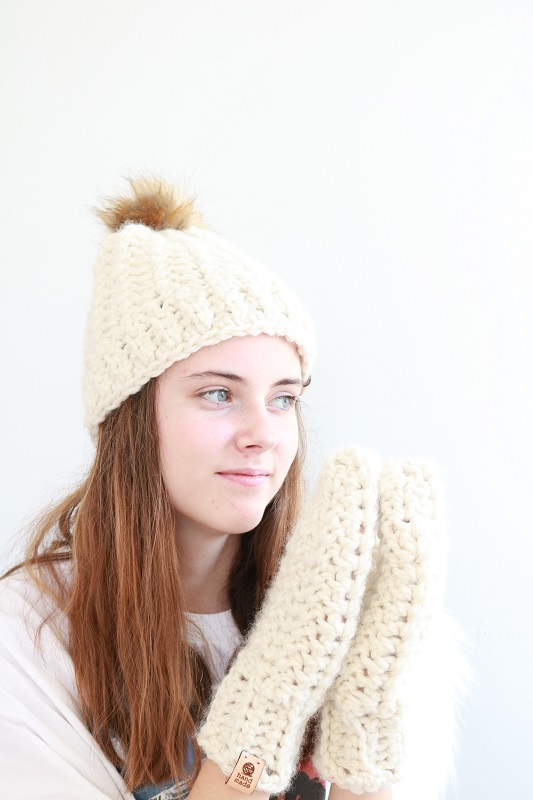
Wearing Your Winter White Chunky Mittens
Once you have completed two mittens, it is time to wear them.
This particular winter white mittens pattern will add a Hygge cozy vibe to your outdoor wardrobe. But feel free to use a bolder yarn color if that suits you. Another idea is to use two different colors for the ribbed cuff and body of the mitten.
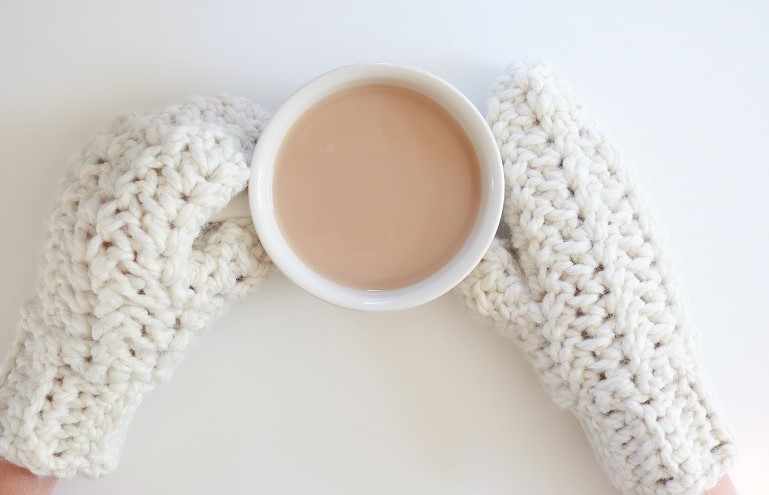
Check out my other CROCHET MITTENS PATTERNS on the blog.
===> BE SURE TO PIN THIS FOR LATER < ===
