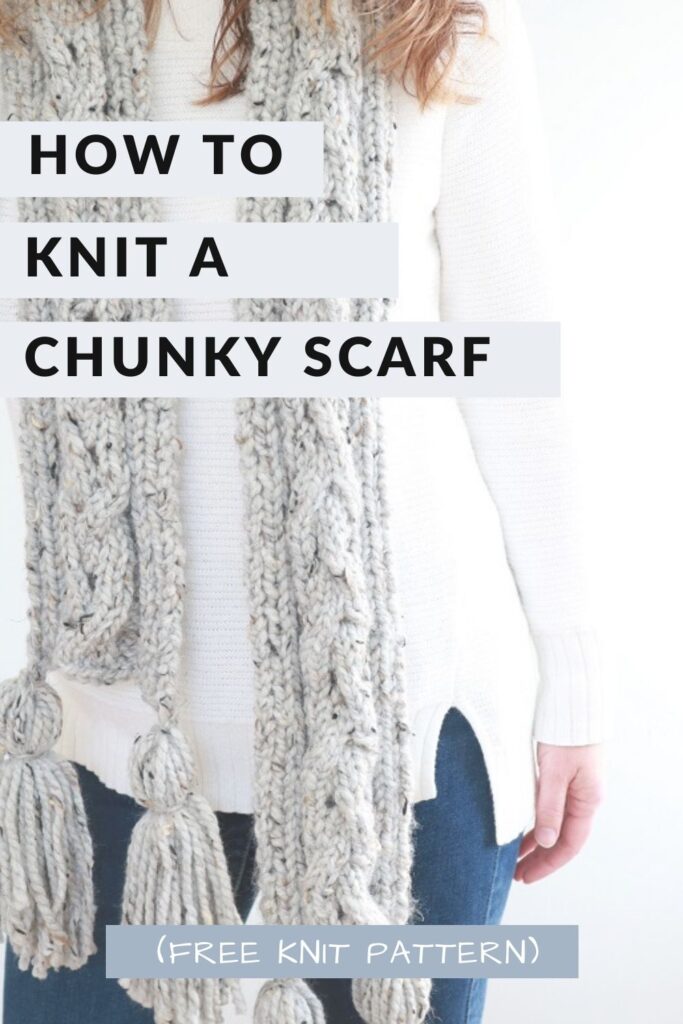
How to Knit an Easy Cable Scarf {FREE Pattern}
Looking for a simple knitting pattern for a warm and snuggly cable scarf this winter? I have a beginner friendly cable knit scarf pattern just for YOU! The knitting stitches are simple and the lovely cable pattern will provide a cozy project for those dark fall and winter afternoons. Grab some knitting needles, super bulky weight yarn, and let’s get knitting!
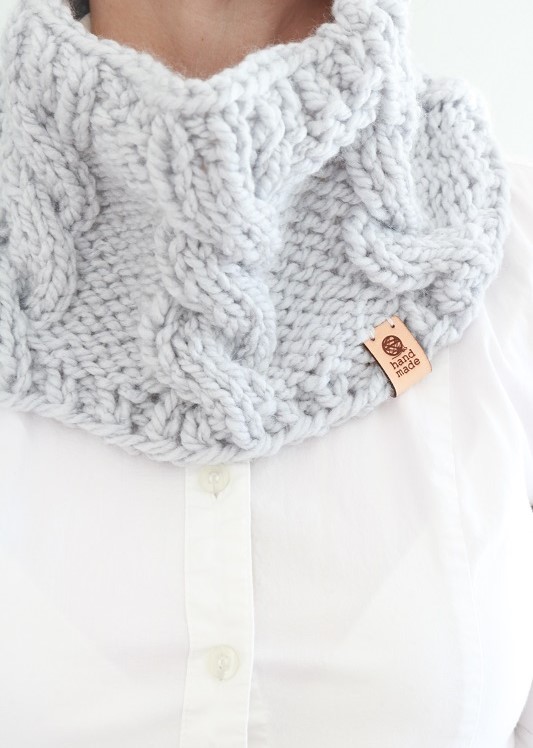
If you love long, snuggly, chunky scarves, then this easy cable knit scarf pattern is a great project. It wraps warmly around your neck and has a few striking tassels to keep it modern. The cable stitches aren’t too complicated and add that classic touch.
This post may contain affiliate links. That means if you click and buy, I may make a commission at no cost to you. Please see my full disclosure policy for more details.
Cable Knit Scarf FREE Pattern
Is cable hard to knit?
Knitting cable stitches is actually easier than you may think. Working the cables is just a matter of temporarily placing stitch(es) from your knitting needle onto a cable needle while you continue to work a row, and then returning to work the stitches from the cable needle back onto your regular knitting needles. There are special cable needles that you can purchase that make this process easy and ensure you don’t drop the temporary stitches being held.
Supplies
- Size 13 (9.0 mm) knitting needles (straight needles or circular)
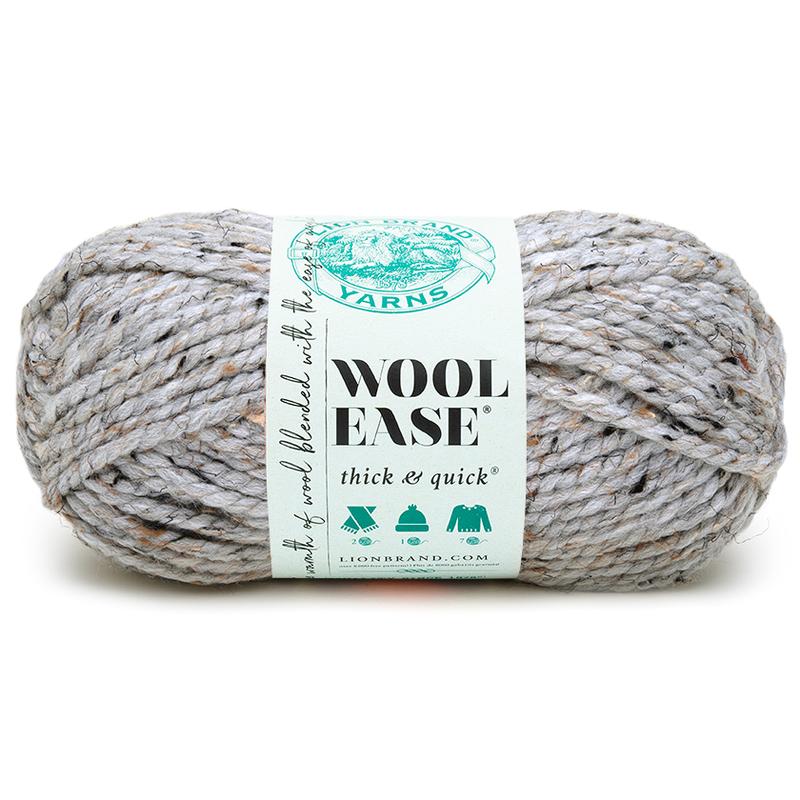
- 3 skeins of Lion Brand Wool Ease Thick & Quick size 6 yarn (need about 235 yds) to make one scarf
- Color: Grey Marble
- or similar weight yarn
- scissors
- tapestry needle
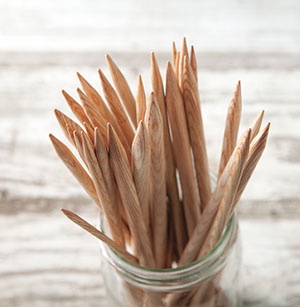
- cable needle (aka cable stitch holder)
Knitting Abbreviations:
K – knit stitch P – purl stitch
K2tog – knit 2 together sts – stitches
YO – yarn over CN – cable needle (aka cable stitch holder)
RS – Right Side (side that faces you when finished)
C3F (Cable 3 Front) – Slip next 2 sts onto CN and hold at front of work, knit next st from left-hand needle, then knit 2 sts from CN.
C3B (Cable 3 Back) – Slip next st onto CN and hold at back of work, knit next 2 sts from left-hand needle, then knit st from CN.
PATTERN INFORMATION
The FREE cable scarf knitting pattern for a long cable scarf is provided below.
- but you can also get the ad-free, printable pdf CHUNKY KNIT CABLE SCARF PATTERN in the ETSY SHOP! The pdf has helpful photos included for beginner knitters!
Before we begin on this pattern, are you a brand new knitter? You may be interested in taking my knitting class first, to master the basics …
——————————————————————————————————————–
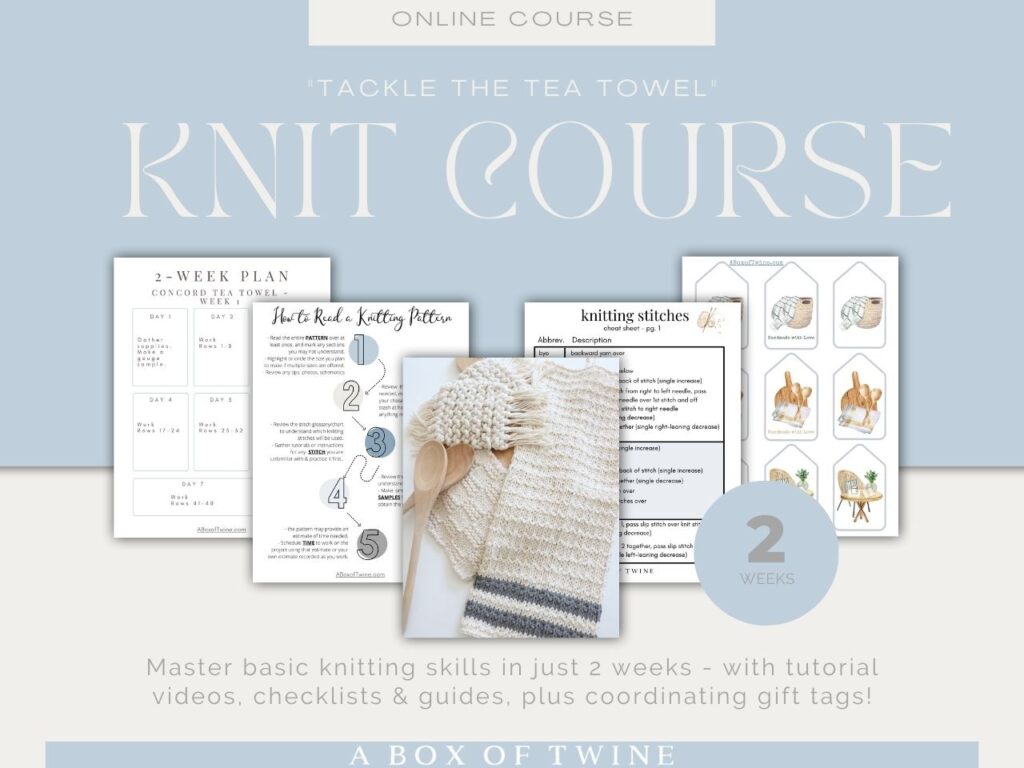
Do you wish you could really learn how to knit beautiful things?
Click here to master basic knitting skills in under 2 weeks – even if you are a complete beginner, intimidated by mistakes, and lack design coordination!
KNITTING COURSE —>
——————————————————————————————————————–
Cable Scarf Knitting Pattern
How do you knit a scarf with a cable?
The chunky knit cable scarf pattern will be knit straight in rows, yet you can use either straight or circular knitting needles. There will be a pattern of 10 rows that you will simply repeat 18 times to complete the scarf. Expect each set of 10 rows to take you about 30 minutes to knit.
Gauge is not too critical, since your scarf can vary in size.
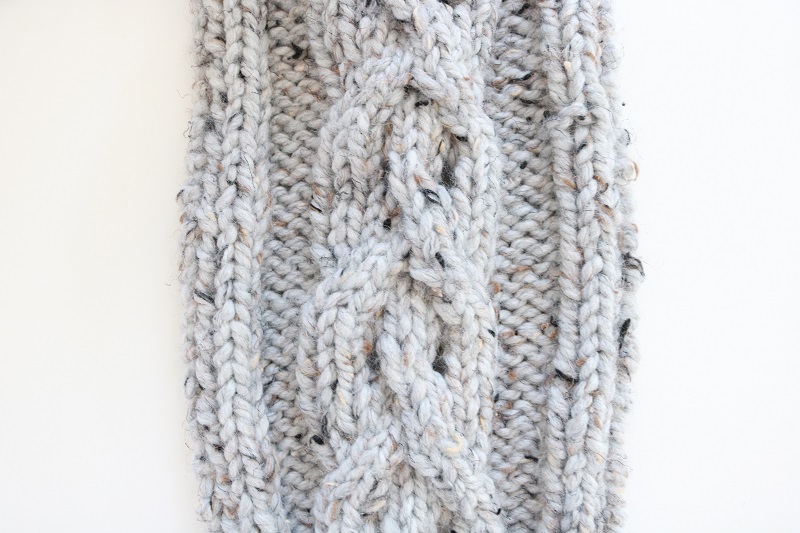
**IMPORTANT – You will notice that your scarf may ‘curl’ a little, as opposed to lay flat, since the knit stitches are wider than the purls. That is expected and part of the snuggly design of this scarf. Feel free to block the scarf when you are finished if you want it to lay flatter.
Beginning with the Size 13 knitting needles, cast on 24 stitches with your SUPER BULKY YARN.
Row 1 (RS): P2, k2, p4, k8, p4, k2, p2.
Row 2 (and every even row): K2, p2, k4, p8, k4, p2, k2.
(Row 3 is a cable row – the cable stitches begin there. The YO stitch will provide a small ‘hole’:)
Row 3: P2, k2, p4, k2, yo, slip next 2 sts on CN in front, k2tog from left-hand needle, k2tog from CN, yo, k2, p4, k2, p2.
Row 5: P2, k2, p4, k8, p4, k2, p2.
(Rows 7 and 9 also contain cable stitches:)
Row 7: P2, k2, p4, C3F, k2, C3B, p4, k2, p2.
Row 9: P2, k2, p4, k1, C3F, C3B, k1, p4, k2, p2.
Row 10: Repeat Row 2.
Rows 11-180: Repeat Rows 1-10 until you reach 54” or any length you desire (shorter or longer).
Bind off.
Weave in loose ends.
If you would like detailed photos of some of the stitches in Rows 3 and 7 (cable stitches), grab a pdf file of this cable scarf knitting pattern from my ETSY SHOP.
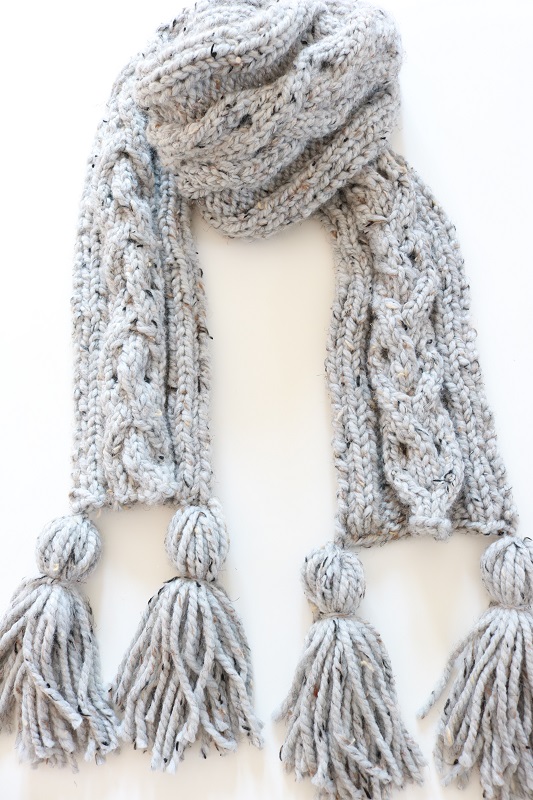
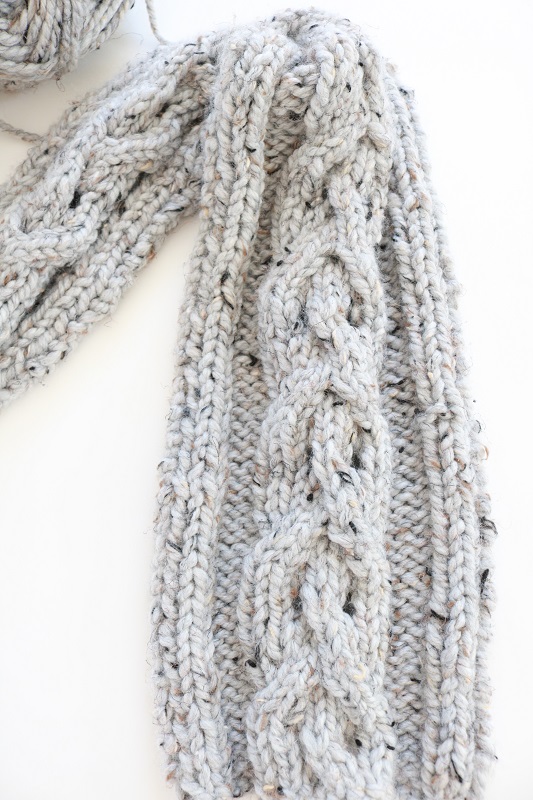
Finished Size
* The scarf will measure approximately 7” wide and 54” long, without the tassels. The tassels measure approximately 8” long.
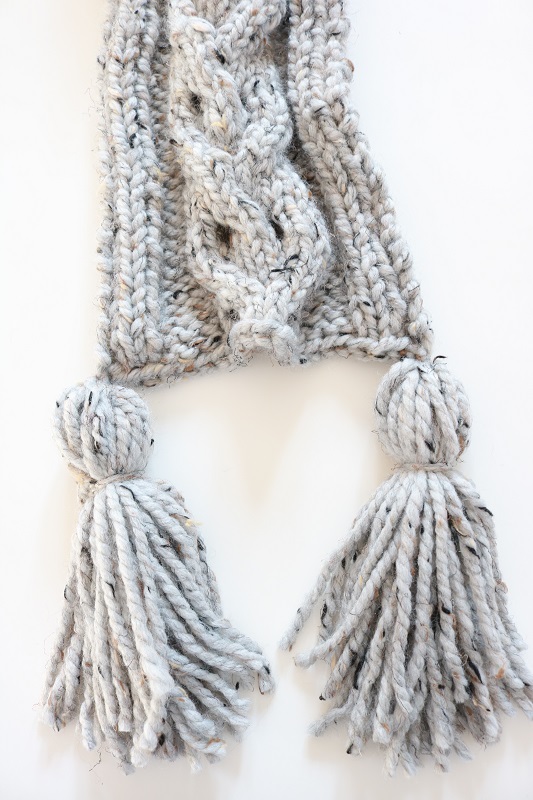
Add Tassels to the ends of Chunky Knitted Scarf
Now that you have finished your chunky yarn scarf it is time to embellish it with some modern tassels!
This step is optional, but it adds a stylish touch. Make 4 tassels to attach to each end corner of the cable scarf. You will be adding two to the cast-on edge, as well as to the finished edge.
How to Make One Tassel:
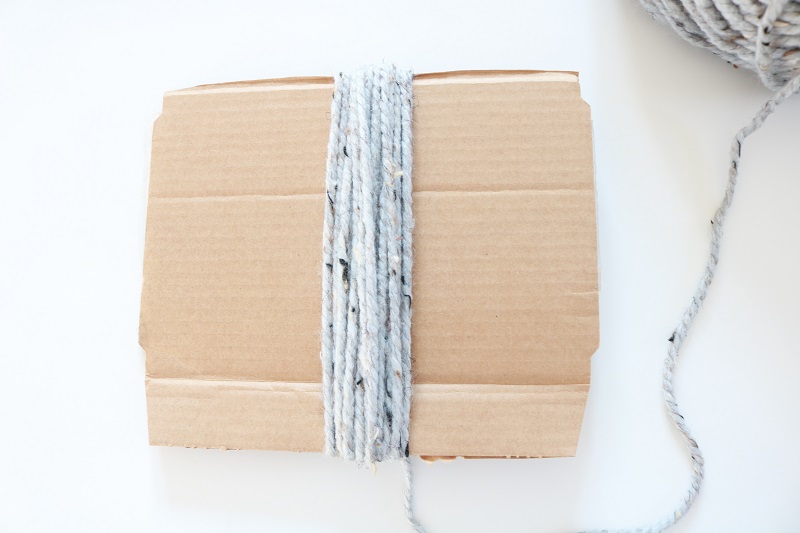
Begin by wrapping more of your yarn around an 8” wide piece of cardboard, 20 times.
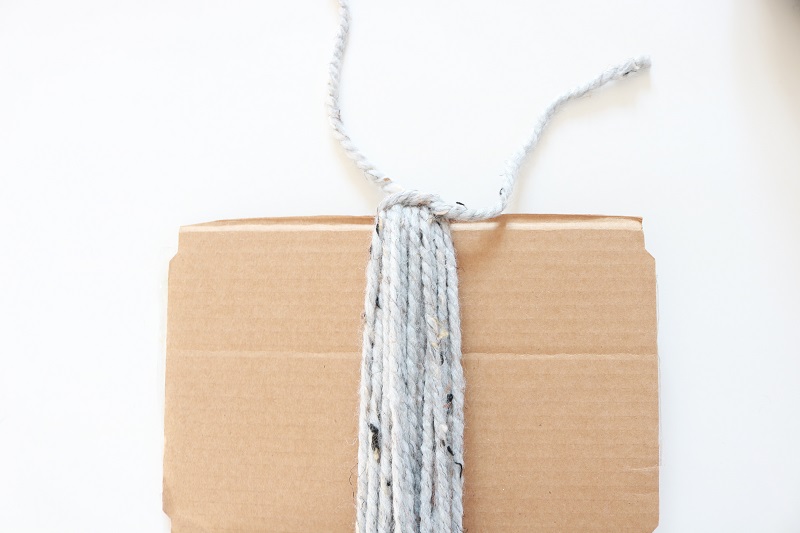
Tie the top of the wrapped yarn together with a 16” piece of yarn, then cut the bottom yarn from the cardboard.
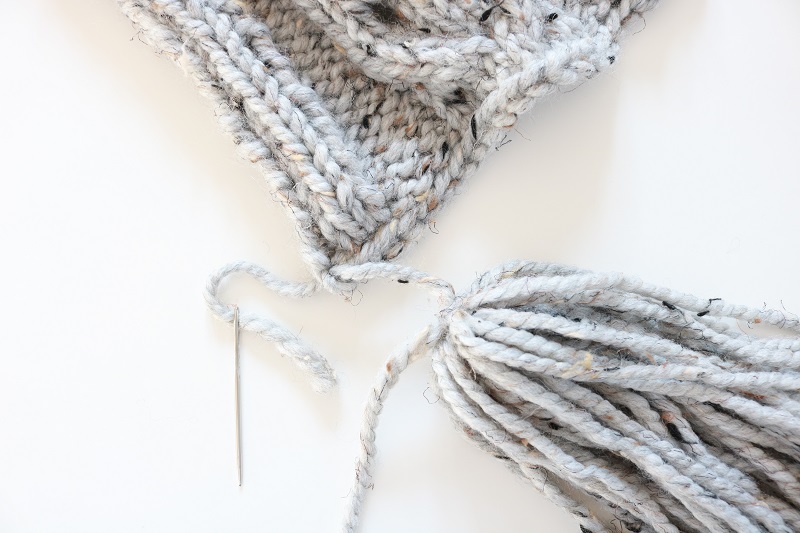
Using a tapestry needle, attach the tassel to one corner end of the scarf, threading the yarn from front to back. Tie a double knot to attach tassel to corner.
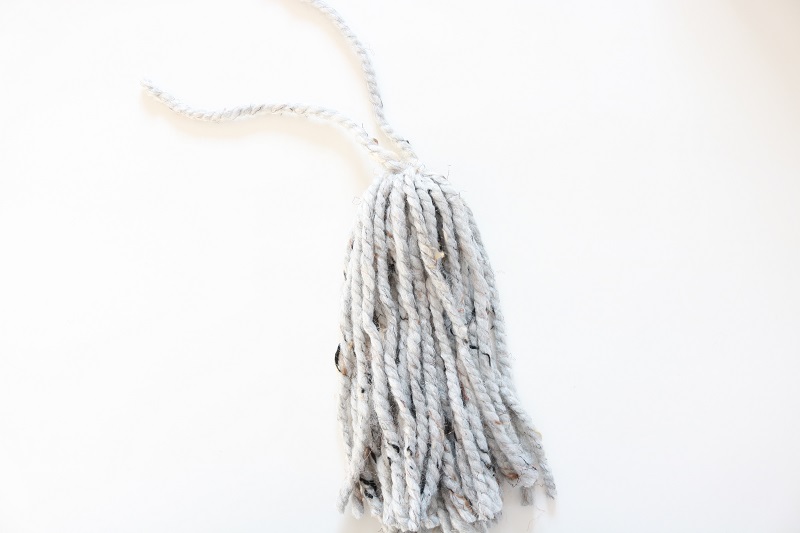
Cut another 16” piece of yarn and use it to tie the ‘head’ of the tassel together.
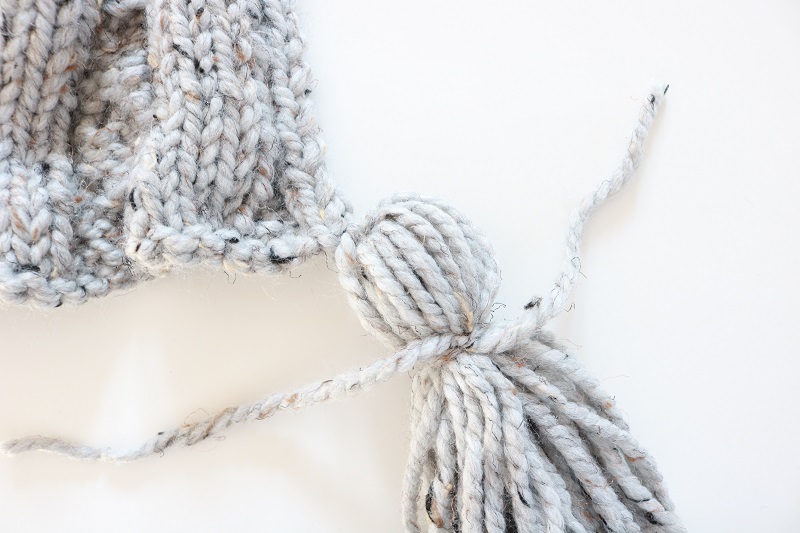
Lastly, trim the tassel ends to even them out.
Repeat the above steps to make 4 tassels and attach to each corner.
Wear your Chunky Knit Cable Scarf!
Once you’ve learned how to knit a cable scarf, now it is time to enjoy your finished cable scarf. Give it as a gift or add it to your wardrobe. Mention that you made it yourself, and watch requests come in from friends for this beautiful scarf!
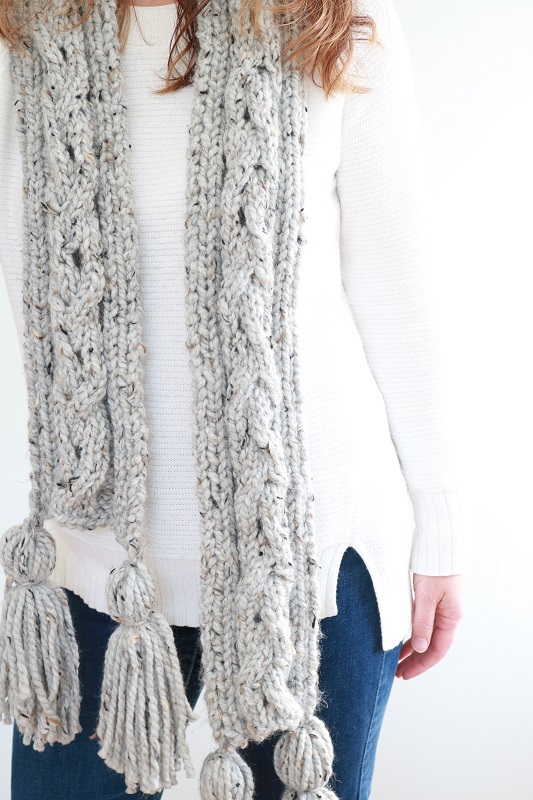
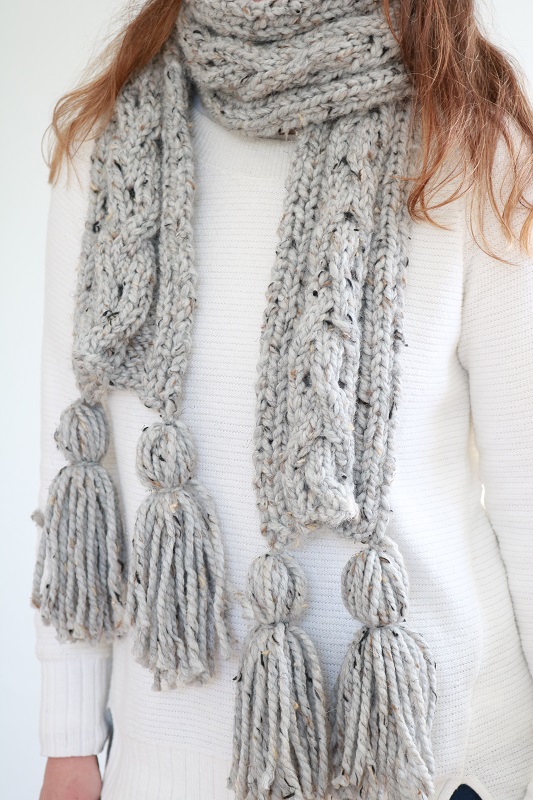
The long scarf can be worn several ways…
Wear it straight over your shoulders…(here I’m wearing the scarf with my KNITTED BEANIE HAT)

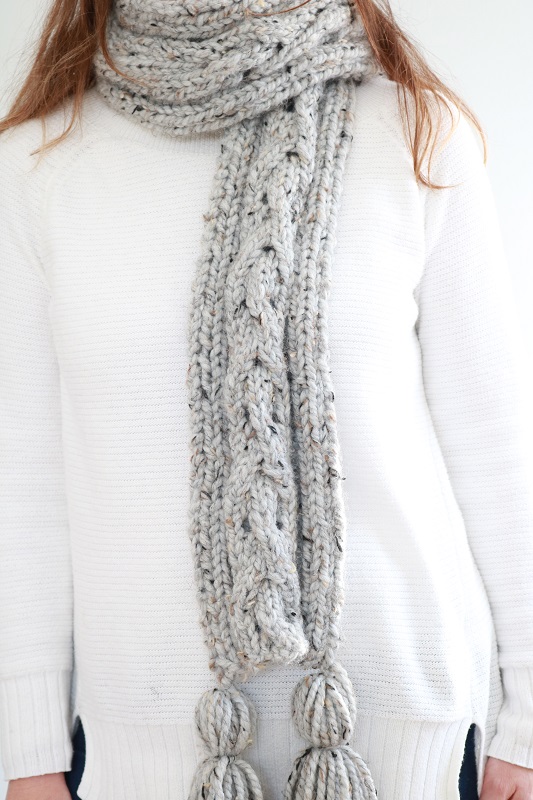
Another option is to wear the cable scarf wrapped once around your neck, with the scarf ends in front:
Lastly, you could toss one end of the knitted scarf behind you and one in front:
I do hope you enjoyed this cable scarf free knitting pattern. It may become one of your favorite scarf knitting patterns! If you love cable knitting, you may also enjoy these FREE knitting patterns:
===> Remember to PIN for later! <===