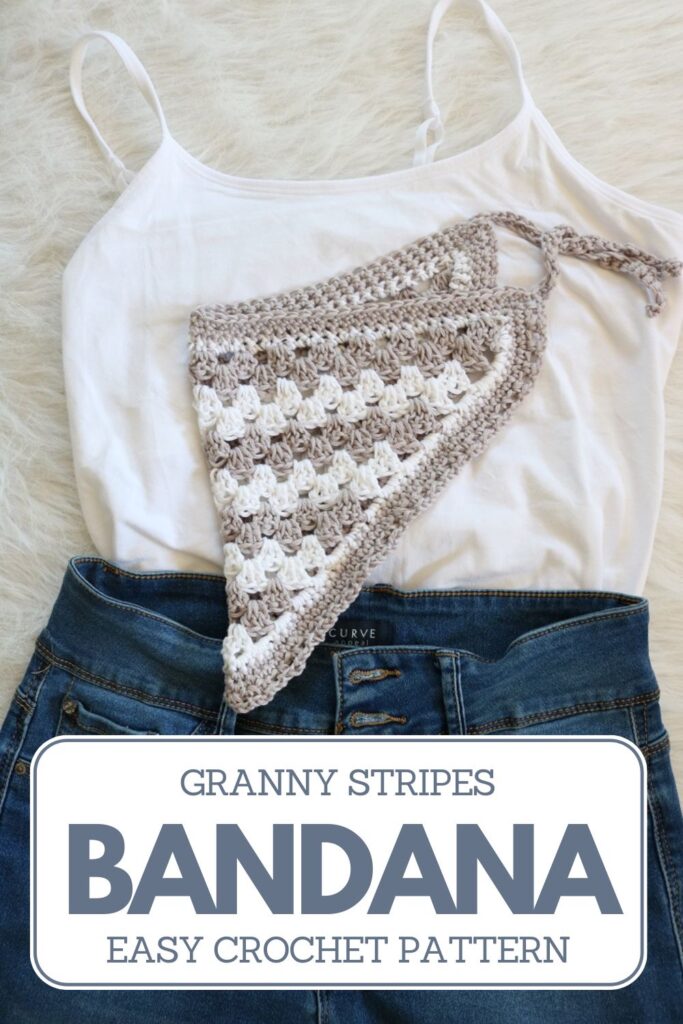
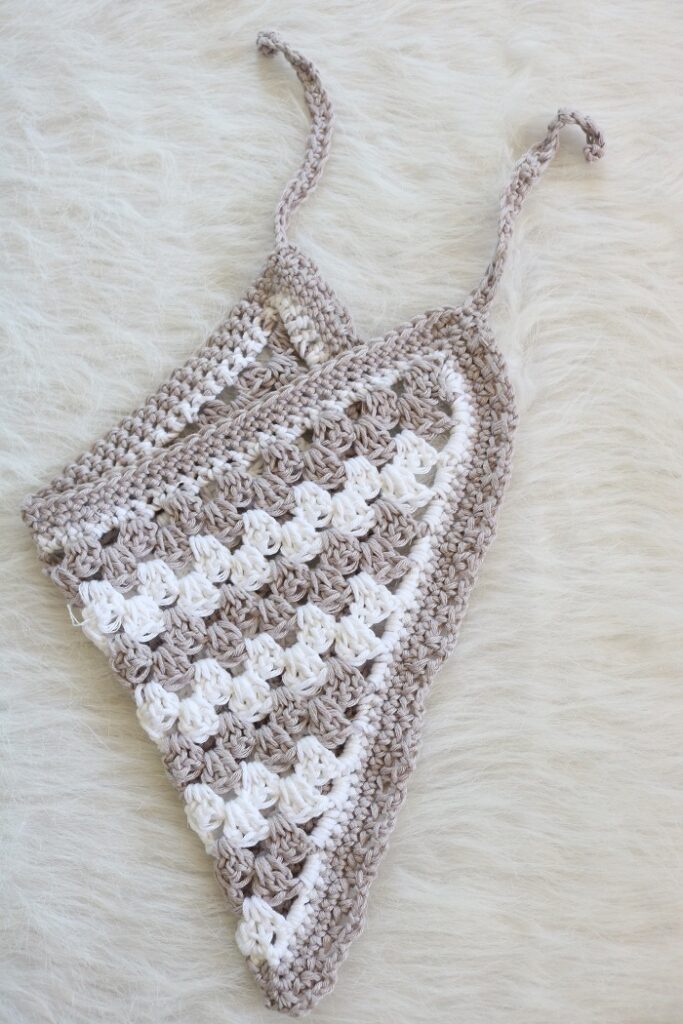
Granny Stripe Crochet Kerchief Pattern {FREE}
When you first learn how to work the popular crochet granny stitch pattern, you open up a world of possibilities! Crochet granny squares and granny stripe blankets are super popular and trendy these days, and no wonder! This stitch pattern has certainly stood the test of time and still delights. I enjoy crocheting the granny stitch, because it’s just a matter of working 3 dc stitches into the same stitch and repeating that to form dc groups (aka granny triangles). A granny stripe crochet head kerchief pattern is a fun project to begin learning this stitch, because it works up quickly and you can experiment with changing yarn colors easily.
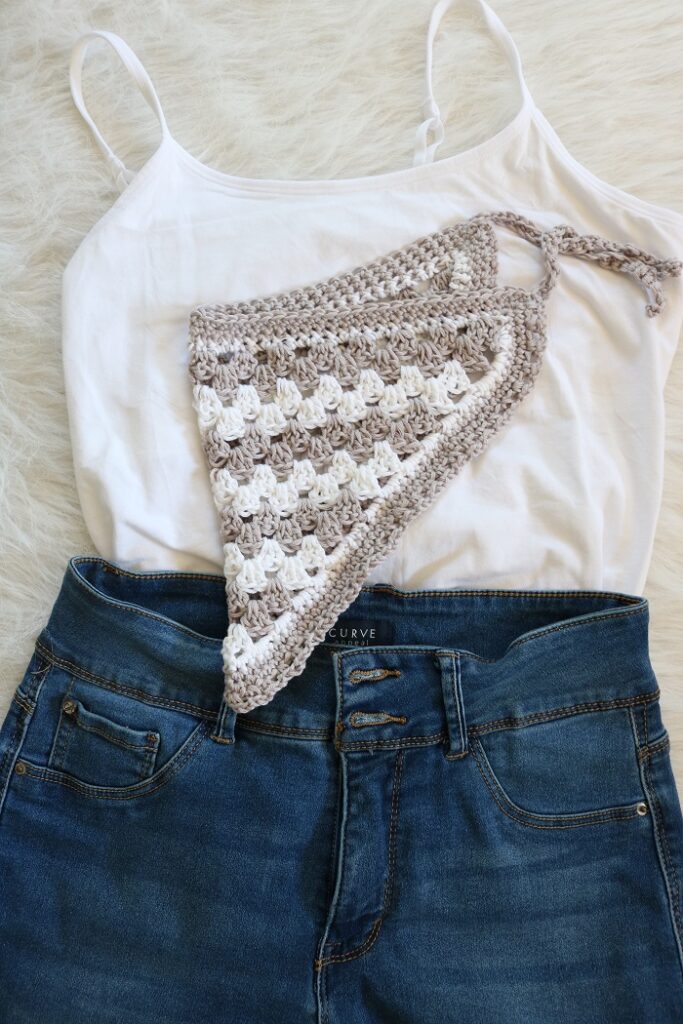
If you enjoy beautiful and free crochet bandana patterns, this easy pattern with granny stripes is a great project. It has vintage vibes, and would add flair to a spring or summer outfit. The kerchief is very beginner friendly and can make a great gift for fashionistas, too.
This post may contain affiliate links. That means if you click and buy, I may make a commission at no cost to you. Please see my full disclosure policy for more details.
I’m sharing a free and easy crochet kerchief pattern today, aka crochet bandana pattern. I’ve got all the details and step-by-step instructions for the kerchief in the free pattern below, so keep reading. It may just become one of your favorite crochet accessory patterns.
FREE CROCHET KERCHIEF PATTERN
The idea behind a crochet kerchief pattern is to create one triangle using BASIC CROCHET STITCHES, working in rows as well as finishing rounds. You will be crocheting the bandana in rows top down to form the main body of the bandana, then working in rounds to add the decorative edging and ties.
The following is a list of supplies you would need to create one crochet kerchief. Feel free to use similar cotton yarn (size 3, sport weight yarn) and the same size crochet hook to make your own. This is a great way to use up scrap yarn. The easy crochet bandana pattern shouldn’t take took long – less than 2 hours total – so it’s a terrific afternoon easy project!
Supplies
- Lion Brand Coboo Size 3 cotton (232 yds per skein)
- Colors:
- Color A: Silver – 55 yds
- Color B: White – 40 yds
- Size H/8 (5.0 mm) hook (or hook size to meet gauge)
- Scissors
- tapestry (yarn) needle
- Stitch Markers
Crochet Abbreviations
US Crochet terminology is used. (US crochet terms)
Ch – chain
dc – double crochet
sc – single crochet
rep – repeat
sl st – slip stitch
sm – stitch marker
st(s) – stitch(es)
tch – turning chain
RS – Right Side
WS – Wrong Side
PATTERN INFORMATION
The FREE simple kerchief crochet pattern for the crochet bandana is provided below, friendly for crochet beginners.
- but you can also get the ad-free, printable pdf pattern for the CROCHET KERCHIEF in the ETSY SHOP! The pdf has some helpful photos included.
How to Crochet a Kerchief
Are bandanas easy to crochet?
Yes! Especially with the repetitive granny stitch pattern using basic stitches and simple techniques!
Here I will walk you through each step of making a simple bandana, using your favorite colors. You will be using an easy granny stripe stitch pattern, decreasing every row, using mainly basic double crochet stitches to form the granny clusters. Feel free to design your own color stripe pattern with contrasting colors.
You will be crocheting the kerchief top down in decreasing rows to form a triangle. Then you will work in rounds to add edging & ties around kerchief.
Gauge: 4″ (10cm) square = 15 sts by 8 rows (in granny stitch pattern repeat).
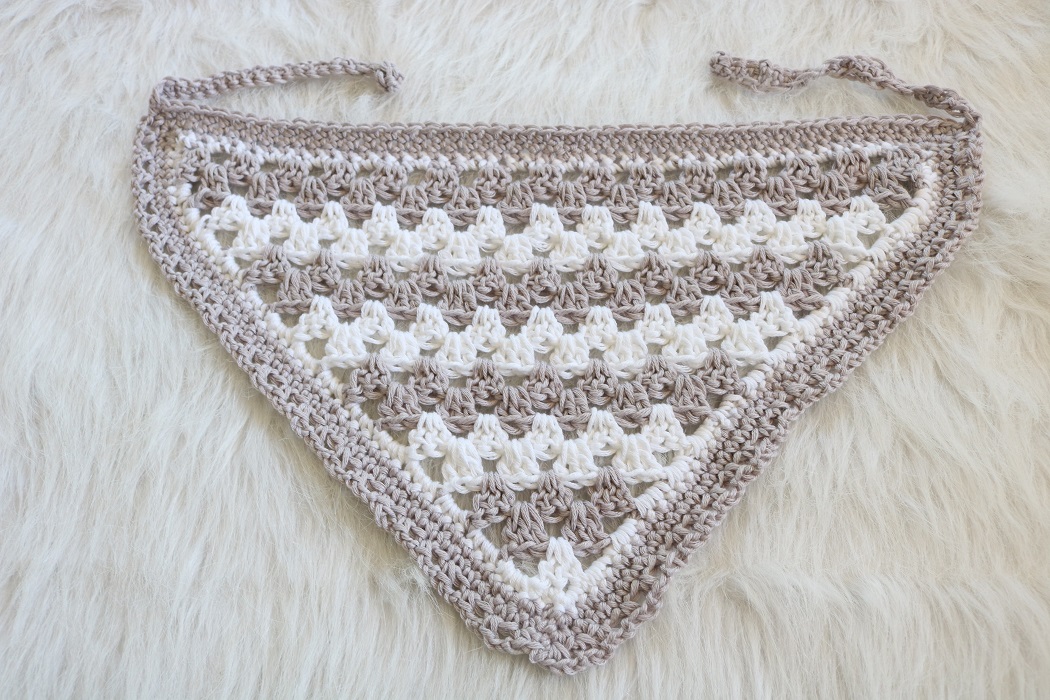
The resulting simple kerchief triangle will be 16″ width by 9″ length as written.
NOTE –
- Ch 1 does not count as a stitch.
- Ch 3 counts as a double crochet stitch.
- You can place a SM in top of tch of every row to keep track of first st.
- For rounds, you can place a SM in first st.
Kerchief Crochet Pattern
Using size H/8 crochet hook, ch 50 with color A.
You will be working from the top base row of the triangle to the bottom point. A groups of 3 dc stitches worked into one stitch forms a dc cluster (aka granny stitch).
Triangle:
Row 1 (base row): Dc in 6th ch from hook (5 sk ch count as 1 dc and 2 ch), 2 dc in same ch, *sk 2 ch, 3 dc in next ch; rep from * across until last 2 ch, sk next ch, dc in last ch. Turn. (47 sts – 15 dc groups and 1 dc st on each end)
Row 2 (decrease row): Ch 3 (counts as 1 dc), sk next 3 dc, *3 dc into next sp between dc groups; rep from * across until last 4 sts, sk next 3 dc, 1 dc into top of tch, changing to color B yarn at end of dc. Turn.
(44 sts – 14 dc groups and 1 dc st on each end)
Rows 3-15: Repeat Row 2, alternating yarn color changes on even-numbered rows only. (You will be decreasing by one dc group for each row, until one last dc group remains at bottom point of triangle.)
Do not fasten off. You will continue working with your current yarn color from Row 15 (color B). Make sure you have turned your work after Row 15.
Next you will be working in rounds that begin & end at bottom point of triangle.
Tips for next steps –
- Place SM in first st of each round.
- It is helpful to weave in loose yarn ends from color changes as you work the first round.
Plain Edging:
Round 1: Ch 1, sc in 1st st, 3 sc in next st at point, sc in next st, then:
- work 3 sc sts in each ch 3/dc row edge sp along one side, 3 sc in corner,
- work sc st in each ch of first base row, 3 sc in corner,
- work 3 sc sts in each ch 3/dc row edge sp along last side,
Join with sl st to first st in round.
Fasten off color B.
Join color A to 1st st in round.
Rounds 2-3: 3 sc in next st at point, work sc st in each st of previous round, working 3 sc sts into other two corners of the triangle.
Join with sl st to first st in round.
Decorative Edging:
Round 4: 3 sc sts in next st at point, *ch 2, sk next st, sc in next st; rep from * for an even number of sts until reach base row corner, ch sts until reach 8″, sc in 2nd ch from hook and in each ch back to base row corner (one tie made), sc in each st across base row, ch sts until reach 8″, sc in 2nd ch from hook and in each ch back to base row corner (one tie made), rep from * again for an even number of sts until reach end of round.
Join with sl st to first st in round.
Fasten off.
Finishing/Blocking Crochet Bandana
Determine which side you would like for the Right Side (RS).
Weave in remaining loose ends to WS.
Block the kerchief to 16″ width and 9″ length if desired.
Important Tips for Crocheting your Kerchief
Some things to keep in mind as you work the kerchief crochet pattern are:
- When crocheting the granny stripe rows, use whatever color combination you wish, alternating a new color every two rows. Use any color(s) for the edging.
- It’s a good idea to use a stitch marker (SM) to keep track of the first st in each row (top of the turning chain) and in each round.
- Try to weave in the ends as you go when working the single crochet rounds around the entire kerchief.
- It may help to block the kerchief to its’ final size before wearing, but it is not necessary.
Finished Size
The finished item measures approximately 16″ width by 9” length, which should fit a teen or woman’s head size.
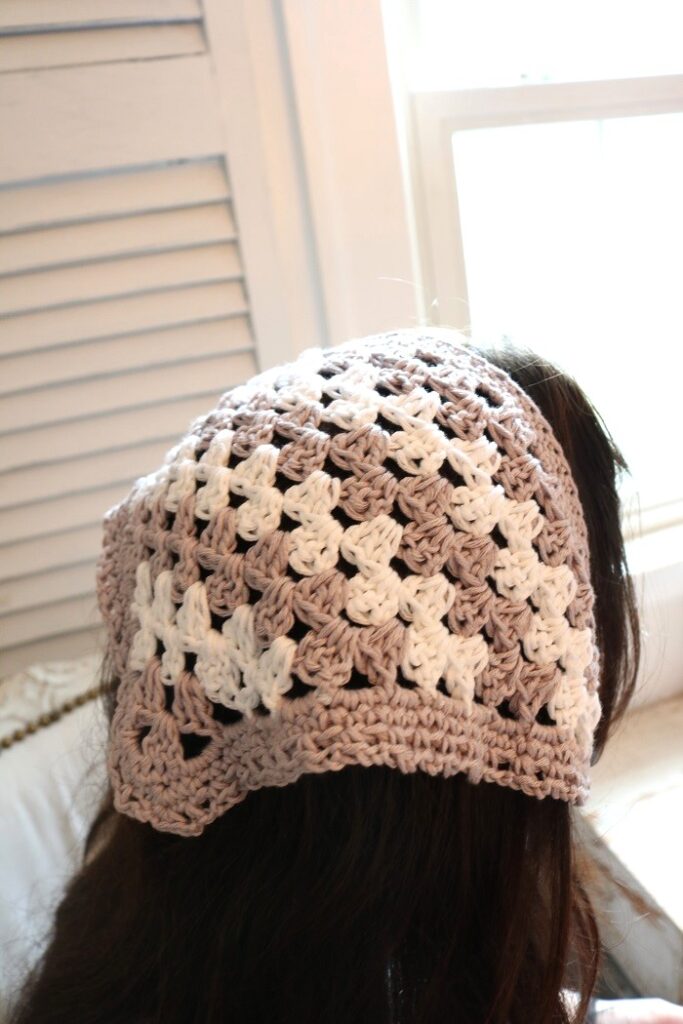
Summer Crochet Kerchief
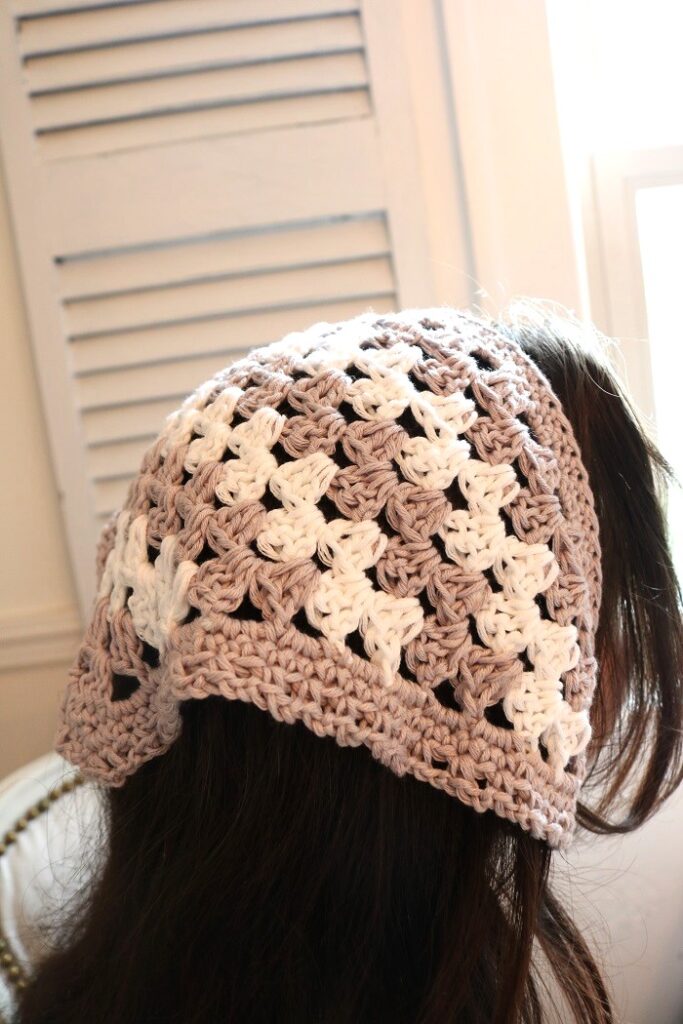
The bandana style crochet kerchief makes a great accessory for your hair. Just tie the bandana scarf at the back of your neck for a snug fit. Feel free to customize your kerchief to your personal style by using different colors in your granny stripe rows. The stylish granny stitch design of this bandana is on trend – you’re bound to get compliments from making this beautiful pattern. Isn’t it amazing what you can crochet with simple patterns?
The kerchief will compliment any hair style, and will offer a pretty embellishment for your head. Wear it over long hair braided or curled, or tie it under a ponytail. Place the kerchief near your forehead, or push it back near the top of your crown. So many options!
Don’t forget that this crochet kerchief pattern is also available in an ad-free digital pdf pattern. The pdf has a few helpful photos and the exact color stripe pattern I used. Grab the CROCHET KERCHIEF PATTERN in my Etsy shop.
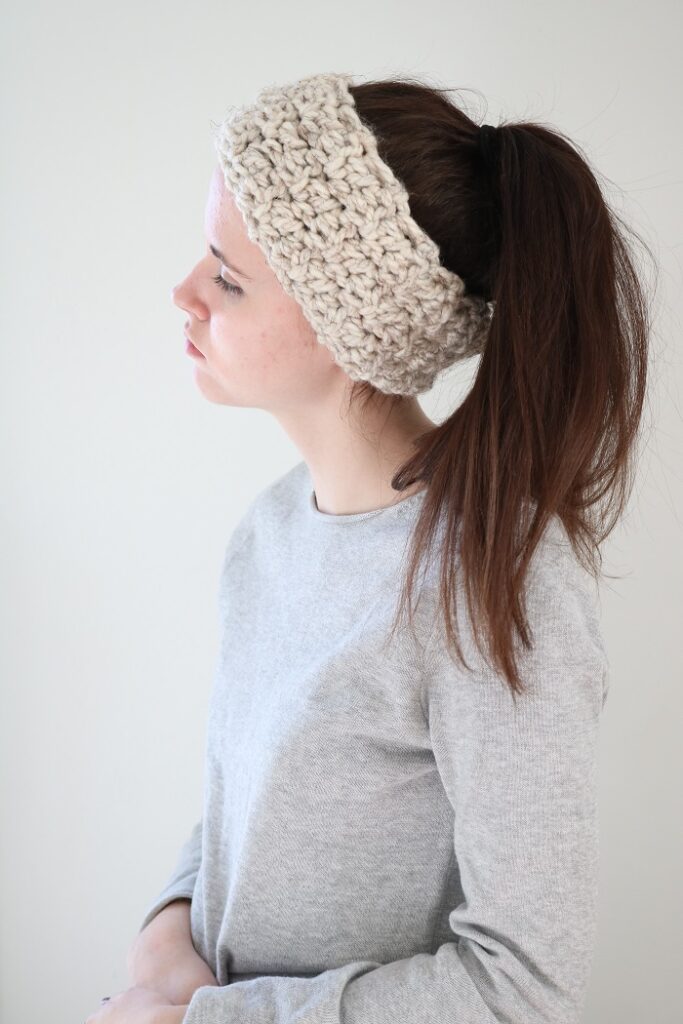
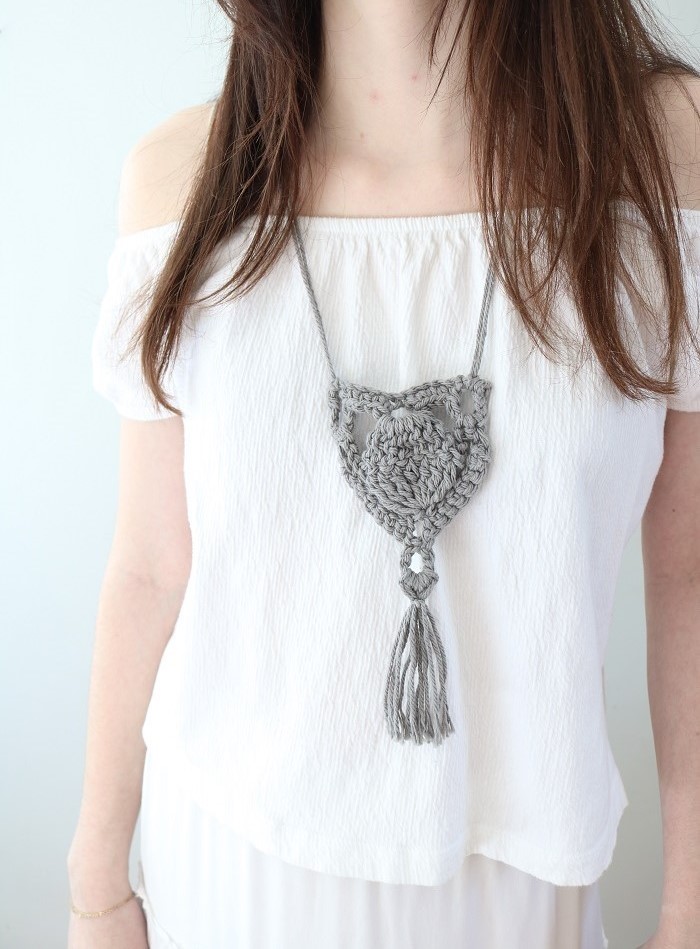
Love crochet accessory patterns and creative projects? Check out these other favorites…
Did you enjoy this free crochet pattern? The kerchief would also make a lovely gift for a stylish friend during the spring and summer months. Plus it’s one of the easiest accessories you can crochet, especially if you are a beginner.
Check out all of my FREE CROCHET PATTERNS HERE. Happy crocheting!
===> Remember to PIN for later! <===