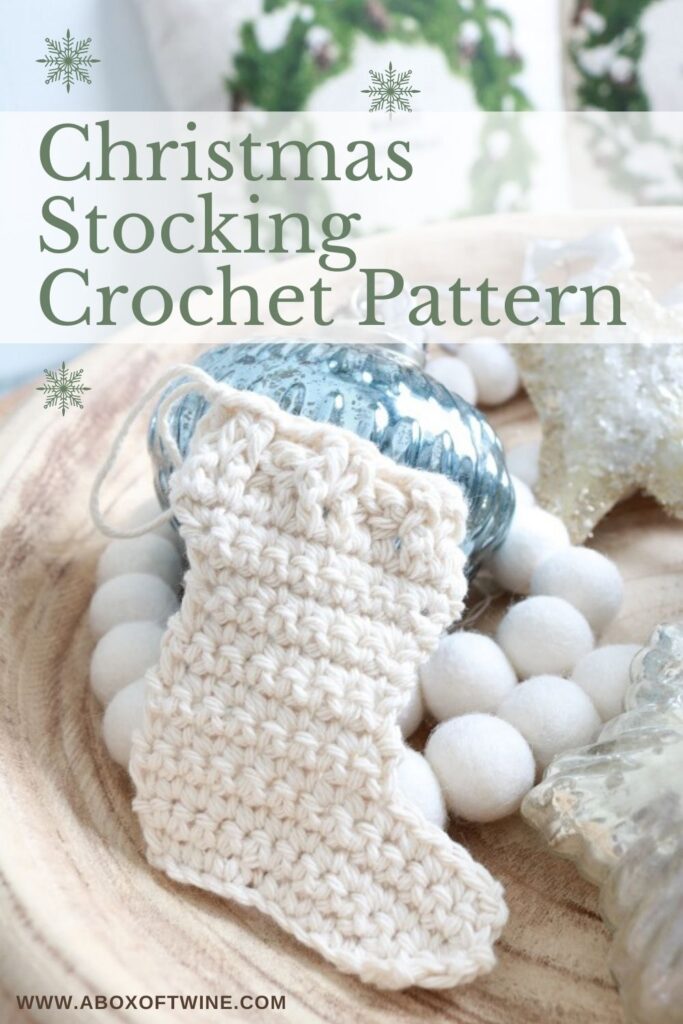
Crochet Pattern – Christmas Stocking Ornament
Do you love FREE crochet Christmas stocking patterns? Are you looking for a flat crochet Christmas stocking ornament to make? These sweet stockings are a favorite craft for Christmas. Today I’m sharing a very SIMPLE free crochet pattern that uses just chain stitches (ch), single crochet stitches (sc), double crochet stitches (dc), FPDC, and BPDC stitches (US Terms). Beginners will love this free pattern with its’ EASY skill level! You can make one small stocking in a matter of minutes!
The festive Christmas stockings can be used for Christmas decorations such as ornaments or garlands.
You could also use the little Christmas stockings as gift toppers!
Are you wondering what to crochet for Christmas craft fair? This is a great pattern to use for holiday craft fairs – make a bunch of these miniature stockings in different colors to sell. Free Christmas stocking crochet patterns are perfect for this idea.
There are so many ways to display and customize these sweet and small stocking ornaments. I hope you have fun with them! Keep reading for the free pattern for how to make a crochet Christmas stocking ornament…
This post may contain affiliate links. That means if you click and buy, I may make a commission at no cost to you. Please see my full disclosure policy for more details.
The idea behind a flat crochet Christmas stocking pattern is to design a stocking shape with BASIC CROCHET STITCHES, working from the bottom up.
The following is a list of supplies you would need to create one small stocking just like mine. Feel free to use similar yarn (size 4, worsted weight yarn) and similar size crochet hook to make your own. This is a great way to use up scrap yarn. You can make many of these crochet Christmas stocking ornaments in no time at all!
Supplies
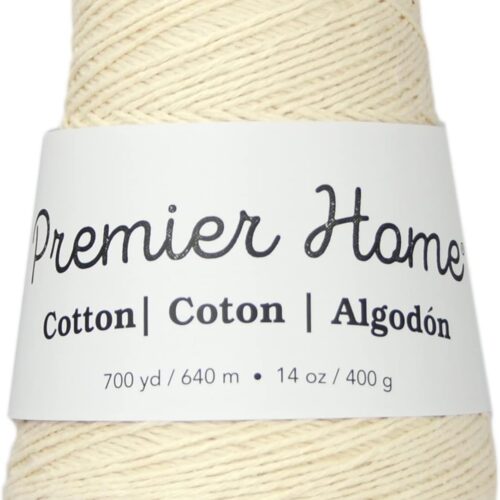
- Minimal yards of Medium Weight (4) Cotton yarn to make one stocking (I used Premier Home Cotton in color Cream). A skein should make plenty of these.
- Feel free to use a complimentary colored yarn (perhaps red or green) for the cuff or leg/boot parts of the stocking . You could also alternate the cream yarn with another color for a striped pattern on the leg/boot sections.
- Crochet Hook, size G (4.25mm)
- scissors

Mini Christmas Stocking Crochet Pattern
Crochet Abbreviations
US Crochet terminology is used.
Ch – chain
st – stitch (sts – stitches)
SC – single crochet
DC – double crochet
FPDC – Front Post DC (Double Crochet through the ‘post’ as follows: YO, insert hook from front to back to front around post of designated stitch and draw up loop, then [YO and draw through 2 loops] twice)
BPDC – Back Post DC (Double Crochet through the ‘post’ as follows : YO, insert hook from back to front to back around post of designated stitch and draw up loop, then [YO and draw through 2 loops] twice)
Merry Minis
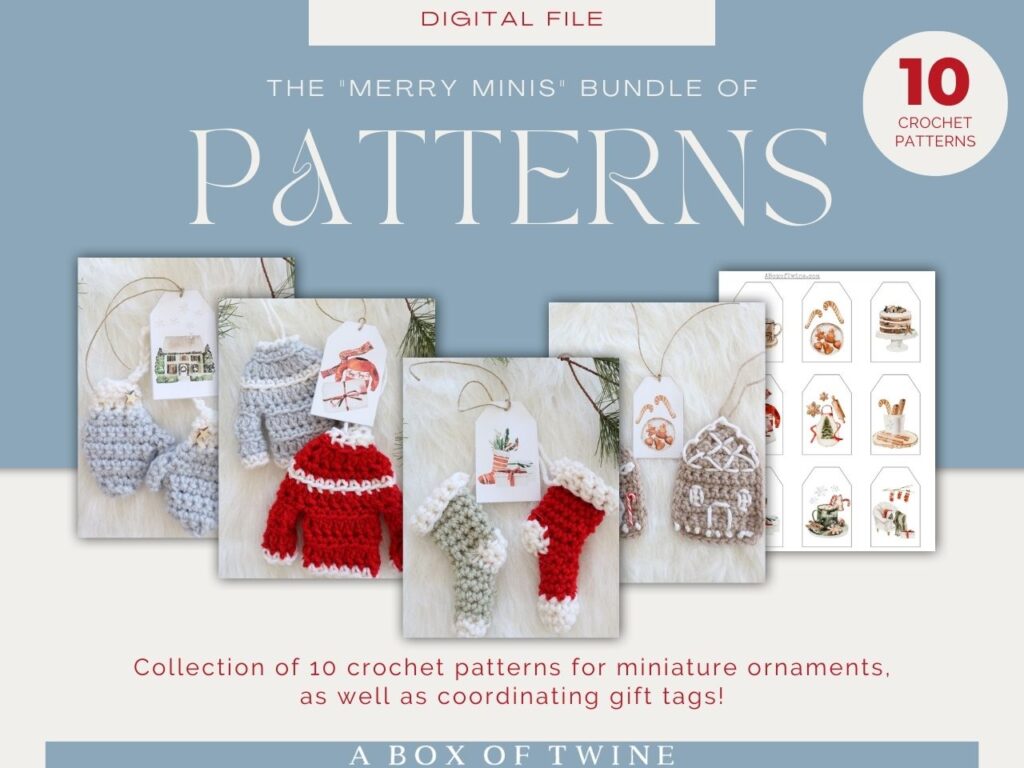
Before we begin, I wanted to make you aware of another crochet pattern bundle with 10 ornaments for the holiday season. Click on the link below to learn all about making miniature stockings, sweaters, mittens, hats, gingerbread houses, gifts, trees, wreaths as ornaments! You will love the ease and simplicity of these Merry Minis…
——————————————————————————————————————–
Looking for quick Christmas crochet projects?
Click HERE to crochet 10 mini ornaments – quickly & easily!
MERRY MINIS BUNDLE —>
——————————————————————————————————————–
Small Flat Stocking Crochet Pattern
NOTES: You will be working this stocking flat from the bottom up, starting at the stocking boot and ending at the stocking cuff.
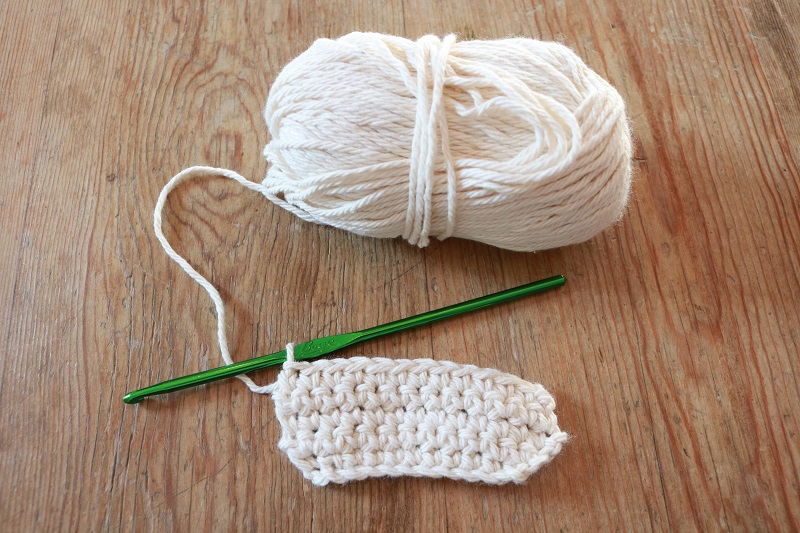
Boot of stocking
Chain 12 sts.
Row 1: 1 SC in 2nd ch from hook and in each chain to end. Turn. (you’ll have 11 sts)
Row 2: Ch 1, 2 SC in first st, SC across until last st, 2 SC in last st. Turn. (13 sts)
Row 3: Ch 1, SC across. Turn. (13 sts)
Row 4: Repeat Row 3.
Row 5: Ch 1, Skip first st, SC across. Turn. (12 sts)
Your boot should look something like this:
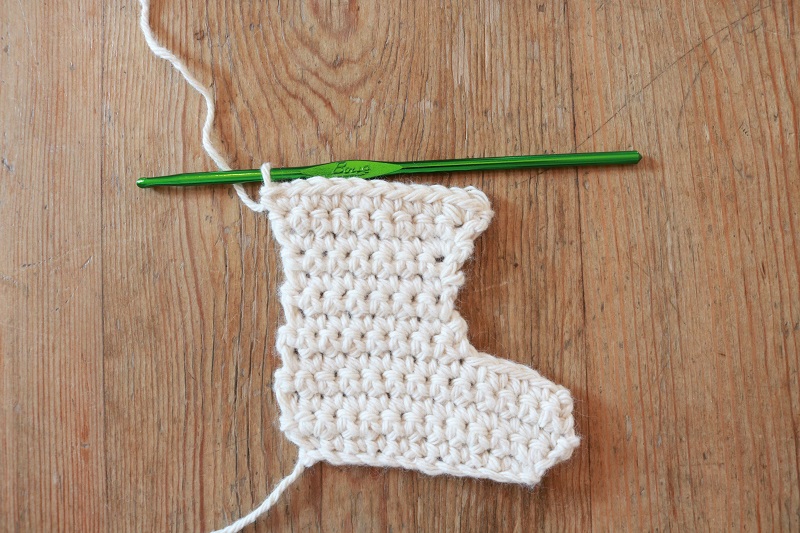
Leg of stocking
Row 6: Ch 1, SC for 8 sts only. Turn. (8 sts)
Row 7: Ch 1, Skip first st, SC across. Turn. (7 sts)
Row 8: Ch 1, SC across. Turn. (7 sts)
Rows 9-10: Repeat Row 8 twice.
Row 11: Ch 1, 2 SC in first st, SC across until last st, 2 SC in last st. Turn. (9 sts)
Row 12: Ch 1, SC across. Turn. (9 sts)
Row 13: Ch 1, 2 SC in first st, SC across until last st, 2 SC in last st. Turn. (11 sts)
Now your leg and boot should look like this after Row 13:
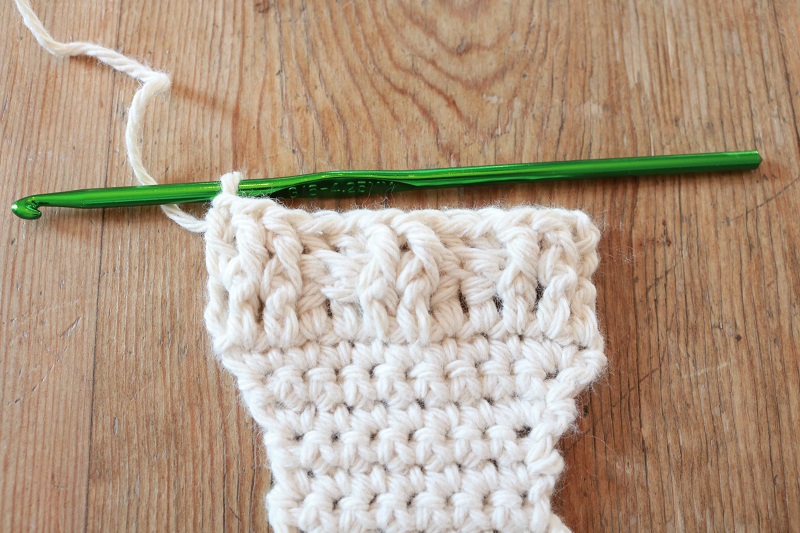
Cuff of stocking
The cuff may be a good section to customize in a different color – perhaps all red yarn? If so, simply join in new yarn to the next two rows.
Row 14: Ch 3 (counts as first DC), DC across. Turn. (12 sts)
Here’s a look at the beginning of your cuff after the row of DC’s:

Row 15: Ch 3 (counts as first DC) , FPDC around next 2 DC , * BPDC around next 2 DC, FPDC around next 2 DC; rep from * until last DC, end 1 DC in last st. (12 sts)
Your stocking should now look similar to this after Row 15:
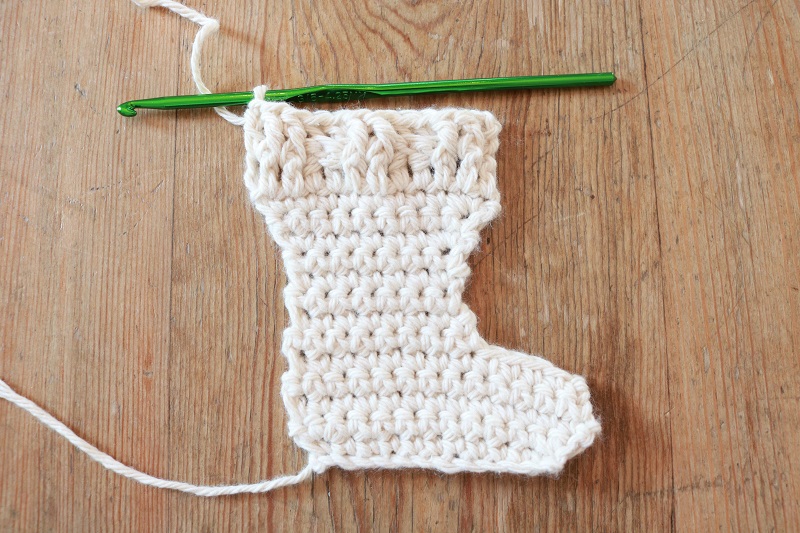
Close-up of the cuff:
Fasten off. As you fasten off the top corner of the stocking cuff, you could make a big loop to hang the stocking. Otherwise, you could loop some ribbon or twine through this corner for hanging.
Weave in ends.
Finished Size
The final stocking measures approximately 4″ tall by 3 1/2″ boot width.
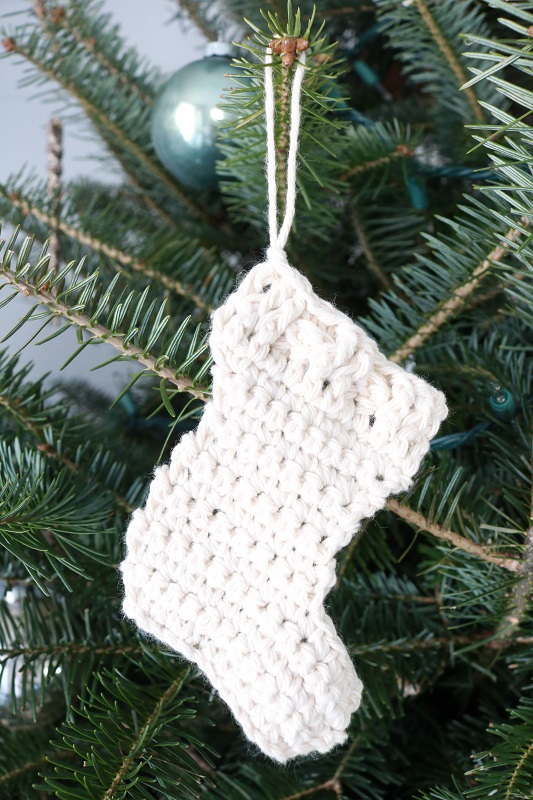
Crochet Christmas Ornaments
The miniature stockings make great crochet ornaments. Just loop some yarn through the top of the cuff, and hang it on your large Christmas tree. Feel free to embellish your ornaments with tiny wood stars, beads, or garlands. Make them unique and interesting.
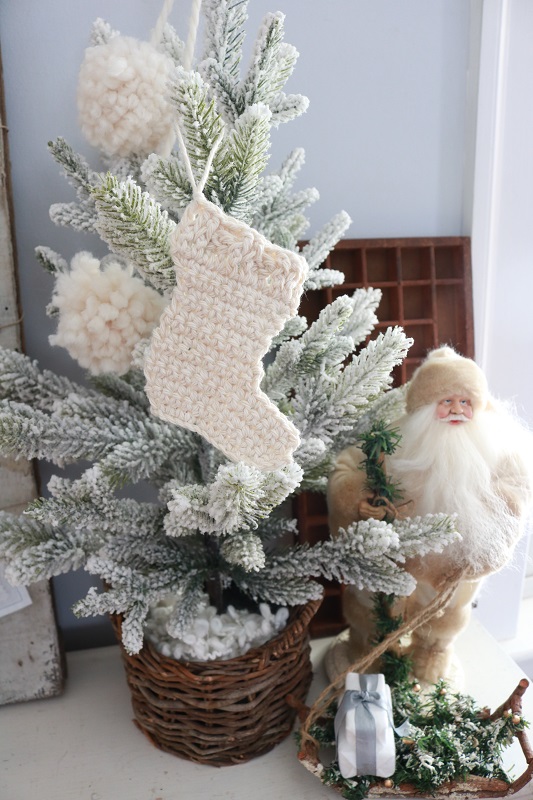
In the photo below, I hung the mini crochet stocking on a small faux tree near a vintage Santa. I always get a chuckle out of my Santa’s gaze below. He seems to have consumed too much Christmas punch!
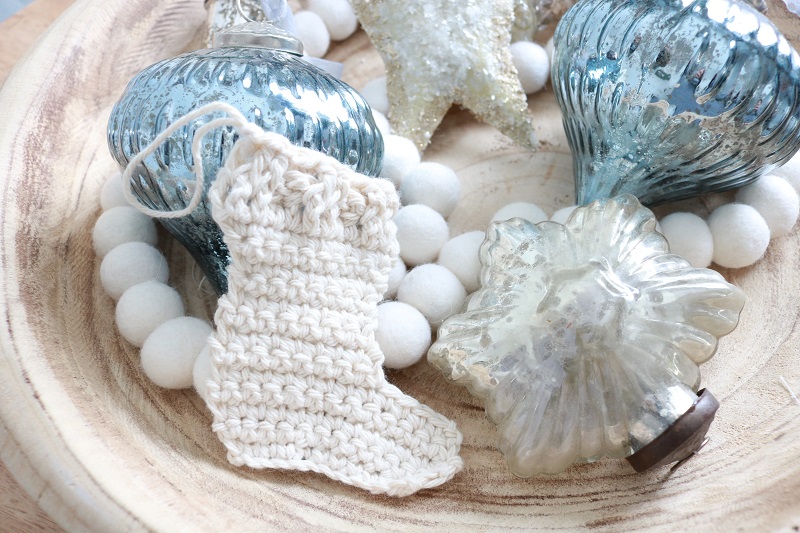
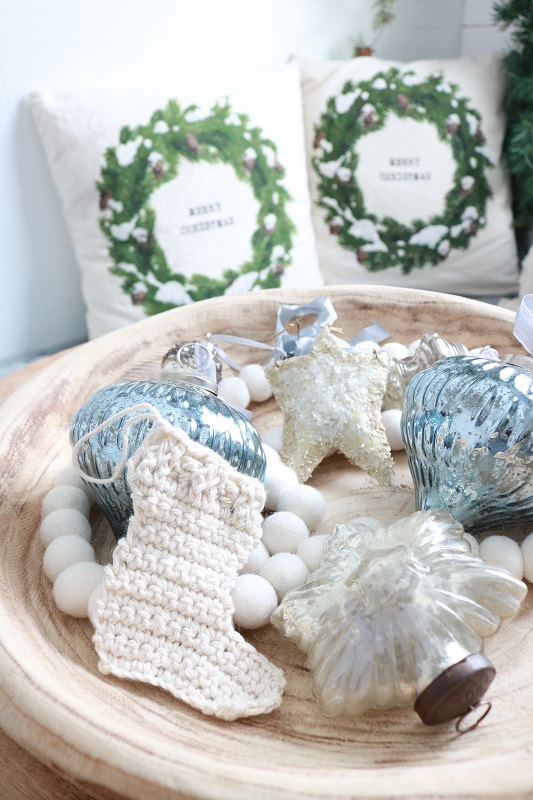
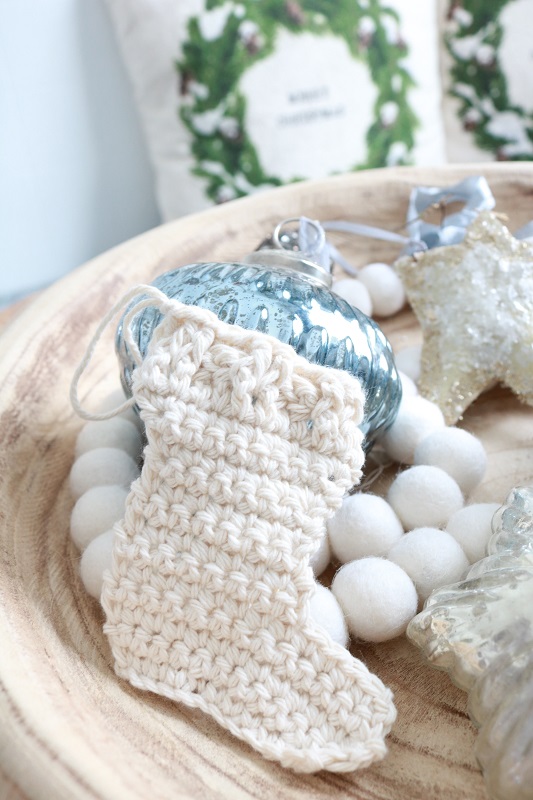
The texture of the crochet stocking would also look lovely layered in a bowl with shiny ornaments:
Crochet Christmas Stocking Garland
Make a bunch of these little Christmas stockings and string them together with one long piece of yarn to make a Christmas garland. They will spruce up your fireplace mantel during the Christmas season.
Just cut one long piece of yarn (about six feet), then thread it through the backs of the Christmas stockings. Space the stockings apart evenly, then hang your garland to add festive cheer!
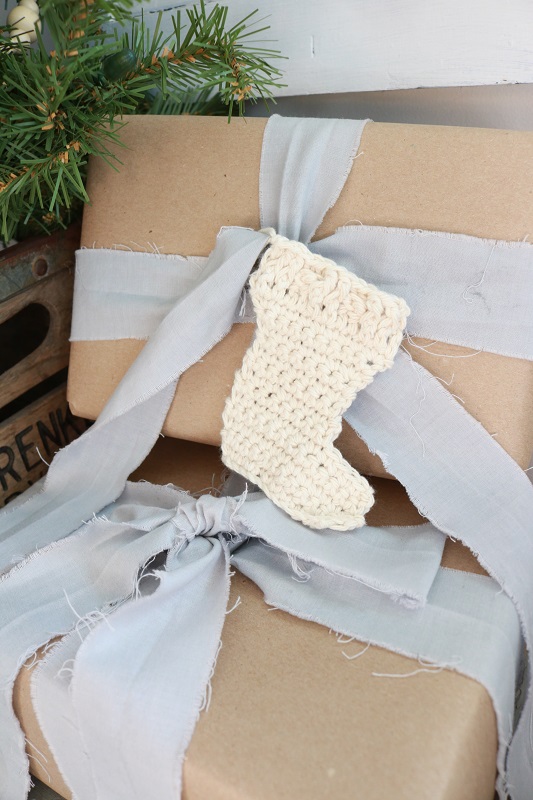
Crochet Christmas Stocking Gift Topper
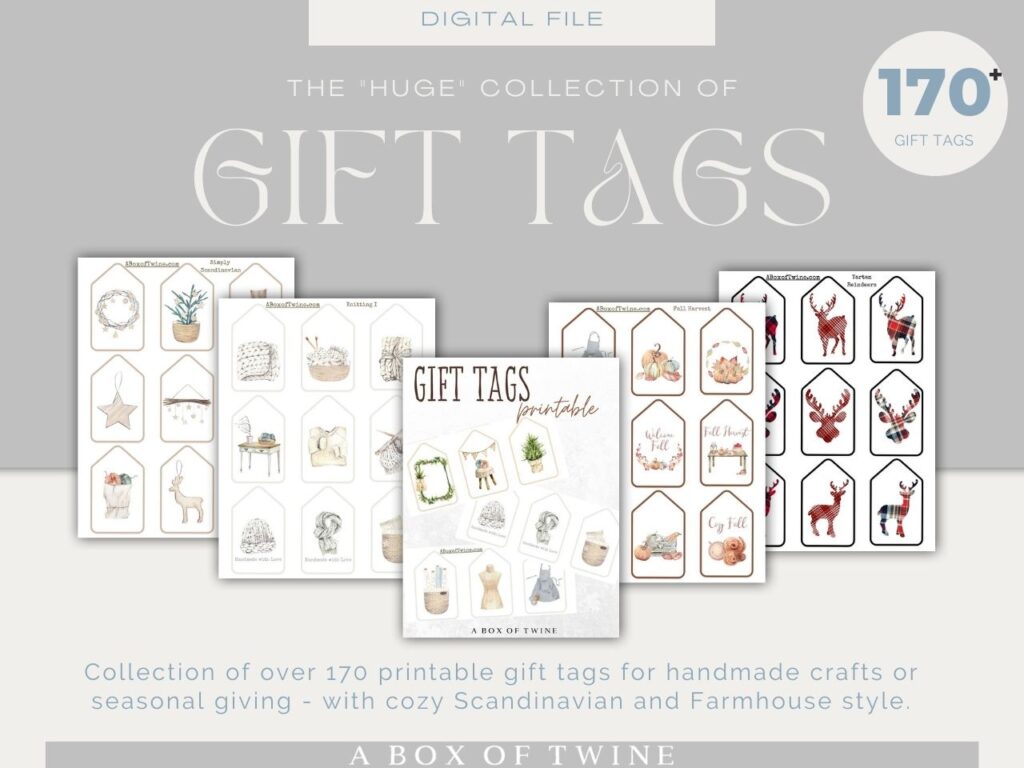
These sweet little stockings would also look perfect tied to the top of a gift. The recipient will enjoy both the gift and the extra touch of this ornament. Just slip twine or ribbon through the top of the stocking cuff before tying around the gift. Add pretty Christmas Gift Tags and you’re all set!
——————————————————————————————————————–
Making a gift?
Click HERE to top it with a unique gift tag – from a collection of 170+ tags designed with crafting in mind!
GIFT TAGS —>
——————————————————————————————————————–
I hope you find time to give this pattern a try before Christmas. Let me know if you do – I’d love to see them!
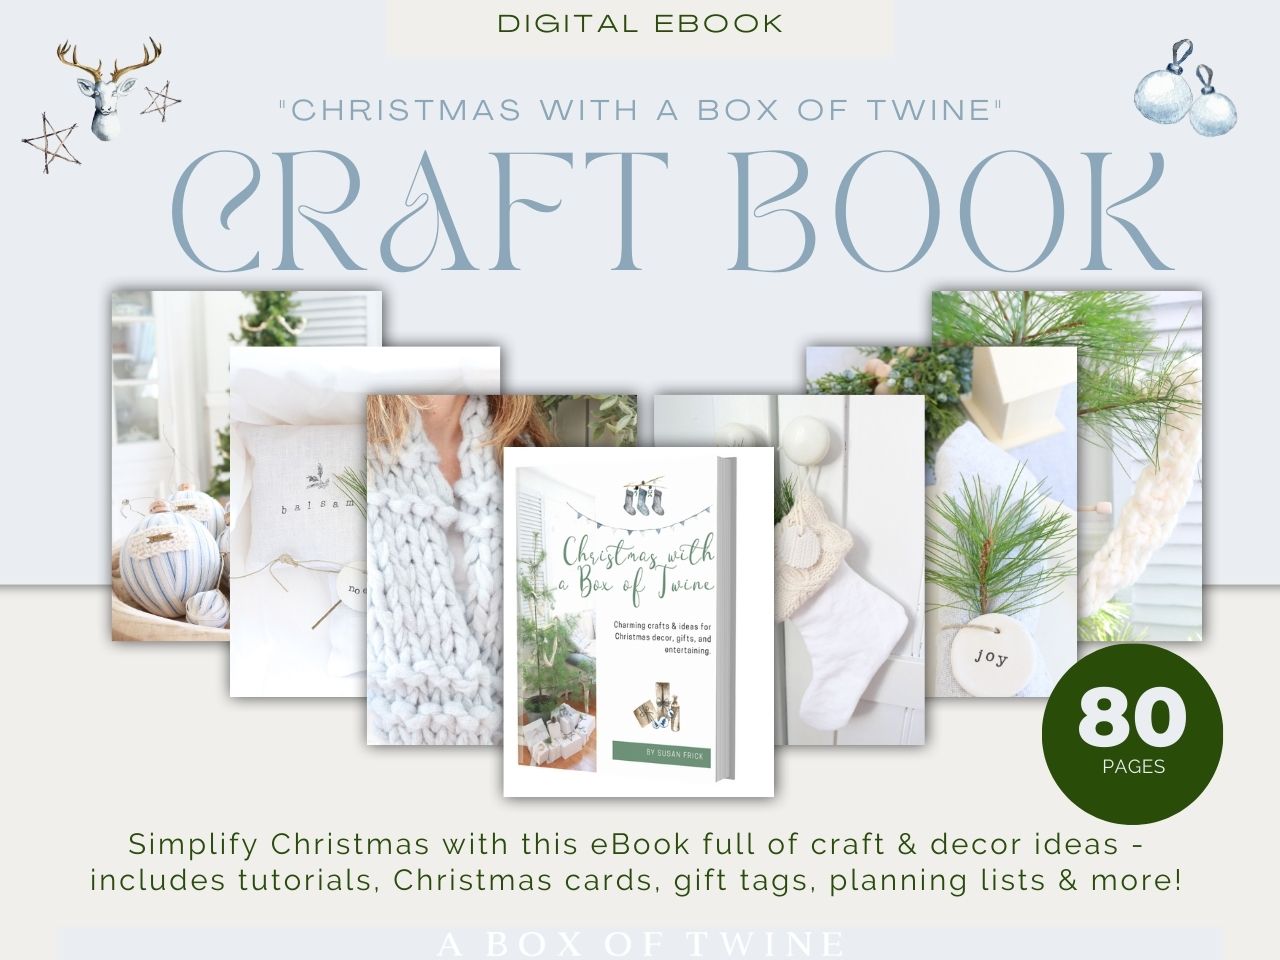
Speaking of the Christmas season, how about more ideas for holiday crafts? Check out this 80-page digital craft book below. Along with Christmas crafts, it includes decor ideas and tons of printables for Christmas cards, gift tags, lists, and wall art…
——————————————————————————————————————–
Interested in a Christmas craft collection eBook?
Click HERE to create a Peaceful Christmas this season – even if you think you lack time or money!
CHRISTMAS CRAFT EBOOK —>
——————————————————————————————————————–
Love crocheted Christmas patterns? Check out these other FREE crochet patterns…
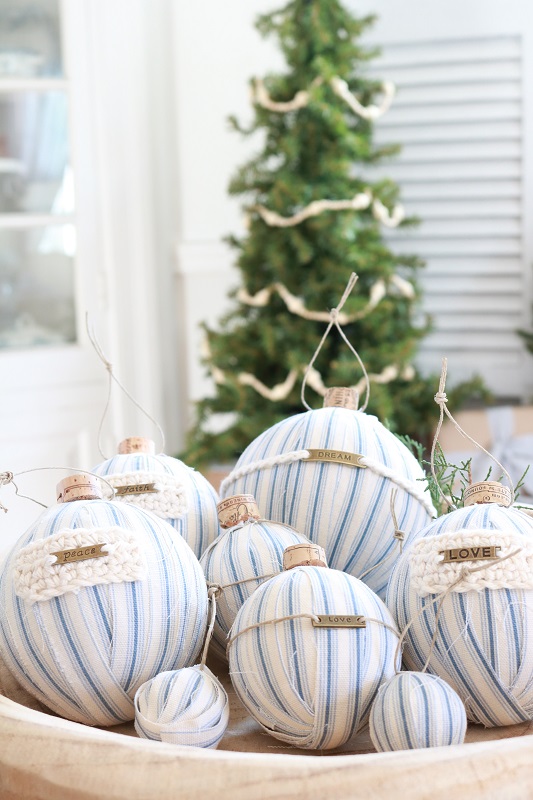
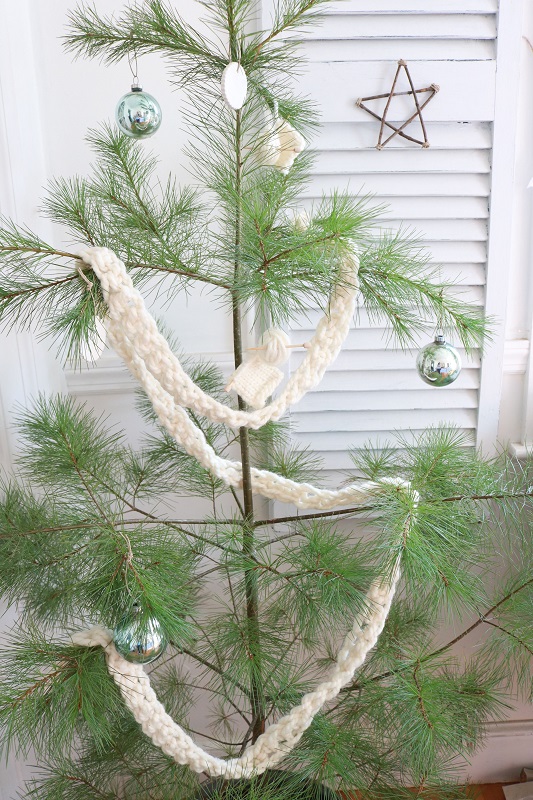
Learn how to add crochet labels to ticking striped fabric ornaments, and how to crochet a garland with super bulky yarn. Tis the season for getting out those crochet hooks and sharing your gift of creativity. These projects would also make lovely gifts to ‘wow’ your family and friends.
Visit my CHRISTMAS CATEGORY on the blog, filled with Christmas craft ideas!
===> Remember to PIN for later! <===


6 Comments
Julie Briones
What a great tutorial, and lovely photos! Meeting you by way of Create, Bake and Grow! We’d love to see you at Tuesday Turn About! We close at midnight tonight… Hope to see you there!
Susan
Thank you Julie!
Kerryanne
Susan, this crochet stocking ornament is so adorable. Thank you for sharing it at Create, bake, Grow & Gather this week. I’m delighted to be featuring your stocking ornament at tomorrow night’s party and pinning too.
Hugs,
Kerryanne
Susan
Oh thank you Kerryanne! What a treat to be featured again. Looking forward to seeing the inspiration at the link party.
Kate
Thanks for the pattern! I’m going to start on some tomorrow – have lots of ideas where and how to use them. 🙂
Susan
Terrific! Show me a picture when you’re done – I’d love to see!