How to Knit a Christmas Stocking {FREE Pattern}
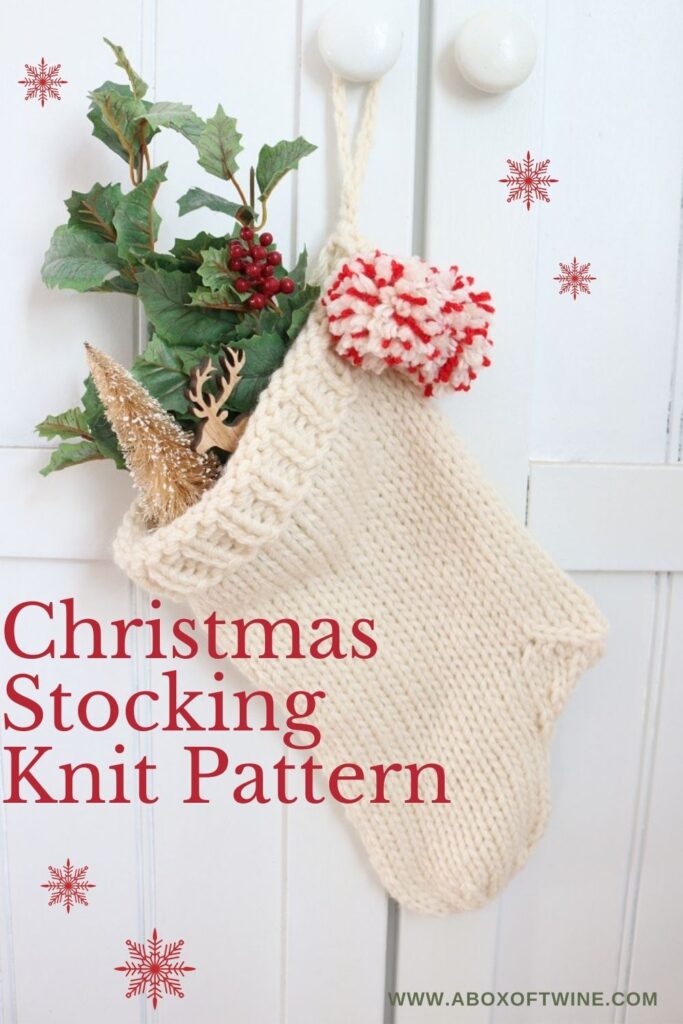
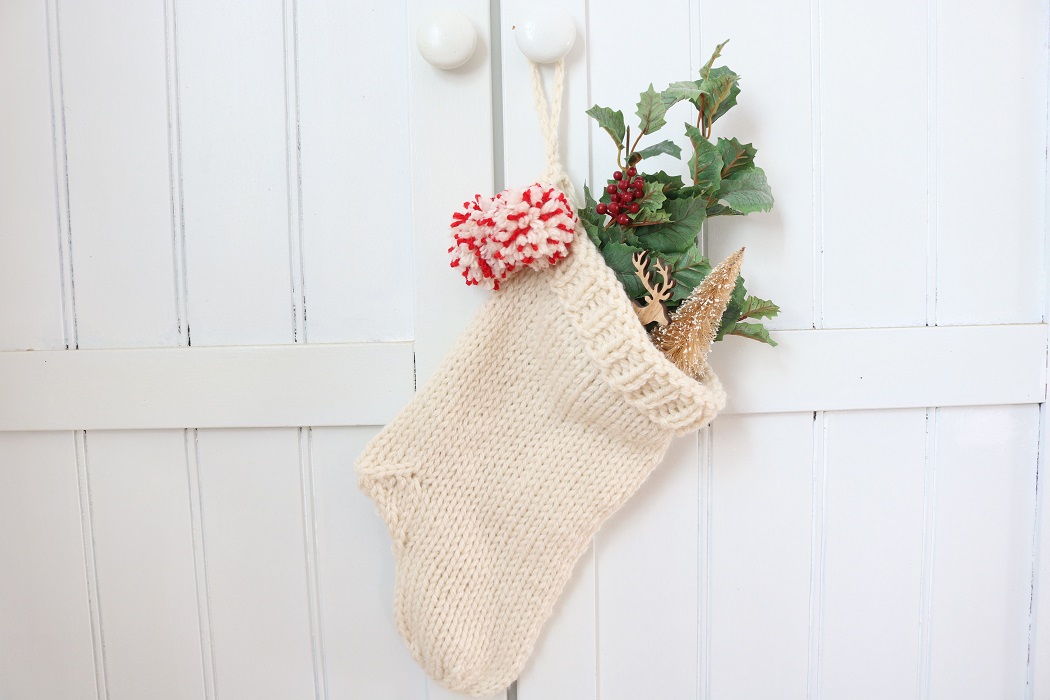
When the holiday season is upon us, we start dreaming of the excitement of Christmas morning. Holiday stockings are hung by the chimney with care with hopes of Father Christmas stopping by. Why not knit handmade stockings to make them extra special? Chunky knit Christmas stockings can be made easily with a simple stockinette stitch pattern.
If you’re looking for an easy knitting pattern with a few decrease stitches, you’ve come to the right place. My free knit Christmas stocking pattern has a simple stockinette stitch pattern that works up quickly with Bulky weight yarn. You will need to use circular knitting needles and the Magic Loop method to knit your own Christmas stocking in the round. Keep reading for the free knitting pattern for these handmade Christmas stockings…
This post may contain affiliate links. That means if you click and buy, I may make a commission at no cost to you. Please see my full disclosure policy for more details.
Knit Christmas Stocking
These Christmas stockings may be a good project for Intermediate knitters, but beginner knitters can also give them a try! You will work with the Magic Loop method on circular needles, at least 29″ length, with a rib stitch pattern for the cuff, then a simple repetitive stockinette pattern with basic knitting stitches for the rest of the stocking.
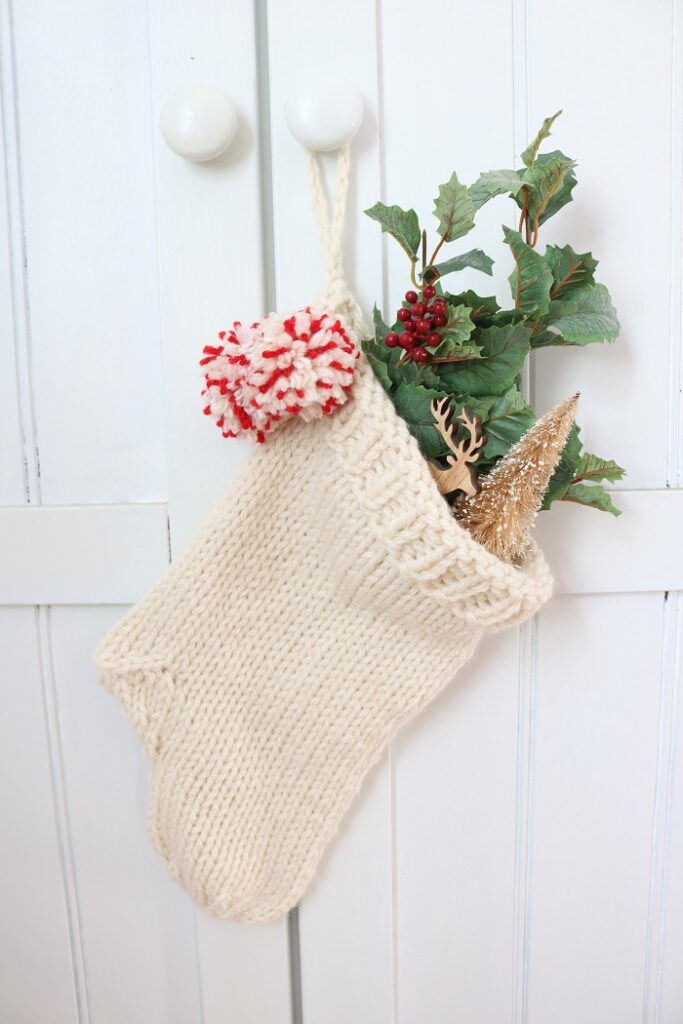
You will need the following supplies to make your own Christmas stockings:
Supplies
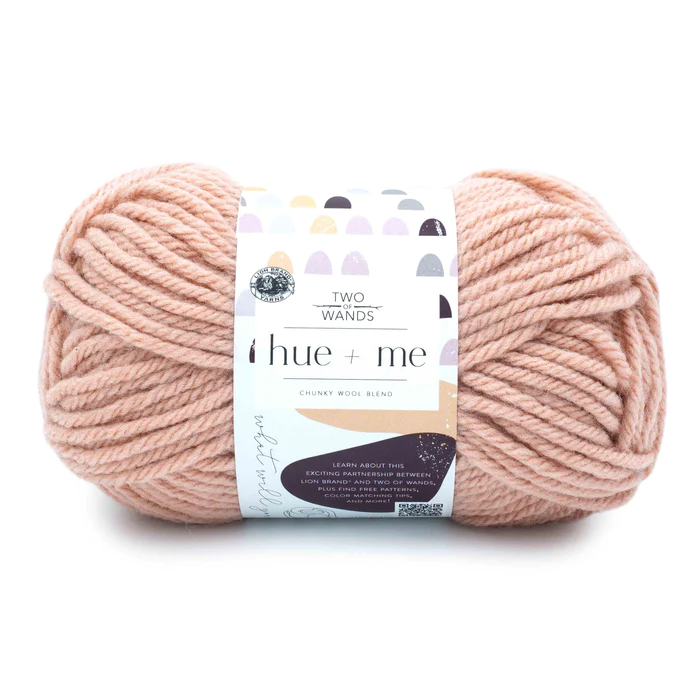
- Lion Brand Hue + Me Size 5 (137 yds per skein)
- Color: Salt
- 100 yds for one stocking
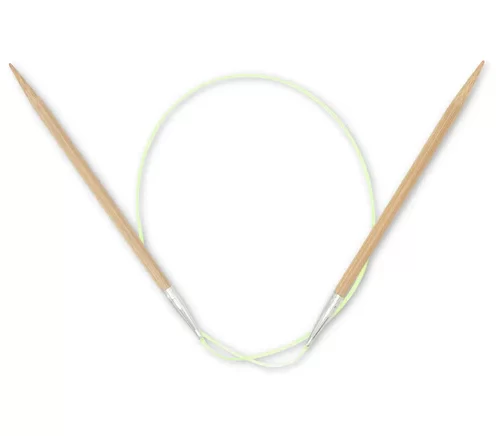
- Size 13 (9.0 mm) circular needles, at least 29″ length
- Scissors
- tapestry (yarn) needle
- Stitch Markers
Knitting Abbreviations
BO – bind off
CO – cast on
k – knit stitch
k2tog – knit 2 stitches together (single right-leaning decrease)
p – purl stitch
sl – slip stitch from left needle to right without working it
pm – place marker
sm – stitch marker
ssk – slip 2 sts from left to right needle one at a time, insert left needle into front of these 2 sts, knit them together (single left-leaning decrease)
st(s) – stitch(es)
Rep – repeat
[] – repeat what is inside brackets
RS – Right Side
WS – Wrong Side
Special Decrease in pattern:
CDD (center double decrease): Insert right needle into the next two sts on the left needle as if to knit them together, and slip them both to the right needle. Knit the next st on the left needle. With the left needle, pull both slipped sts over the knitted stitch. Two sts have been decreased.
Visit Interweave for a helpful photo tutorial of this decrease HERE.
PATTERN INFORMATION
The Christmas stocking knitting pattern is provided below.
- but you can also get the ad-free, printable pdf KNIT CHRISTMAS STOCKING PATTERN in the ETSY SHOP! The pdf has helpful photos included.
Before we begin on this pattern, you may be interested in my Christmas craft eBook…
——————————————————————————————————————–
Interested in a Christmas craft collection eBook?
Click HERE to create a Peaceful Christmas this season – even if you think you lack time or money!
CHRISTMAS CRAFT EBOOK —>

——————————————————————————————————————–
FREE CHRISTMAS STOCKING KNITTING PATTERN
Gauge: 4″ (10cm) square = 11 sts by 14 rounds in stockinette stitch pattern. Gauge is not critical.
How to knit stockings with circular needles
When knitting in the round using a circular needle, the stitches are joined to make a circle. This happens right after you cast on the initial stitches, as you begin the first Round. (You will be working in ‘rounds‘ instead of back-and-forth ‘rows’ for most of the stocking). Rather than stitching on needles back and forth, alternating between Right Side (RS) and Wrong Side (WS) facing you, the RS will face you as continuously stitch in the round.
Once you cast on the 40 stitches on your circular needles, you will join the stitches in the round and work using the Magic Loop method. Use a stitch marker (SM) to keep track of each round. After casting on, it will be a matter of working a ribbed cuff, followed by a simple stockinette stitch pattern for the leg of the stocking, followed by decrease stitches for the heel, foot and toe. Instead of using an afterthought heel, you will be making a simple heel flap with decrease sts.
How to make Knit Christmas Stockings
NOTES: First, you will create the stocking ‘tube’ by casting on, joining for round 1, and working the top of the stocking in a rib pattern (for the cuff).
Next, you will work the repetitive stockinette pattern in the round for the leg (body of the stocking).
Next, you will work the heel flap of the stocking in rows.
Lastly, you will work the foot and toe of the stocking by decreasing sts in rounds, then closing up.
The Right Side (RS) will always face you as you work in the round.
Instructions are as follows for the chunky Christmas Stocking free knitting pattern …
Knit Christmas Stocking Pattern
With size 13 circular needles, CO 40 sts with size 5 yarn.
Join to work in the round using Magic Loop method as follows:
Place a stitch marker (sm) after the last stitch you casted on. This will help you to keep track of each round going forward. In each subsequent round, simply slide the sm to the other needle.
Divide your stitches, 20 on each needle. The wire connecting the needles will be between the groups of stitches.
Next, begin the first round by joining in the round as follows:
- Hold the needle with the working yarn in the back and hold the other needle with the stitches to be worked in the front.
- Pull the back needle out of the stitches to use it to work the first round.
- Ensure your working yarn is behind the needles, then proceed to work the first round.
- As you work each round going forward, keep the stitches divided on the two needles. After working stitches on one needle,
- turn your work so that the new stitches just made are on the ‘back’ needle,
- slide the next stitches to be worked on the ‘front’ needle,
- pull the back needle out from the stitches, and use it to work the ‘front’ needle stitches.
Visit KnitPicks.com for a very helpful photo tutorial on the Magic Loop method HERE.
NOTE: RS is always facing you as you work in rounds.
Top Cuff of Stocking (Rib Stitch Cuff)
Work in [K1, p1] rib pattern for several rounds until cuff reaches approx. 1″ length (or more if you would like a longer cuff to fold over).
Leg of Stocking:
Work in Stockinette Stitch pattern (knit every round) until stocking leg measures approx. 10” length.
Set Up and Work Heel Flap of Stocking:
*Keep end-of-round sm in place when working heel flap.
Set-up: K 6 sts, pm, k 28 sts, pm. (tip – it’s helpful to use a different color for these sm’s to differentiate them from your end-of-round sm)
You will now work in rows beginning with the 12 sts between the two new sm’s:
Row 1 (RS): K1, ssk, k6, k2tog, k1. (10 sts)
Row 2 (WS): Purl.
Row 3: K1, ssk, k4, k2tog, k1. (8 sts)
Row 4: Purl.
Row 5: K1, ssk, k2, k2tog, k1. (6 sts)
*Do not work another purl row here.
Set Up and Work Foot of Stocking:
Set-up Round: Pick up and knit 5 sts along side of heel flap, k 28 sts, pick up and knit 5 sts along other side of heel flap, k 3 sts of heel flap (until end-of-round sm). (44 sts in round)
Separate sts so that there are 22 sts on each needle to continue working with Magic Loop method.
Decrease for Foot of Stocking:
You will now work in rounds using Magic Loop and will decrease sts for the foot.
Use CDD (described above) to decrease 2 sts.
Round 1: CDD, knit to end of round. (42 sts – 20 sts on 1 needle, 22 on other)
Round 2: Rep Round 1. (40 sts – 18 sts on 1 needle, 22 on other)
Round 3: Knit until last 3 sts in round, CDD. (38 sts – 18 sts on 1 needle, 20 on other)
Round 4: Rep Round 3. (36 sts – 18 sts on each needle)
Rounds 5-8: Rep Rounds 1-4. (28 sts – 14 sts on each needle)
Work in Stockinette Stitch pattern (knit each round) for 7 more rounds, approx 2″ more.
Decrease for Toe of Stocking:
You will continue to work in rounds using Magic Loop and will decrease sts for the toe.
Round 1: Work [CDD, k4] around. (20 sts, 10 sts on each needle)
Round 2: Knit around.
Round 3: Work [CDD, k2] around. (12 sts, 6 sts on each needle)
Finishing
Cut yarn.
Thread tail through remaining 12 sts using a tapestry needle.
Tighten to close, and fasten off.
Weave in ends to WS.
Finishing Touches:
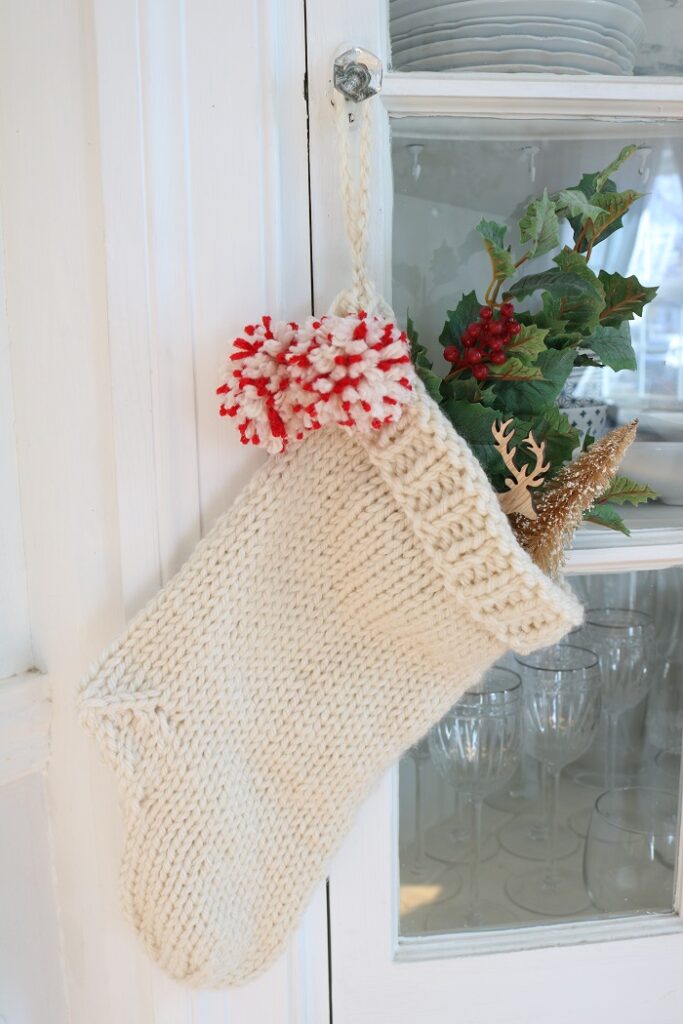
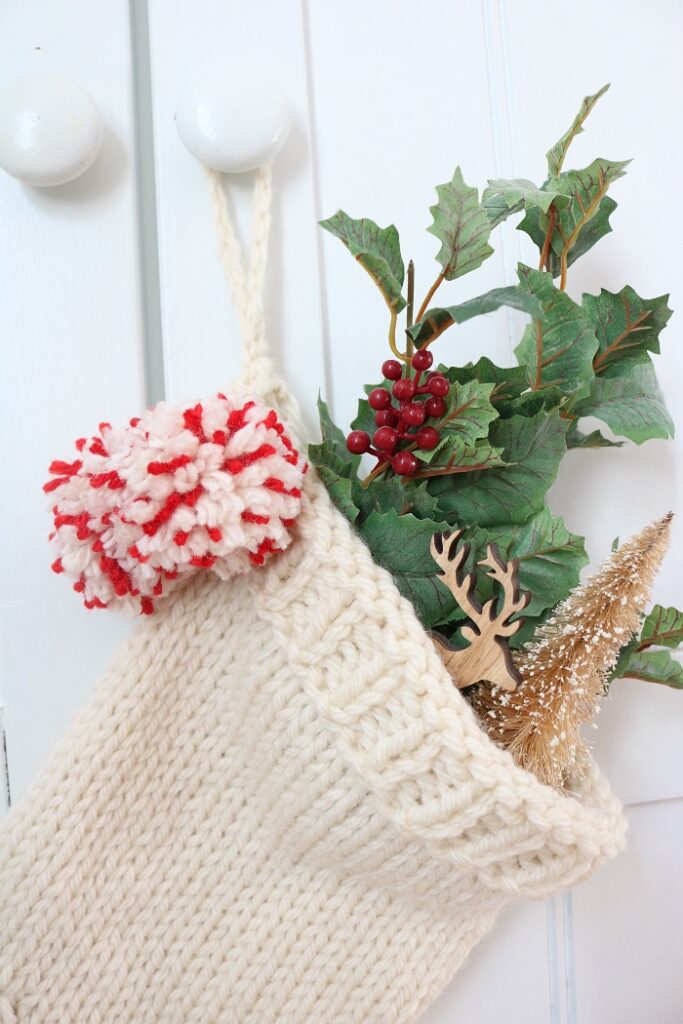
- Fold ribbed cuff over to RS.
- Make a hanging loop, and attach to cuff.
- Add yarn pom poms to loop if desired.

Important Tips for Knitting your Stocking
Some things to keep in mind as you knit the Christmas stocking are:
- Make sure your stitches are not twisted when you first join in the round after casting on stitches.
- Use a Stitch Marker (SM) to keep track of each round
- The Right Side (RS) is always facing you as you knit each round.
- Most of the stocking is knit in the round, but the heel flap is knit in rows. Stockinette Stitch pattern is used throughout, except for top cuff.
- Thicker yarns work best with these needles, but feel free to double up thinner yarns.
- Feel free to add rounds to the main leg section of the stocking to increase the length. Just be sure to have enough yarn.
Showcase your Handmade Christmas Stockings
Hang the stocking on your mantel or use as a decoration throughout your home. The big chunky size offers lots of room for surprises. Tuck in lots of candy canes and treats!
You could also make a personalized Christmas stocking by adding a name tag or embroidering a name or initial on the cuff. Family members would love to receive a hand-knit Christmas stocking from you as a family heirloom. I think Santa Claus would also approve!
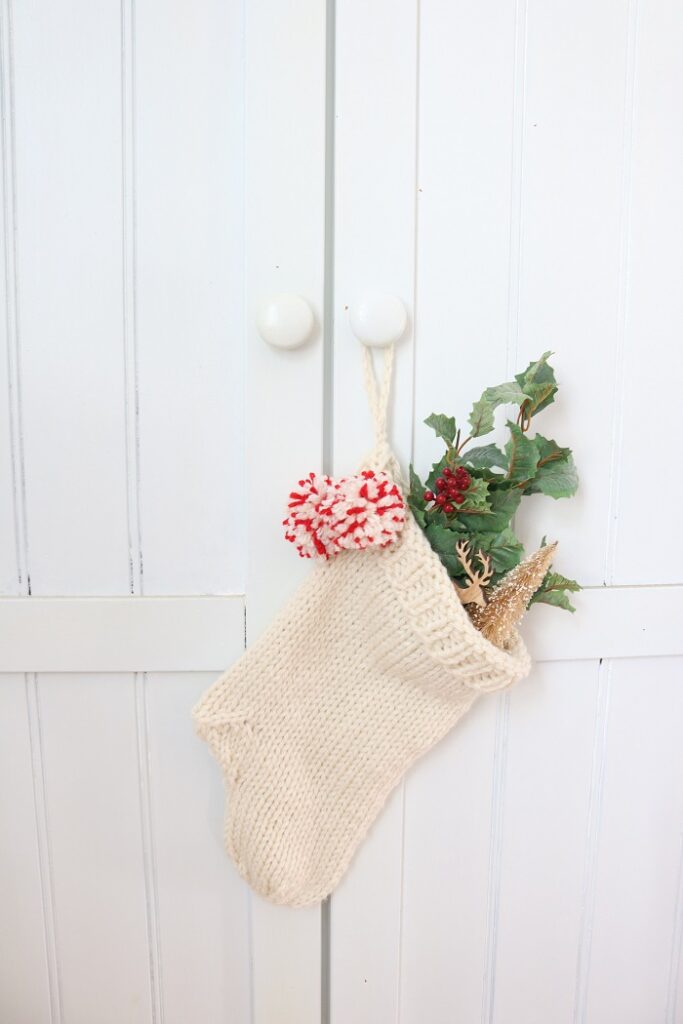


I hope you enjoyed this FREE Christmas knitting pattern to make stockings. Once you get the hang of the Magic Loop method, it is a great project to make. The decreases at the heel, foot, and toe are not too difficult to manage.
Don’t forget that the chunky Christmas Stocking knitting pattern is also available in an ad-free pdf pattern. Grab the CHRISTMAS STOCKING PATTERN in my Etsy shop.
Love patterns with Christmas spirit? Check out these other festive knitting patterns …
===> Remember to PIN for later! <===
