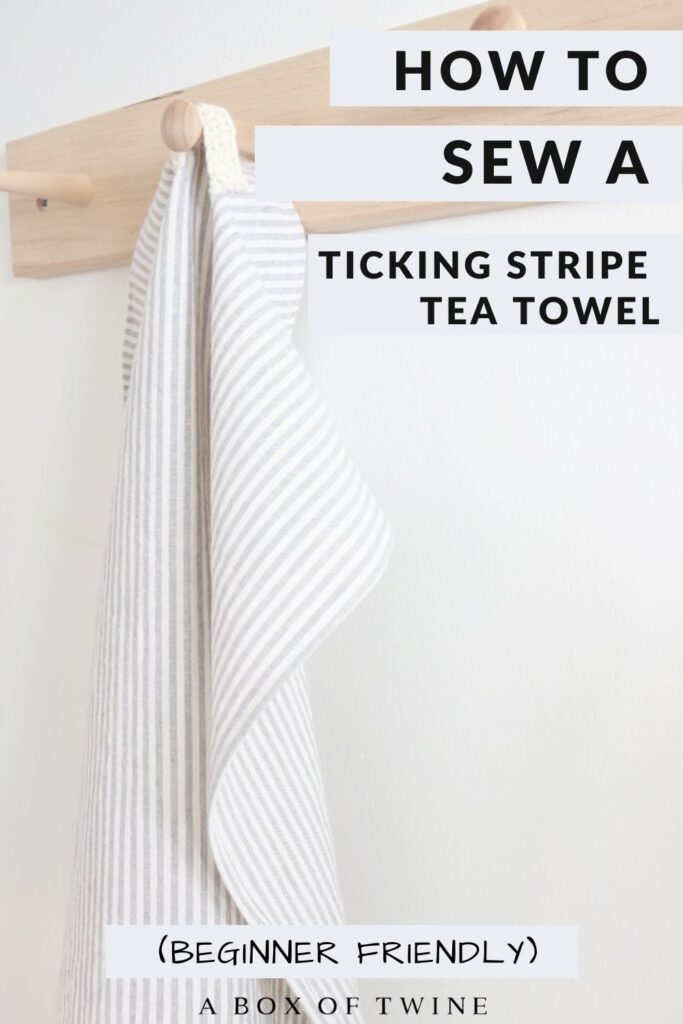
How to Make a Ticking Stripe Tea Towel
You love farmhouse style, I know you do. That must be why you are visiting this blog today to look for an easy farmhouse DIY. Ticking stripe fabric is one of my favorite materials to work with, so I have a fabulous ticking stripe tea towel project to share with you, dear farmhouse enthusiasts. It requires minimal sewing skills, and will give you two options for adding a cute & functional hook to hang the towel. Options are always appreciated, especially when there are so many gorgeous ways to style your DIY creations.
Ticking stripe fabrics + cream yarn = BEAUTY in my book. This simple ticking stripe tea towel project will combine both. Keep reading to get the whole sewing pattern, plus I’ll point you to a BRAND NEW crochet pattern for a coordinating dish cloth. Get your farmhouse kitchen ready for a little makeover with these soft touches. The projects take just an afternoon to make and you will be so pleased with your results.
This post may contain affiliate links. That means if you click and buy, I may make a commission at no cost to you. Please see my full disclosure policy for more details.
Ticking Stripe Tea Towel DIY
Supplies for Tea Towel
- 1/2 yd of TICKING STRIPE FABRIC (at least 50″ width) to make 2 towels in your favorite color combination (Red & white would be perfect for Christmas)
- sewing machine, iron
- fabric scissors, coordinating thread, sewing needle, straight pins
- (optional) – scrap of coordinating fabric or ribbon for towel hook OR
- (optional) – minimal yds of CREAM COTTON YARN for towel hook and size H (5 mm) CROCHET HOOK
How to Make a Tea Towel
The first step you take to make this ticking stripe tea towel is to gather all of your sewing (and optional crochet) supplies. This sewing project is perfect for beginner sewers, so be sure to check out my LIST OF ESSENTIAL SEWING SUPPLIES FOR BEGINNERS if you want to stock up first.
Prior to cutting your ticking stripe fabric, be sure to wash and iron it.
Cut Ticking Stripe Fabric
Next, you will cut your TICKING STRIPE FABRIC for the tea towel.
Determine if you want your stripes to flow vertically or horizontally throughout the length of the towel, then cut the ticking stripe fabric in a 25″ by 15″ rectangle. This size includes seam allowance.
The finished towel will measure approximately 24″ long by 14″ width.
Sew long edges of tea towel
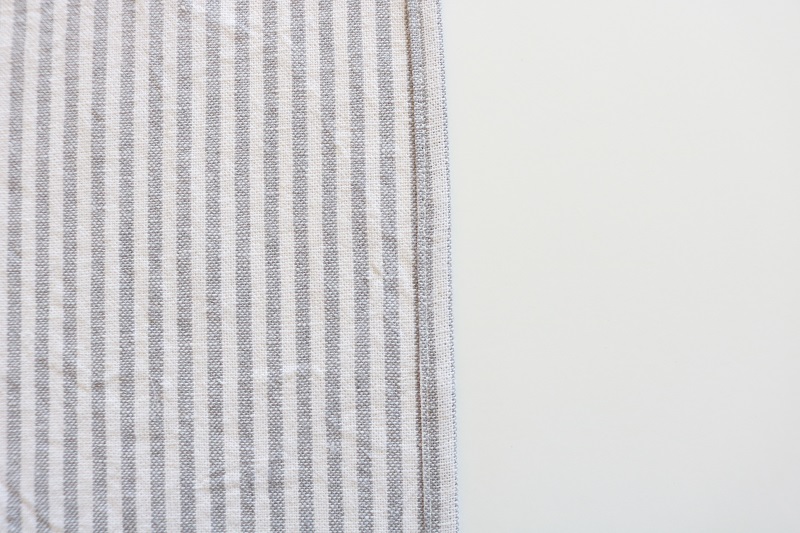
Using the iron, press one long edge of the fabric toward wrong side 1/4″, then another 1/4″.
Repeat for the other long edge of the fabric rectangle. Pin the long edges in place if you wish.
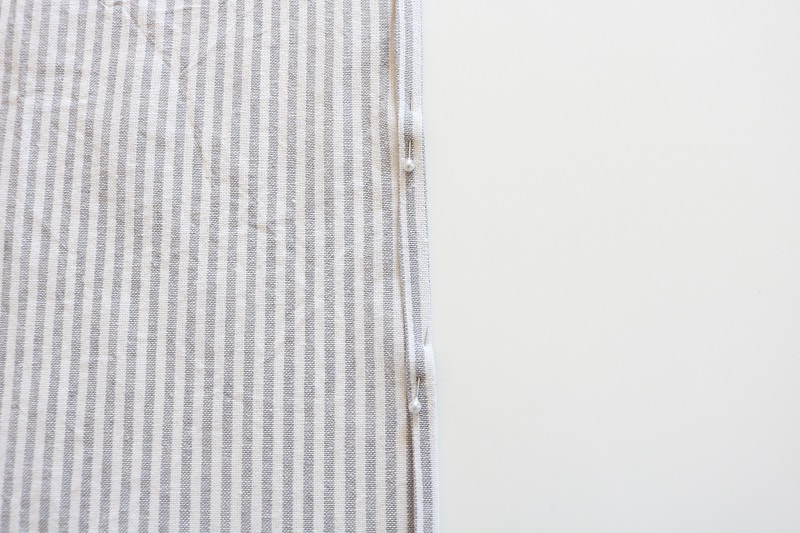
Sew a hem down these long edges of the fabric. It may be helpful to follow the lines of the ticking stripe if you chose to align them vertically.
Sew bottom edge of tea towel
Next, press one of the short edges of the rectangle toward wrong side 1/4″, then another 1/4″ (similar to long edges).
Sew a similar hem across this short edge of the fabric. This becomes the bottom edge of your tea towel.
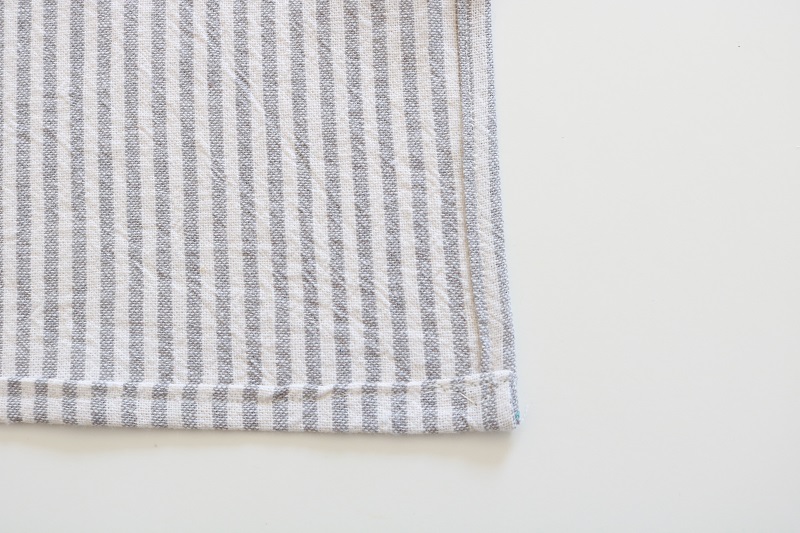
(Note – we could have mitered the corners of the towel for a neat look, but the overlapping hems look fine and are easy for a beginner project.)
Sew top edge of tea towel
To finish up the ticking stripe tea towel, we will need to sew a hem across the top short edge of the fabric. This is a good time to add an optional hook, which comes in handy for hanging the towel in your kitchen.
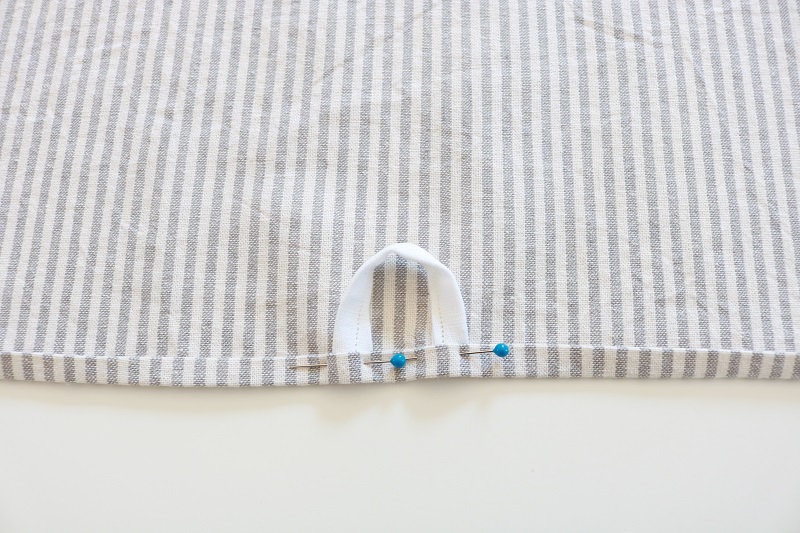
Similar to the bottom edge, you will need to press the top edge of the fabric toward the wrong side 1/4″, then press in another 1/4″. Before you sew a hem across this edge, you can add the optional fabric hook (see A). If you would rather attach a crocheted hook to the top of the towel, skip this step (go directly to B).
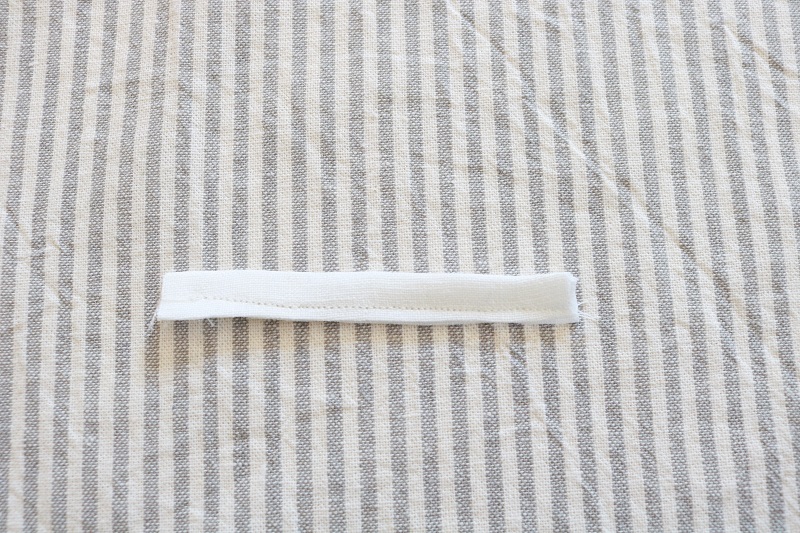
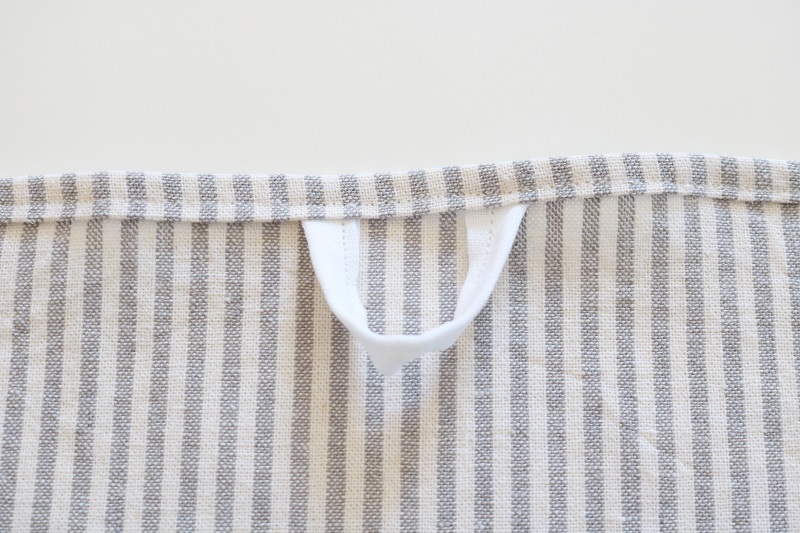
A. For optional fabric hook, cut a small 3″ length of ribbon or 3″ by 1 1/2″ scrap of fabric for the hook. (If using fabric, press the long raw edges inward to form a 1/2″ width and sew together first).
Tuck the short edges of this ribbon/scrap under the center of your pressed top towel edge and pin in place, securing them about 1.5″ apart.
B. Sew a hem across the top edge of the fabric (securing the fabric hook under the hem if you chose that option).
Add a crocheted hook to top edge of tea towel
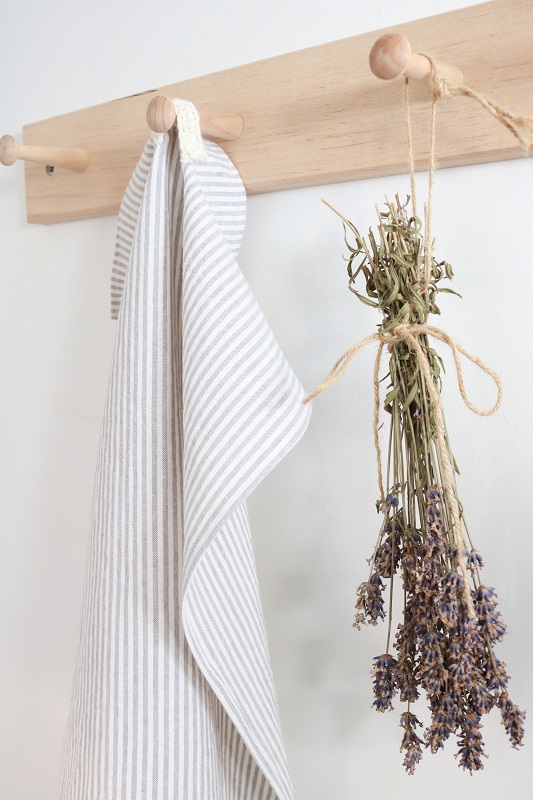
Rather than incorporating a fabric or ribbon hook into your tea towel as suggested above, you could alternatively add a pretty crocheted hook to the towel instead.
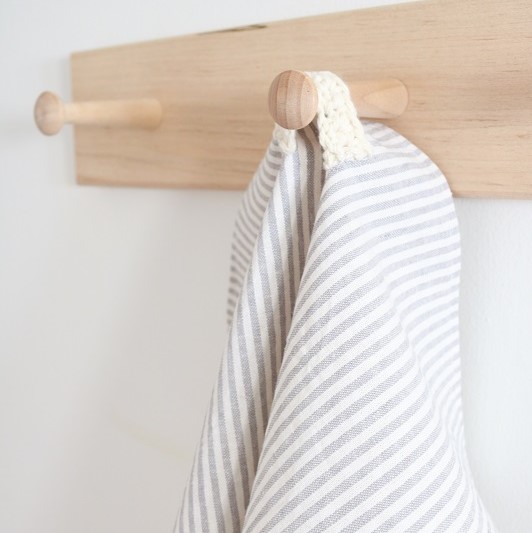
I chose to add my crocheted hook on the top front of the towel to showcase the texture.
First you will need to gather a few yards of cotton yarn and crochet the hook as follows:
Crochet Pattern for Tea Towel Hook
Ch 10 with SIZE H CROCHET HOOK and COTTON YARN.
Row 1: SC in 2nd ch from hook and in each ch across. Turn. (9 sts)
Row 2: Ch 1, SC in each st across.
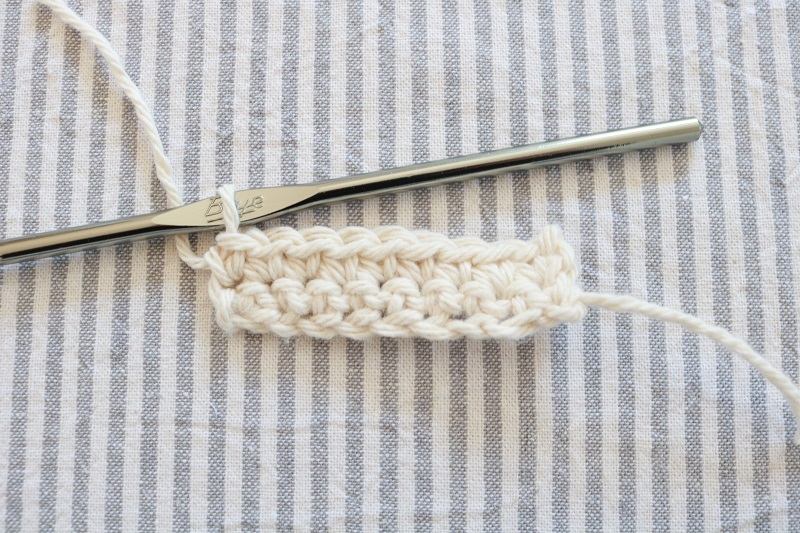
Fasten off, weave in ends.
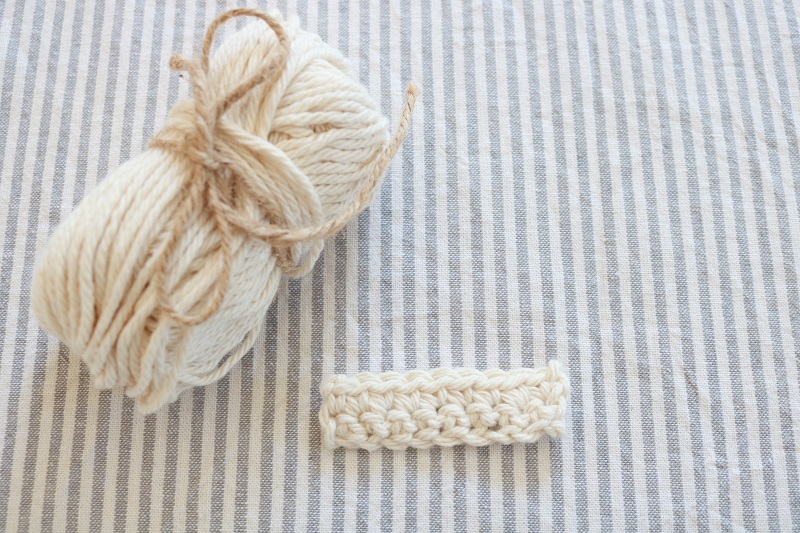
Add hook to tea towel
Using a sewing needle and coordinating thread, hand-sew the crocheted hook ends to the top center of the tea towel, about 2″ down from the top.
Be sure to sew it to the Right side, and space the ends of the hook about 1.5-2″ apart.
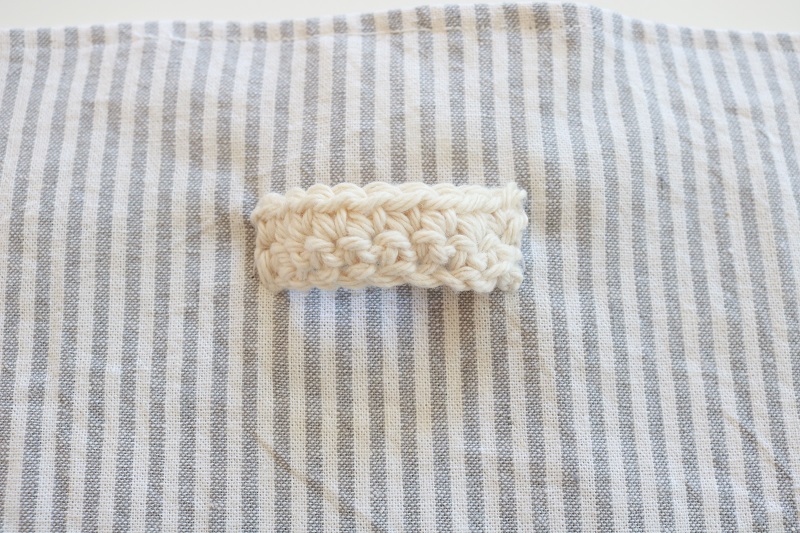
Finished!
Showcase your Ticking Stripe Tea Towel
Now it is time to show off all your work. Give your new farmhouse style tea towel a bit of ironing, then hang it from a kitchen hook. Voila!
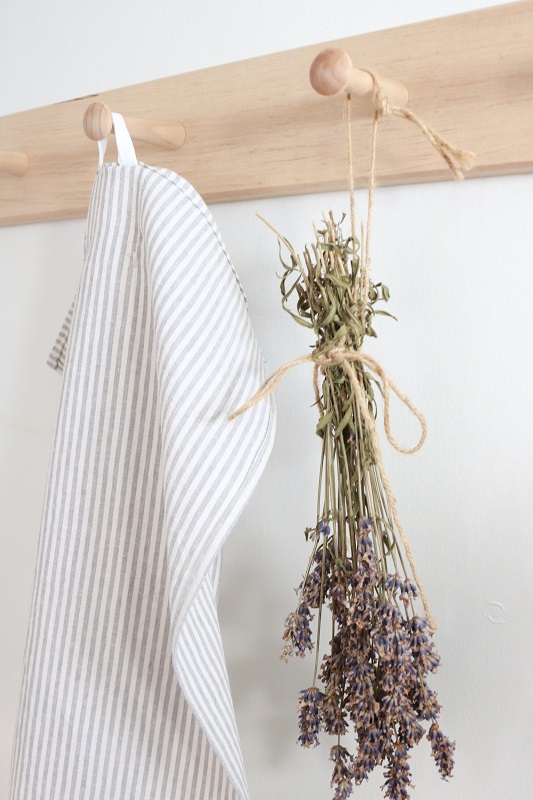
Here is a look at a tea towel hanging from a fabric hook:
And here is a tea towel hanging from the crocheted hook on the front center of the towel:
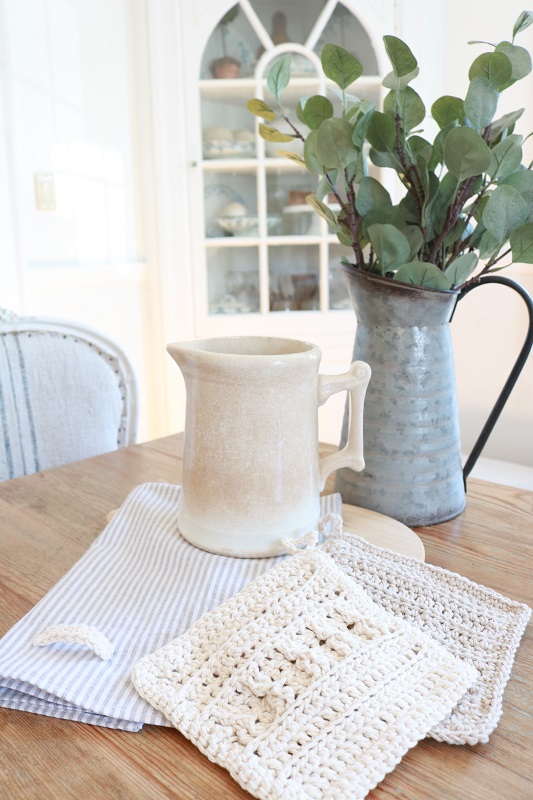
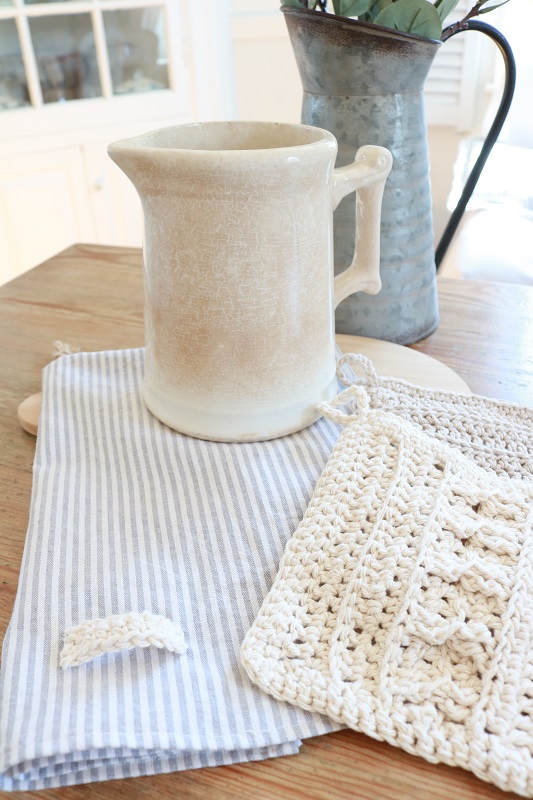
I love displaying these ticking stripe tea towels along with cutting boards and cotton crocheted dish cloths.
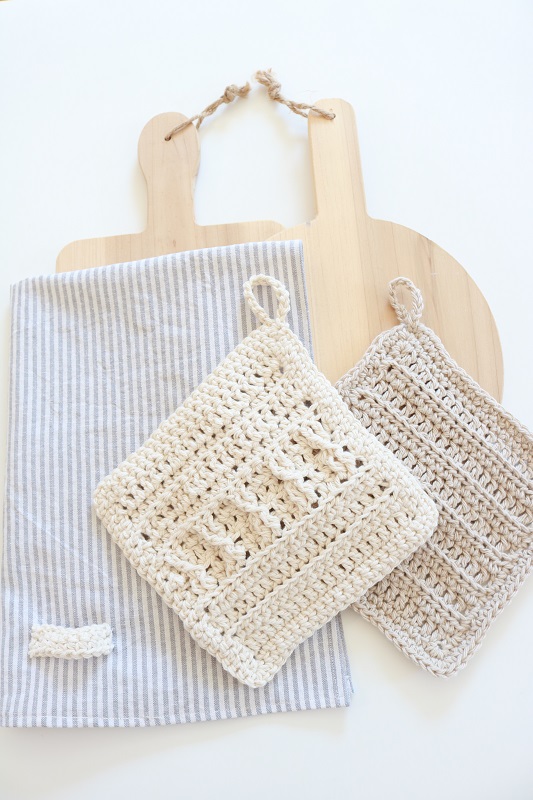
You can make these farmhouse style kitchen dish cloths with THIS NEW DISH CLOTH CROCHET PATTERN. They coordinate beautifully and are ready to be put to use.
I can imagine these coming in handy near a charcuterie board or hearty buffet setting. Add some natural wood spoons to add to the farmhouse style vibe:
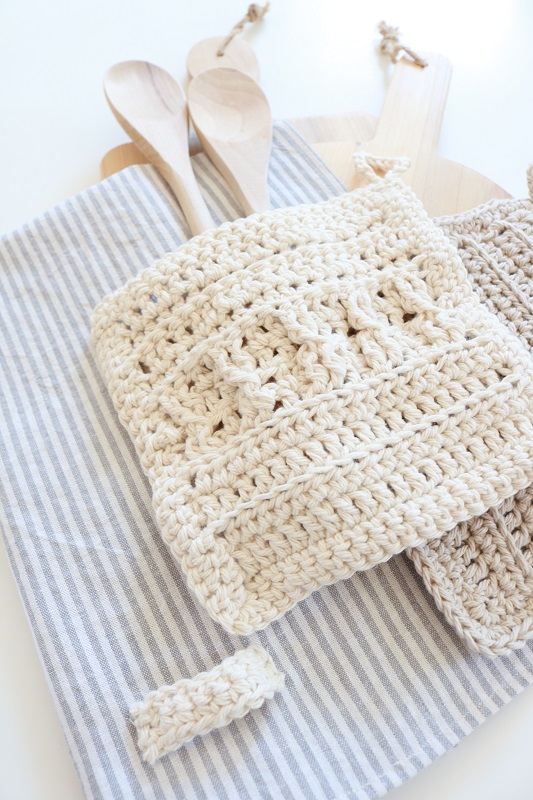
Find the DISH CLOTH CROCHET PATTERN in my ETSY SHOP. It includes two separate variations of a dish cloth pattern – one that has a striped ridge look and one that incorporates cable stitches in the center.
If you love this project, you may also love these:
What is your favorite farmhouse style textile project? I would love to hear.
===> BE SURE TO PIN THIS TICKING STRIPE TEA TOWEL DIY FOR LATER! <===
