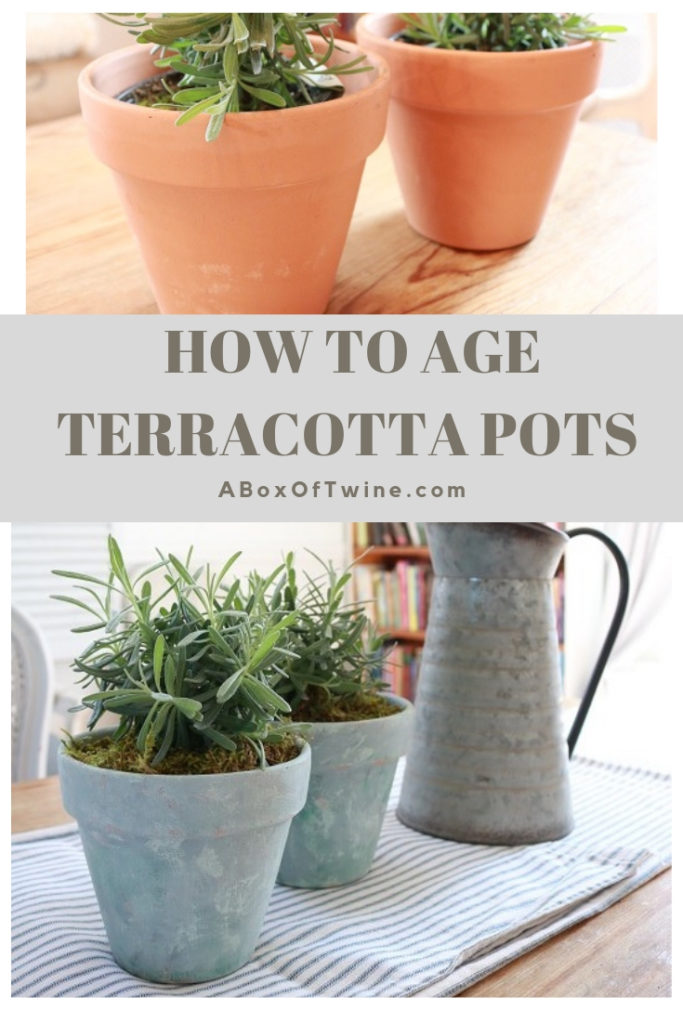
How to Age Terracotta Pots
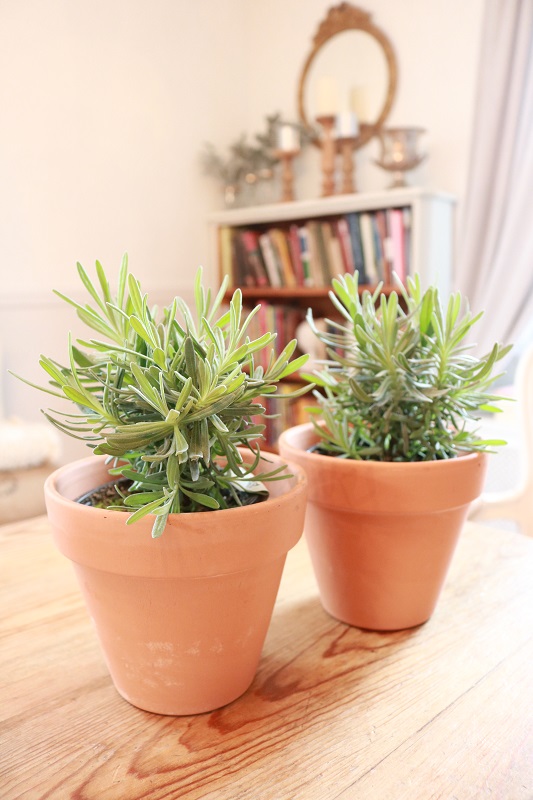
Let’s get ready for spring with a fun project! I don’t know about you, but I’m not too keen on the orange sheen of new terracotta pots. However, they are much cheaper than the aged-look pots at the garden stores. I’ve seen projects on Pinterest with a variety of ways to ‘age’ these pots yourself, so I thought I’d give it a try with paint. The look I was going for was a vintage French garden pot that would fit in with farmhouse style.
To be honest, I’m not much of an artistic painter (I can handle painting furniture or walls) but I found this project to be super simple and fun! It’s all about LAYERS. I took my time and just assessed the painted look I was getting each step of the way, then just adjusted my layers until I was satisfied. This project is all about your preferences, and that’s the best part – dabble to your heart’s content!
Here is what I used and the steps I took, but you are welcome to improvise as you see fit. I didn’t buy a thing for this project – I just used what I had in my paint supplies.
Please note – this post contains affiliate links, which allows me to make a small commission from your purchase via the link without extra cost to you. See my Disclosures page and thank you!
Supplies


Paint that is light (white or light gray is great). I used Marilyn’s Dress by Benjamin Moore, because I already had a quart on hand.
Chalkboard paint (green). I used ‘schoolhouse green’ tinted chalkboard paint that I already owned. You could probably just add any green paint you own, but I already had this paint and liked the idea of the added chalkboard texture. (the pre-tinted base can be found here)

Black craft paint. I used a small bottle I had on hand that I had purchased from a craft store.

Small paint brush, sandpaper, paper towels, container to hold paint.
Steps to Age Terracotta Pot
Sand your pot a little bit and wipe away dust. (I used an 80-grit coarse sandpaper because that’s what I had available, and just sanded lightly with it)
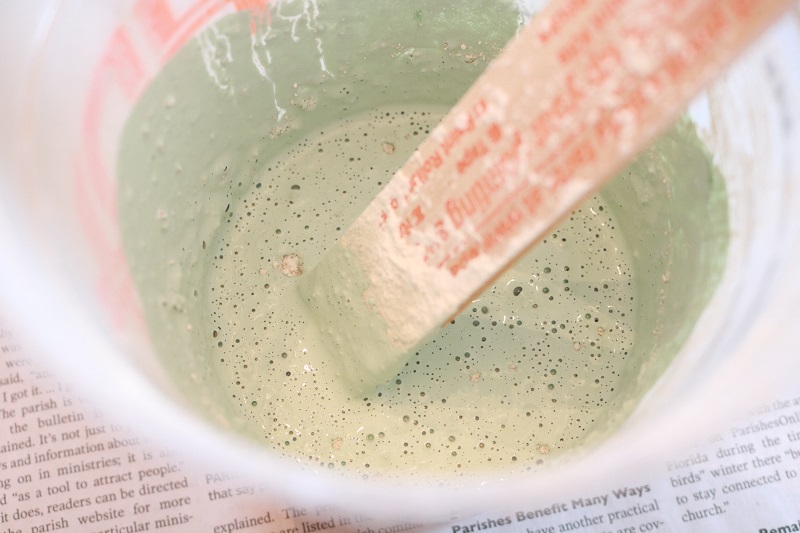
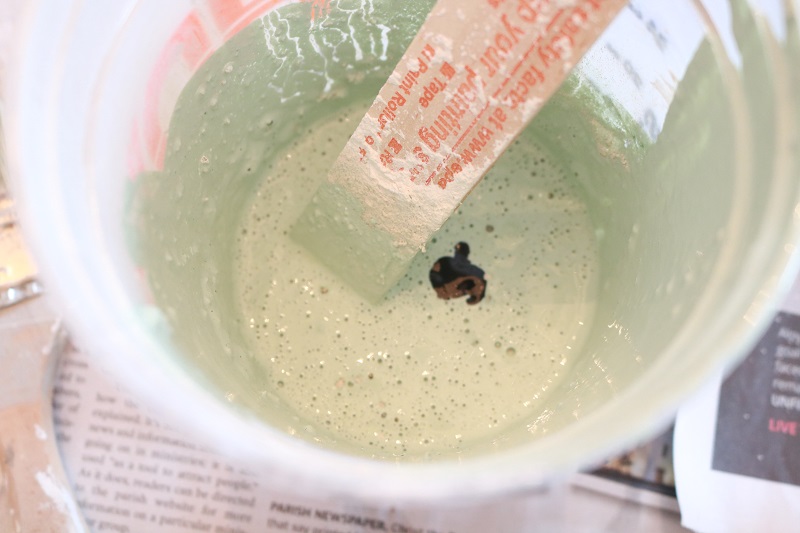
Mix Plaster of Paris with the light (white or gray) paint and water. I used a mix of 2 parts Plaster of Paris to 1 part paint/water combo.
Next add about a tablespoon of the green paint (or to your liking) and mix that in. This is what my mixture looked like at this point:
First Layer
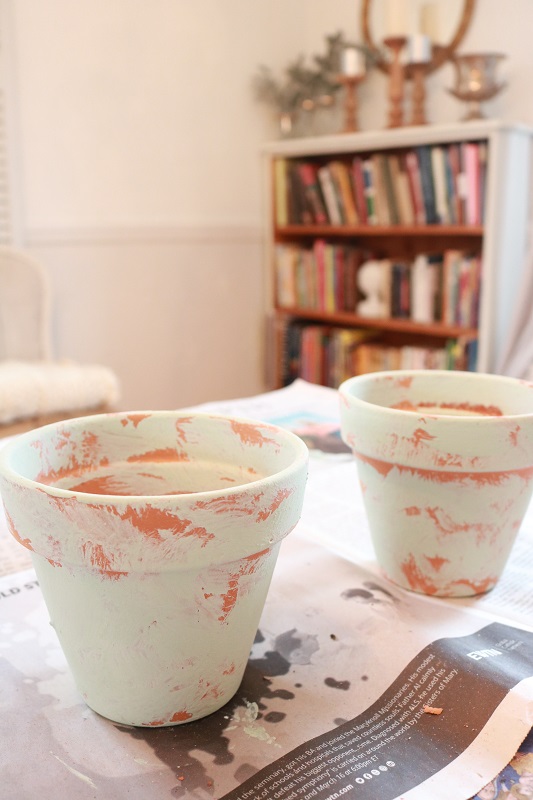
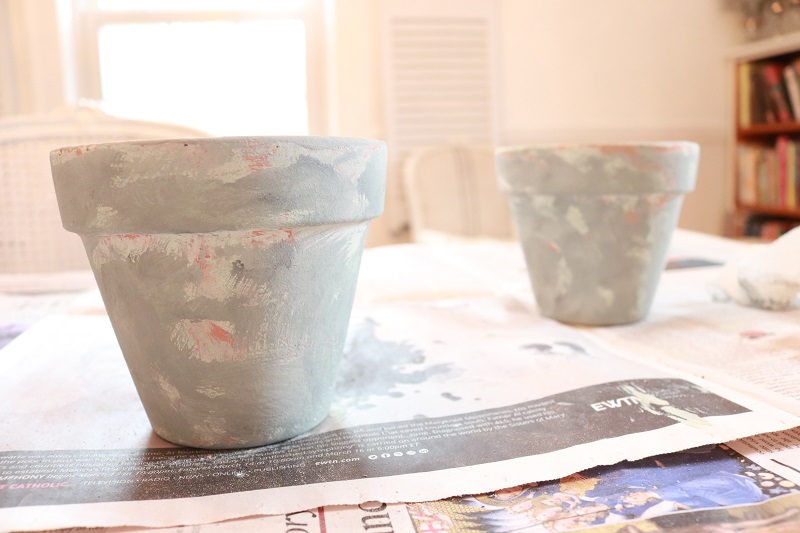
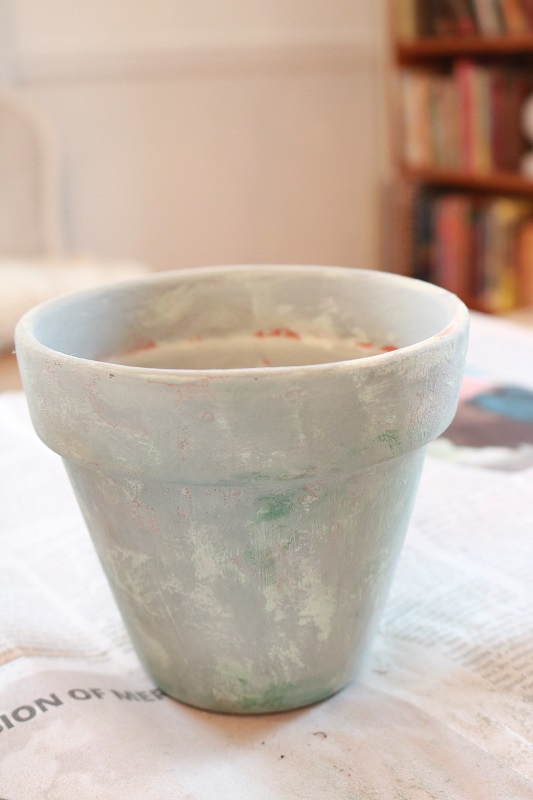
At this point I lightly and sporadically painted the mixture onto my pots, including the top of the inside. You don’t want to use broad strokes to cover large areas. Just dab the paint mixture on with the bristles of your paint brush and spread it on the pot in random areas. You can also leave a bit of terracotta showing at this point, as I did.
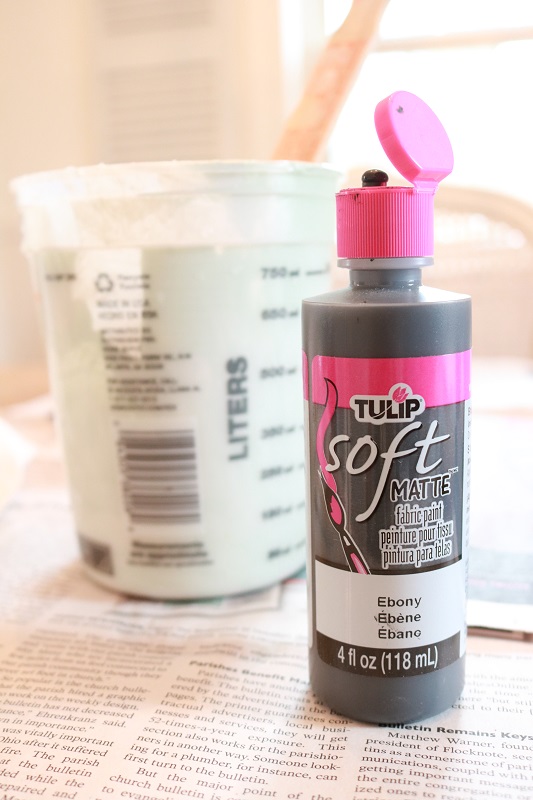
Let dry a few minutes. Meanwhile, add 1-3 squirts of the black craft paint into your paint mixture (your preference as to how much).
I added 3 squirts of the black paint shown below. The mixture will look grayish now.
Second Layer
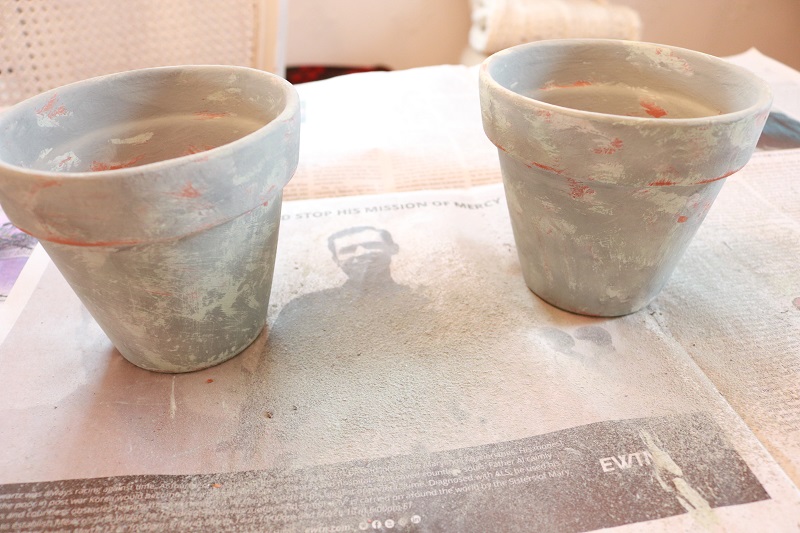
Dab this new grayish paint mixture onto your pot in a variety of spots.
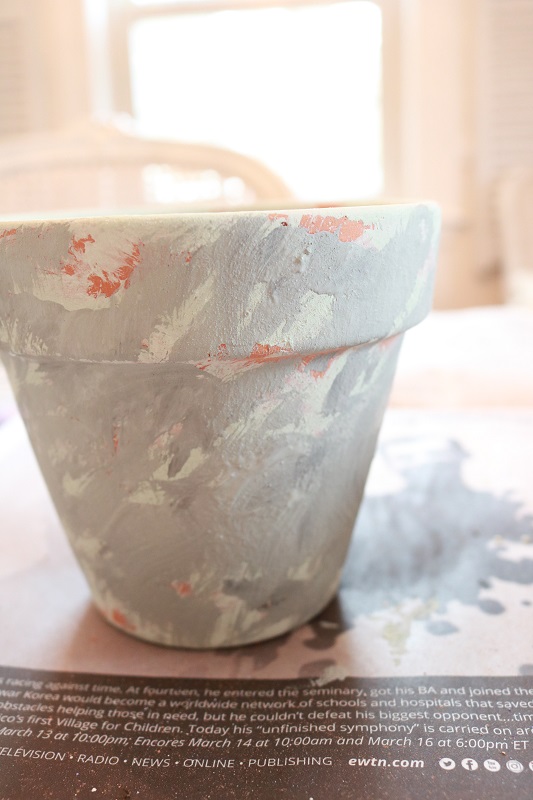
Blend this latest layer in with a damp paper towel.
Let dry a few minutes.
Sand various dark spots on your pot if you want a lighter look, and to achieve a variety of layers of color. Wipe off dust from pot.
Finger Painting Layers!
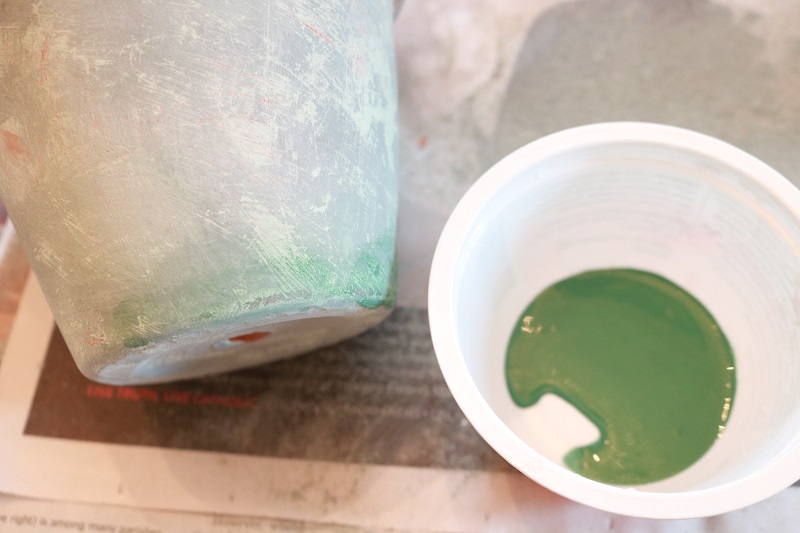
Next comes the fun part – finger painting! I felt like a kid again with this step. I poured small amount of my green chalkboard paint into an empty yogurt cup, and used my fingers to dab it onto various spots to achieve the look of aged moss green. If you would also like that look, feel free to dab some green around.
Next, also dab small amounts of the grayish mixture with your fingers here and there, too. Blend these areas in with a damp paper towel. Have fun with this step! This is where you’ll blend the various colors and layers to your liking. During my ‘dabbing’, I decided to (mostly) cover the terracotta orange color instead of leaving it peeking through. You may decide to let more show through.
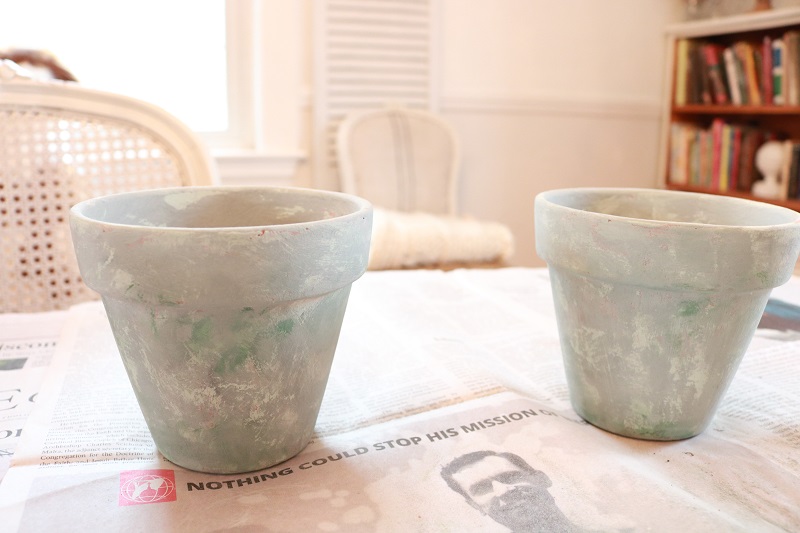
Lastly, sand the pot to remove any unwanted dark spots of paint and to let a slight amount of terracotta peek through. Again, sand the pot to your liking. Let the pot dry.
Wipe off the sanding dust, and you are DONE! You could seal the paint here if you’d like, but I didn’t bother.
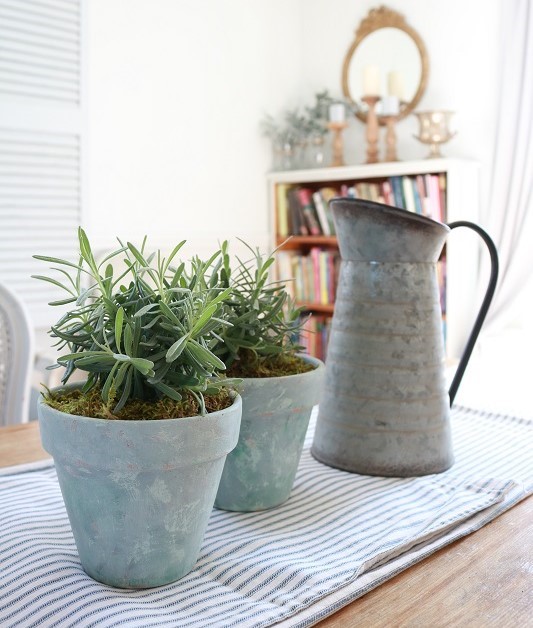
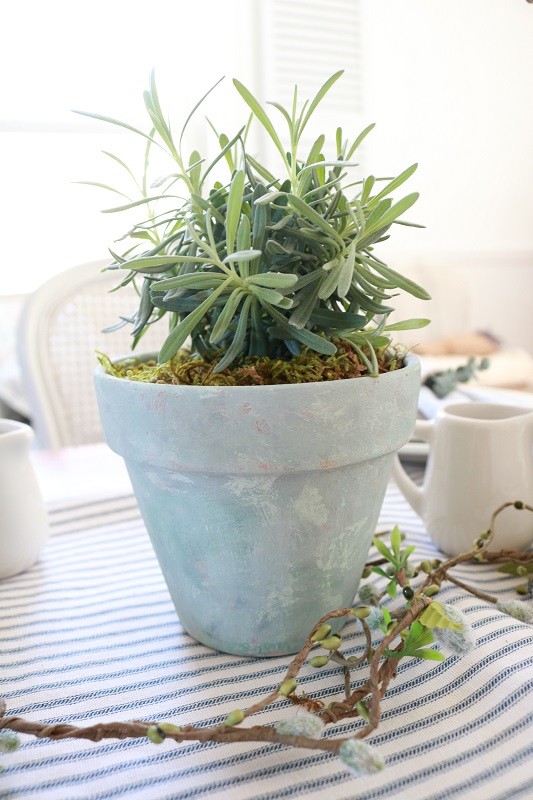
Now display them with your favorite plants. I chose lavender!
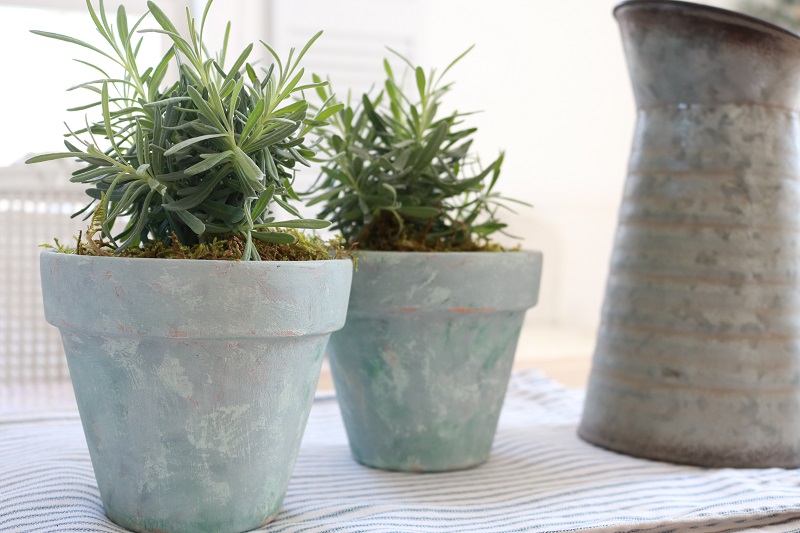
They were a perfect addition to my spring table setting…

Want to remember this idea? Post these painted pots to your favorite Pinterest board!
If you like this idea, you may enjoy my other Farmhouse Style Crafts.


One Comment
Pingback: