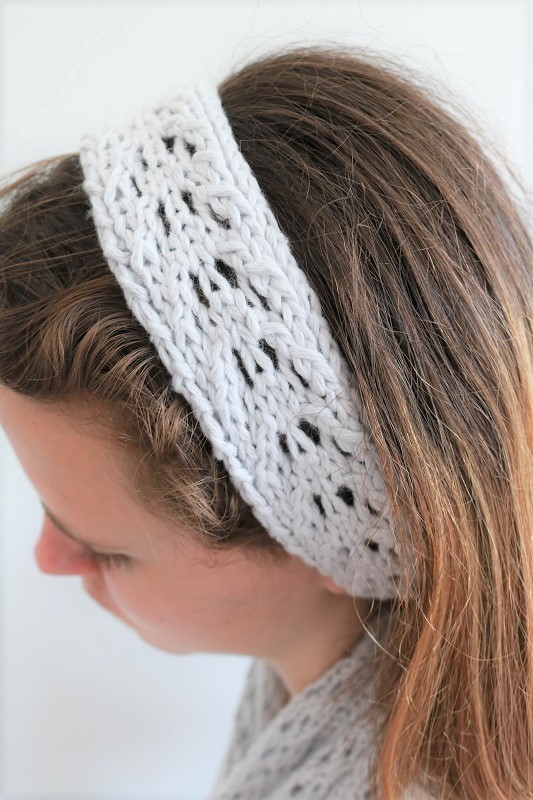
Free Pattern for Summer Knit Headband {pretty lace!}
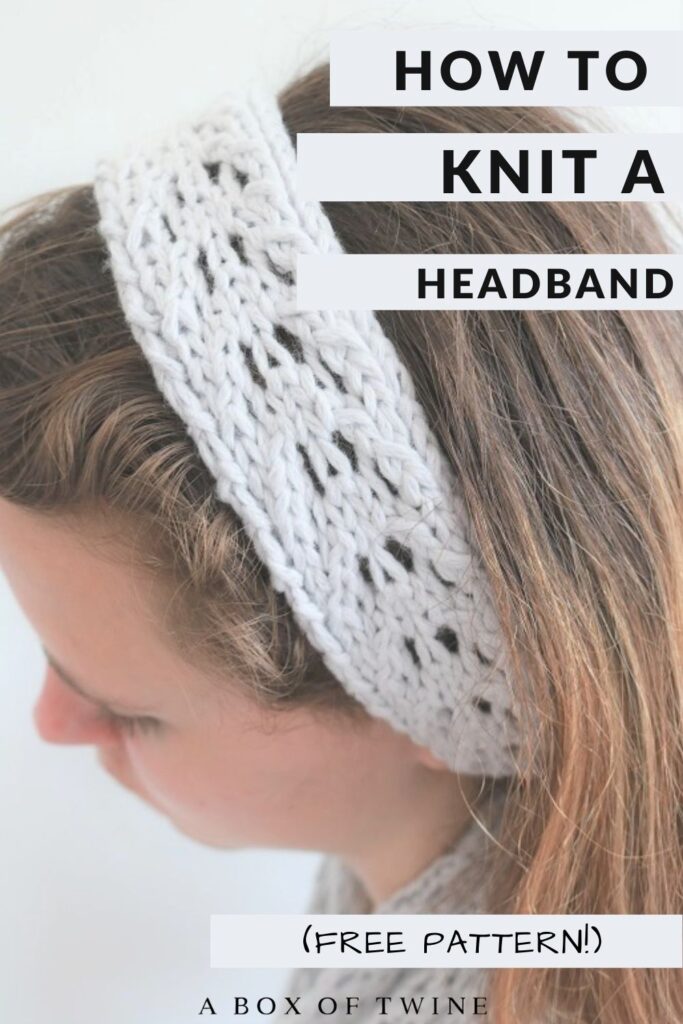
Summer is right around the corner and you need a lovely summer headband to wear! Think summer isn’t for knitting? Think again! This pretty lace headband works up quickly and is light and airy for summer. Check out the free summer knit headband pattern below and learn how to knit a headband for this season…
This post may contain affiliate links. That means if you click and buy, I may make a commission at no cost to you. Please see my full disclosure policy for more details.
Summer Knit Headband Pattern
You will need the following supplies to make the lace summer knit headband:
Supplies
- Size 8 (5 mm) straight knitting needles
- approx. 30 yards of size 4 Medium Weight soft cotton yarn (or cotton mixed with bamboo or nylon). I used Loops & Threads Crème Cotton in Light Grey. (Lion Brand has similar cotton yarn in COOL GREY)
- yarn needle, scissors
- steam iron, ironing board, towel (for blocking)
This lace headband is knit on straight needles back and forth with just 11 stitches, so it is a good pattern for beginners. You only need to be familiar with the Knit and Purl stitches, as well as K2tog (knit 2 together), K2tog tbl (knit 2 together through the back loop), and YO (yarn over).
Abbreviations
K – knit stitch P – purl stitch
K2tog – knit 2 together YO – yarn over
K2tog tbl – knit 2 together through the back loop
RS – Right Side (side that faces you when finished)
Rep – Repeat
PATTERN INFORMATION
- get the ad-free, printable pdf pattern as part of a SUMMER KNIT BUNDLE in the ETSY SHOP!
How to Knit a Summer Headband
The lace headband will be knit straight in rows, in a repetitive four-row pattern.
**IMPORTANT – It is a good idea to count your stitches after each row, checking that you always have 11 stitches. This will ensure you didn’t miss a ‘yarn over’ or forget to knit 2 stitches together.
GAUGE: 2” by 2” – 11 stitches by 11 rows (after blocking)
Thin Knitted Headband Pattern
Beginning with the Size 8 knitting needles, cast on 11 stitches with your COTTON YARN.
Since this is a lace headband, it is best to knit loosely (and consistently) throughout.
Pattern Rows to repeat :
Row 1 (RS): K1, p1, k1, k2tog, yo, k1, yo, k2tog tbl, k1, p1, k1.
Row 2: P1, k1, p7, k1, p1.
Row 3: K1, p1, k2tog, yo, k3, yo, k2tog tbl, p1, k1.
Row 4: Rep Row 2.
Repeat Rows 1-4 until your headband measures about 18-19” long (a total of approximately 106 rows).
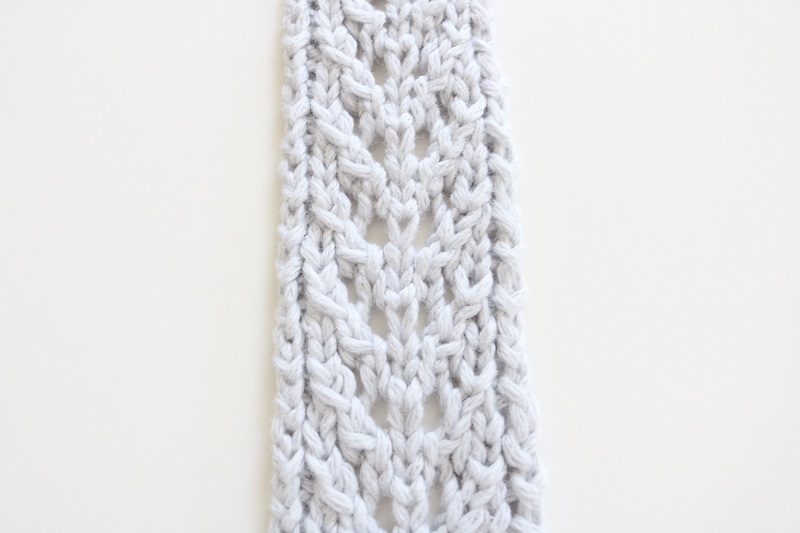
Bind off.
Weave in ends.
Finish the Lace Headband
The last steps you need to take are to block the headband, then seam up the short ends.
Block the Knit Headband
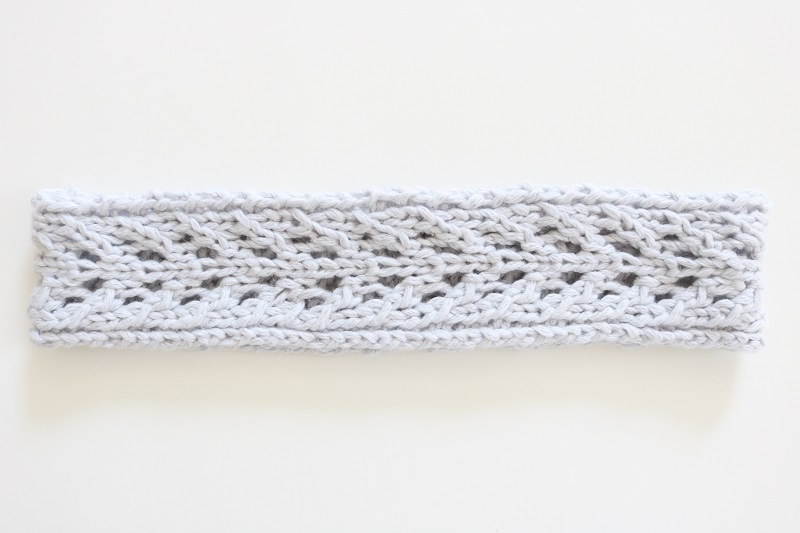
It is best to use steam to block your cotton knit headband. This will relax the stitches and lengthen & flatten the headband to showcase the lace pattern.
Lay the headband flat on your ironing board, preferably on a towel, and pin the edges down to flatten and shape evenly. (pin to the towel, not the ironing board cover)
Heat your iron to the steam setting, then gently maneuver the iron a few inches ABOVE the headband and release the steam. (Be careful – steam is HOT)
It is important that you do NOT touch the iron directly to the headband. You just want steam from the iron to affect the stitches.
Let it cool, then press down on the headband with your hand to flatten the steamed area. Continue steaming the headband one section at a time.
Let cool and keep in place for several hours or overnight, removing pins when done.
The finished blocked headband should measure about 19-20” long by 2” wide.
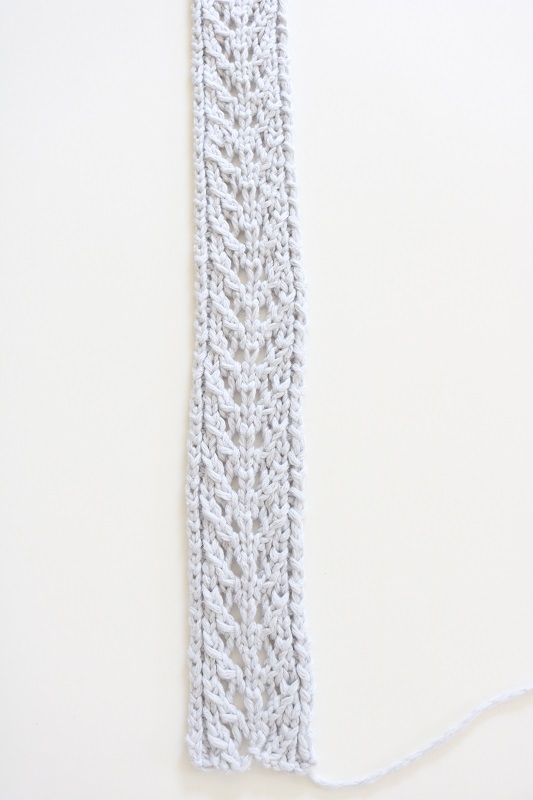
Seam the Knit Headband
Lastly, sew a seam to attach the two short ends of the lace knit headband.
Weave in any ends.
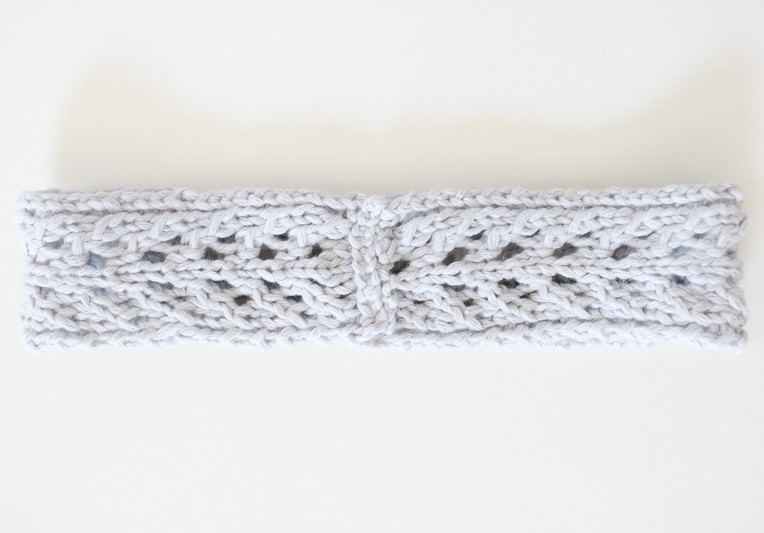
The entire headband took me just under 2 hours to knit. Not bad! Wondering how much time typical knit or crochet projects take? Take a look at this free ‘Time Estimates’ worksheet…
Wear your Lace Knit Headband
Simply pull the headband over your head to wear.
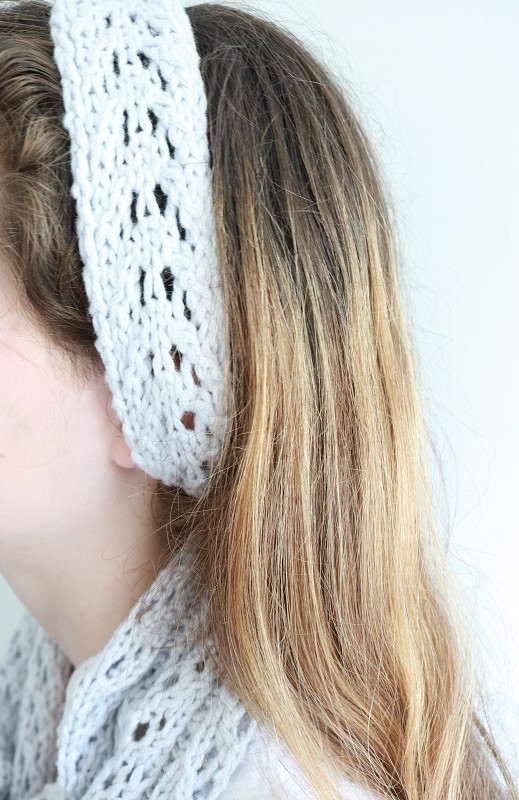
Make a few of these pretty headbands using various SUMMER YARNS, then give as gifts.
I designed this knit headband to coordinate specifically with this pretty fringed summer scarf:
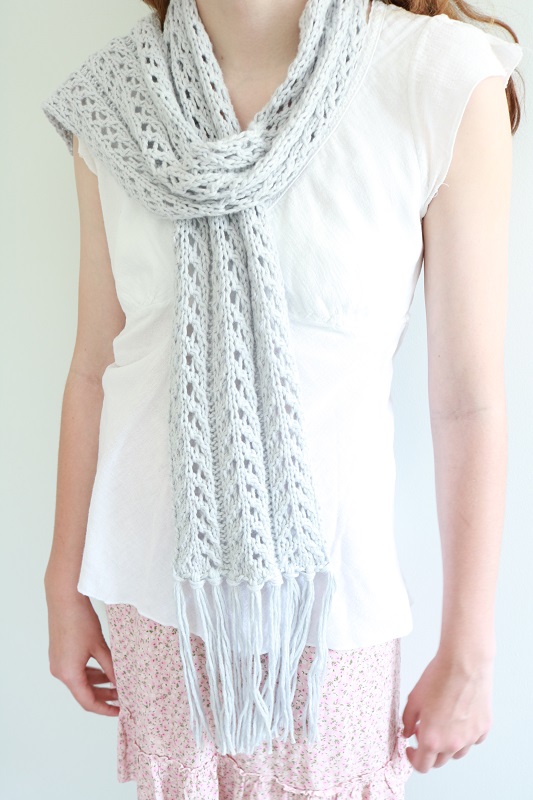
My daughter agreed to model both the lace scarf and headband together. I LOVE the long fringes on the scarf that give it a modern look. The light grey color is perfect for summer and ocean breezes…
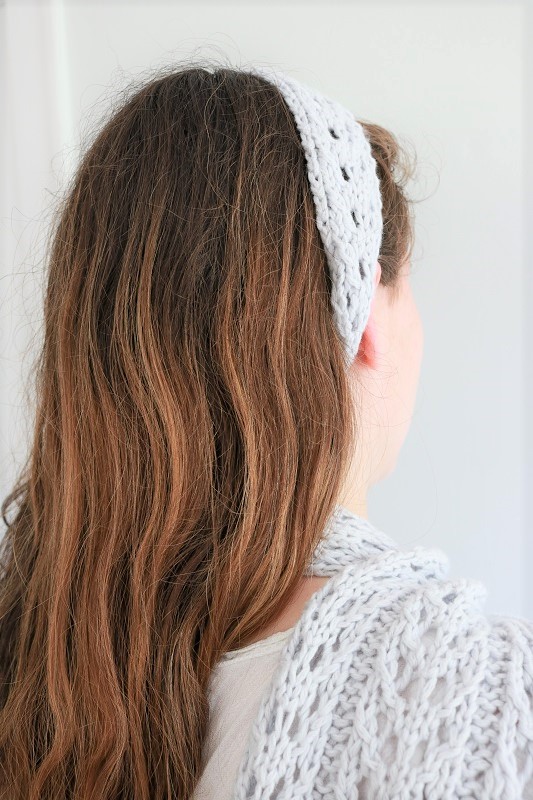
Grab the pdf pattern bundle for BOTH the LACE FRINGED SCARF AND HEADBAND in my Etsy shop! You will receive step-by-step instructions and helpful photos for the lace stitches.
I hope you liked this tutorial on how to knit a lace headband for summer. Send me pics if you make one!
===> Remember to PIN for later! <===


4 Comments
Suzanne Bonneau
I am beginner. If I cast on 11 stitches. I then follow the row 1 instructions. ( I have knitted 2 separate knit two together. The next row will have 2 less stitches. How can I knit row 2 ? Which has 11 stitches? Am I that dumb?
Sue. Help
Susan
Hi Sue,
You’re not dumb at all, just a beginner! No worries. I’m guessing that you may have missed the yarn overs in the first row. They are listed as ‘yo’ and there are two of them to make up for the 2 less stitches from the knit two togethers. Do you know how to do a ‘yarn over’? It’s simple. Just bring the yarn to the front and wrap it over the right needle before knitting the next stitch. It creates an extra stitch (and ‘hole’ in the work). Good luck and let me know if you have any other questions,
Susan
Sarah
There is an issue with the pattern, as an advanced knitter I can see you won’t be able to finish Row 1. Because of the 2 k2tog, yes the yo keeps the number even, but only going forward. in row one there isn’t enough st co to complete the final p1,k1 in the first row. the balance wont come until pattern is established. so what can we do? possibly remove the 2x p1 in r1? Co 13, then k3tog in row 2? then continue as written.
go try and knit your pattern (as written) and I’m sure you’ll see it. the repeat works fine, it’s just row 1 w the issue. thanks!
Susan
Hi Sarah, thanks for your interest in this knit headband pattern. The pattern as written works fine for Row 1. There are 11 sts cast on (CO) initially, and that is enough to complete Row 1. Here are how the CO sts are worked in that Row: the k1, p1, k1 works the first 3 CO sts, the k2tog works the next 2 CO sts, the k1 between the two yo sts works another CO st, the next k2tog works the next 2 CO sts, and the k1, p1, k1 works the last 3 CO sts. So that adds up to 11 CO sts: 3+2+1+2+3. And yes, the YO and k2tog sts keep the balance always at 11 sts going forward as well.
Hope that helps explain it!
Best, Susan