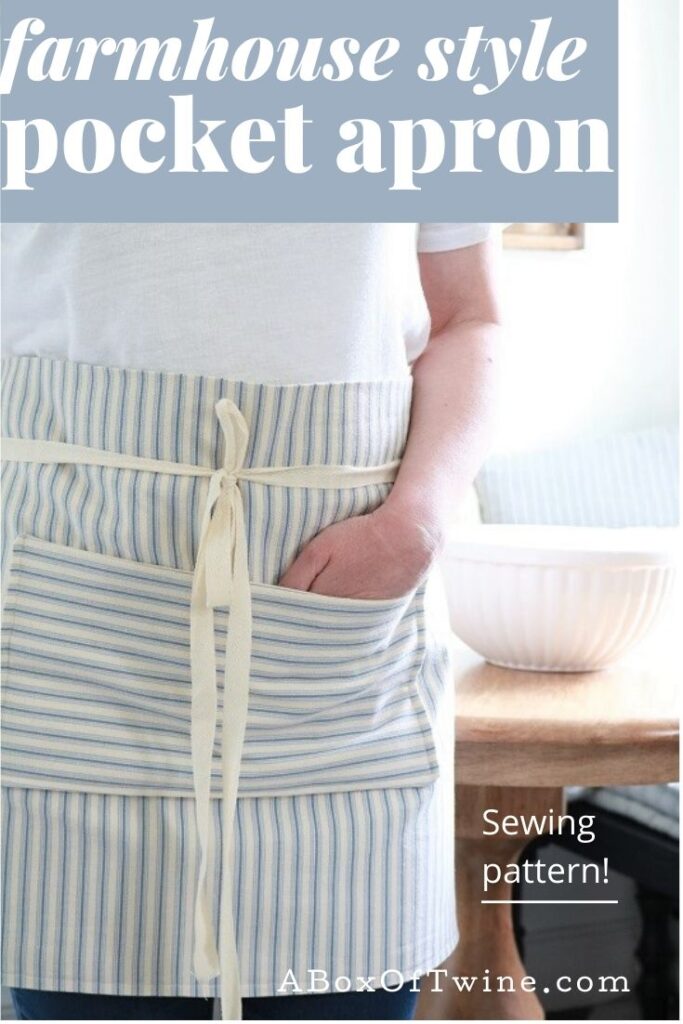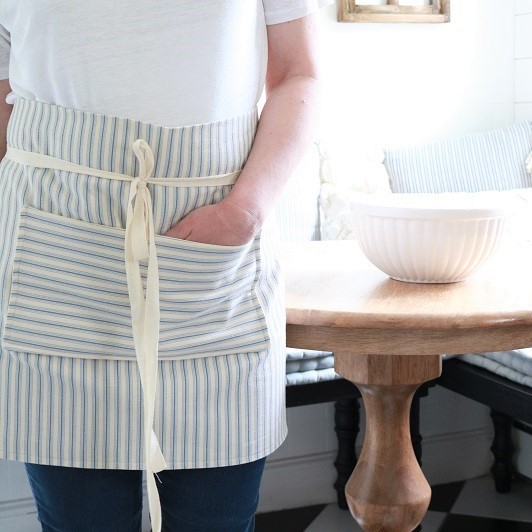
How to Sew a Farmhouse Style Pocket Apron – Pattern
Do you enjoy wearing a cute half apron while you’re cooking, gardening, or crafting? I love half aprons because they’re so quick to tie on and get to work. A pocket apron is even better to hold necessary supplies. But no matter the task at hand, I insist that a durable apron must do double duty: function well and look good!
Today I’ve got a pattern available for you to make a simple farmhouse style pocket apron. When I designed the pattern for the apron I was inspired by the ones used in an issue of Magnolia magazine not long ago. Joanna Gaines and her friends were putting together pretty flower bouquets while wearing the cutest simple half aprons. I loved them and wanted to make one!
Below you’ll find a list of supplies, photos of the apron, and information on how to find the sewing pattern. You can also purchase the inexpensive pattern (ad-free) in my ETSY SHOP.
Be sure to read all the instructions prior to beginning. It will be helpful to understand how to cut, sew, and attach the pocket before you get started.
This post may contain affiliate links. That means if you click and buy, I may make a commission at no cost to you. Please see my full disclosure policy for more details.
Supplies
- 1 yard of striped or plain linen or cotton fabric, 54” wide. (I used Magnolia Home Fashions Cottage Stripe in color Tranquil)
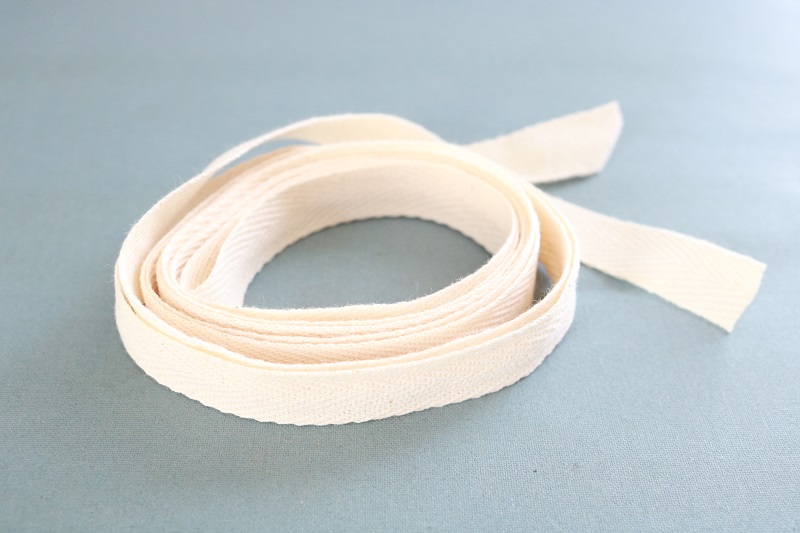
- Approx. 80” of white or ivory cotton ribbon, such as twill, 5/8” wide.
- Sewing machine, thread, scissors
Below are some similar options for TICKING STRIPE FABRIC and TWILL RIBBON from Amazon:
Farmhouse Style Pocket Apron Pattern
You will be sewing the main apron piece first, which includes attaching the ribbon ties to the top corners. Next you will sew the pocket and attach it to the front of the apron.
Both the apron and pocket have two layers of fabric, which provides a long-lasting sturdy apron.
Step 1 – Cut the fabric
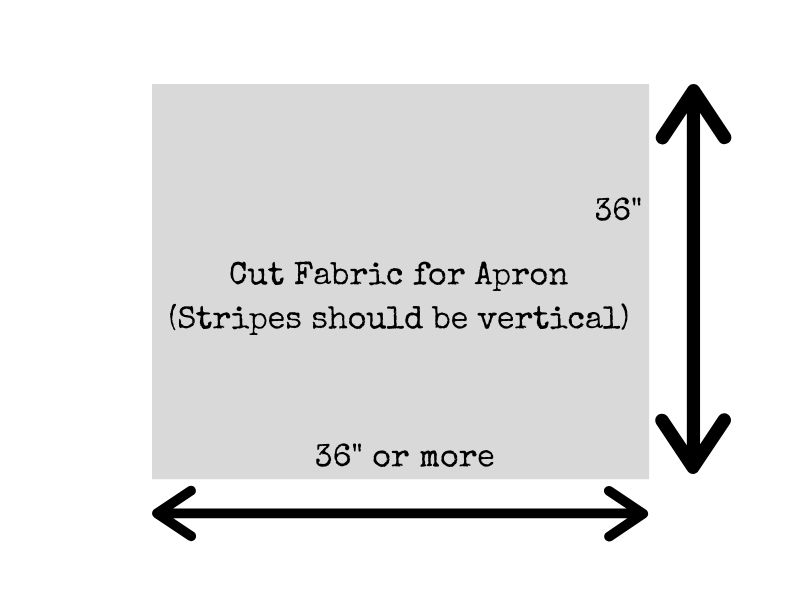
Cut the yard of fabric 36” wide, keeping 36” length. You could cut it wider than 36” if you’d like more coverage all around your waist. This will be your main apron piece. (see below)
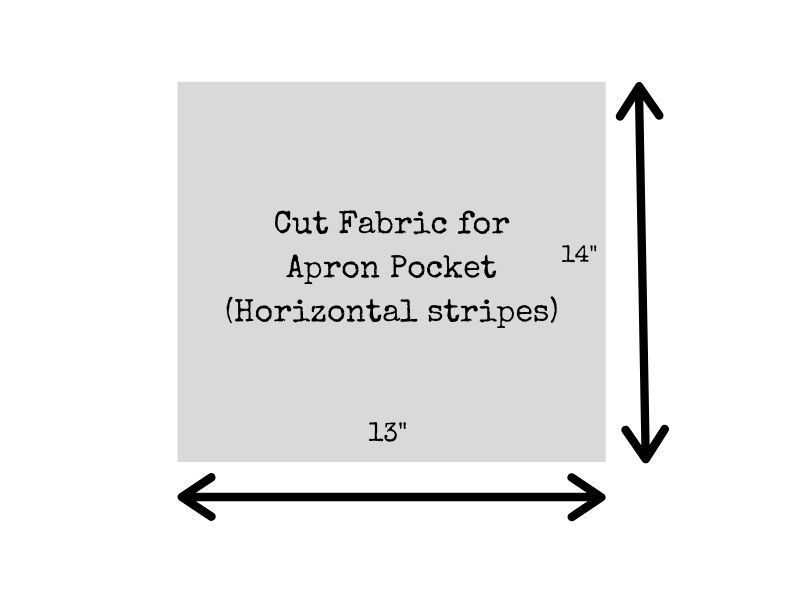
Next, cut a smaller piece 13” wide by 14” length from the remaining fabric, ensuring stripes are horizontal. (see below)
Step 2 – Sew the apron front
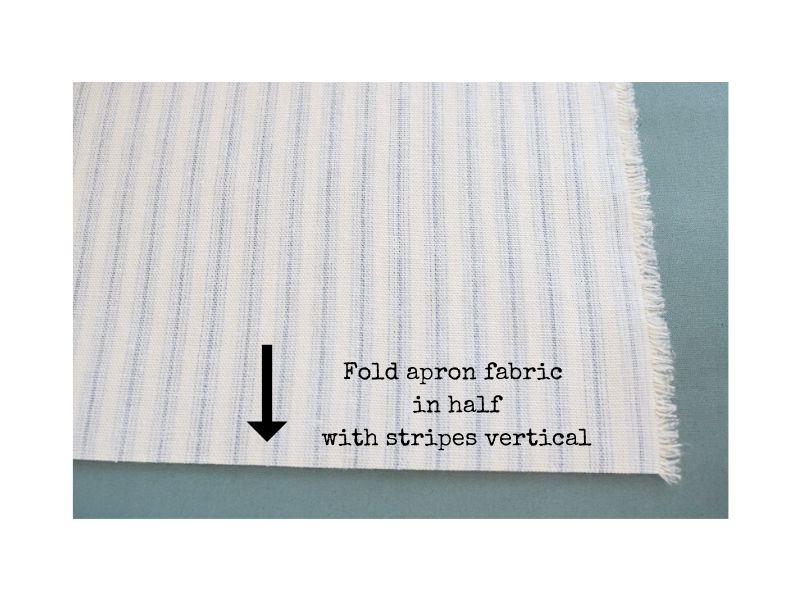
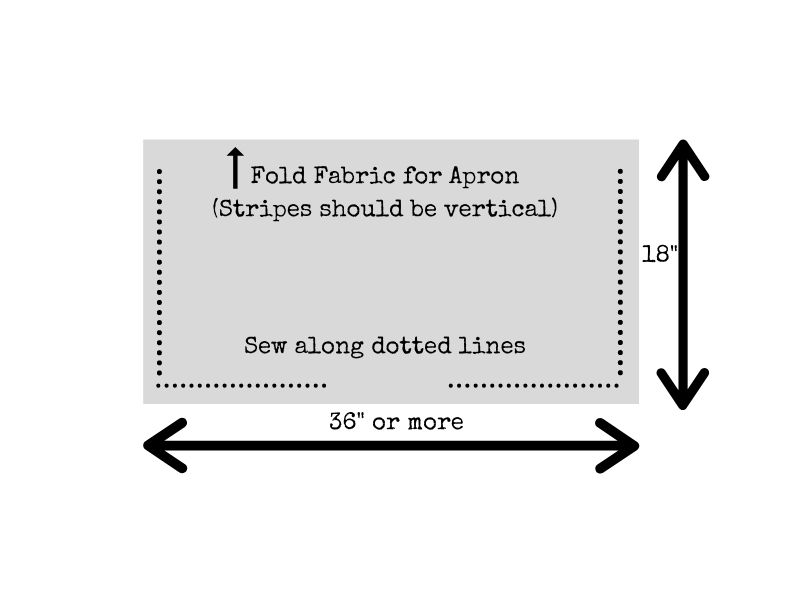
Fold the main apron piece in half Right sides together with stripes vertical and press at the fold. (see below) Your folded piece should measure 36” wide (or more) and 18” length. Lay the fabric back down with the fold at the top.
Cut the ribbon in half to create 2 apron ties, 40” long each.
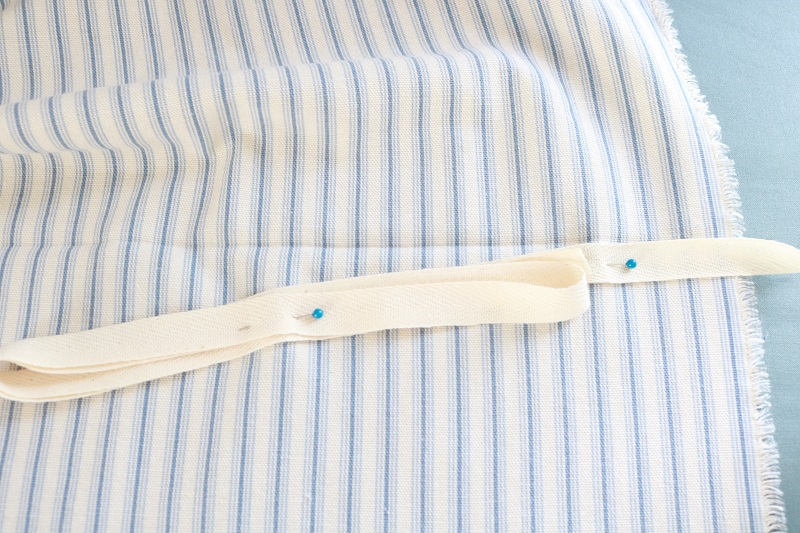
Open the folded apron piece and place one ribbon tie inside a top corner of the apron. You want to pin the edge of the ribbon under the apron fold and leave about 1” sticking out the side. Loop together the rest of the ribbon and pin inside a little lower. (see below). Repeat with other ribbon tie at opposite corner.
Fold apron piece Right sides together again and pin in place. (see below)
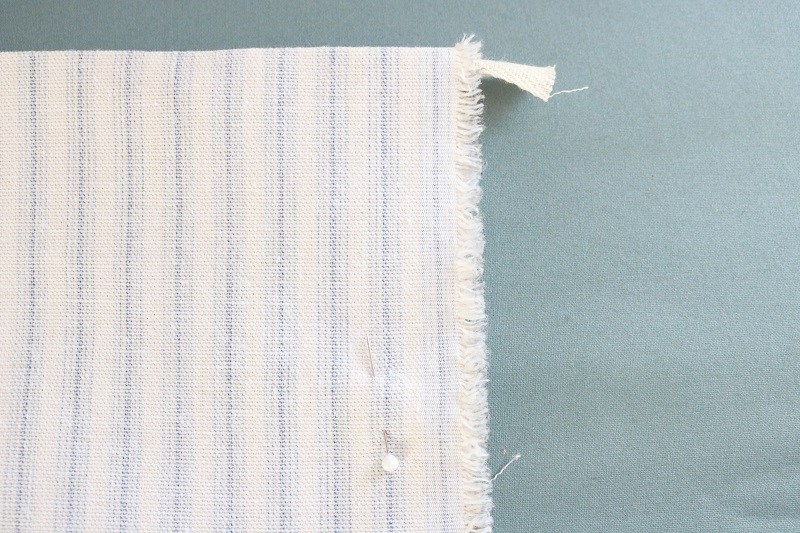
Next, sew ½” seam down the 2 sides of apron piece and across bottom raw edges, leaving a 4” gap in the bottom middle. (see below)
Clip bottom corners of apron, remove pins, and turn the apron Right side out.
Remove the pins holding the ribbon ties in place, then press the apron at the seams.
Reinforce the ribbon ties at the top corner of the apron by sewing an ‘X’ at the corners. (see below)
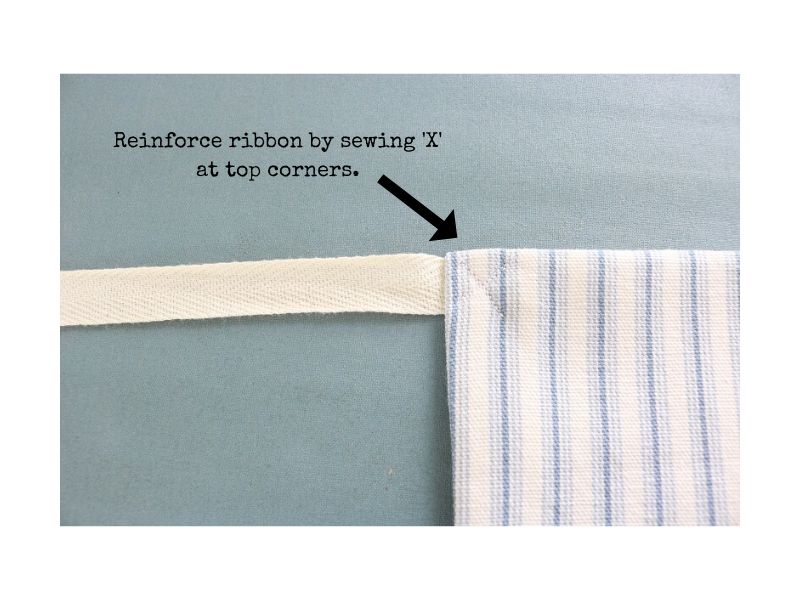
Sew ¼” seam across the bottom of the apron to close the gap.
Step 3 – Sew the apron pocket
Fold the apron pocket fabric in half so that stripes are horizontal, Right sides together. Your folded pocked piece should measure 13” wide by 7” length. Pin in place.
Sew ¼” seam down the 2 sides of pocket piece and across bottom raw edges, leaving 3-4” gap in the bottom middle. (see below)
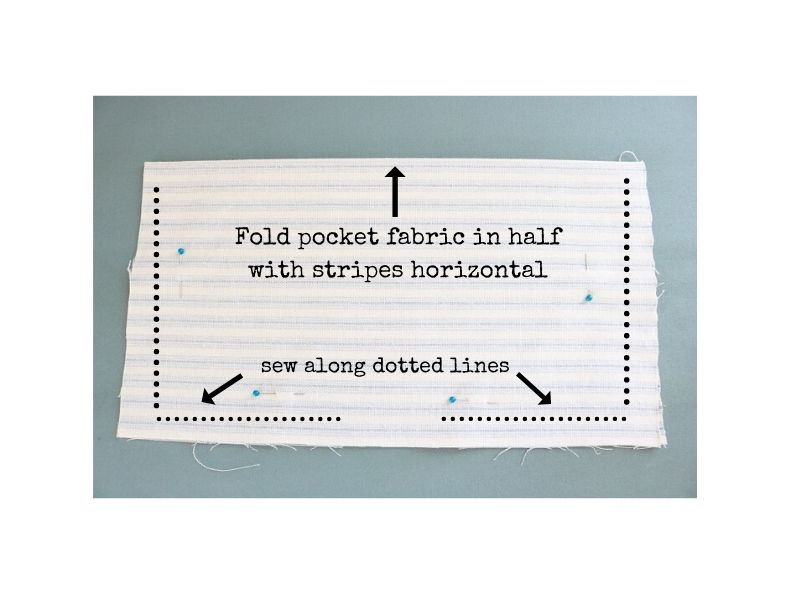
Clip corners of pocket, remove pins, and turn the pocket Right side out. (see below)
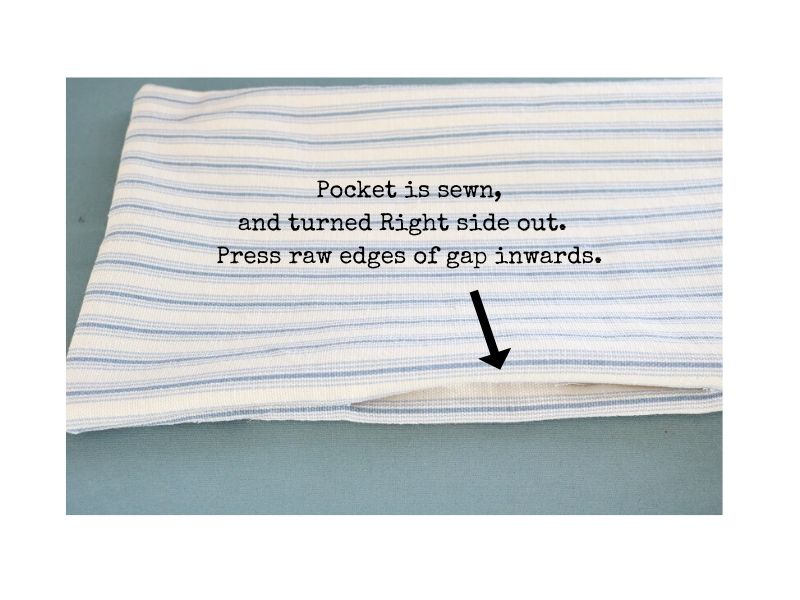
Press pocket at the seams.
Step 4 – Attach apron pocket to apron
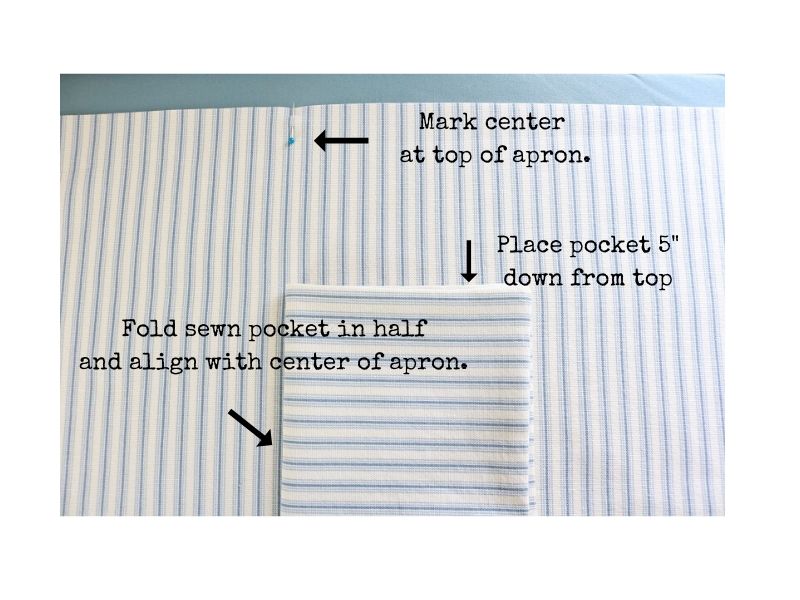
Fold apron in half vertically to find the center and mark it with a pin.
Likewise, fold the apron pocket in half vertically and align it with the pin, 5” down on apron. (see below)
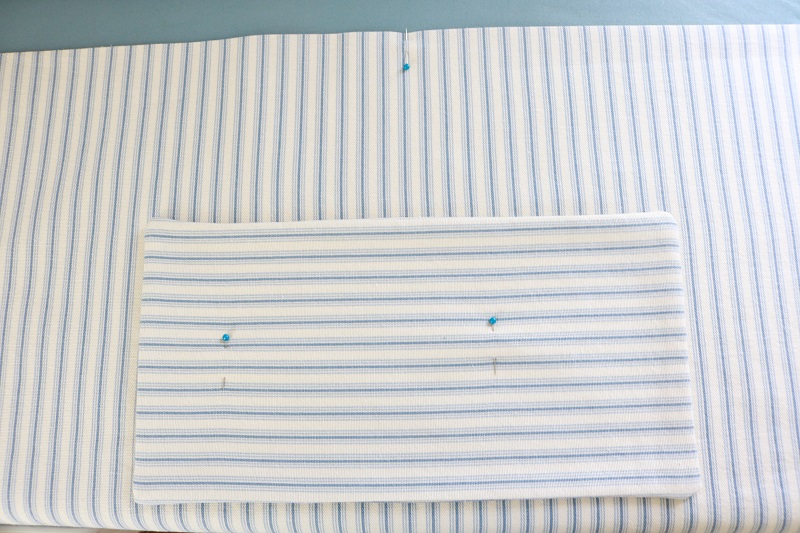
Unfold the pocket and lay it flat in the center. Pin in place to the apron. (see below)
Sew ¼” seam down the side seams and across bottom of pocket, closing its’ gap and attaching it to the apron. (see below)
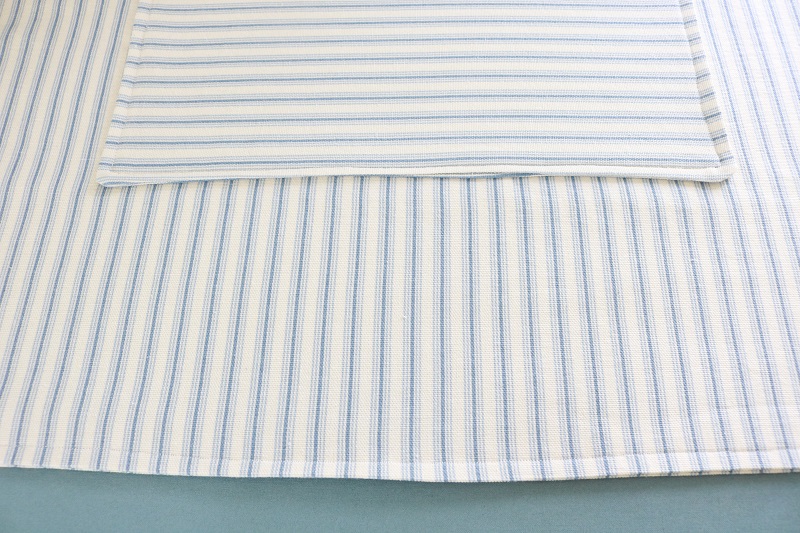
Make sure not to sew the top edge of the pocket – you want that open.
You are finished and can enjoy wearing your apron!
Now let me show you the apron in all its glory…
Farmhouse Style Pocket Apron in the Kitchen
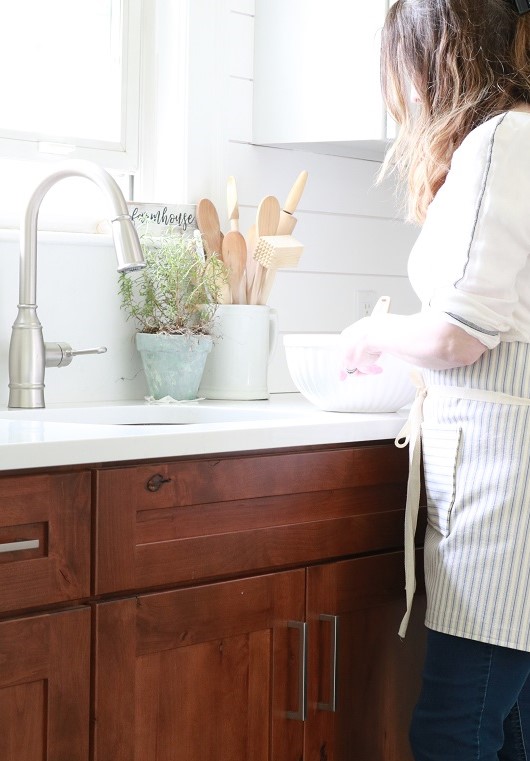
Here I’m wearing my finished apron in our modern farmhouse style kitchen. Did you notice that the ticking stripes match my towels?
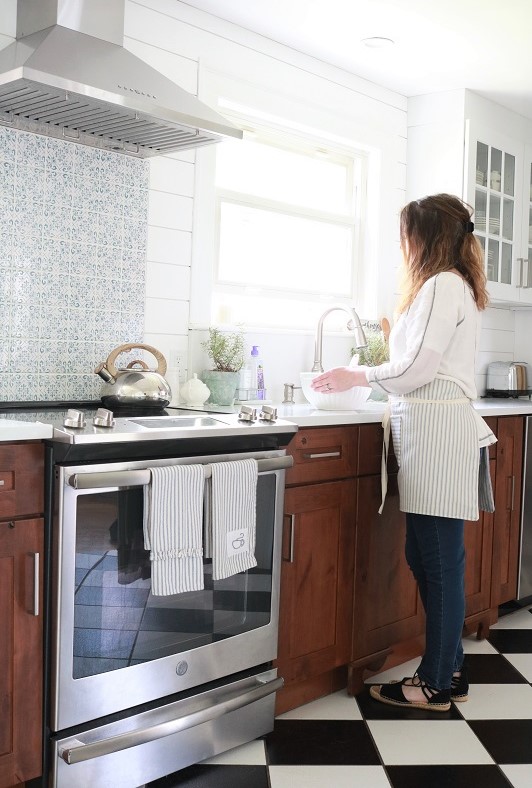
Quintessential farmhouse style includes rustic wood, shiplap, pretty tiles, and of course ticking stripes! I’ve got all the elements here and that makes me happy. 🙂
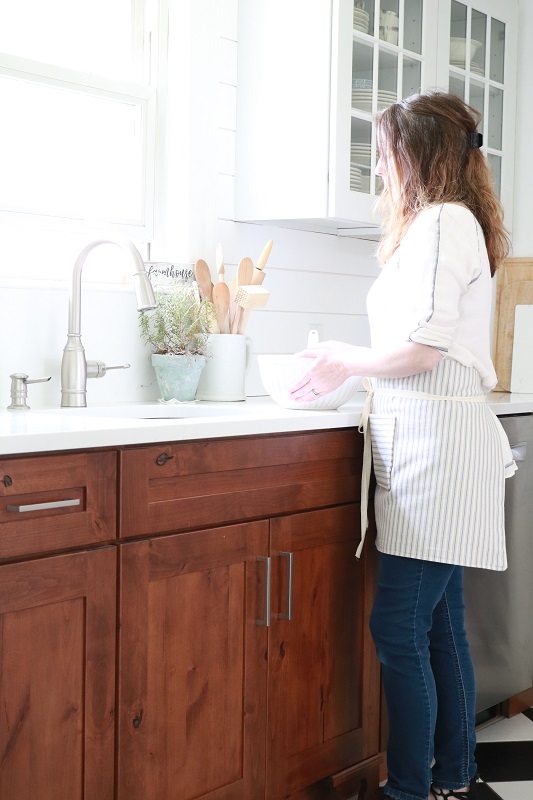
If you also love spending time in the kitchen or gardening, you will look fabulous doing so in the simple pocket apron.
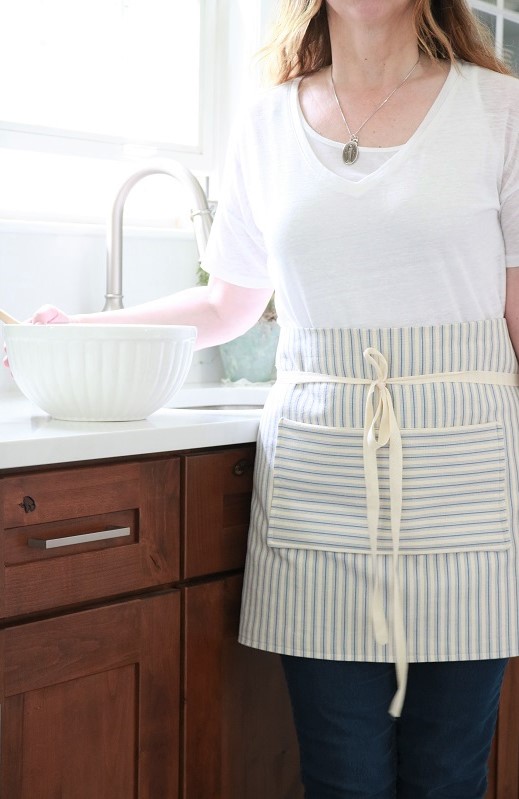
Half Apron Design
Along with the wide pocket, I designed the apron to have super long apron ties.
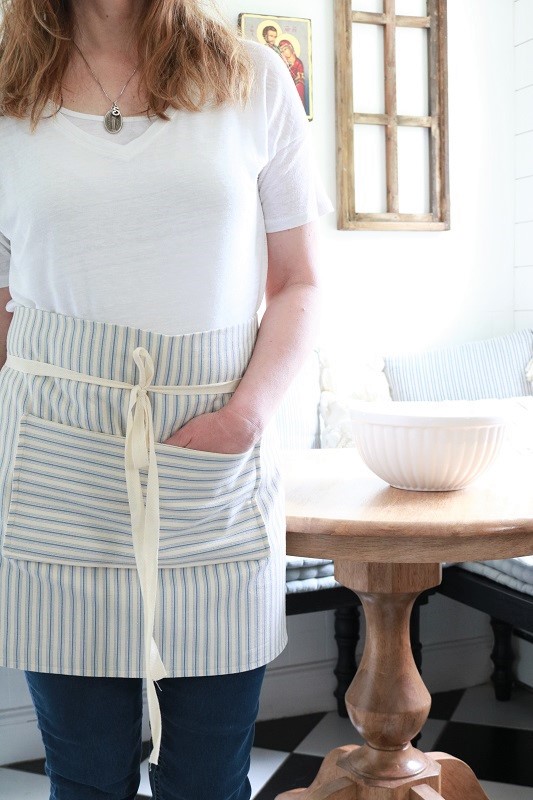
When you wear the apron, you simply cross the ties in the back…
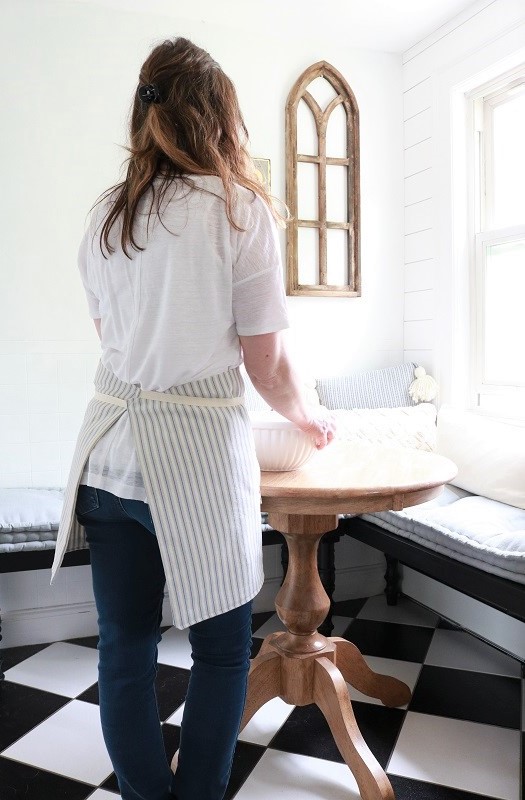
…and then tie them in a ribbon at the front.
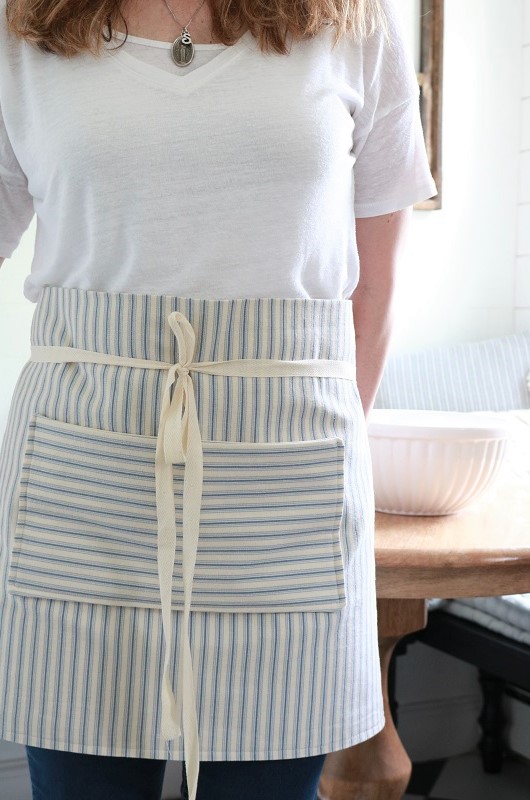
You’re ready to get to work!
===> Remember, you can find this pattern ad-free in my ETSY SHOP for a modest price. I hope you give it a try! <===
Hmmm…I guess I enjoy making aprons, because I also have two other apron patterns on the blog. Check out this simple (and popular!) cross-back apron pattern if you’d prefer a full apron or this easy white linen apron perfect for summer.
Want to remember this sewing pattern? Post this half apron to your favorite Pinterest board!


