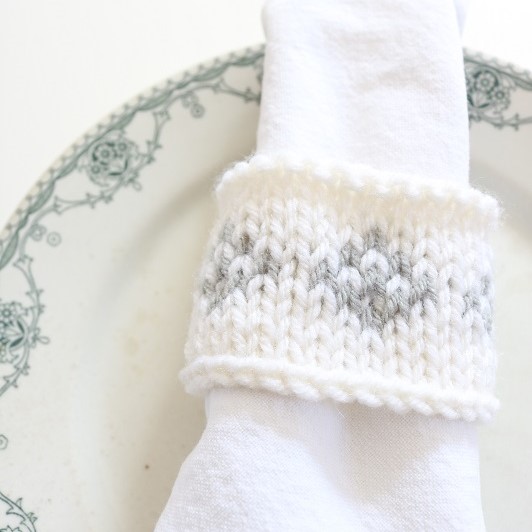
EASY Scandinavian Knitting Pattern for Napkin Rings
Do you love all things Nordic and Scandinavian inspired? I adore Scandinavian motifs in knitting patterns. They remind me of gorgeous winter sweaters. But how does one start tackling one of these patterns? The best way is to start with a SIMPLE pattern to build confidence. Today I have a very easy Scandinavian knitting pattern for napkin rings. They knit up quickly and can be the star of your table setting, whether for a pastel Easter table or a Hygge winter setting. Let your creativity loose!
Recently I sat down to put together this straight forward Scandinavian knitting pattern with my go-to neutral colors – cream and gray. If you are a regular to this blog you won’t be surprised by those color choices. Neutrals are wonderful! Each napkin ring took me only about 30 minutes to knit and I always appreciate a quick project. I bet you do, too, especially when you can create a winter napkin ring in no time. Your Nordic-loving friends will be so impressed at the dinner table.
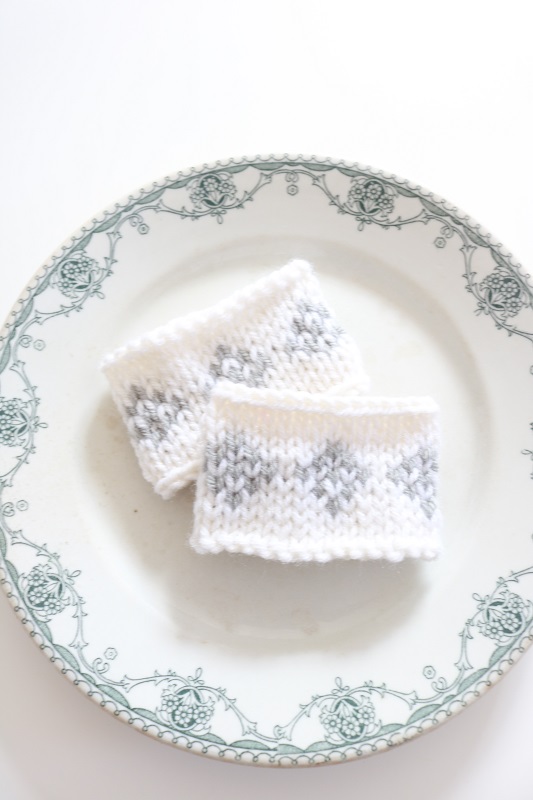
Keep reading to get the free knitting pattern…
This post may contain affiliate links. That means if you click and buy, I may make a commission at no cost to you. Please see my full disclosure policy for more details.
Scandinavian Knitting Pattern
Supplies
To knit four Scandinavian motif napkin rings, you will need the following supplies:
- 40 yards of Size 4 (Medium) yarn for your main color (MC in pattern). I used RED HEART SUPER SAVER JUMBO IN COLOR SOFT WHITE.
- 5 yards of Size 4 (Medium) yarn for your contrasting color (CC in pattern). I used Premier ‘Just Yarn’ Worsted yarn in color Ash. Find SIMILAR GRAY ACRYLIC YARN.
- Size 10 (6.00mm) KNITTING NEEDLES
- Tapestry needle, scissors
Knitting Abbreviations
CO – cast on
K – knit stitch
P – purl stitch
RS – Right Side (side that faces you when finished)
WS – Wrong Side (reverse side)
sts – stitches
Rep – repeat
Finished Size
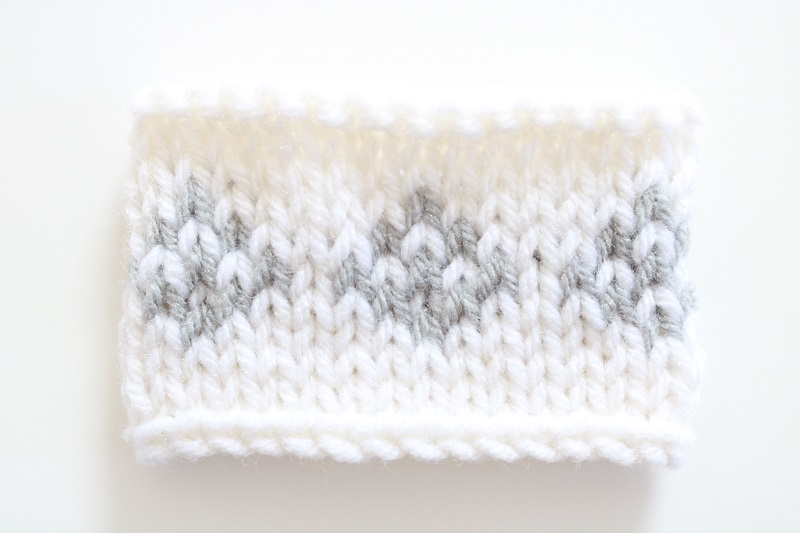
* The finished napkin ring will measure approximately 2″ height by 8″ circumference.
Special Notes about Charts and Stranding
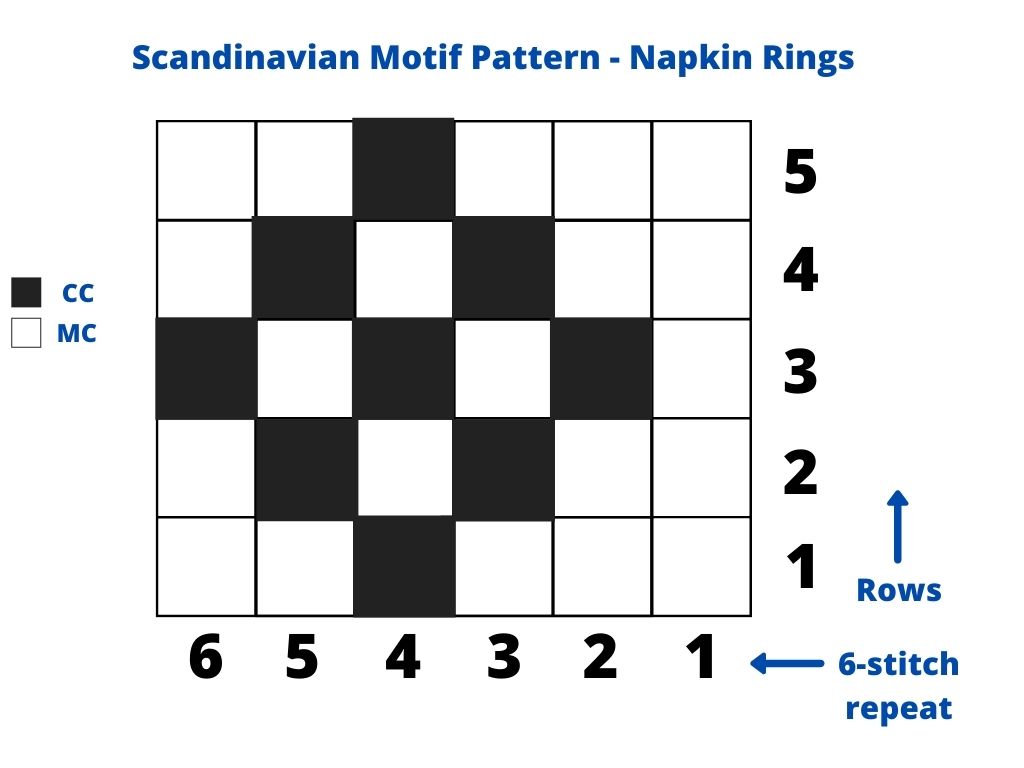
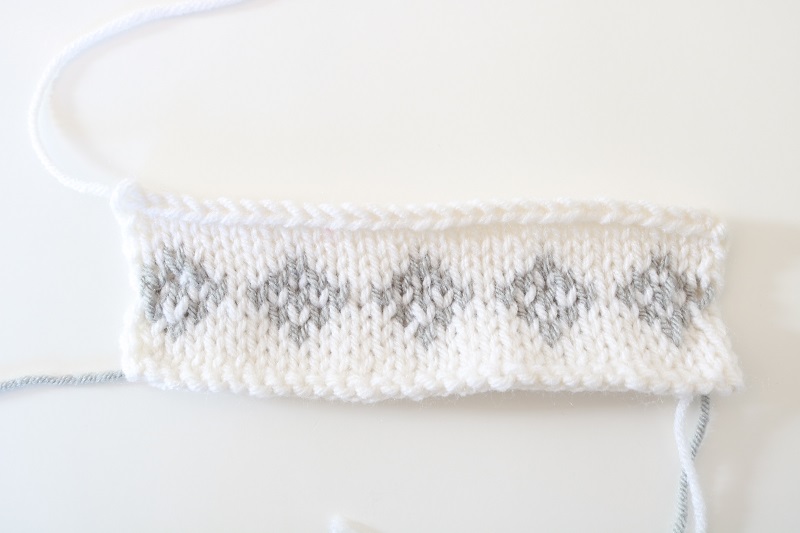
Most Nordic motif knitting patterns use a chart to visualize how the pattern will appear in your project. I have provided both a visual chart and the written pattern for the Scandinavian motif rows. They appear as a diamond.
The Scandinavian motif visual chart is shown below. It is worked in a pattern of 6 stitches and 5 rows. The white squares represent stitches in the MC (main color) and the black squares represent stitches in the CC (contrasting color):
This pattern requires you to use more than one yarn (MC and CC), which is also known as yarn stranding. You will want your main color (MC) to serve as the background color for this pattern, and the contrasting color (CC) serves as the dominant color. The dominant color should ‘pop’ out a bit from the background color.
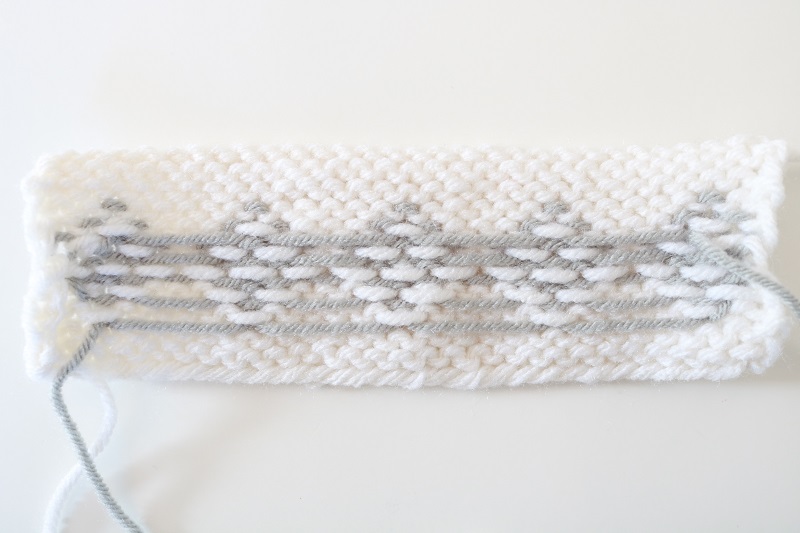
The ‘strand’ refers to the way each yarn will stretch across (strand or float) the wrong side (WS) of your project when not being used. In order to achieve this color dominance during your knitting, just remember to keep the dominant color (CC) stranded below the background color (MC) on the WS and vice versa – keep the background color (MC) stranded above the dominant color (CC). (I show you a photo of how this looks in the pattern below).
Nordic Knitting Pattern Steps
Follow these steps to make one napkin ring, then repeat 3 times to make a set of 4 knitted napkin rings. You will be knitting in straight rows (back and forth).
Expect each napkin ring to take about 30 minutes to knit.
With size 10 knitting needles, CO 30 sts with MC.
Row 1 (RS): Knit across with MC.
Row 2: Purl across with MC.
Scandinavian Motif Rows:
(The following 5 rows align with the Scandinavian motif pattern chart located above)
Row 3: *K3 with MC, k1 with CC, k2 with MC; rep from * across.
Row 4: *P1 with MC, p1 with CC, p1 with MC, p1 with CC, p2 with MC; rep from * across.
Row 5: *K1 with MC, k1 with CC; rep from * across.
Row 6: Rep Row 4.
Row 7: Rep Row 3.
Back to Main Color Background:
Row 8: Purl across with MC.
Row 9: Knit across with MC.
Row 10: Purl across with MC.
Bind off with MC.
Cut CC yarn.
Below is a photo of what the WS (wrong side) of your napkin ring looks like with stranding.
I kept the dominant color Gray yarn below the background color Soft White yarn, and the Soft White above the Gray:
Cut MC yarn, leaving about 10″ tail. Use that to seam up the short ends of the napkin ring neatly with a tapestry needle.
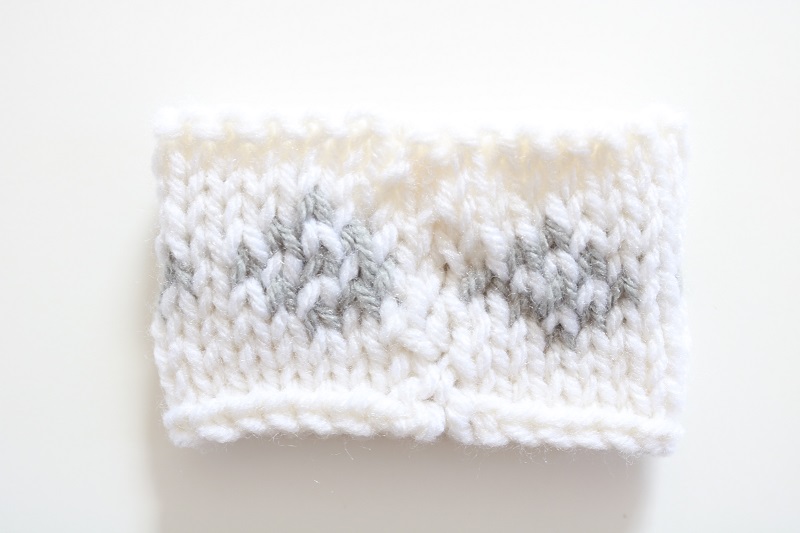
Weave in all loose ends.
Finished! You have officially completed a simple Scandinavian pattern.
Finished Knitted Napkin Rings
Once you have completed 4 or more knitted napkin rings, it is time to showcase your work!
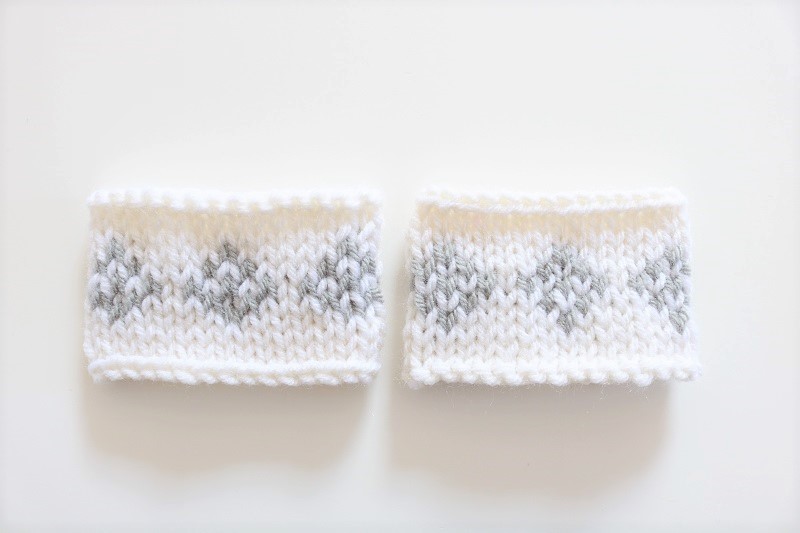
Just slip folded napkins inside the knit napkin rings and set on the table.

The neutral napkin rings would make a pretty addition to a spring Easter setting with pastel colors, or perhaps a Nordic style winter table with Hygge elements in mind.
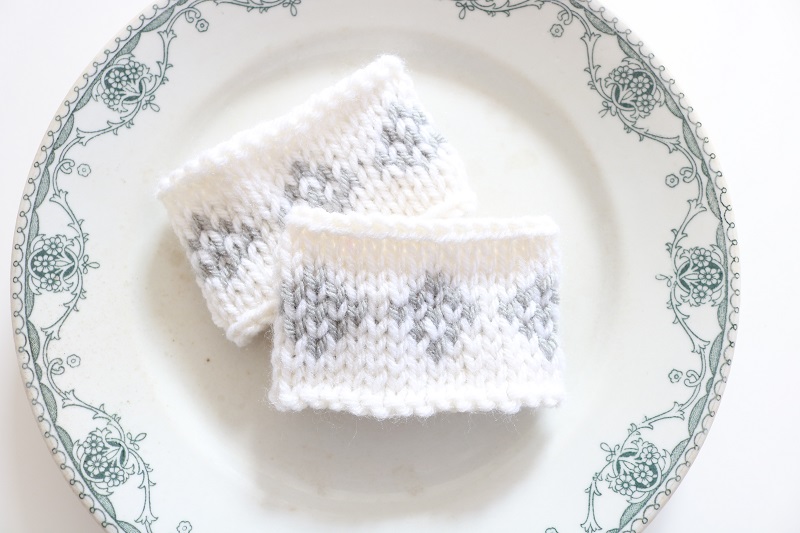
You could tuck in a personalized place card under the napkin ring for a unique touch.
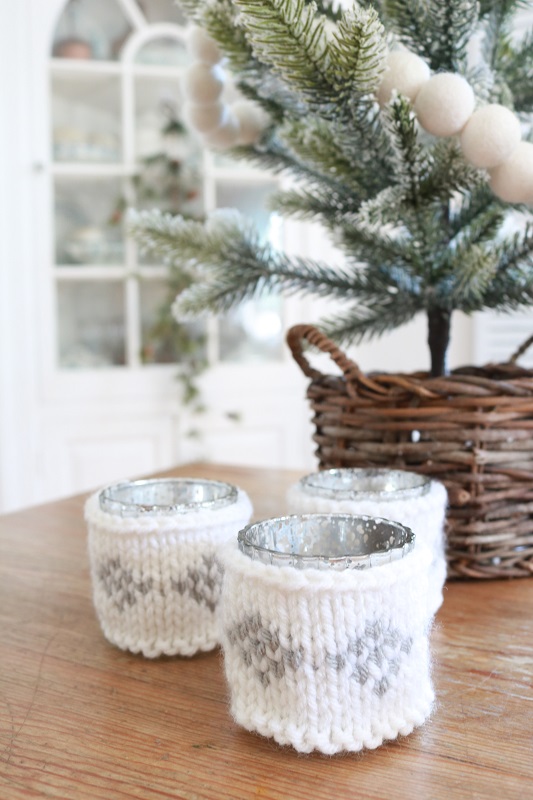
And why not use the napkin rings as mini votive candle cozies, too! Just make sure to wrap them around a candle holder, not directly around the candle:
Now that you know how to knit a Scandinavian motif, you can attempt more complicated stitch patterns. You will find most knitting patterns with a Nordic style pattern will provide a stitch chart, in order to visualize the resulting design. I think it helps to be able to read both the chart and written instructions for these designs. The more you learn and practice, the better you will get at these beautiful stitches.
Check out my FAVORITE KNITTING AND CROCHET BOOKS, where I refer to a fabulous book of Scandinavian Motif patterns.
I also have a CABLE STYLE KNITTED NAPKIN RING PATTERN if you are interested in a different look.
Find more knitting patterns in my ETSY SHOP.
Share this Scandinavian napkin ring pattern with your friends or pin for later…
===> BE SURE TO PIN THIS SCANDINAVIAN KNITTING PATTERN FOR LATER! <===


2 Comments
Jan
I love this idea, and plan to make several for my table! I am thinking of adapting the pattern for a table runner, and/or placemats. Thanks so much. You are a creative wonder!
Susan
What a wonderful idea to carry the pattern over to a table runner or placemats! Let me know how they turn out – I would love to see them. Enjoy, and thanks so much for the sweet comment.