
DIY Open Shelving in the Kitchen
Are you a fan of open shelving in a kitchen? I know there are pros and cons to having them and those should be considered. For instance, one pro is that they look fabulous and will showcase your farmhouse style wares. However, a con is that they can collect dust and dirt. I think the best decision is to use them sparingly. Recently I added DIY open shelving to our modern farmhouse kitchen and I LOVE how they turned out! Keep reading to see how easy & economical they were to install…
This post may contain affiliate links. That means if you click and buy, I may make a commission at no cost to you. Please see my full disclosure policy for more details.
Supplies to make 2 shelves
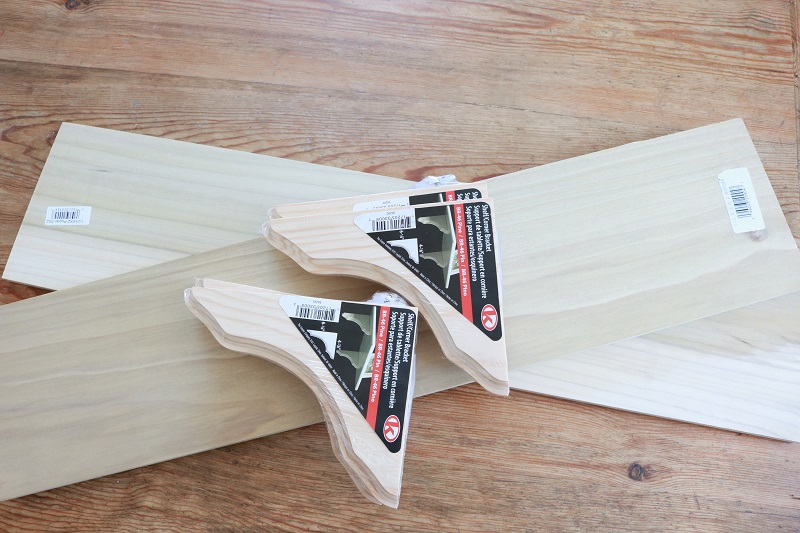
I purchased my wood pieces in a Lowes store, but you can find similar items there or at Home Depot.
- 4 wood shelf brackets, 4 7/8″ X 6 1/4″ (BR-46 Pine)
- 2 Poplar wood pieces for shelves, 1/2″ X 6″ X 24″
- light (small grit) sand paper, lint-free cloth
- white spray paint with primer, drop cloth
- polyurethane, brush
- drywall screws and anchors (if necessary), long enough to drill through shelf and top of bracket
- level, power drill


Prepare the wood pieces
To begin, you will want to prepare your wood corner brackets and shelf pieces for painting.
Use a small grit piece of sandpaper to lightly sand any rough edges on the wood pieces, then wipe with a lint-free cloth.
Paint the wood pieces
Lay your wood pieces out on a drop cloth or sheet, then spray paint them with the paint/primer. Paint the 2nd side of the shelves & brackets once the first side has dried.
After drying, spray paint another coat if necessary.
Finish by brushing on a coat of polyurethane to protect the wood. This is a good idea for shelves installed in a kitchen, where moisture and dirt can add up.
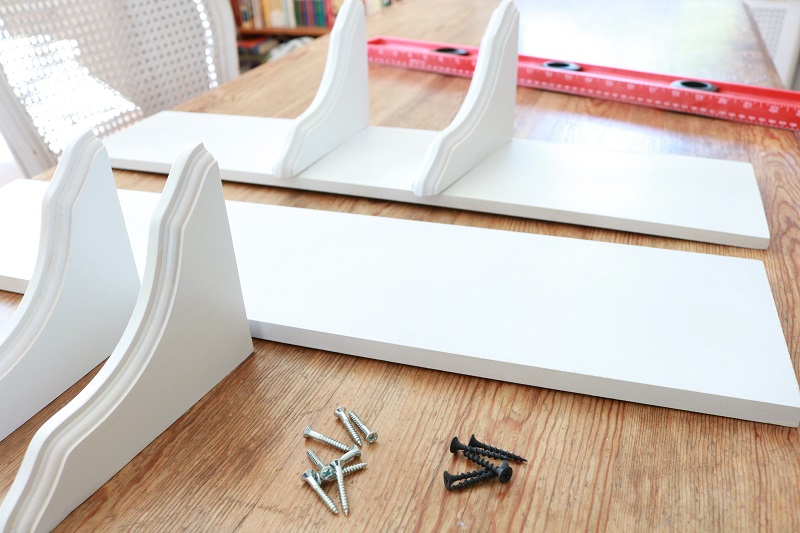
Attach the shelves to brackets
Next you’ll need to securely attach the 2 shelf pieces to the shelf brackets.
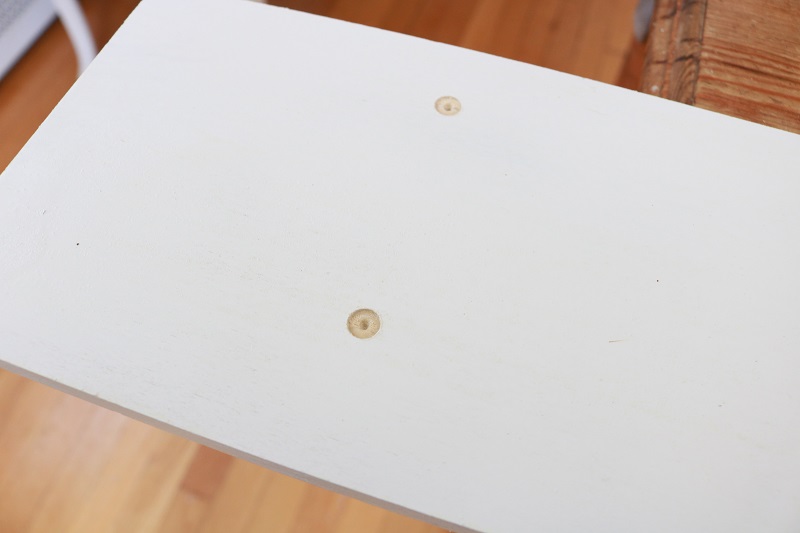
First, you will need to mark where your brackets will go on the underside of the shelves. For my 24″ shelves, I made my marks 4.5″ from each side edge. This placement will ensure the weight on the shelf is evenly distributed.
Once you’ve measured how far in from the edges, next you will make two marks there on the bottom of your shelf. The first mark will be 1″ from the back edge, and the second mark will be 4″ from the back edge. Do this for both brackets (4.5″ from each short side edge).
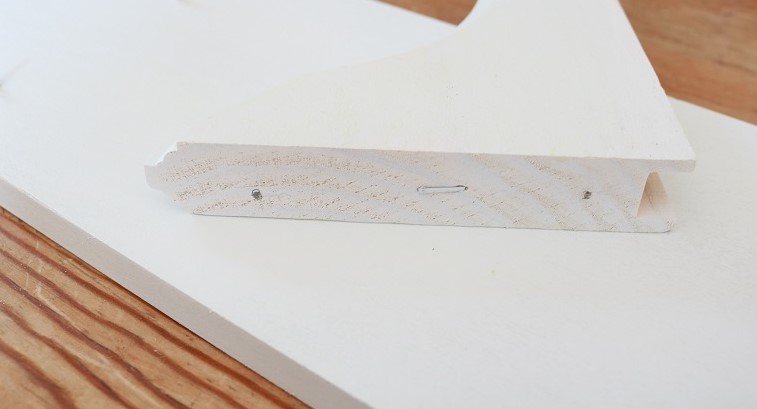
If you want your drywall screws to be inset on top of the shelf, use a wide enough bit to make a small inset circle at these two marks:
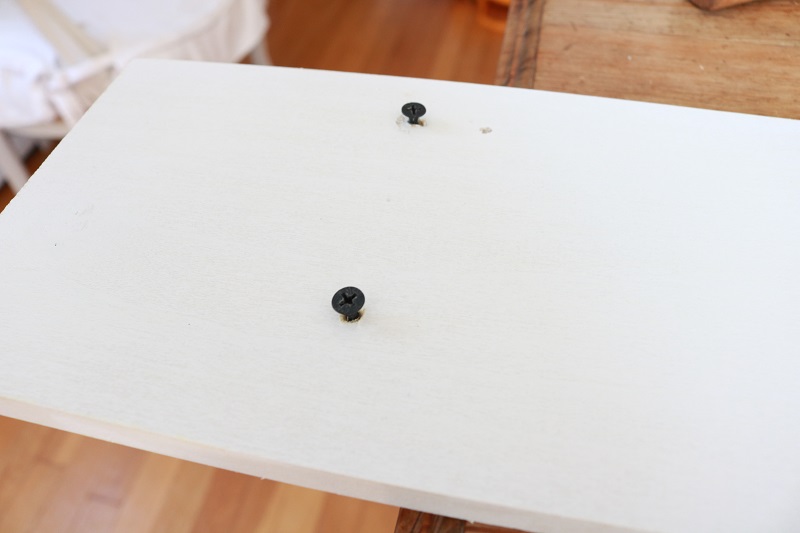
Next, pre-drill your drywall screws into these two marks so that the screw is just popping out from the bottom: (fyi – when I took the following picture I hadn’t made my circle inset for this shelf yet)
Now you will need to turn the shelf over and set the bracket on top of the screws that are popping out the bottom. You can use a level to align the bracket and make sure the edge of the bracket aligns with the back edge of the shelf (I didn’t do that precisely in this photo):

Push down on the bracket so that the screws popping out will make an indent on the top of the bracket. Mark these spots with a pencil:
Use these marks to pre-drill dry-wall screws into these holes:
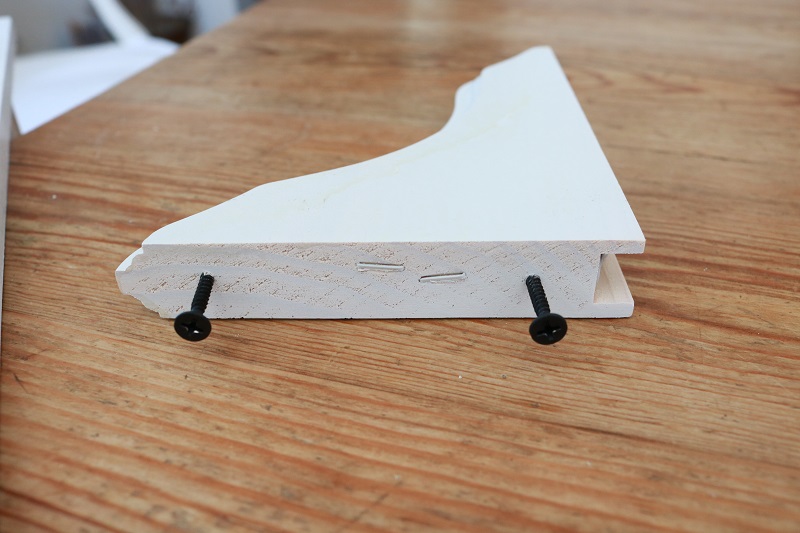
Lastly, take these dry-wall screws out of the bracket and simply drill the screws from the top of the shelf into the brackets to attach them. Once the screws are indented into the top of the shelf, you can cover the screws with spackle and paint to blend in.
Attach DIY open shelving to wall
Now arrives the fun part – securing your DIY open shelving to the wall!
It’s best to hang the shelves from a screw secured to a wall stud, but if your placement won’t allow that, you can use anchors. I didn’t end up using those, because I knew my shelves wouldn’t be holding anything too heavy.
First, determine where on the wall you want your shelves to go. Next, you can use this trick to mark the wall for your screws: tuck a bit of paper towel into the back of the bracket where it will hang from. Mark that exact spot with a bit of lipstick (you know you have some handy!). Do this on both brackets:
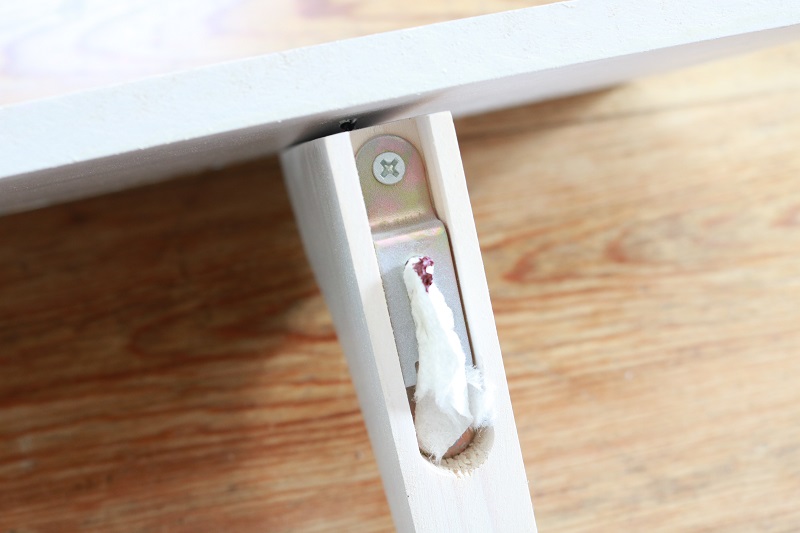
Using a level on top of your shelf, lean the shelf against the wall where you want it to hang. The lipstick will mark the wall where you need to put your drywall screws for hanging! (I didn’t get a photo of this since I was the one holding the level and shelf & couldn’t hold the camera, too. Where is my assistant?)
Secure drywall screws into those two marks, then hang your brackets on these two screws. Voila!
Styling the DIY Open Shelving
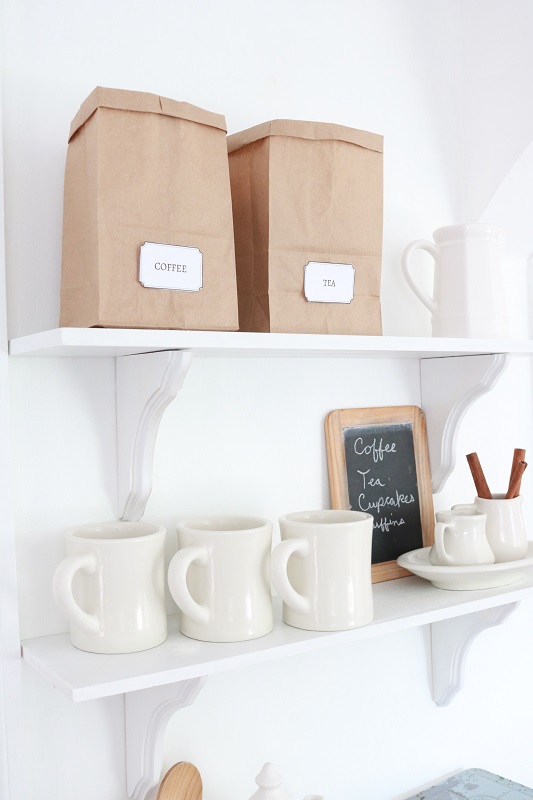
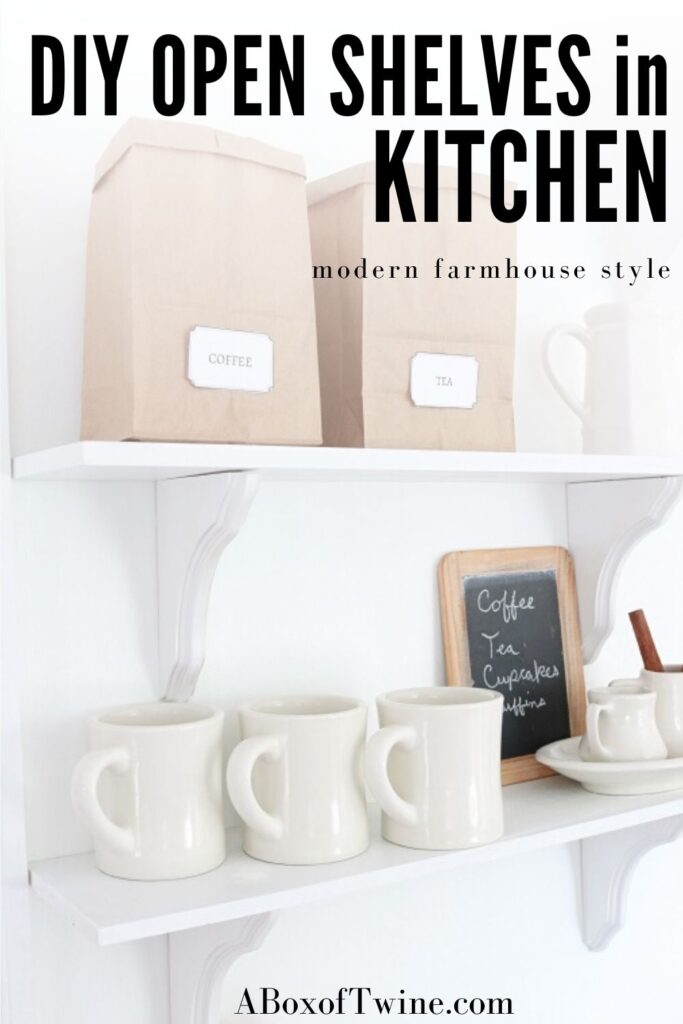
I installed my two open shelves at our coffee/baking station in the kitchen. We have a cart there with baking, coffee, and tea supplies. I had designed this area last year with a modern farmhouse and coffee house vibe in mind.
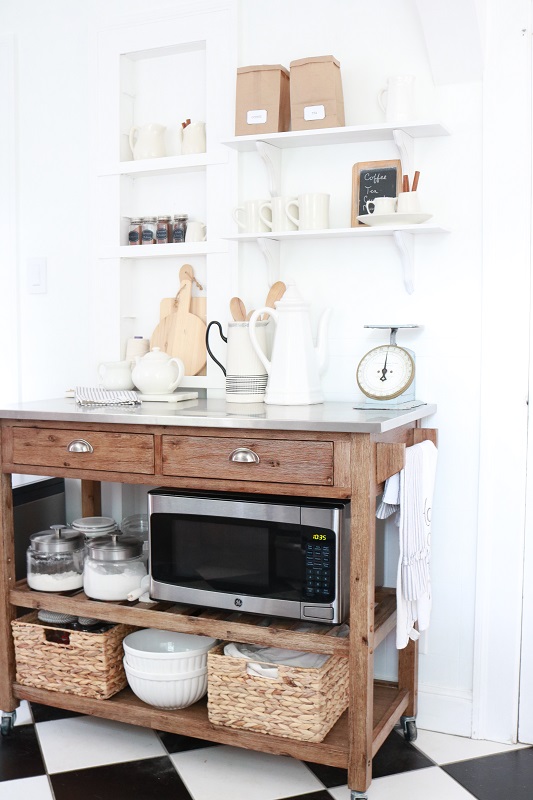
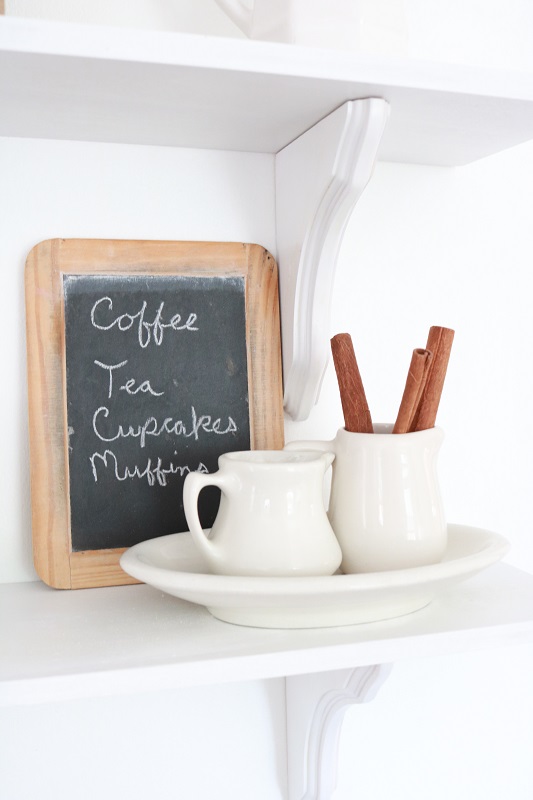
Since this is a small kitchen in a small house, storage is always a challenge. These new open shelves provide additional storage for my mugs, along with coffee, tea, and baking supplies. The little chalkboard menu adds a pop of black & wood.
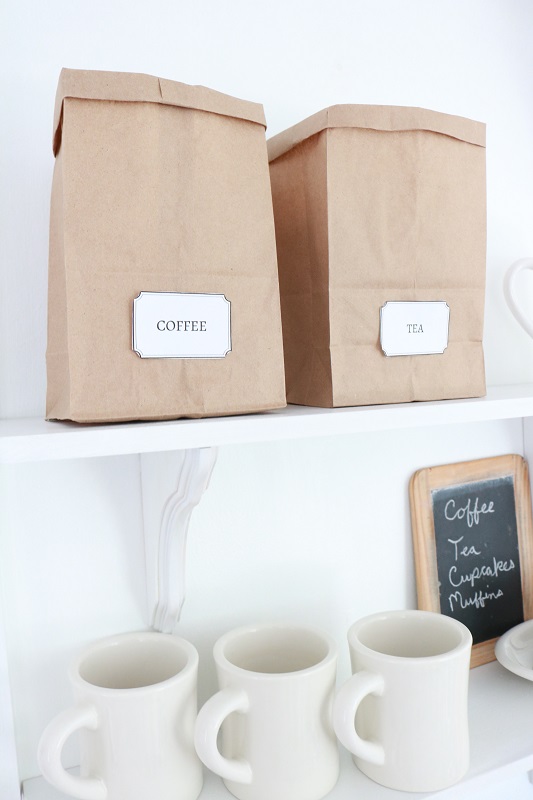
I used brown paper bags to create storage sacks for my coffee and tea. Let’s face it – the coffee & tea packages aren’t always pretty enough for open storage. You’d be surprised where I got my inspiration for these storage sacks – the Little House on the Prairie TV series! The kitchen labels are free to my email subscribers! Check them out in this paper bag craft post.
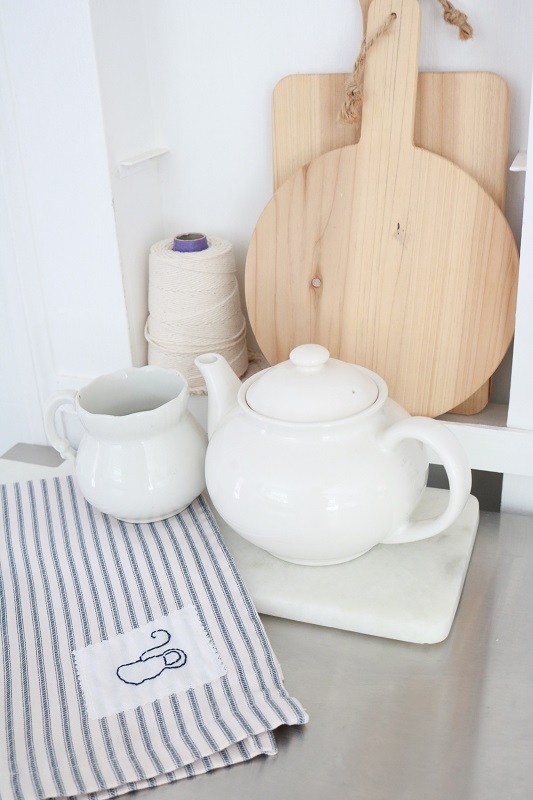
Since this cart is all about coffee, tea, and baking, I made sure to include my hand-embroidered tea towel in the mix.
I hope this post inspired you to take on the easy task of DIY Open shelving in your kitchen. They add panache and functionality to any farmhouse style kitchen!
Want to remember this idea? Post this DIY open shelving tutorial to your favorite Pinterest board!


2 Comments
Shannon
I love how this turned out! I feel like open shelving is such a fun touch to add to any space! I am having my kitchen cabinets painted this week & would love to add some shelves to display my cute dishes and glasses after. Thanks so much for sharing yours!!! I am feeling inspired haha.
Susan
So happy to hear you like the shelves, Shannon. Best of luck with your kitchen cabinets painting and hope you get to add some open shelves!