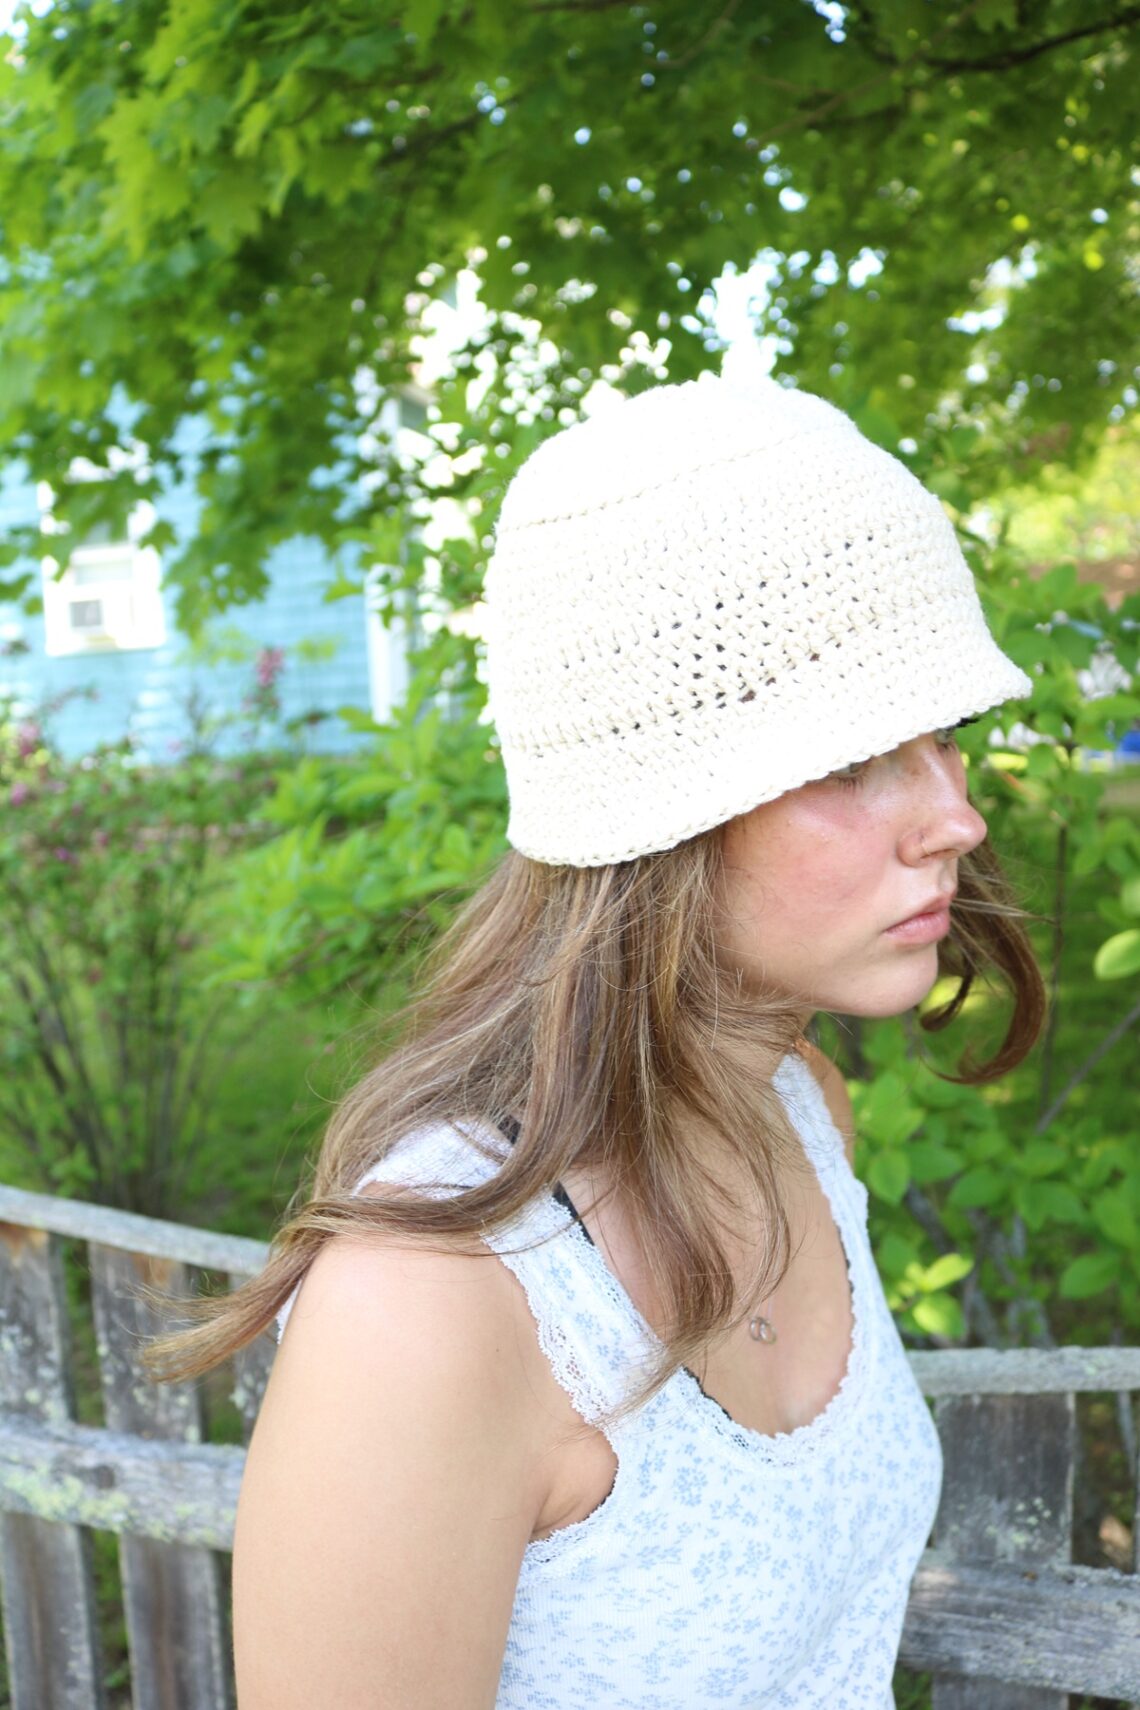
How to Crochet a Bucket Hat | Free Easy Pattern for Beginners
First Published: June 2021 | Updated: July 2026 | Skill Level: Beginner | Technique: Single & Half Double Crochet | Season: Spring/Summer
If you’ve been looking for a free crochet bucket hat pattern that’s simple enough for a beginner but stylish enough to wear every single day this summer, this is the project for you. This easy crochet bucket hat uses just two stitches, single crochet and half double crochet, to create a textured, structured hat with a classic silhouette and a slouchy, slightly floppy brim. It’s the kind of hat you’ll want to make in every neutral color you own.
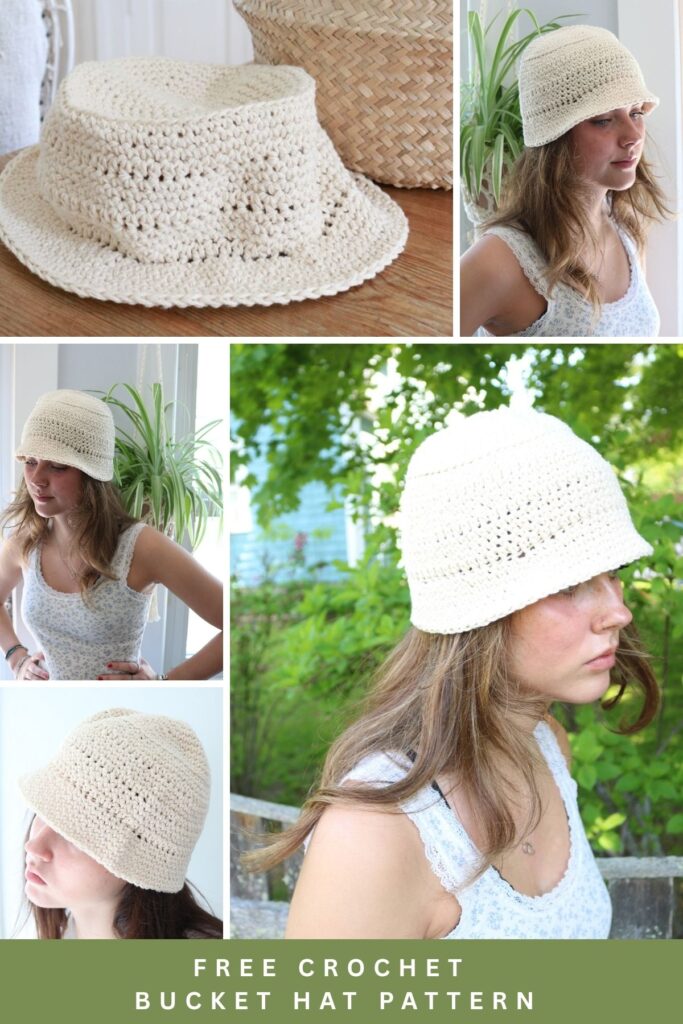
Bucket hats have had a serious style resurgence over the last few years, and the crochet version brings even more texture and interest than a fabric one. This pattern adds a few rows of half double crochet as subtle textured “stripes” through the sides, giving it a little extra detail without adding difficulty. Make one for yourself this weekend, then make a few more for friends. You’ll be surprised how quickly it works up.
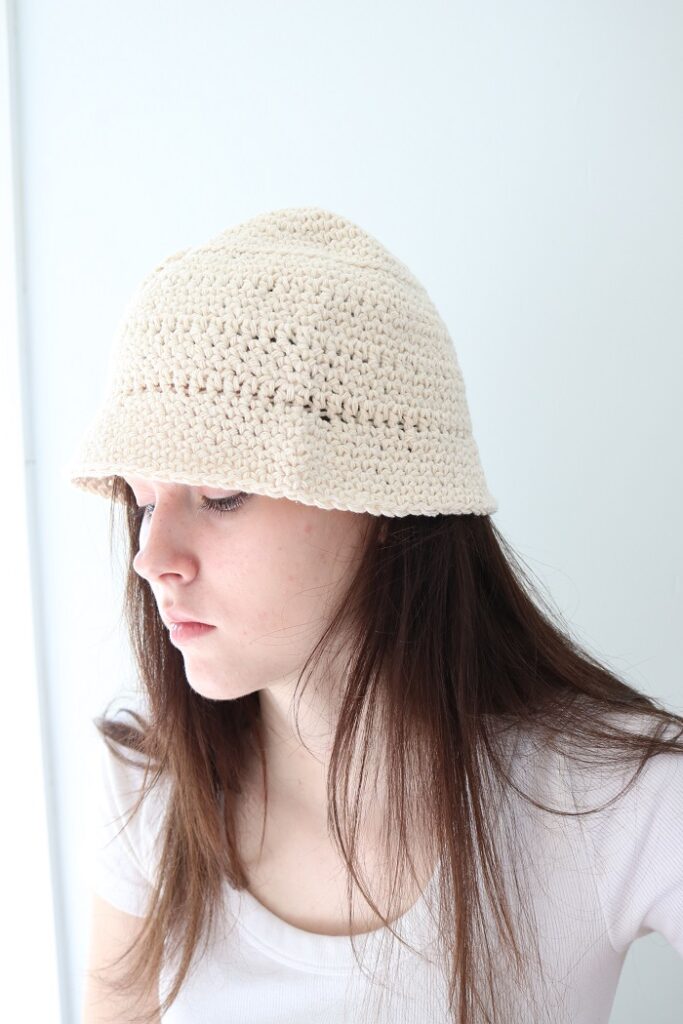
Why You’ll Love This Free Crochet Bucket Hat Pattern
This isn’t just another summer hat, it’s a fast, satisfying make you’ll reach for on repeat. Here’s what makes this crochet sun hat pattern so special:
- Only two stitches needed. The entire hat is worked in single crochet (sc) and half double crochet (hdc), making this a true beginner-friendly crochet hat pattern.
- Worked in the round, no joining. The hat is crocheted in a continuous spiral, so there’s no seam and no need to join at the end of every round.
- Textured hdc “stripes.” A few rounds of half double crochet break up the sides for subtle, elevated texture you won’t find in a typical single-crochet-only hat.
- Quick weekend project. At about 4 hours of crochet time total, you can easily finish this hat over a weekend, or over a few evenings.
- Neutral and timeless. Made in a natural cotton colorway, this hat fits right into a quiet, neutral wardrobe and works for any season.
- Structured cotton fabric. Cotton yarn gives the brim and crown enough body to hold their shape, so the hat looks polished rather than floppy or limp.
- Completely free here on the blog. The full pattern is below!
This post may contain affiliate links. That means if you click and buy, I may make a commission at no cost to you. Please see my full disclosure policy for more details.
Crochet Bucket Hat Pattern
How do you crochet a bucket hat for beginners?
The bucket hat is a straightforward hat to crochet, even for beginners. Many patterns will have you use the single crochet stitch (sc) throughout the entire hat, which makes for a tight weave and simple stitching. I added a few hdc rows in my pattern, but it is still quite simple.
The hat will be crocheted in the round, and you will not need to join stitches at the end of each round. When working in the round, it is best to count stitches and use a stitch marker to mark the first stitch in each round. This is a good tip for both beginners and advanced crocheters. I am always losing count!
Supplies & Materials Needed
To make this crochet bucket hat, you’ll need the following:
Yarn
- Yarn Weight: Medium/Worsted Weight (Size 4)
- Fiber: 100% cotton
- Yardage: Approximately 145 yards
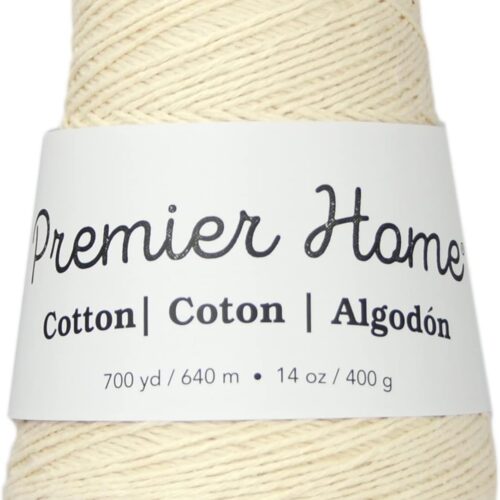
- Yarn used in sample: Premier Home Cotton in color Cream
Yarn Substitution Tip: Cotton yarn is key for this pattern. It gives the hat the structure it needs to hold its shape at the brim, and it keeps your head cool for warm-weather wear. Avoid acrylic if you want the same crisp, structured result.
Hook
- Size H (5 mm) crochet hook
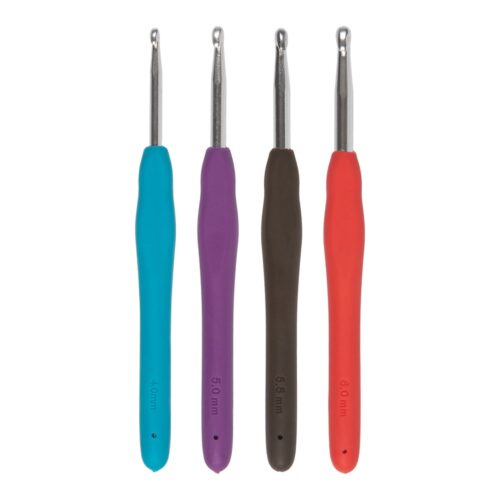
Crochet Notions
Abbreviations
US crochet terms are used.
Ch – chain
ST – stitch
SC – single crochet
HDC – half double crochet
BLO – back loop only
FLO – front loop only
PM – place marker (place the stitch marker in the first stitch)
MM – move marker (move the stitch marker to the first stitch of every round)
RS – Right Side
Rep – repeat
Finished Size
The finished hat measures approximately 6.5″ diameter at the top, 3.5″ in width along the sides, and 1.5″ wide at the brim. The circumference around the sides is approximately 23″.
Upgrade to the Printable PDF
The free crochet bucket hat pattern is below, but if you’d like an ad-free, printable PDF pattern with tutorial photos included, you can grab it here:
(The premium Ad-Free PDF can also be purchased on ETSY)
Crochet Bucket Hat Pattern
How Do You Crochet a Bucket Hat for Beginners?
A bucket hat is a wonderfully straightforward project, even if you’re newer to crochet. Most patterns use single crochet (sc) throughout for a tight, sturdy weave. This pattern adds a few hdc rounds for texture, but it’s still simple enough for a confident beginner.
The hat is crocheted in the round in a continuous spiral, so you won’t need to join at the end of each round. When working in the round like this, it helps to count your stitches and use a stitch marker to keep track of the first stitch in every round.
Gauge: Circle formed by rounds 1–6 = 3″ across. (Your initial circle at the top of the hat should measure 3″ in diameter after Round 6.)
Notes: Follow the pattern below to work the hat in the round. Each round displays as a spiral, not a joined round.
Some rounds include an increase, where you work 2 sc into one stitch at set intervals. This allows the circle to grow larger as you go. Expected stitch counts are noted at the end of each round.
A quick clarifying note on markers: the stitch marker should always sit in the first stitch of every round. When a new round begins with “2 sc in next st,” that next stitch is the one holding the marker (the first stitch of the previous round). After working those first 2 sc’s into that stitch, move the marker to the first of the two new stitches. That becomes the first stitch of the new round.
Top of Hat:
Using the Size H crochet hook, make a magic circle (aka magic ring) with your cotton yarn.
(Another option is to chain 4 sts and join to make a ring, then ch 1.)
Round 1: Work 6 sc into the ring. PM in first st made and in each following round, MM to keep it always in the first st of every round. Do not join since the hat is worked in a spiral. (6 sts)
Round 2: 2 sc in each st around. (12 sts)
Round 3: *2 sc in next st, sc in next st; rep from * around. (18 sts)
Round 4: *2 sc in next st, sc in each of next 2 sts; rep from * around. (24 sts)
Round 5: *2 sc in next st, sc in each of next 3 sts; rep from * around. (30 sts)
Round 6: *2 sc in next st, sc in each of next 4 sts; rep from * around. (36 sts)
This is a good place to stop and check your gauge. Your circle should measure 3” diameter at this point. If it doesn’t, switch to a different hook size to obtain gauge.
Round 7: *2 sc in next st, sc in each of next 5 sts; rep from * around. (42 sts)
Round 8: *2 sc in next st, sc in each of next 6 sts; rep from * around. (48 sts)
Round 9: *2 sc in next st, sc in each of next 7 sts; rep from * around. (54 sts)
Round 10: *2 sc in next st, sc in each of next 8 sts; rep from * around. (60 sts)
Round 11: Sc in each st around. (60 sts)
Round 12: *2 sc in next st, sc in each of next 9 sts; rep from * around. (66 sts)
Round 13: Sc in each st around. (66 sts)
At this point the top of your hat should measure about 6.5” diameter. If you would like a little wider hat, add one more round as follows to bring it to about 7” diameter:
Extra Round: Sc in each st around. (66 sts)
Sides of Hat:
Here’s where a few hdc rounds add “striped” texture to the sides. For a bolder look, try a contrasting cotton yarn color for the hdc rounds to make the stripes pop.
Round 14: Sc in BLO of each st around. (66 sts) (the BLO technique creates the visible “rim” separating the top of the hat from the sides)
Round 15: *2 sc in next st, sc in each of next 10 sts; rep from * around. (72 sts)
Round 16: Sc in each st around. (72 sts)
Round 17: Ch1 (doesn’t count as st), hdc in each st around. (72 sts) (note – PM in the first hdc, not the ch 1)
Rounds 18-20: Sc in each st around. (72 sts)
Round 21: Ch1 (doesn’t count as st), hdc in each st around. (72 sts)
Rounds 22-25: Rep rounds 18-21. (72 sts)
The sides of your hat should now measure about 3.25″ in width.
Brim of Hat:
The brim is worked entirely in sc stitches for a firm, structured edge.
Round 26: *2 sc in FLO of next st, sc in FLO of each of next 11 sts; rep from * around. (78 sts)
Round 27: *2 sc in next st, sc in each of next 12 sts; rep from * around. (84 sts)
Rounds 28-32: Sc in each st around. (84 sts)
The brim should now measure about 1.5″ wide. Feel free to repeat Round 32 for a wider brim, if you’d like.
Sl st into the first st of the round to join.
Fasten off.
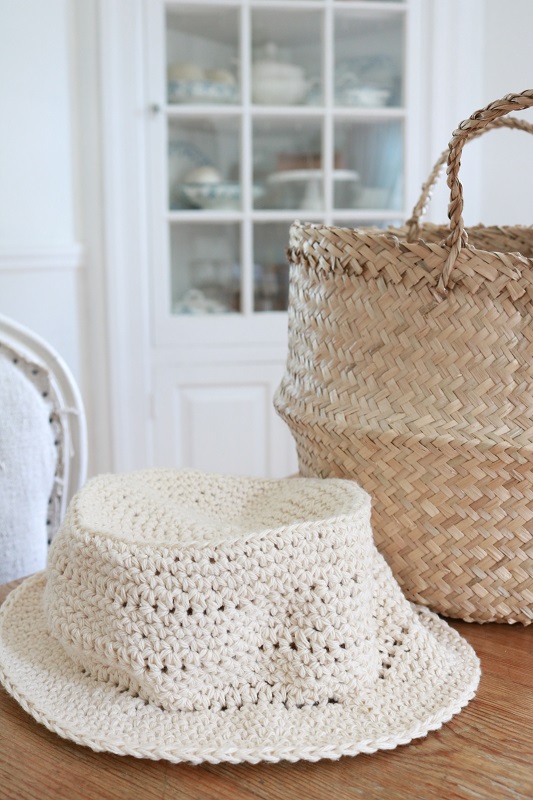
Weave in ends. Your crochet bucket hat is finished!
How Long Does It Take to Crochet a Bucket Hat?
This bucket hat took about 4 hours total to make. Plan on roughly 8–10 minutes per round for the sides and brim, with the top rounds moving a bit faster since they’re smaller. Most makers can finish the entire hat within a couple of days.
Tips to Customize Your Crochet Bucket Hat
One of the best parts of this pattern is how easy it is to make it your own. Here are a few ways to personalize your crochet bucket hat pattern:
Resize for a Bigger or Smaller Fit
If you need a wider hat, add an extra round after Round 13 (as noted above) to bring the crown to about 7″ in diameter before beginning the sides. For a smaller hat, simply skip that extra round, or stop the top rounds one round earlier and adjust the following stitch counts accordingly.
Try a Contrasting Color for the Stripes
Switch to a second cotton color for Rounds 17 and 21 (the hdc rounds) to make the textured stripes really stand out. This is a simple way to add visual interest without changing the stitch pattern at all.
Adjust the Height of the Sides
Love a taller, more slouchy bucket hat? Add a few extra rounds of sc (or additional hdc/sc round repeats) to the sides before starting the brim.
Change Up the Brim
For a wider brim, repeat Round 32 a few extra times. For a shorter, closer-fitting brim, stop a round or two early.
Use a Different Fiber
Cotton gives this hat its structure and cool, breathable feel, ideal for warm weather. If you’d like a cozier, cold-weather version, a wool or wool-blend yarn will give you a softer, warmer hat, though the brim may hold its shape a little less crisply.
How to Wear Your Crochet Bucket Hat
This hat is as easy to style as it is to make. Here are a few of my favorite ways to wear it:

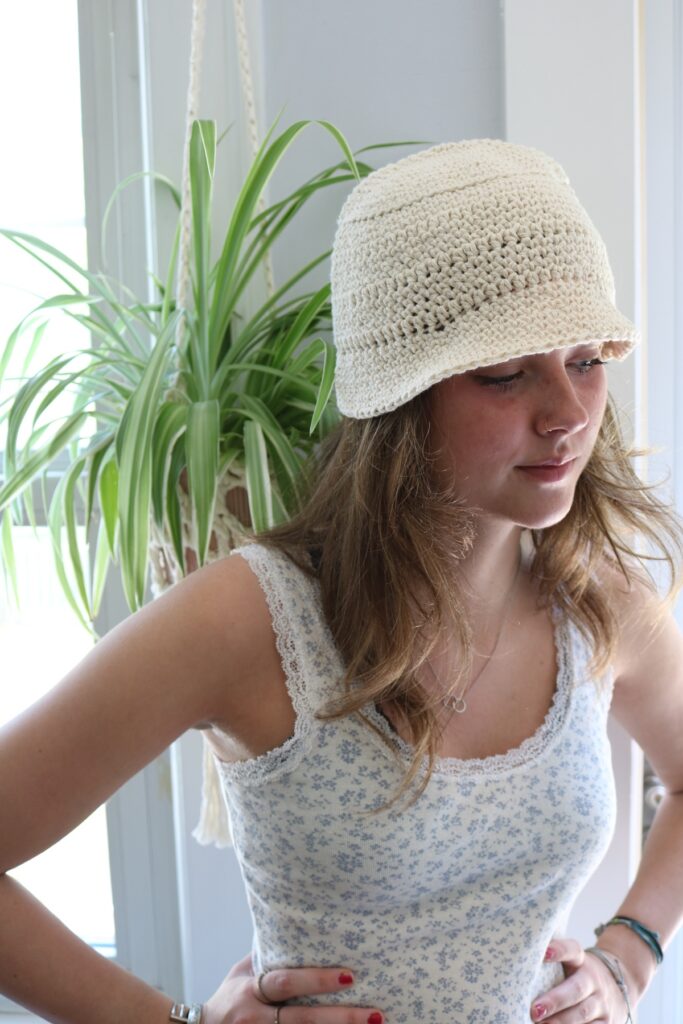
Brim up, all-around polish: Turn the brim up on all sides for a classic, put-together look that pairs beautifully with a linen dress or a simple white tee and jeans.
Brim down, easy and relaxed: Turning the brim down gives the hat a slightly more casual, mysterious air, perfect for running errands or a low-key beach day.
Beach and vacation days: Pair it with a linen cover-up and a canvas tote for an effortless coastal look. The cotton yarn keeps your head cool even in the sun.
Everyday neutral outfits: A cream or oatmeal bucket hat works with nearly everything in a neutral wardrobe: denim, white button-downs, linen, and natural fibers all pair beautifully.
Gift it: A handmade crochet bucket hat makes a lovely gift for a friend or family member who loves the Coastal Grandmother aesthetic, loose, casual, and full of neutral, natural texture.
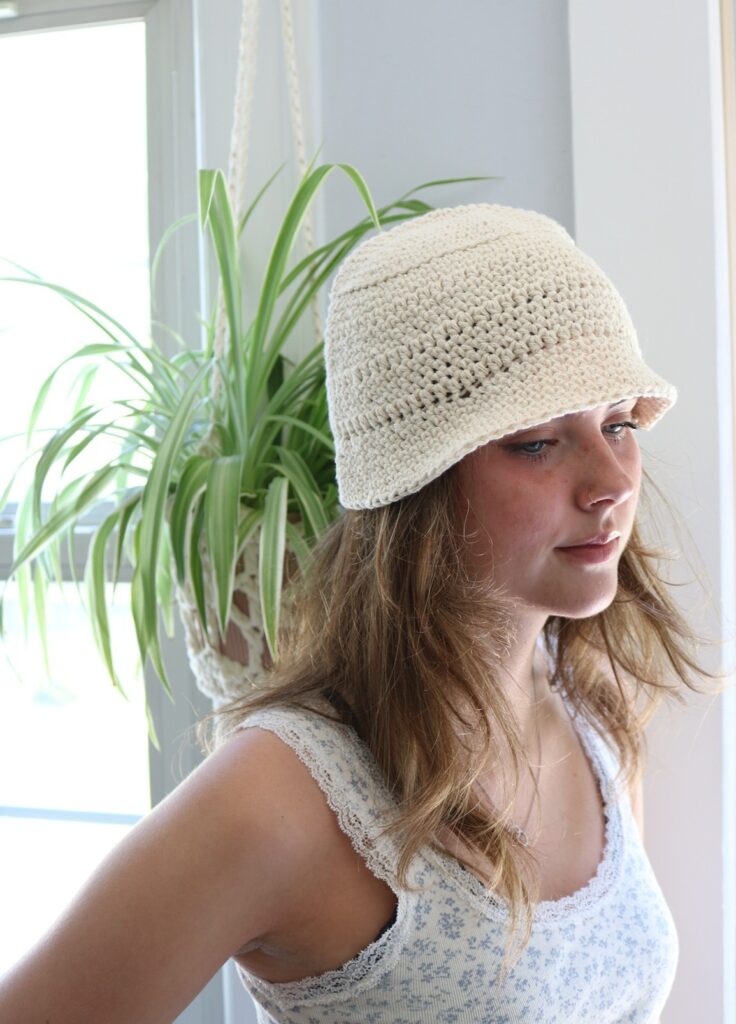
Send me pictures if you make one. I love seeing your finished work!
Related Crochet Hat Patterns You’ll Love
If you enjoyed this free crochet bucket hat pattern, here are a few more hat and headband patterns to add to your queue:
- Crochet Hats & Headband Patterns — Browse all of my crochet hat and headband patterns.
- Knit Hats & Headbands Patterns — If you knit as well, take a peek at these cozy options.
- How to Make a Knot Bag — A simple summer accessory to pair with your new hat.
Final Thoughts
There’s something so satisfying about crocheting your own accessories, especially a piece as wearable and trendy as this bucket hat. With just two stitches, a weekend’s worth of stitching, and a skein of cotton yarn, you’ll have a handmade hat you’ll reach for all season long.
Did you make this hat? I’d love to see it! Share your finished piece on Instagram and tag me @aboxoftwine so I can see your work. And if this free pattern was helpful, please share it with a fellow maker who’d love it too.
===> Remember to PIN for later! <===


15 Comments
Georgia Messer
thank you for this pattern! I didn’t do it in the rounds, I just did it in rose. and then I added an extra three singles and one half double on the sides. before I started the brim. then I added three flowers.
Susan
Wonderful! I’d love to see how it came out if you want to send an email. Enjoy the hat!
Cindy King
I have a question. On row 17, do you chain 1 in the last stitch of row 16, then half double crochet in the first stitch of row 17? Thank you.
Susan
Hi Cindy,
Great question. You chain 1 after the last stitch (sc) of round 16, then work a half double crochet (hdc) in first stitch of round 17 (the one with the stitch marker). After working that first hdc, move the stitch marker to that hdc (not the chain 1 since we’re not counting it as a stitch). Work in a similar way for Round 21.
Lillie
Hi there! I’ve made this bucket hat and my first one turned out lovely, although I am a little confused — when you say “2 SC in next stitch,” are you referring to the stitch that has the SM in it – aka the last stitch of the previous round, or do you mean the stitch after the one with the SM in it? I hope that made sense! I think I just am not sure if the SM is representing the first stitch of each round or the last stitch.
Susan
Great question – the stitch marker will always be placed in the FIRST stitch in every round. When you begin a new round that states “2 SC in next stitch”, the next stitch is the one with the stitch marker (the first stitch in the previous round). After you work those first 2 sc’s, move the stitch marker to the first of the two sc’s. Hope that helps! Thanks for asking, Susan
Molly
I’m new to crochet & crochet math & reading patterns….I’m wondering if this bucket hat pattern can be added on to for a larger size? Thank you.
Susan
Thanks for your comment, Molly. I will make some adjustments to the pattern to resize for a wider diameter.
Susan
Hi Molly,
I added some notes to the pattern recommending that you add an extra round after Round 13 if you want a slightly wider diameter. Hope that helps!
DAVEY
So Cute.. Thanks Susan..
Just found your web today.
I let you know when I have done with it..
elaine ramirez
Love this bucket hat! I made it and it turned out cute. For some reason row 26 did not add up to 76 for me. I retried several times.
I also made your cute napkin holders boho style. They look great and I made coasters to match.
Thanks so much for sharing your designs with us.
Elaine
Susan
Thanks Elaine! Glad you enjoyed the bucket hat pattern. I’ll double-check Row 26. 🙂 So happy you enjoyed the Boho holders, too!
Susan
Hi Elaine,
I went back to look at the pattern, and Round 26 is meant to have 78 stitches when finished. You were expecting 76? The previous round 25 had 72 stitches, then round 26 had 6 increases which would bring the total stitches up to 78. But no worries – it’s not the end of the world if your stitches were a little off. There is only one more round to increase (round 27), then it’s just sc’s for the rest of the rounds.
Molly
Thank you. I finished the hat. I really like it! It’s super cute.
I repeated 13. I also added two more increases (I called them 15a and 15b) and adjusted Rounds 26 & 27 accordingly.
Susan
That’s terrific, Molly! I think your changes to make the hat a little bigger sound perfect.