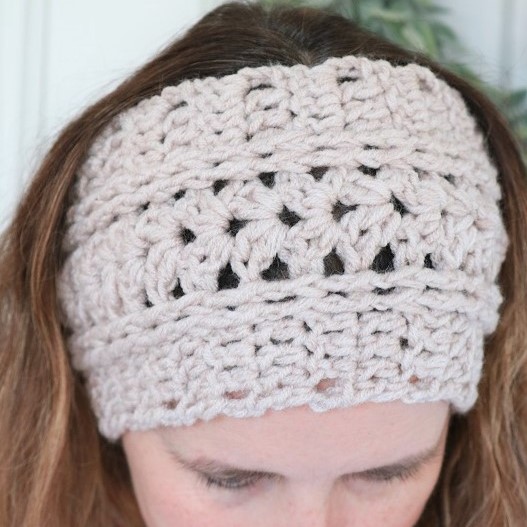
Free Crochet Pattern for Ear Warmer
This is the season for pretty hats, headbands, and ear warmers. We need to keep our ears warm in winter, and we may as well cover them with something pretty.
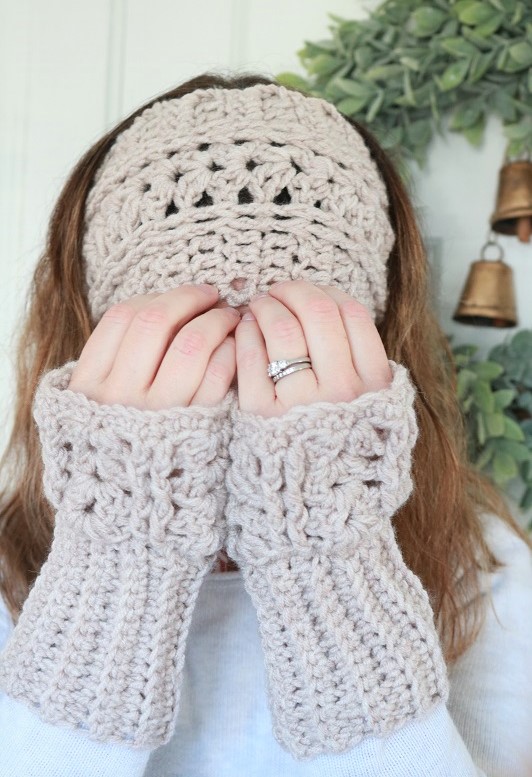
If you recall, I shared a crochet pattern for chunky fingerless mittens in the fall. Today I’ve got a new crochet pattern for an ear warmer using the same design. You can wear them together for those days when there’s a chill in the air.
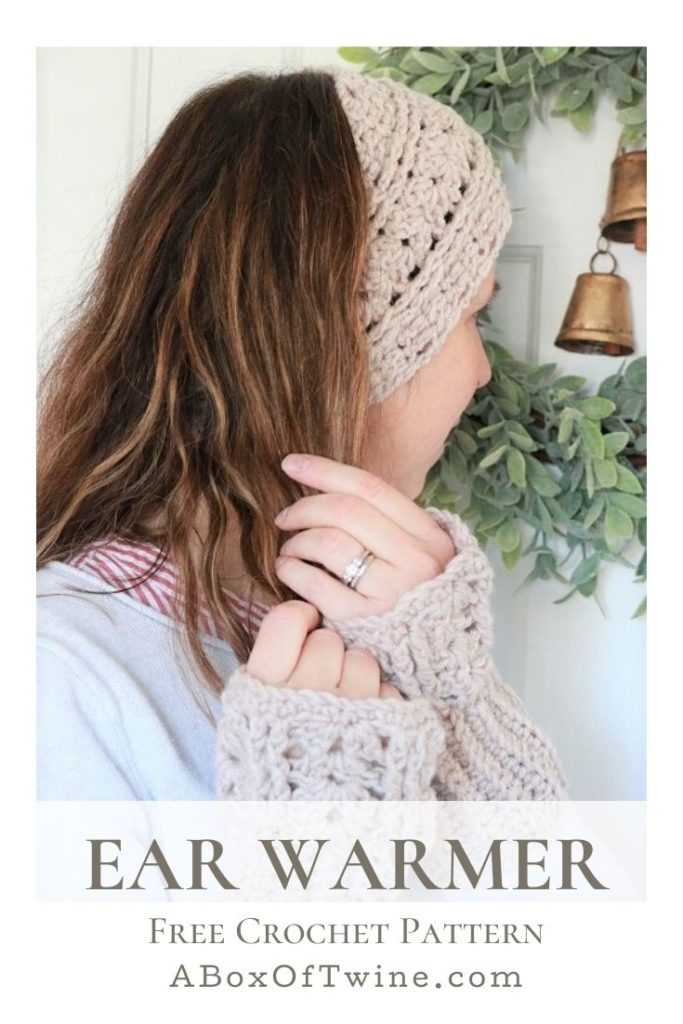
The pattern design gives a wonderful texture, while the neutral yarn compliments any wardrobe. Keep reading for the simple pattern…
This post may contain affiliate links. That means if you click and buy, I may make a commission at no cost to you. Please see my full disclosure policy for more details.
Chunky Yarn Ear Warmer
I specifically wanted to use chunky yarn for this ear warmer, because I wanted a cozy chunky texture that would crochet up quickly (and match the mittens!).
Supplies
- approximately 100 yards of size 5 chunky yarn (wool, or wool/acrylic mix). I used Downton Abbey Yarn ‘BRANSON‘, in the Oatmeal Cream color.
- size I crochet hook (5.50 mm)
- scissors, large needle to weave in ends
There are plenty of other Downton Abbey inspired yarns as well – just click this photo to see the listing:
Crochet Pattern
Abbreviations
Ch – chain
sl st – slip stitch
SC – single crochet
DC – double crochet
Sk – skip stitch
Sp – space
Ch-sp – the space you made in the previous row by chaining a certain number
FPDC – front post dc (Double Crochet through the ‘post’ as follows: YO, insert hook from front to back to front around post of designated stitch and draw up loop, then [YO and draw through 2 loops] twice)
BPDC – back post dc (Double Crochet through the ‘post’ as follows : YO, insert hook from back to front to back around post of designated stitch and draw up loop, then [YO and draw through 2 loops] twice)
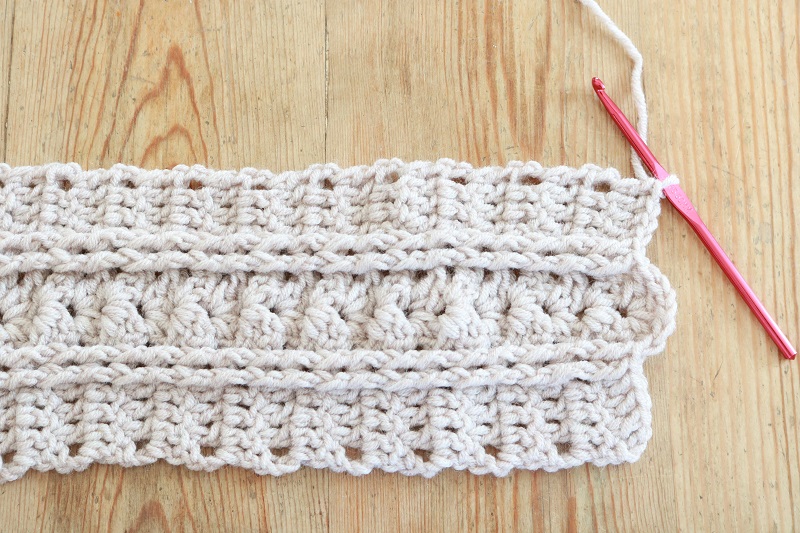
You will be crocheting the ear warmer in one long rectangular piece – it should measure approximately 5″ wide and 19-20″ long when complete. Once you are happy with the length, you will be stitching the short ends together with a seam.
Note – the last row will be a bit curvy with a ‘shell’ in center (last row on right in photo below).
Steps to make ear warmer:
Using size I crochet hook, chain 19.
Foundation Row: SC in 2nd ch from hook and in each ch across to end of row. (18 sts)
Row 1: Ch 3, DC in next 5 sts, Sk 2 sts, 2 DC in next st, Ch 2, 2 DC in next st, Sk 2 sts, DC in next 6 sts. Turn.
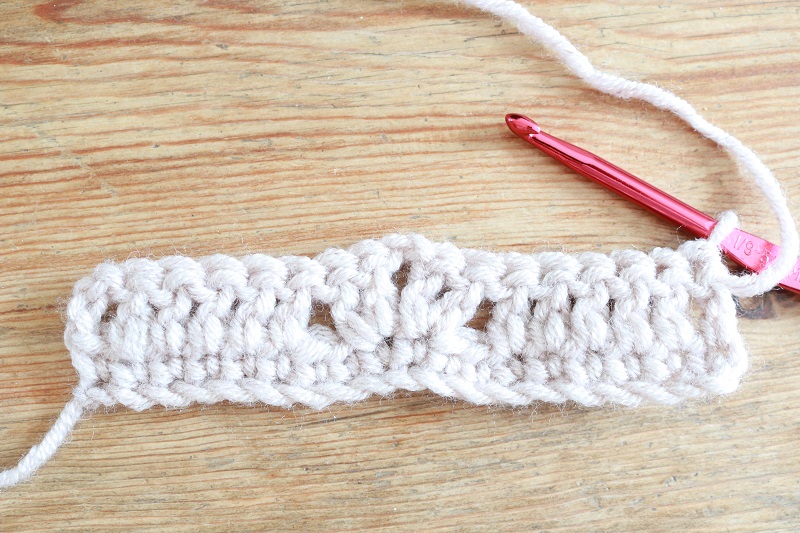
Row 2 (RS): Ch 3, DC in next 3 sts, FPDC around next 2 DC (‘posts’), [2 DC, Ch 2, 2 DC] in next Ch-2 sp, FPDC around next 2 DC (‘posts’), DC in next 3 DC’s and in last Ch 3 sp. Turn.
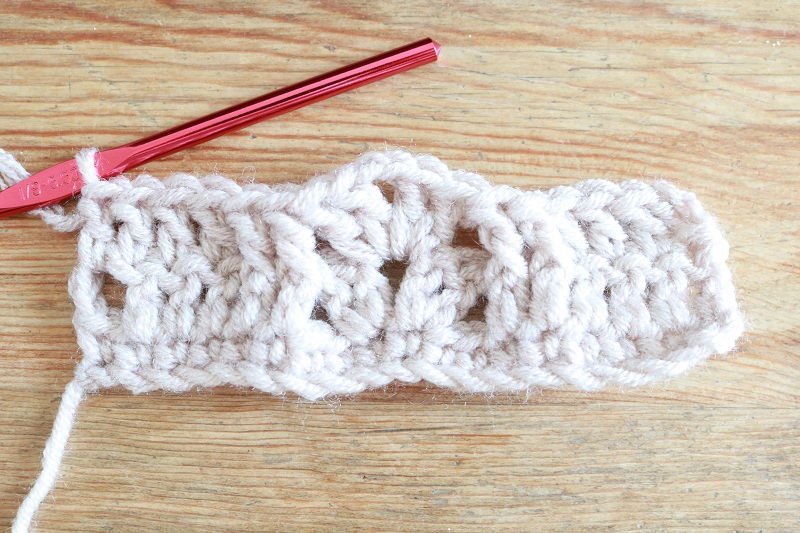
Row 3 (WS): Ch 3, DC in next 3 sts, BPDC around next 2 DC (‘posts’), [2 DC, Ch 2, 2 DC] in next Ch-2 sp, BPDC around next 2 DC (‘posts’), DC in next 3 DC’s and in last Ch 3 sp. Turn.
Repeat Rows 2 and 3 until your piece measures approximately 19-20″ long. When you’re near completion, wrap it around your head to see if you are satisfied the length will fit. My ear warmer took 30 rows to complete.
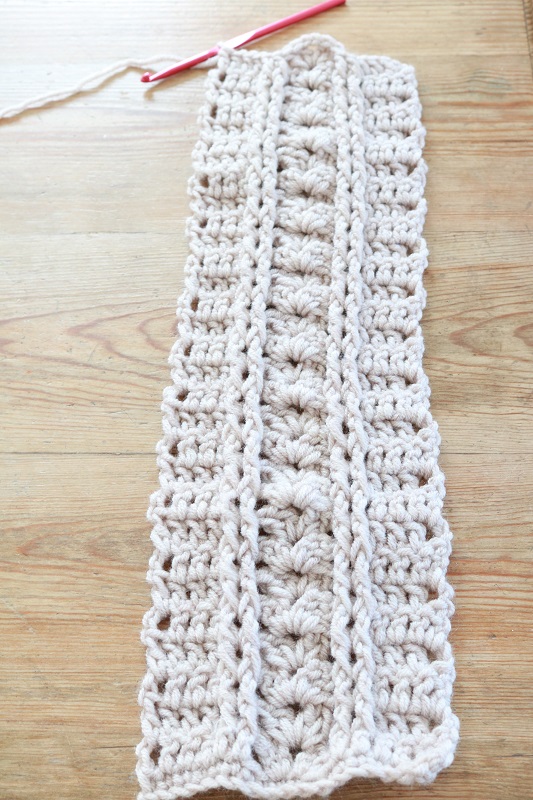
Finish the piece by Slip stitching the short ends together with the WS (Wrong Side) facing you. (See photo below)
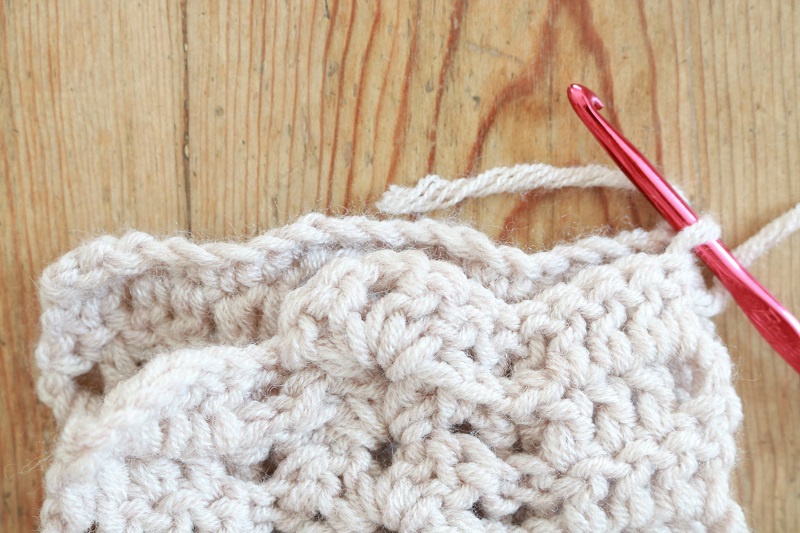
Turn Right Side out. Sewn together, the ear warmer will look like this:
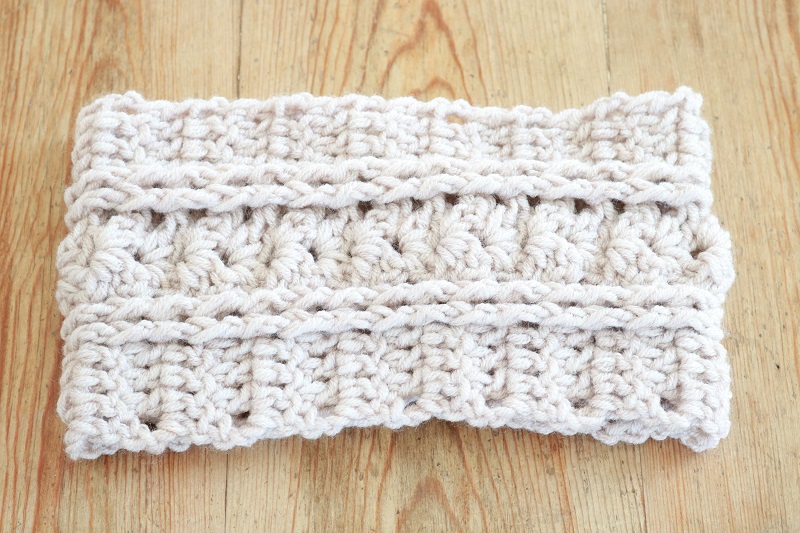
Wear your ear warmer!
Now slide the finished crochet ear warmer over your head. You can put the seam under your hair if you don’t want it to show:
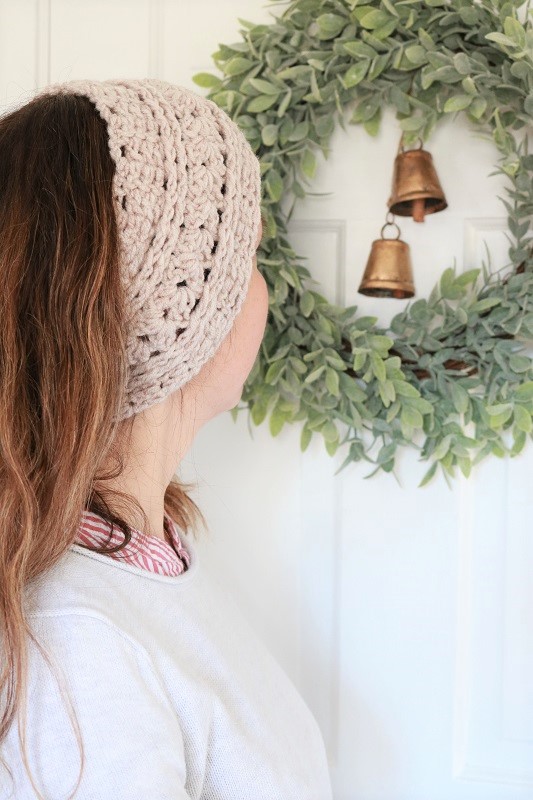
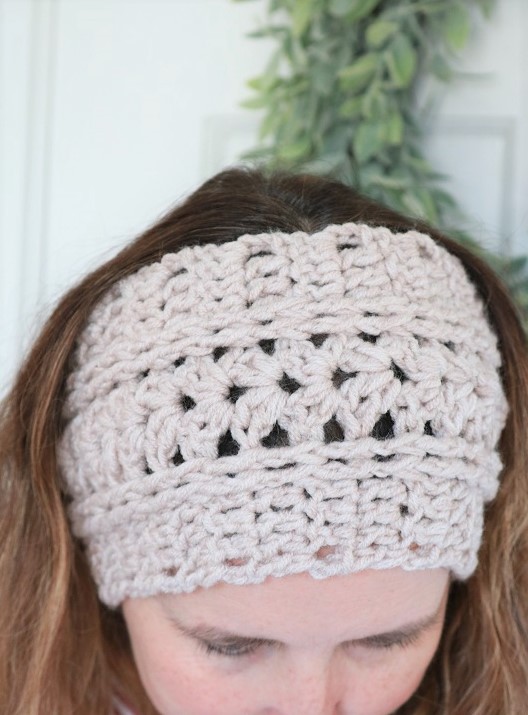
Alternatively, you could wear the ear warmer over your hair like a hat, and show the seam as a feature on top:
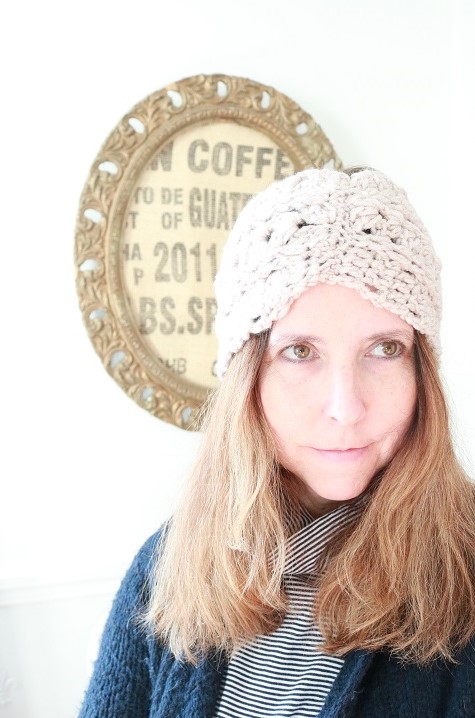
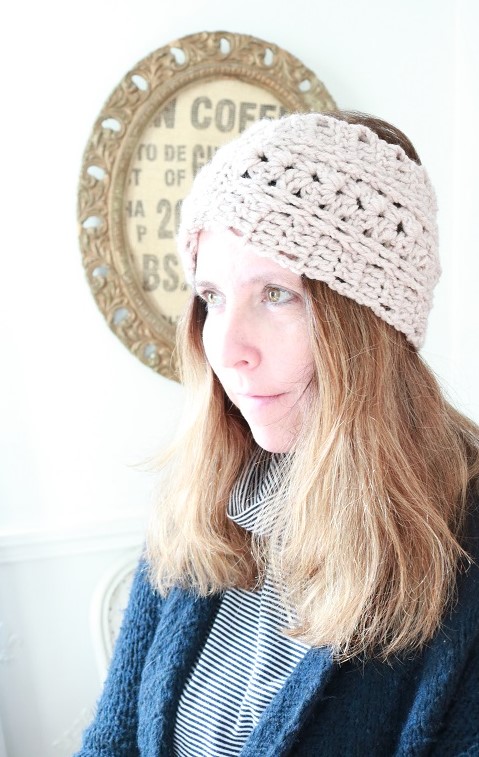
===> You can also find this pattern ad-free in my Etsy shop for a modest price. I hope you give it a try! <===
The ear warmer coordinates perfectly with the chunky fingerless mittens. I’m not playing peek-a-boo here, just trying to show you how the pieces look together! 🙂
Want to remember this crochet pattern? Post this ear warmer pattern to your favorite Pinterest board!


