Make Your Own Farmhouse Candle Holders
Before I get into the DIY for Farmhouse Candle Holders, how do you like my new ‘farmhouse style’ logo above? I love its simplicity, which is perfect for the focus of this blog – creative ideas for simple living. It was designed by the talented Courtney from Etsy Shop Charity Sparrow.
If you like Farmhouse style as much as I do, you love the look of chunky wood candle holders. They’ve certainly been all the rage these past few years, considering how popular Joanna Gaines has made them. However often when I see them at shops, they seem to cost $25 or more per candlestick. That can add up when you want to group several together.
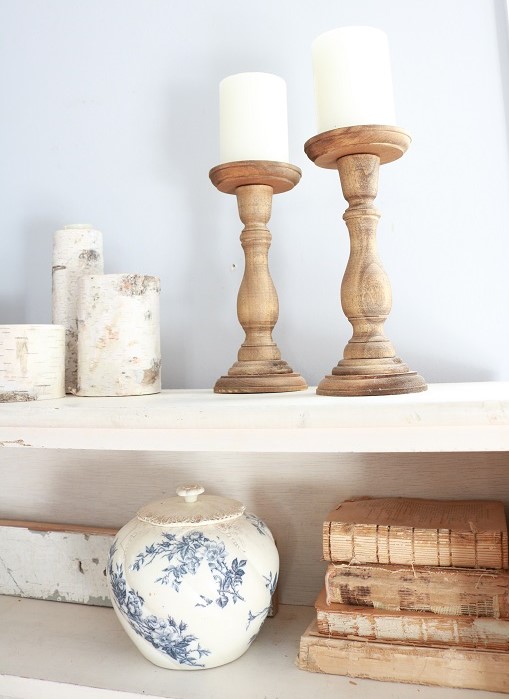
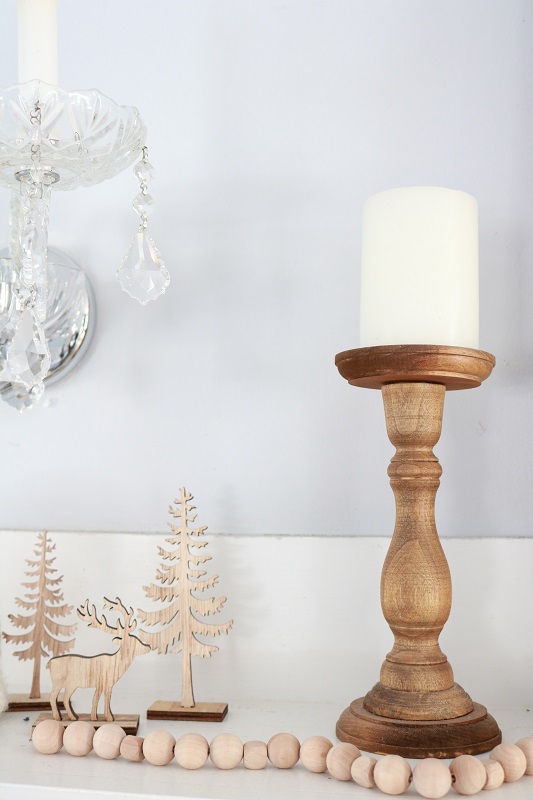
It occurred to me a while ago that I could possibly make my own. Walking down the aisle of the craft store, I spotted some unfinished wood plaques and candlestick holders. Putting them all together yielded my own version of the farmhouse candle holder. Since I did this a while ago, I don’t have step-by-step photos, but the instructions couldn’t be easier!
Please note – this post contains affiliate links, which allows me to make a small commission from your purchase via the link without extra cost to you. See my Disclosures page and thank you!
Supplies
- unfinished wood candlesticks
- stain in your color of your choice. (I used Minwax in a mix of Golden Oak and Special Walnut)
- unfinished wood plaques (approx. 4″ diameter)
- Gorilla glue


Assembly Instructions
- lightly sand unfinished wood pieces and wipe with cloth
- stain each wood piece and let dry
- use gorilla glue (or any strong glue for wood) to attach 2 plaques to base and top of candlestick. (Make sure to center them)
- let dry, then feel free to put a top coat of wax or polyurethane if desired (I just left mine untreated)
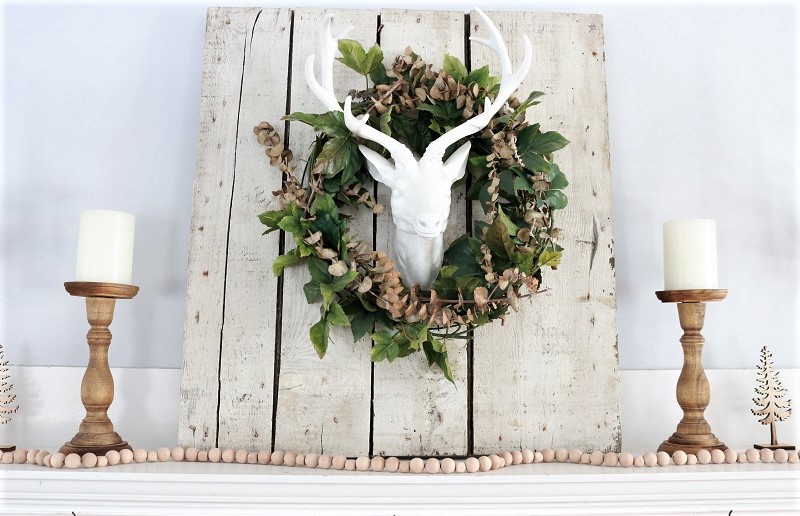
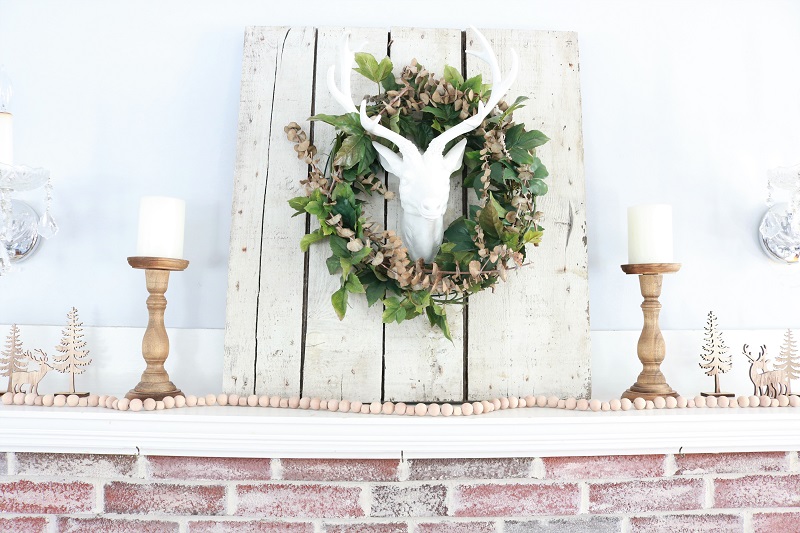
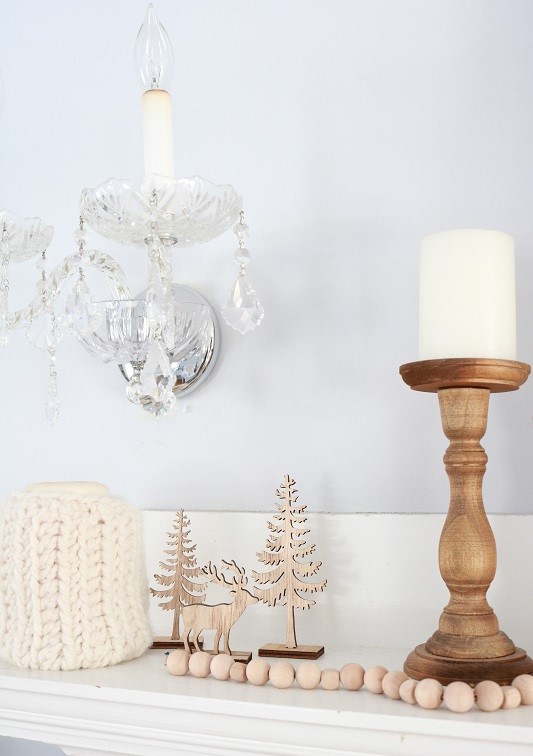
That’s all there is to this easy project. Display the candle holders with other farmhouse style pieces, and they’ll look fabulous. For instance, I grouped mine on the mantel with salvaged wood, a farmhouse wreath & reindeer, wood beads, and rustic mountain wood decor.
If you’re strapped for time, here are some affordable sets of similar candle holders on line:


Pin this project:


5 Comments
Pingback:
Nanette
hi there I just saw your candlesticks on Pinterest and I have never done a project like this but I am wondering how you mixed the 2 stain colors golden oak and special walnut. Also I was checking you blog for knit project. I know how to knit sort of, not very good at it. But all I saw was crochet projects. Where do I look for your knit project. thanks Nanette
Susan
Hi Nanette,
Thanks so much for stopping by. In regard to the candlestick stain, it was actually more of a trial and error. Initially I had stained the candlesticks with Minwax Golden Oak, but then decided they looked too ‘gold’. Later on I gave them a little Special Walnut stain. So I didn’t mix the stains in a container first, but rather tried one stain on the wood, then added another. Hope that helps. It’s all a matter of preference when we play with stain colors. 🙂
As far as knit projects, if you click on the DIY Projects Menu, there should be a ‘Knit’ sub-category underneath and you can find my knit patterns there. I need to add more of them, and plan to do so this fall and winter. Pretty soon I will be adding a knit boot cuff pattern so stay tuned in October….
Thanks again so much for visiting!
Susan
Pingback:
Jeanne
Love this project!! Not only does it save $, but you get a sense of accomplishment when doing it yourself!