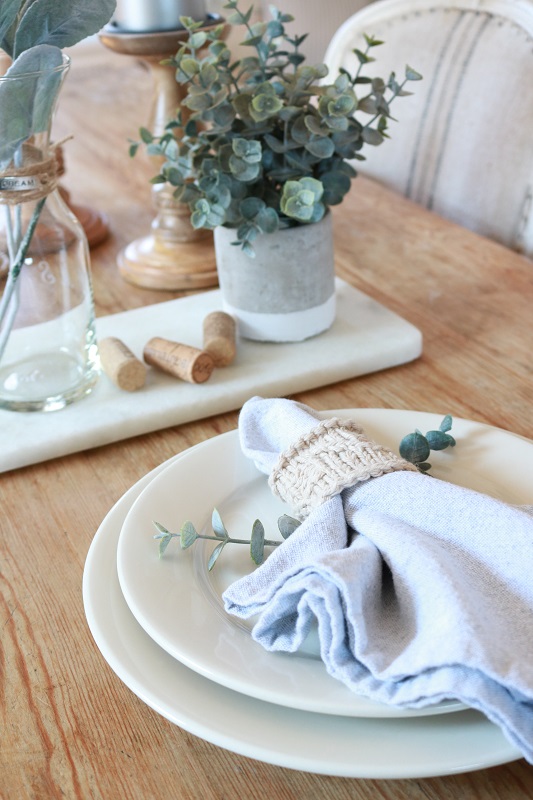
Make these Cable Knit Napkin Rings!
Let’s keep the craft inspiration going this month with a free pattern for Cable Knit Napkin Rings. If you don’t know by now, I have a thing for farmhouse style (no surprise!). This spring I’d like to set my Easter table with a rustic/green/spring/farmhouse theme. I’m starting to find inspiration for the table elements and got the idea to incorporate textured napkin rings into each place setting.
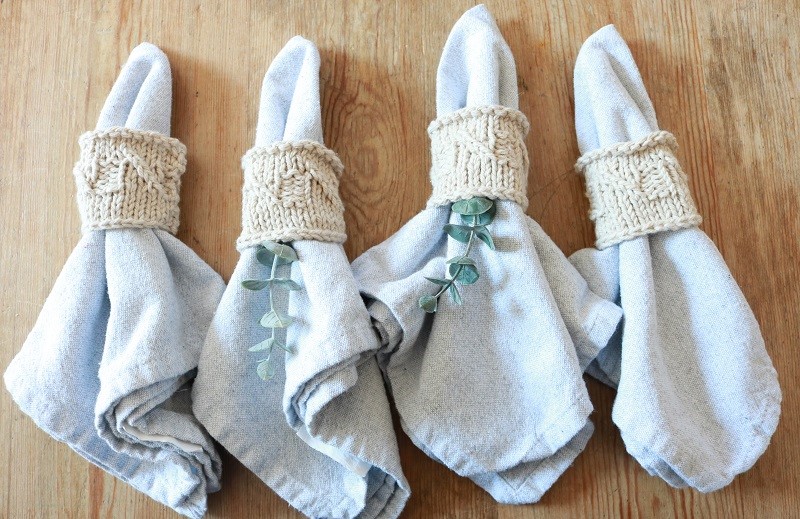
The beauty of these napkin rings is that they have a subtle cable look, yet you don’t have to work with a cable needle while knitting them. I just used a simple LT (Left Twist) stitch to get the look. Each napkin ring knits up in 14 rows and takes less than an hour to make. You can do it!
Please note – this post contains affiliate links, which allows me to make a small commission from your purchase via the link without extra cost to you. See my Disclosures page and thank you!
Supplies
Size US 6 (4 mm) Knitting needle
Approx. 24 yds of Medium Weight (4) Cotton yarn
(I used Premier Home Cotton in color Beige) to make ONE napkin ring (approx. 145 yards to make 6 napkin rings)
Cable Knit Napkin Ring Pattern
The napkin ring will be knit as a rectangle, with a right side (RS) and wrong side (WS). The finished measurement of the rectangle will be approx. 5” wide by 2 ¼” tall. When finished, simply sew the short ends together by weaving in the tails as a seam.
Stitch to know – Left Twist (LT): K 2nd st on LH (left-hand) needle tbl (through-back-loop), then K first 2 sts tog tbl. (This Youtube video has a great tutorial with 3 options on how to knit the Left Twist stitch. I used option 1).
Steps
Cast on 24 stitches, leaving a long enough tail to sew a seam at end.
Row 1 (RS): Knit across.
Row 2 (WS): Purl across.
Rows 3-4: Repeat rows 1 and 2.
Begin Cable pattern
Row 5 (RS): *LT, k2, p2; rep from * to end.
Row 6 (WS): *K2, p4; rep from * to end.
Row 7: *K1, LT, k1, p2; rep from * to end.
Row 8: repeat row 6.
Row 9: *K2, LT, p2; rep from * to end.
Row 10: repeat row 6.
Rows 11-14: repeat rows 1-4.
Bind off.
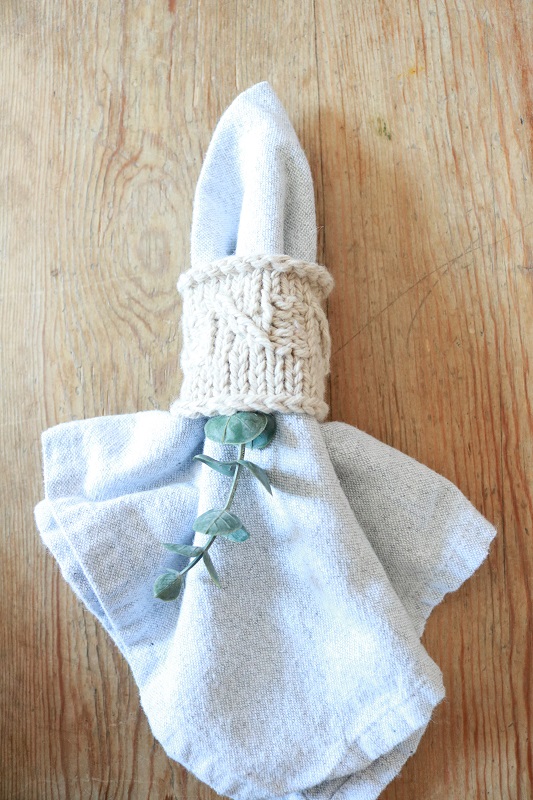
Your finished rectangle should look like this:
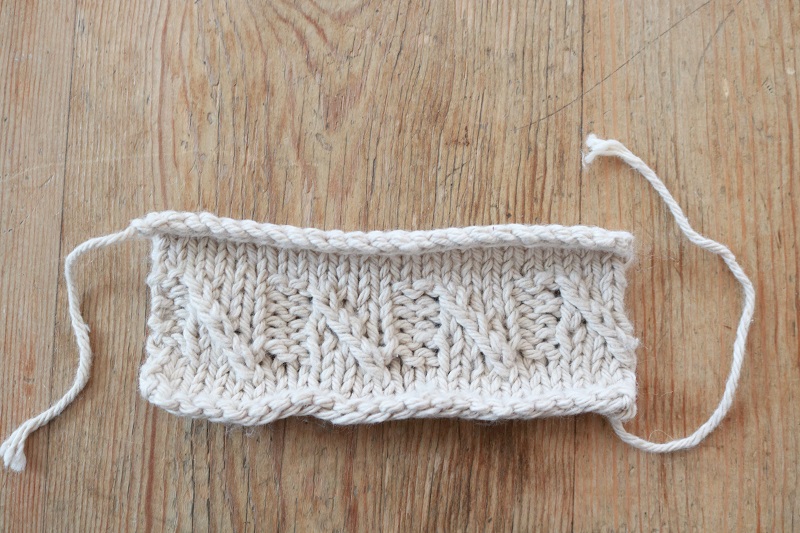
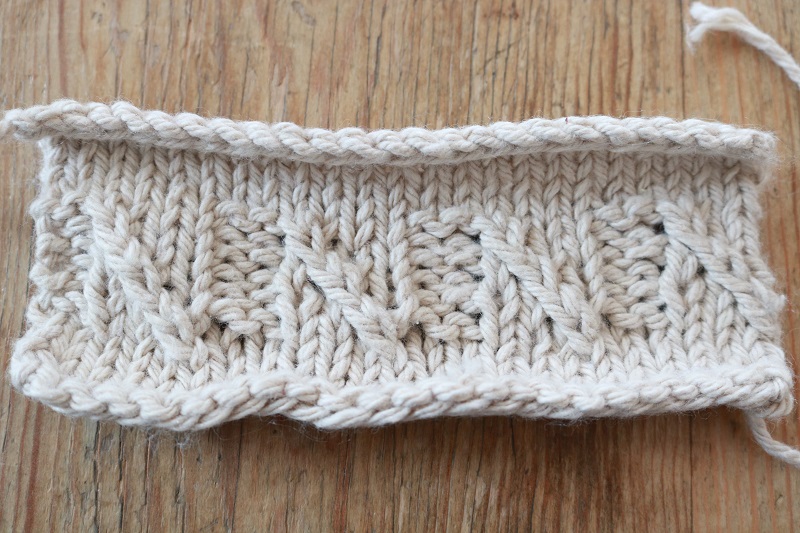
Bring short sides of rectangle together with right sides facing out, and then sew a seam to join the short sides using your tail yarn ends. Weave in any loose ends.
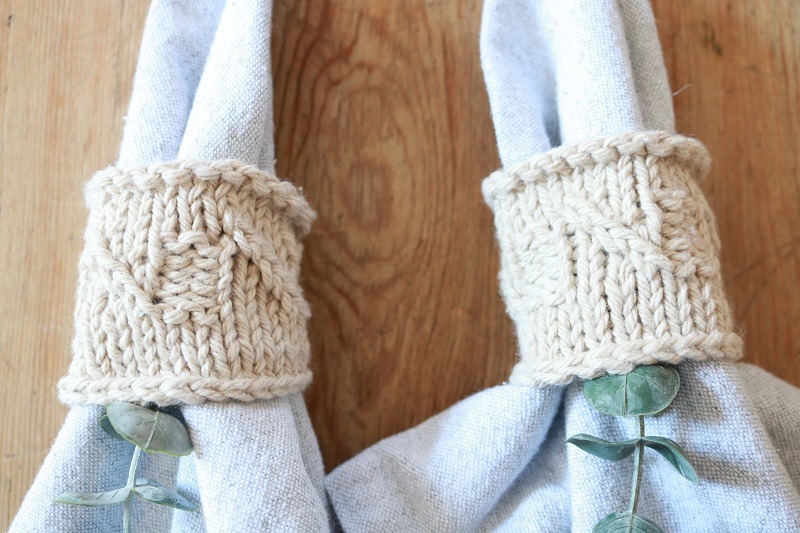
Farmhouse Style Place Setting
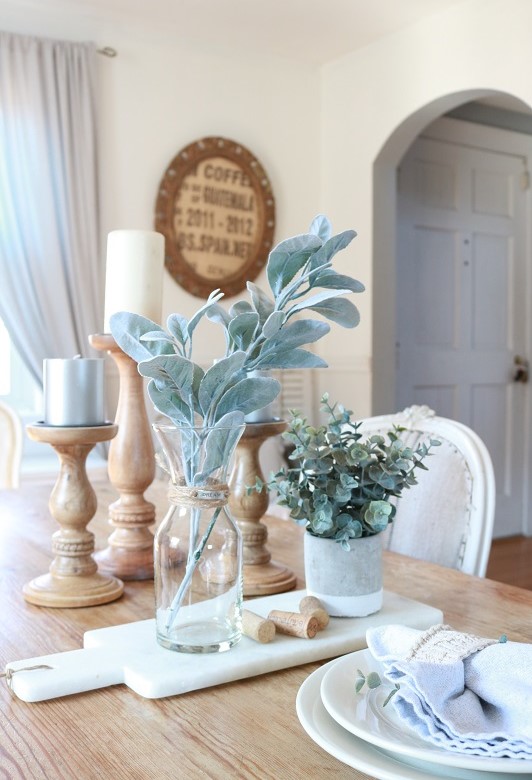
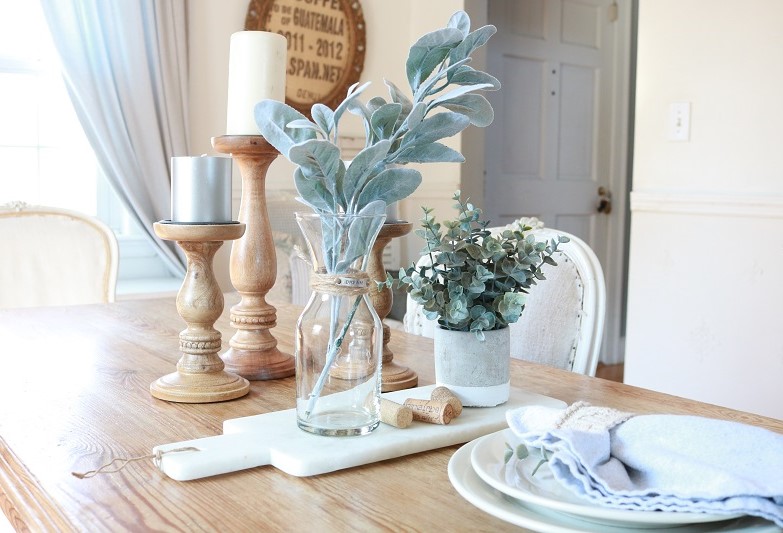
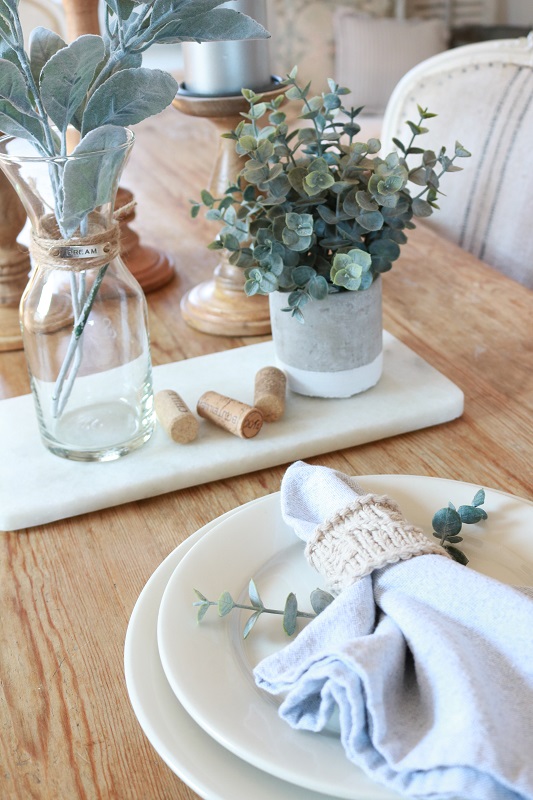
I’ve been playing around preparing an Easter table setting with various elements, showcasing this cable knit napkin ring. Farmhouse-style woods, simple white plates, and a touch of greenery liven up my gray napkins wrapped up in knit. I also incorporated my favorite faux greenery into the mix – learn more about going ‘faux’ here.
If you’re inspired by this project, you can find even more inspiration in my favorite craft books for sewing and knitting/crochet.
Want to remember this craft? Post this knitting pattern to your favorite Pinterest board!


2 Comments
Susan
You always impress me with your creative juices, my friend! Thanks so much!
Michelle
These add just the sweetest touch to your farmhouse style Easter table setting my friend. Just the sweetest. I must get my creative juices flowing again and you always inspire me to do so. Merci merci!