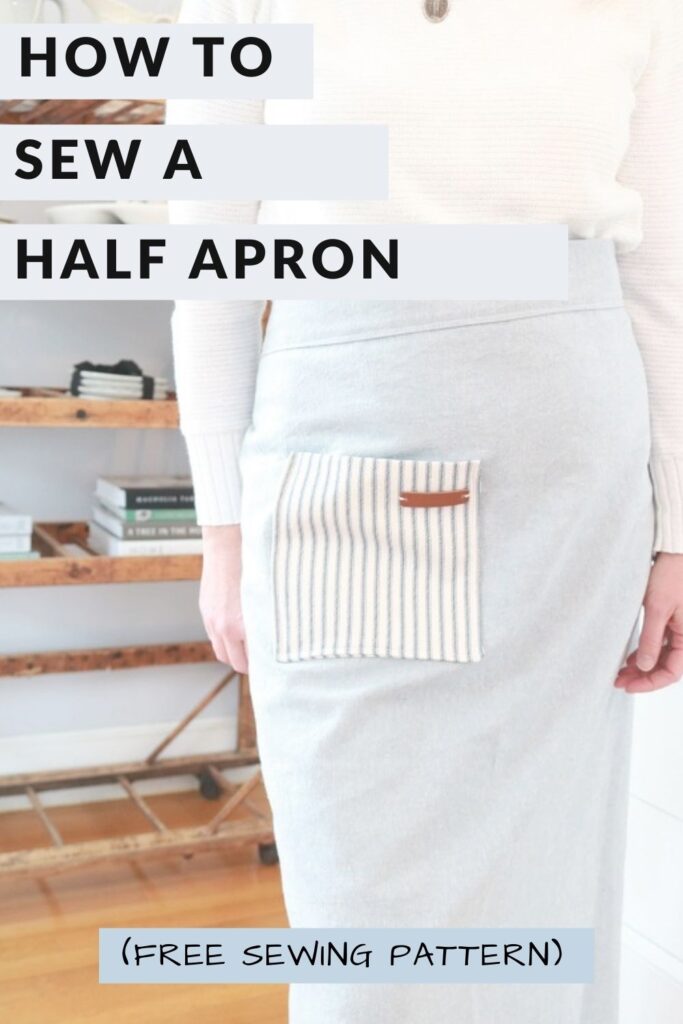
How to Sew a Half Apron in a Few Easy Steps
I love aprons!! I bet you can tell, since I have SEVERAL APRON PATTERNS on this blog. Today I’m sharing how to sew a half apron which is long in length and has farmhouse style embellishments. You can’t go wrong with linen, ticking stripes, and a touch of leather for quintessential farmhouse style. Keep reading to get the free apron pattern…
This post may contain affiliate links. That means if you click and buy, I may make a commission at no cost to you. Please see my full disclosure policy for more details.
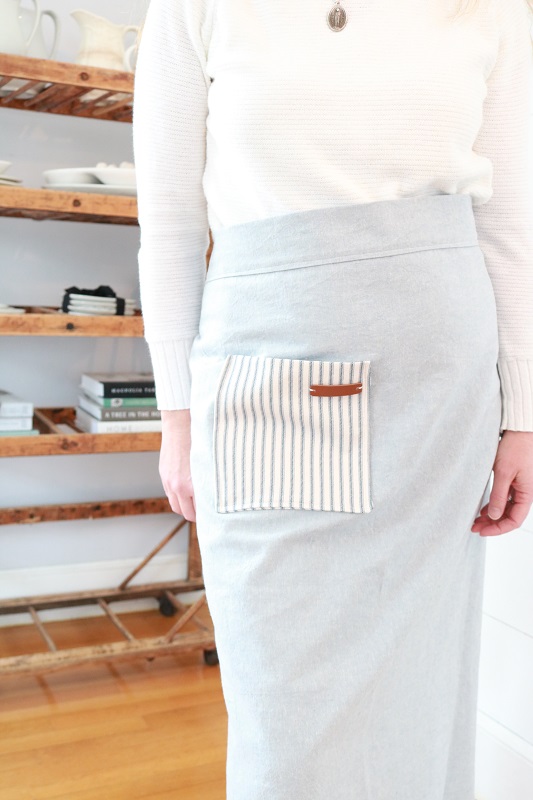
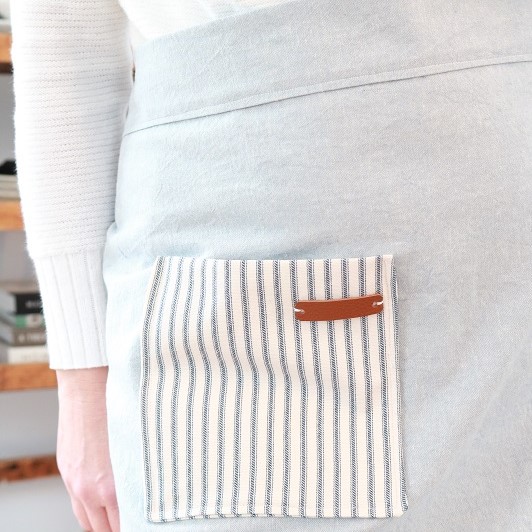
The long half apron is made with a light blue linen/cotton blend fabric for the body, and a blue ticking stripe fabric for the pocket – perfect combination for a cottage or farmhouse style look. The pocket is also customized with a small leather tag for a unique touch.
After you make one of these in an afternoon, you’ll need to decide what to cook or craft while wearing it. Slide your notes or small tools into the side pocket, then get to work. 🙂
Below you’ll find a list of supplies and the tutorial for the apron sewing pattern. You can also purchase the inexpensive pattern (ad-free) in my ETSY SHOP.
Be sure to read all the instructions prior to beginning. It will be helpful to understand how to cut, sew, and attach the pocket before you get started.
Skills Needed
- Basic machine sewing skills
- Hand sewing
Supplies
- 1 yard of linen or linen-blend fabric (1 yd. is enough for the apron and 2 straps in the same color/pattern). I used Robert Kaufman LINEN/COTTON in CHAMBRAY. Absolutely LOVE the color!
- 7” by 14” piece of complimentary fabric for the pocket. I used TICKING STRIPES fabric.
- Scissors, pins, thread, sewing machine
- Measuring tape, washable fabric marker (if you need to mark before cutting)
- Iron
- Optional – small rectangle of LEATHER, LEATHER HOLE PUNCH, sewing needle (for the leather tag on the pocket)
The finished apron body measures approximately 35” wide by 31” length. The apron straps measure about 23” long each and the pocket measures 6.5” square.
Long Half Apron Pattern
How to sew a long half apron: the free pattern for this half apron has just 7 main steps total, plus preparation of the fabric. I know you can make one in just an afternoon! There’s really not much to it if you know how to use an iron and straight stitch on a sewing machine.
Prepare fabric
Wash and iron your APRON FABRIC, then cut pieces for apron as follows…
All measurements include seam allowances:
Apron Body – 36″ wide by 34″ length
Straps – 2 strap pieces, 5″ wide by 24″ length
Pocket – 1 pocket piece, 7″ wide by 14″ length (in the same fabric or complimentary fabric such as TICKING STRIPES. I cut my ticking stripe fabric for vertical stripes, but feel free to cut yours for horizontal stripes if you prefer).
Step 1 – Make Waist Band
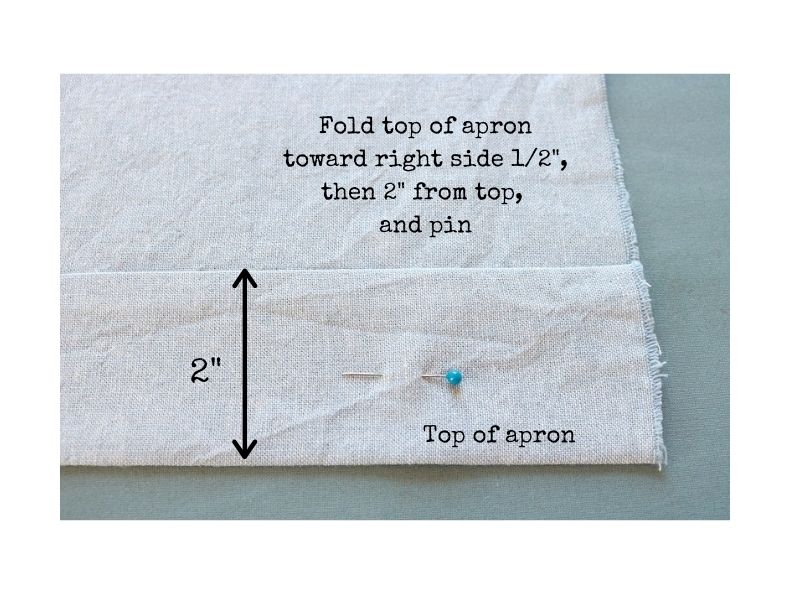
Press the top of the APRON BODY toward right side 1/2″:
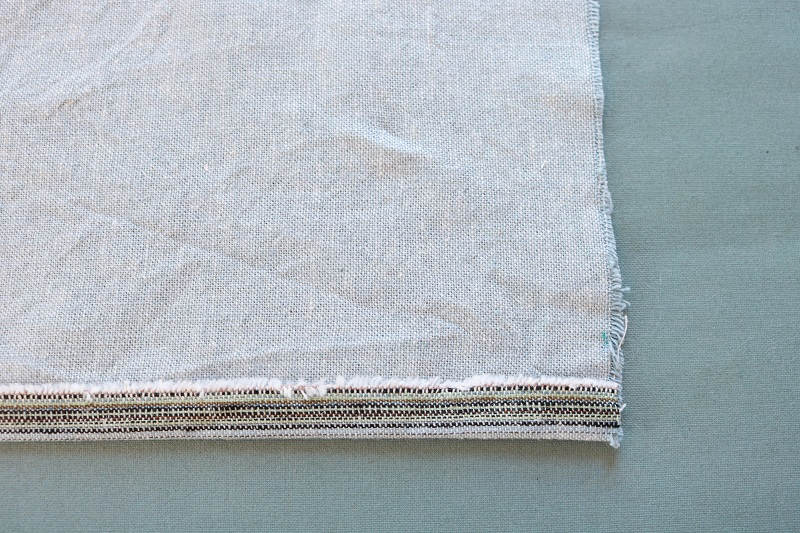
Then fold in another 2” and press. Pin in place:
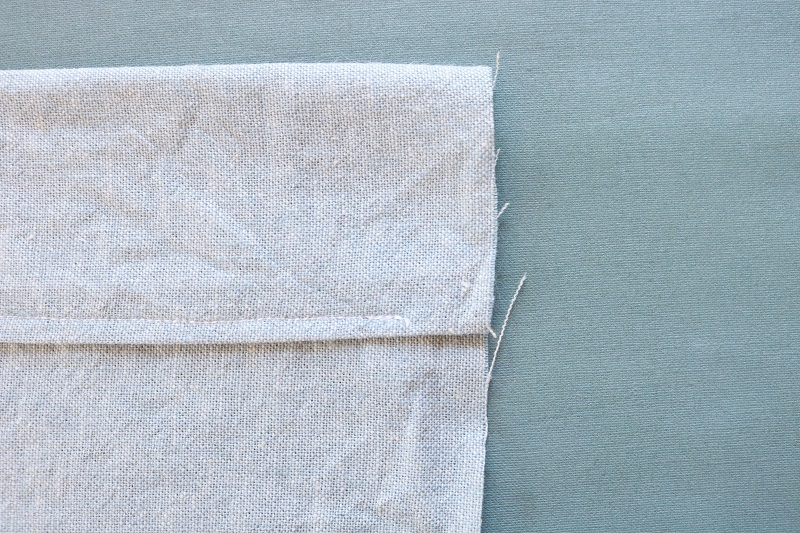
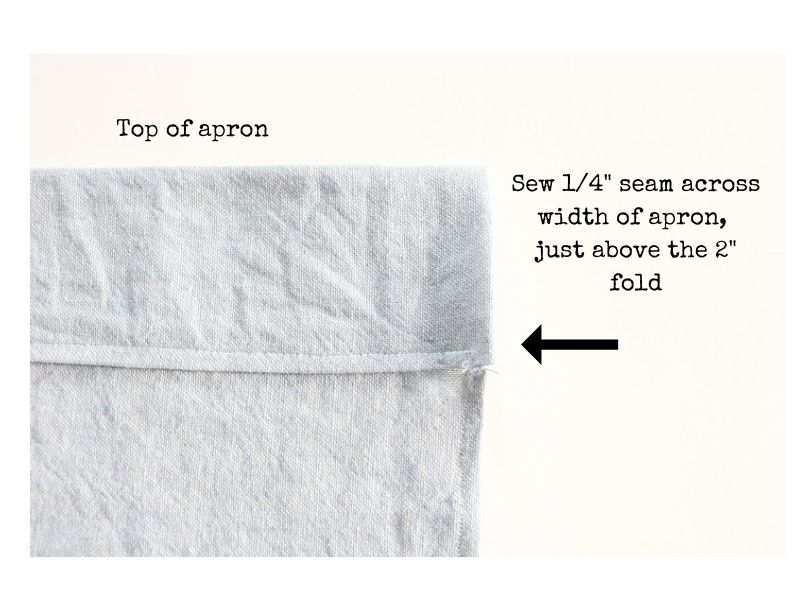
Sew a seam across the top of the apron, about ¼” from the bottom of this folded waistband and about ½” from each side:
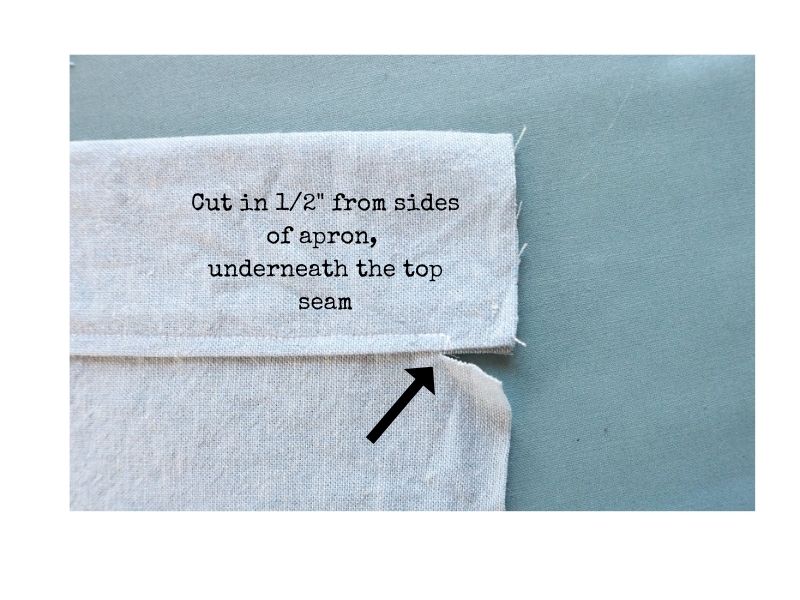
Cut into each side of the apron just under this waistband, about ½” in:
Step 2 – Hem apron sides and bottom
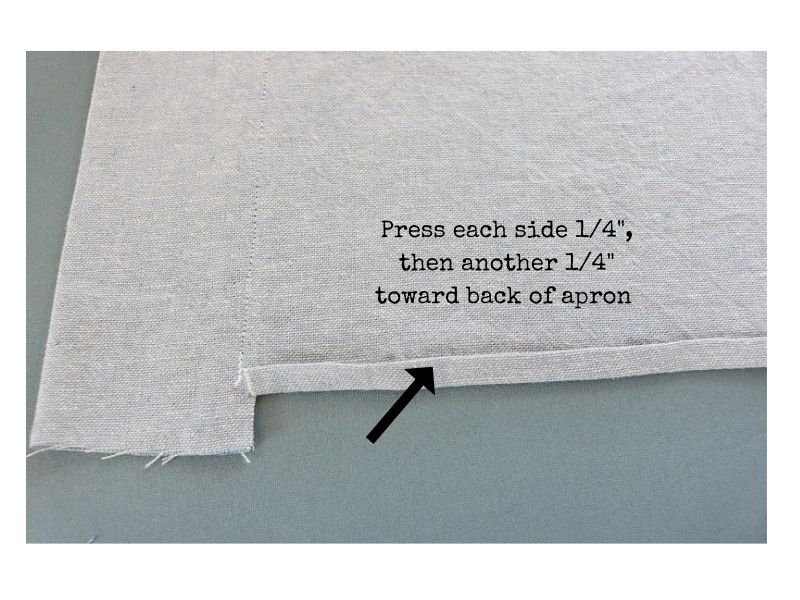
Press the bottom and two side edges of the apron body toward wrong side 1/4″, then another 1/4″ in. Pin in place, then sew a seam around the sides and bottom of apron:
Step 3 – Make two apron straps
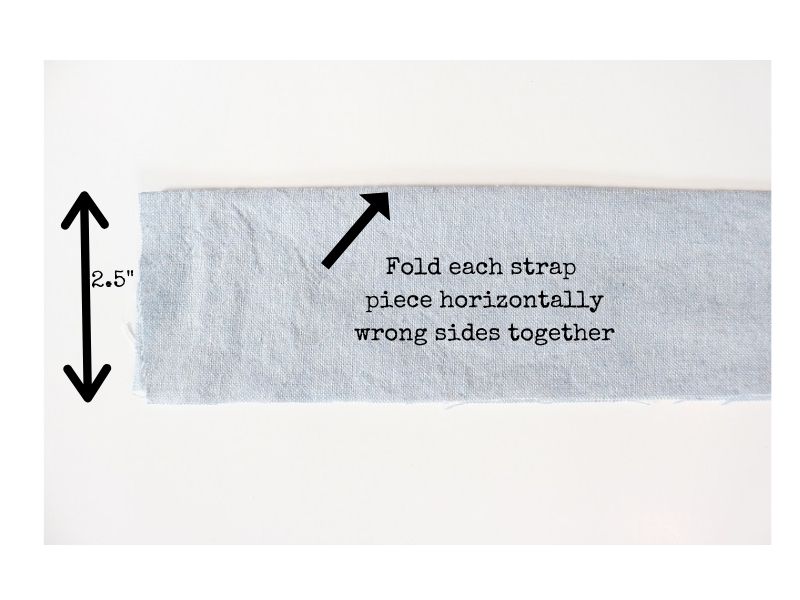
Press each strap piece horizontally in half, wrong sides together, so that each strap is now 24” long by 2.5” wide.
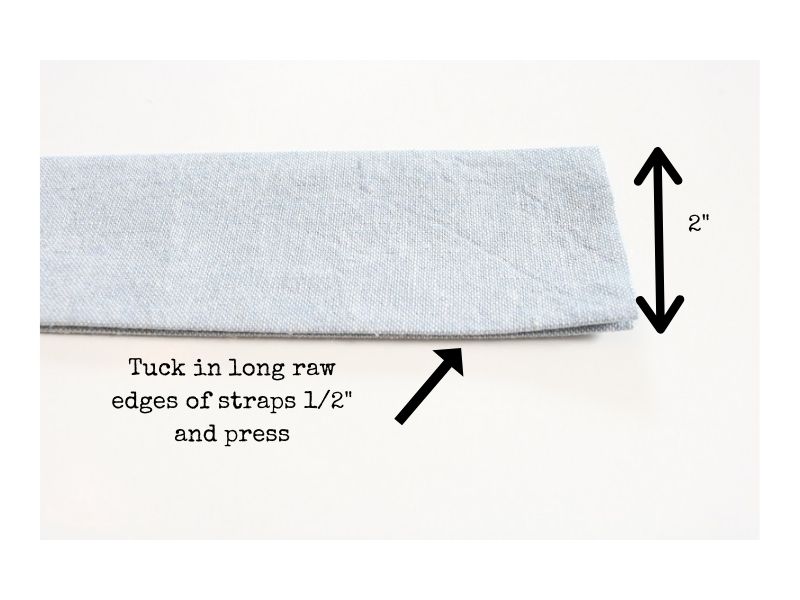
Tuck in long edges ½” and press. Each strap is now 2” wide.
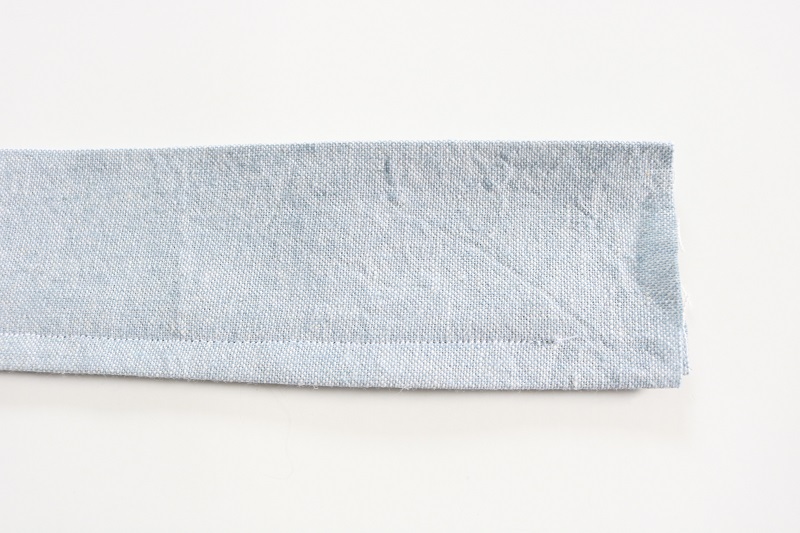
Starting ½” from short edge, sew a ¼” seam down the open long side of each strap, ending ½” from other short edge.
Step 4 – Add straps to apron
Tuck raw side edges of apron waistband inward ½” and press:
Next, tuck short raw edge of a strap into a top open corner of apron waistband, seam side down, about ½” inside the waistband:
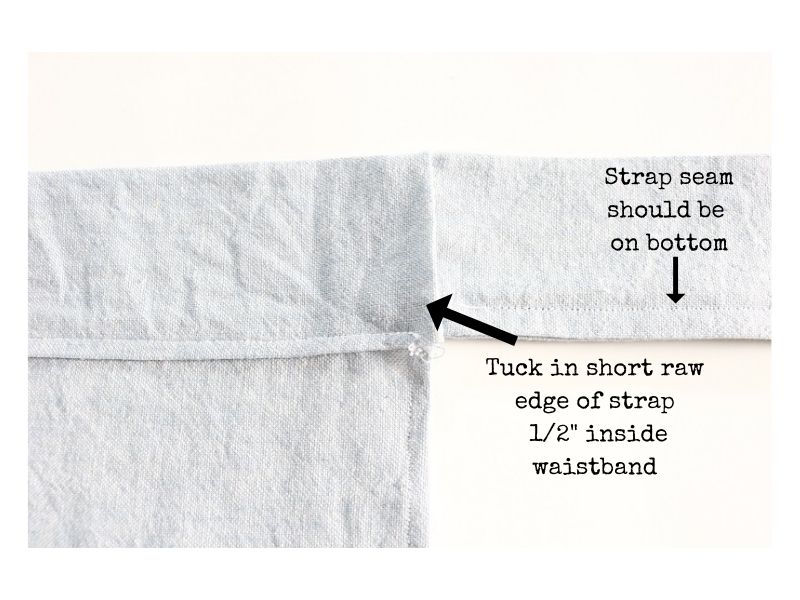
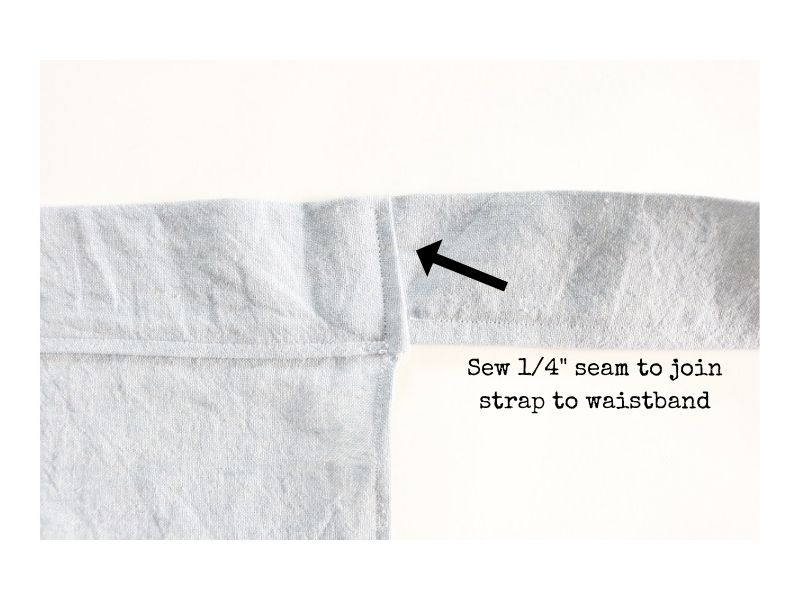
Sew a seam ¼” from side of waistband, to attach strap to waistband:
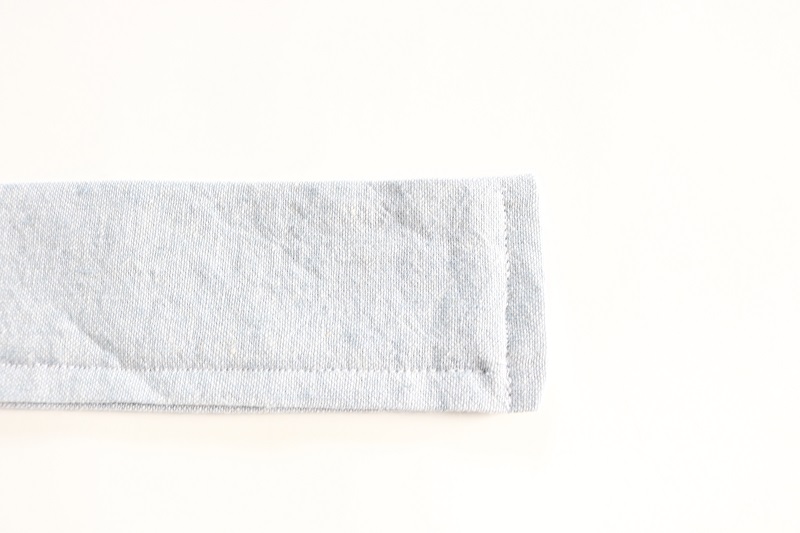
Lastly, tuck other raw edge of the strap in ½” and press, then sew a ¼” seam down:
Repeat with second strap on the other top apron corner at waistband.
Step 5 – Make apron pocket
Fold the pocket piece of fabric in half right sides together, then pin in place:
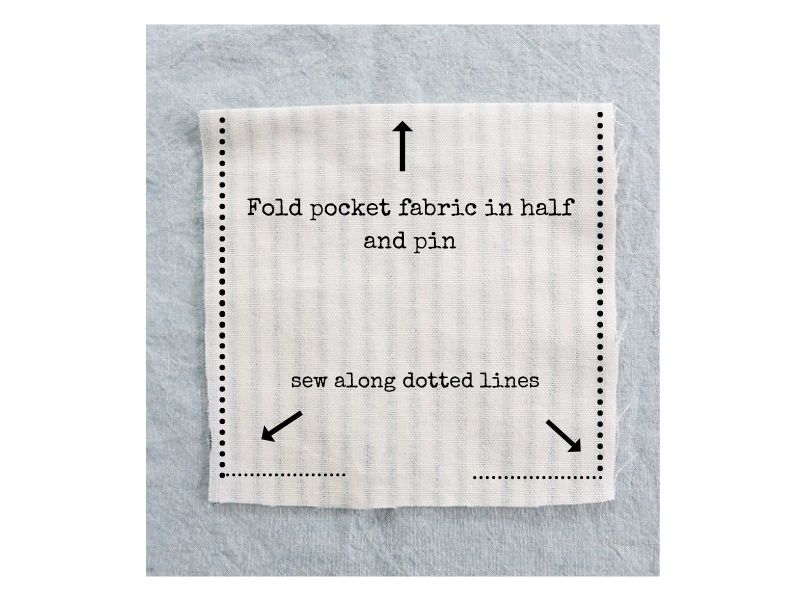
Sew ¼” seam around the sides and bottom of the pocket piece, leaving about 3” gap in the bottom middle.
Clip corners of pocket.
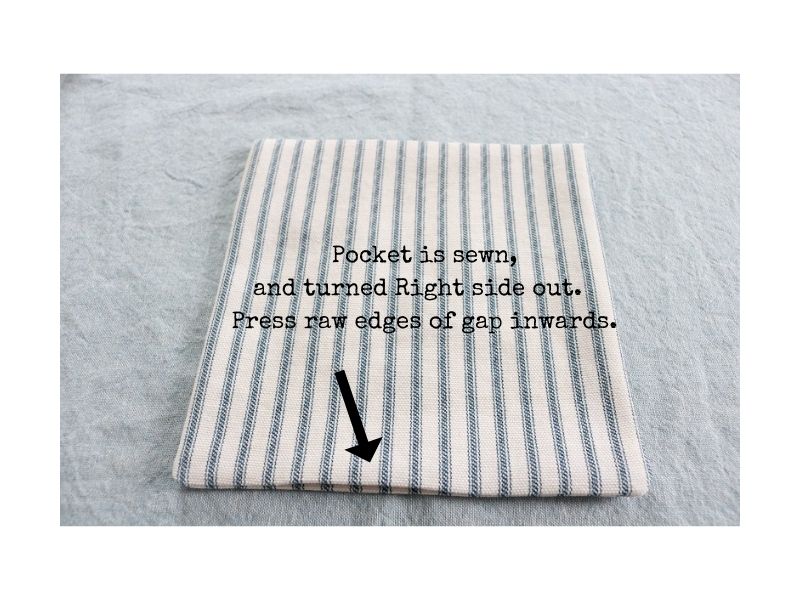
Turn the pocket right side out, then tuck & press the raw edges of the gap inward:
Step 6 (Optional) – Attach label to pocket
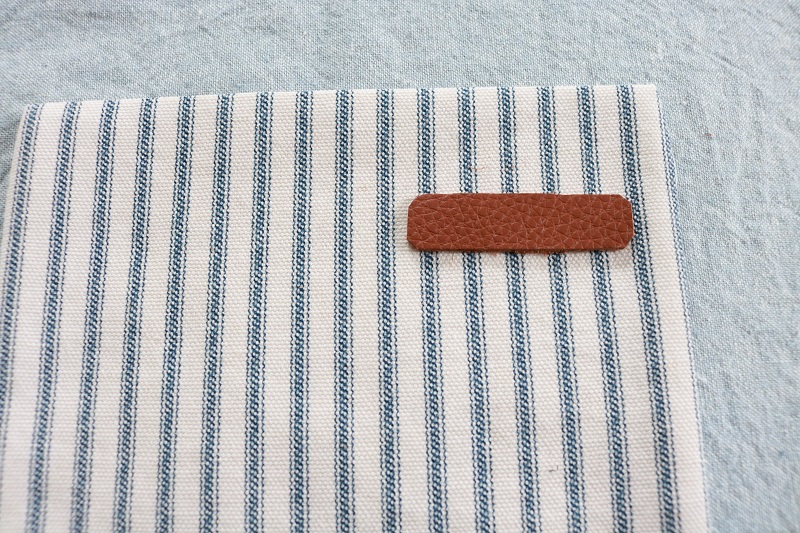
Cut a small piece of LEATHER, approximately ½” by 2”. Feel free to curve the corners slightly:
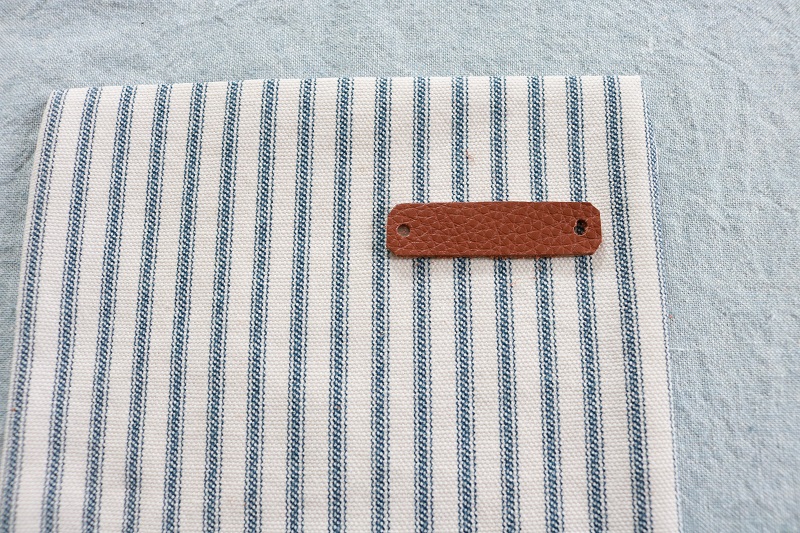
Using a LEATHER HOLE PUNCH TOOL, punch two small holes at either end of the rectangle:
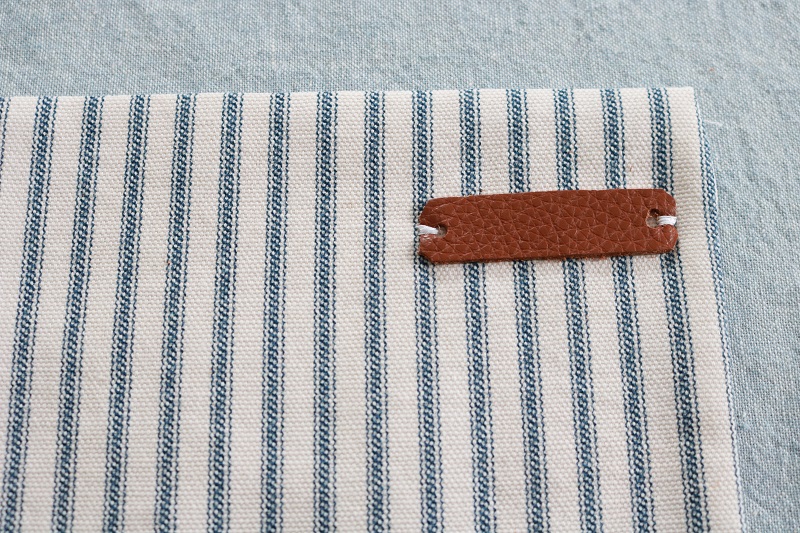
Using a sewing needle and thread, hand stitch the leather piece securely to the pocket, attaching it approximately 1” from the top of the pocket and ½” from a side:
Step 7 – Attach pocket to apron
Pin the pocket to the apron, 6” down from the top of the apron and about 10” from right or left side.
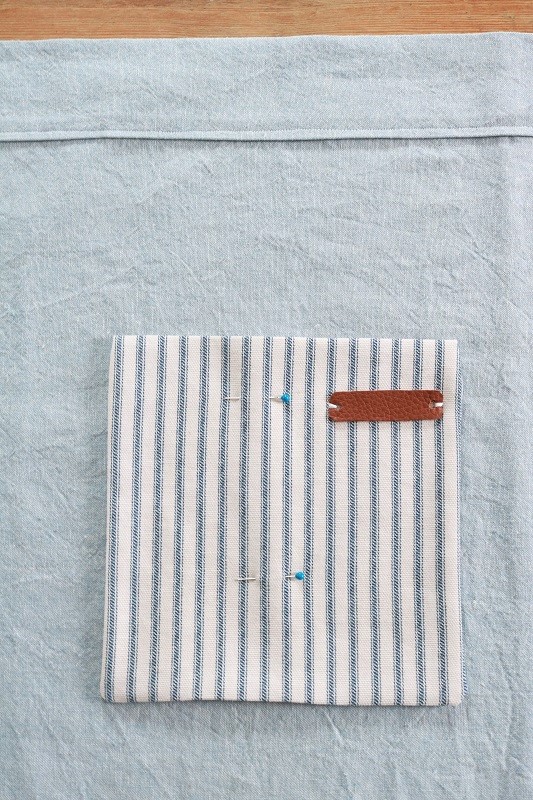
Lastly, sew a ¼” seam down one side of the pocket, then across the bottom, then up the other side of the pocket to attach it to the apron. (DO NOT sew the top of the pocket):
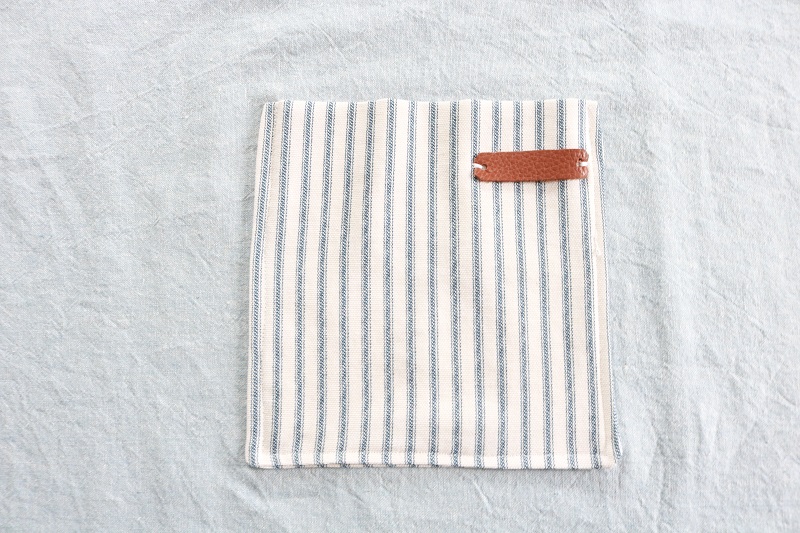
You are finished. Now tie on the DIY apron in the back and enjoy!
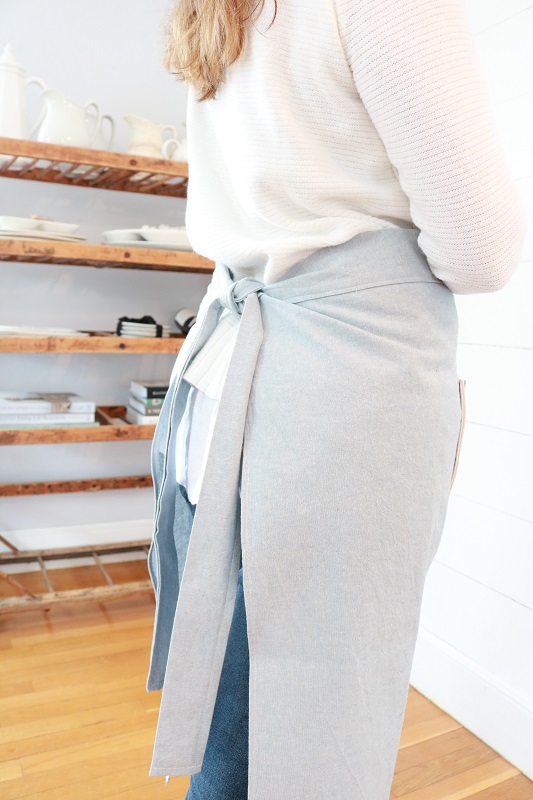
The farmhouse style apron has a nice long length to catch all of your spills while cooking, baking or crafting. Make another apron for a friend!
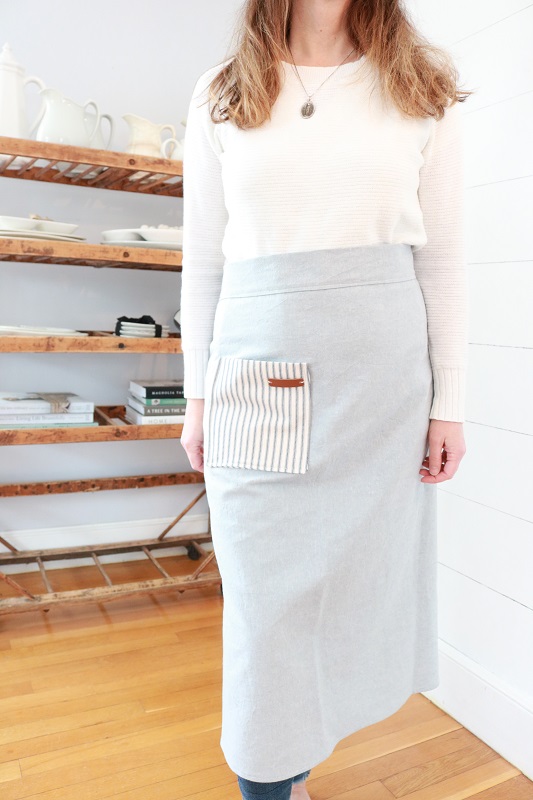
I hope you found this half apron pattern easy to follow with the step-by-step tutorial. Congratulations! You now know how to sew a half apron!
===> You can also find this pattern ad-free in my ETSY SHOP for a modest price. I hope you give it a try! <===
Let me know if you make one of these aprons. I would love to see photos of your work. Remember, I have SEVERAL APRON PATTERNS here on the blog for you to try out.
===> BE SURE TO PIN THIS HALF APRON PATTERN FOR LATER! <===
