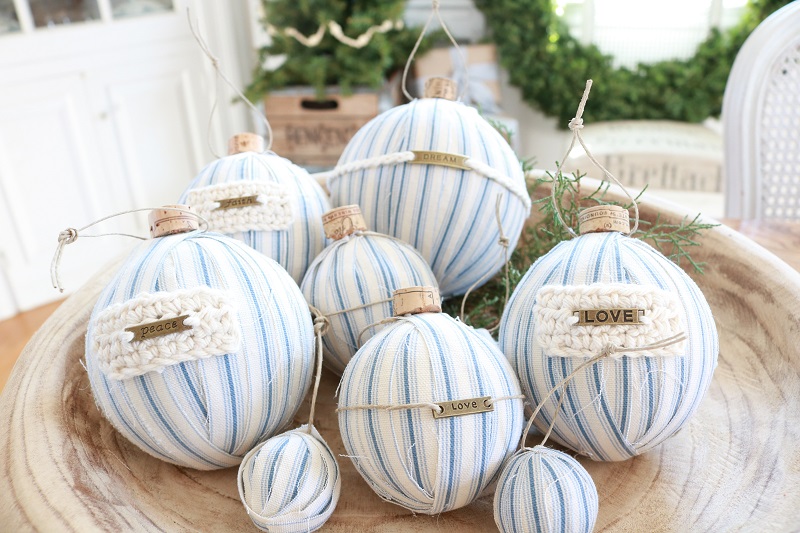
How to Make Christmas Ticking Stripe Ornaments
Today’s project is one of my favorite handmade Christmas items this month! I’ve got an easy tutorial on how to make these ticking stripe Christmas ornaments. They are filled with farmhouse, rustic style and unique touches. I can’t wait to hang them on our live Christmas tree once we start decorating after Thanksgiving.
Take a look at how I put these together, and gather supplies to make your own farmhouse style ornaments!
*** COOL NEWS! – these ticking stripe ornaments were featured in the Dec/Jan 2021 issue of American Farmhouse Style magazine! ***
This post may contain affiliate links. That means if you click and buy, I may make a commission at no cost to you. Please see my full disclosure policy for more details.
DIY Ticking Stripe Ornaments
Supplies
- STYROFOAM BALLS in various sizes
- scraps of ticking fabric (I used THIS FABULOUS TICKING from Magnolia Home Fashions)
- small straight pins
- hot glue gun and glue sticks
- a few wine corks, sharp knife to slice them
- twine
Optional embellishments
- COTTON YARN and crochet hook (I used hook size G)
- JEWELRY CHARMS

How to Make Fabric Ornament Balls
Steps – how to make farmhouse style Christmas ornaments
Gather your STYROFOAM BALLS in various sizes.
Cut strips of TICKING FABRIC in various widths to wrap around your styrofoam balls. I used strips with about 1″ width for my large ball, about 3/4″ for medium sized balls, and 1/2″ width for the tiny balls.
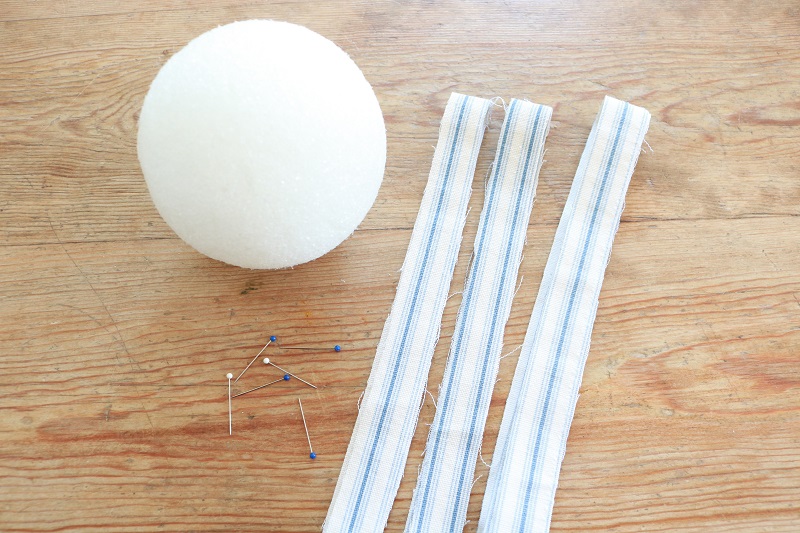
Pin the end of one fabric strip to the top of your ball, and wrap it around the bottom and back up again.
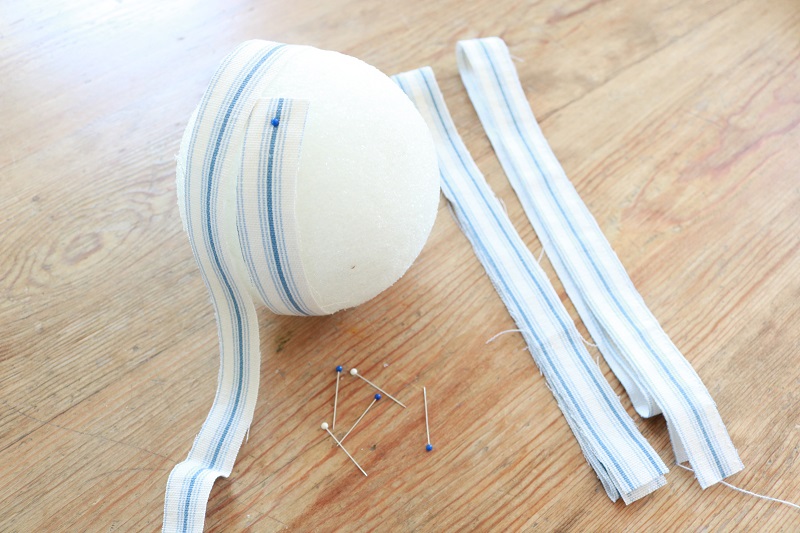
Cross this strip over the top and pull it down alongside the previously wrapped strip.
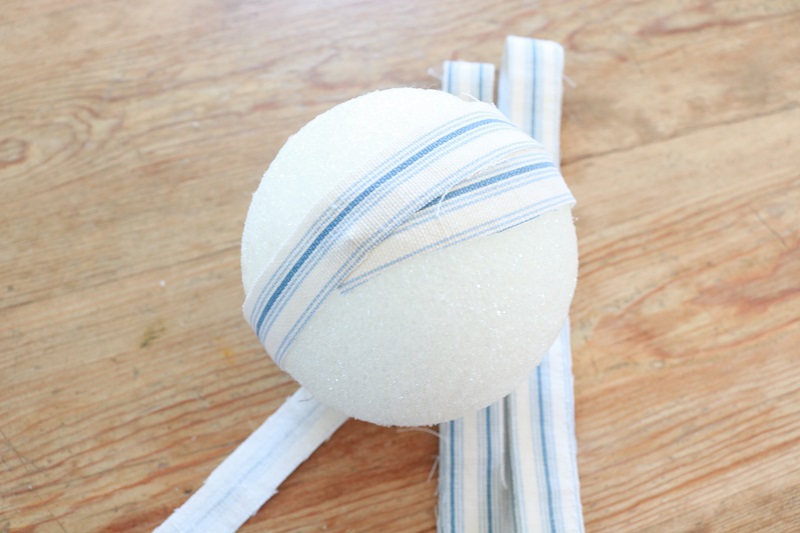
Cross it over the bottom and bring it back up to the top again.
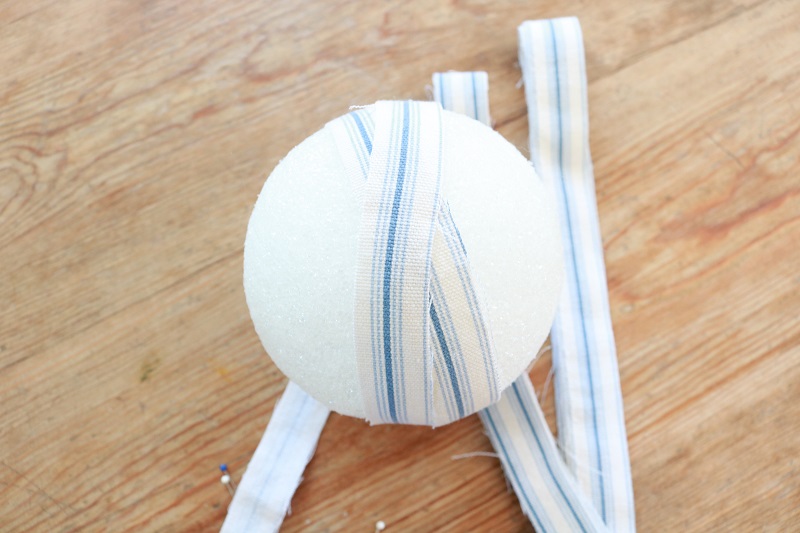
Continue criss-crossing the fabric strip over the bottom and back up top until your strip ends, overlapping the fabric as you go. Pin that end to the ball, hopefully close to the top.
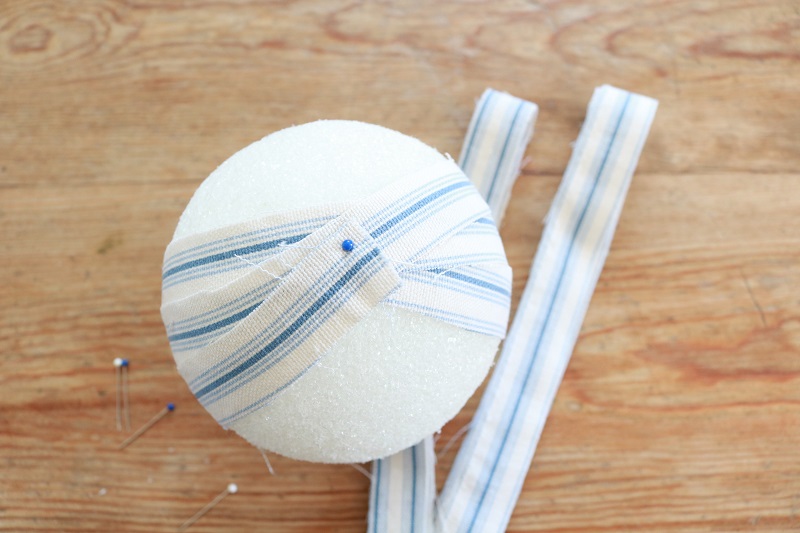
Start a new fabric strip where this one ended, pinning them both where they join. Continue wrapping fabric strips around the top and bottom of the ball, making sure to pull the fabric taut and overlap the strips slightly.
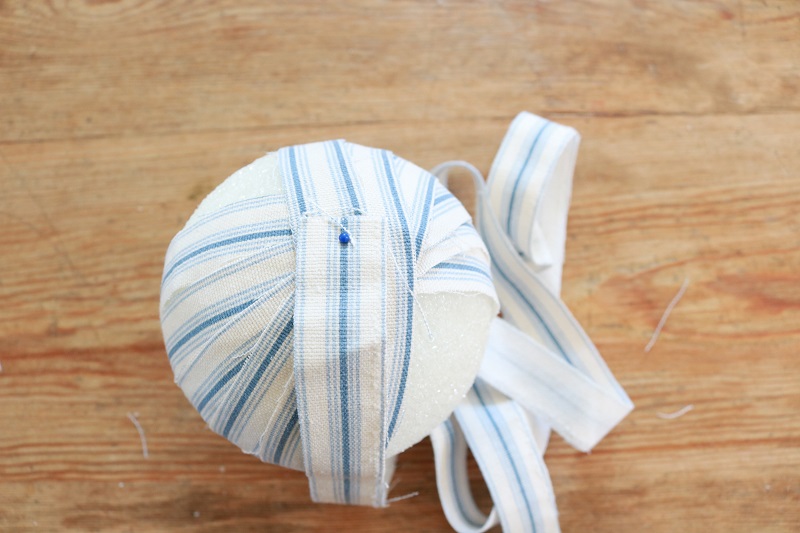
Once the ball is covered, place 1 or 2 pins at the top to keep all the layers in place.
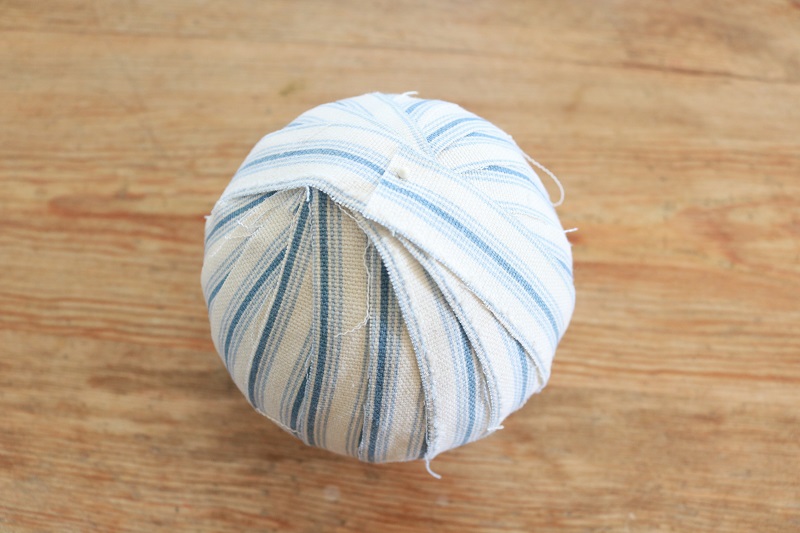
Now you know how to cover styrofoam balls with fabric. Continue this process for all the balls you’re creating. You will soon have a lovely pile like this:
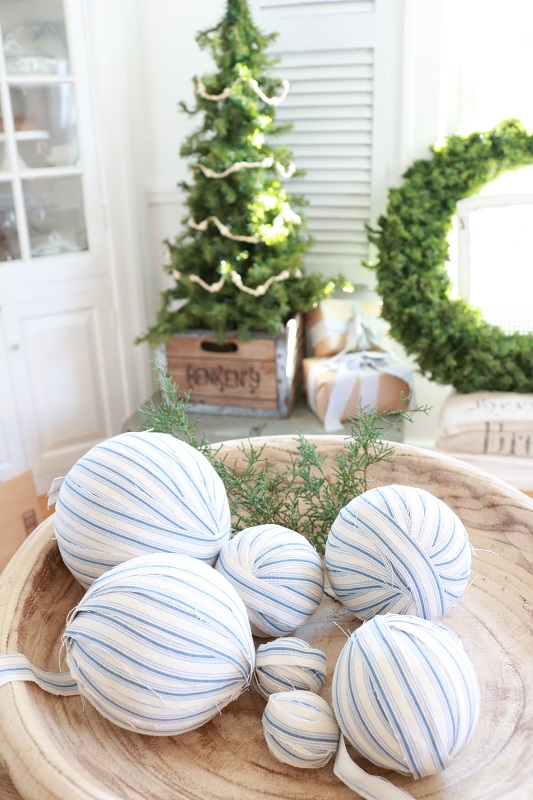
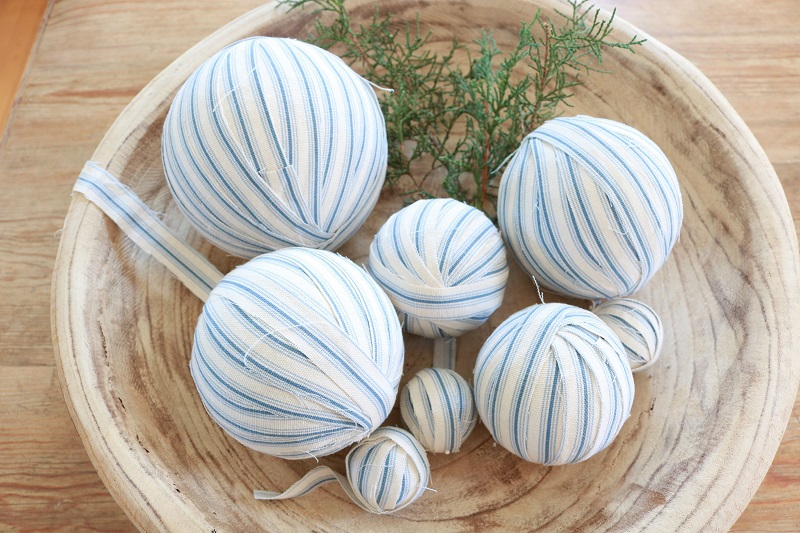
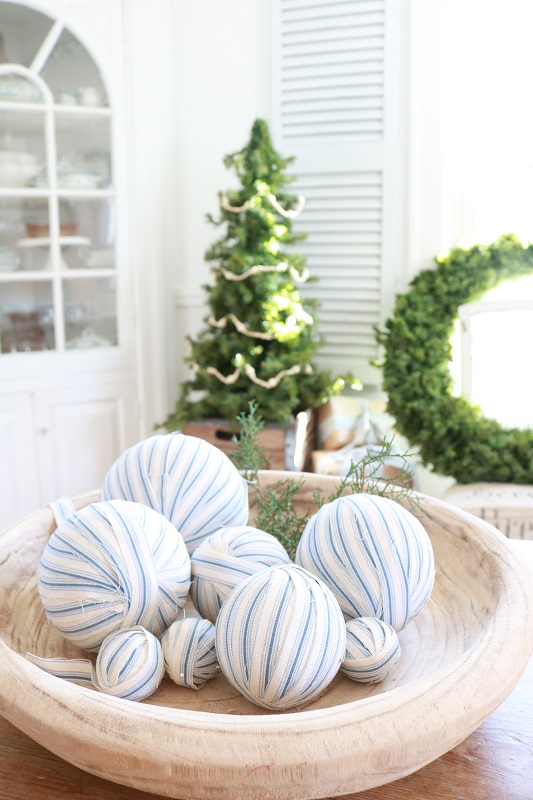
At this point you could certainly be finished, and just dabble on some hot glue to attach a loop and secure the top. You’ll have simple fabric ornament balls for the tree or displaying…
Embellish the ticking stripe ornaments
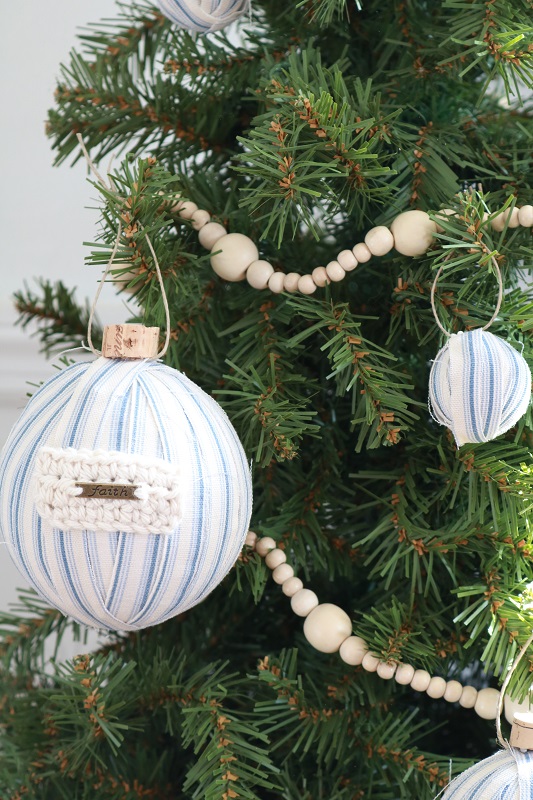
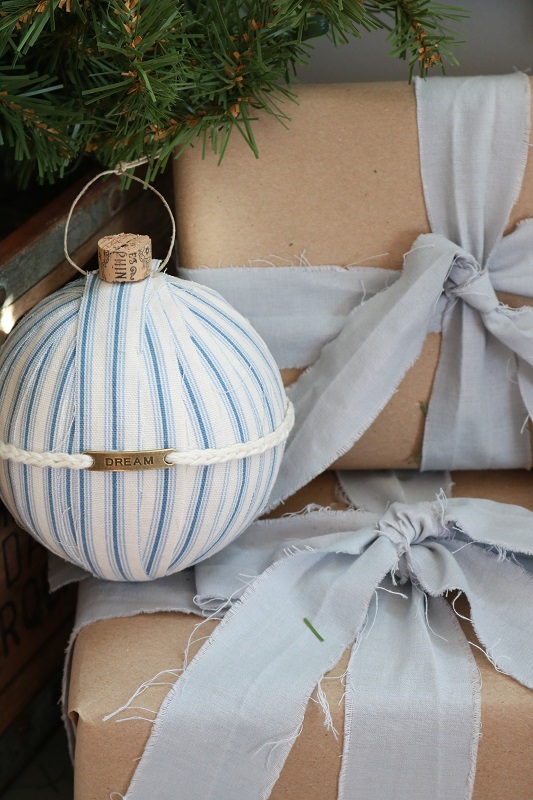
I chose to embellish my ornaments a bit by adding crochet labels and charms for tags. You may recall THESE SWEET CHARMS from some of my other projects, such as DIY Farmhouse Twine Vases and DIY Valentine Love Sacks.
I made the crochet labels for several ornaments with this simple pattern using COTTON YARN and a G hook:
- Chain 9.
- SC in 2nd chain from hook and across. Turn.
- Ch 2. HDC across. Turn.
- Ch 1. SC across.
- Fasten off.
Next I threaded some cotton yarn through the charm and through the crochet label.
Lastly, I hot glued the entire crochet tag to the ornament.
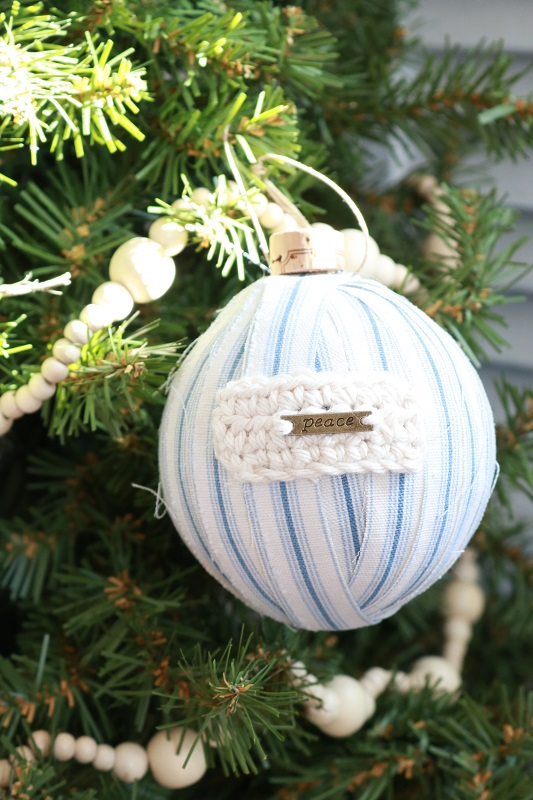
A length of twine got fastened to each ticking stripe ornament using hot glue underneath the top fabric strip. I knotted the top of the twine to be able to hang the ornaments.
In addition, each of the fabric Christmas balls got a ‘topper’ made from wine corks! I used a knife to slice wine corks and hot glued the small pieces to the top. You should do this carefully. Check out this Wikihow article on the best way to slice a wine cork.
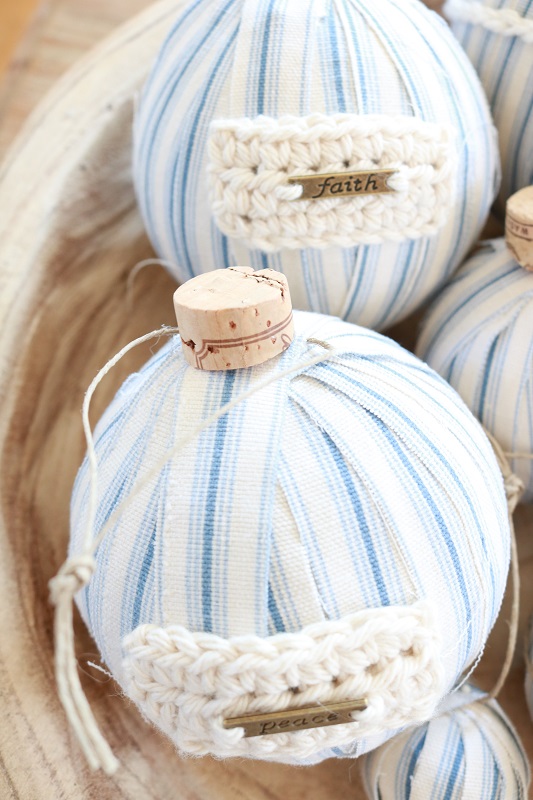
I love how they all turned out! Even the sweet tiny ticking stripe balls, which I didn’t embellish at all.
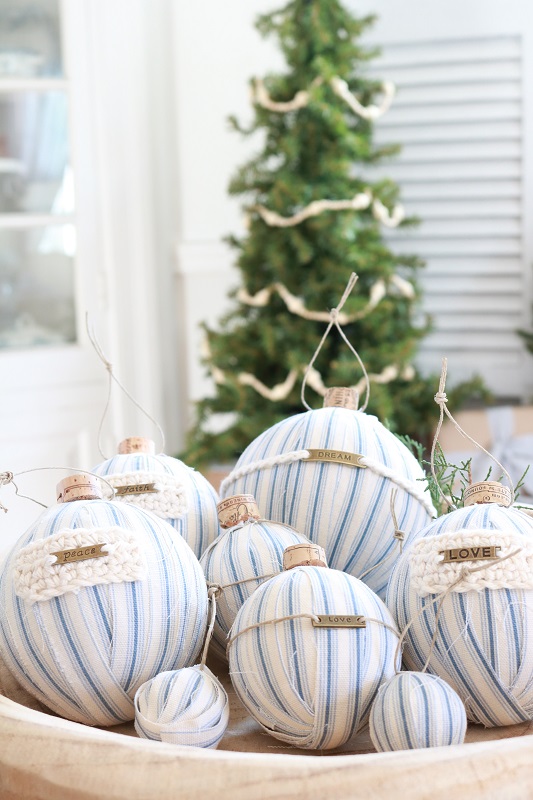
Some of the charms were simply tied on with twine or a crochet chain, and secured with hot glue.
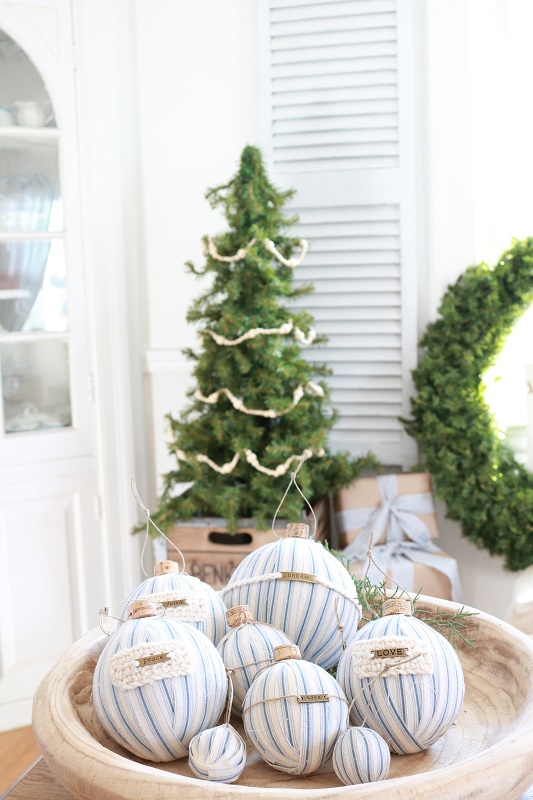
Display the ticking stripe ornaments
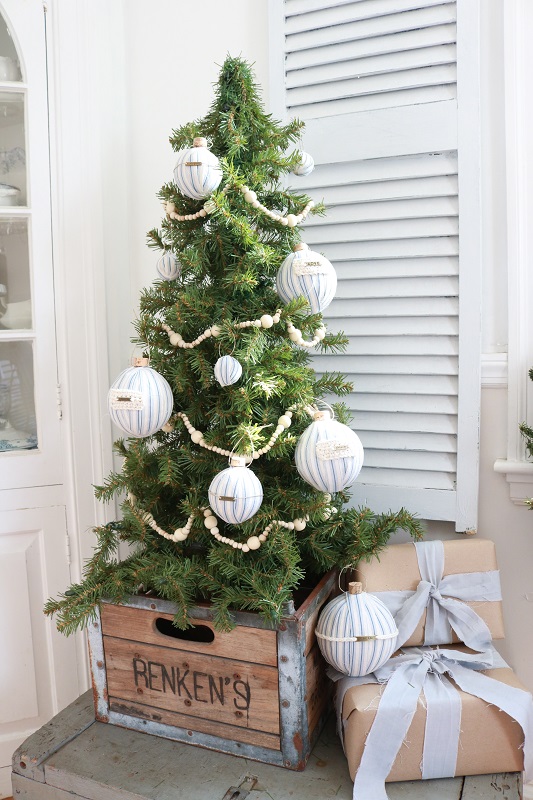
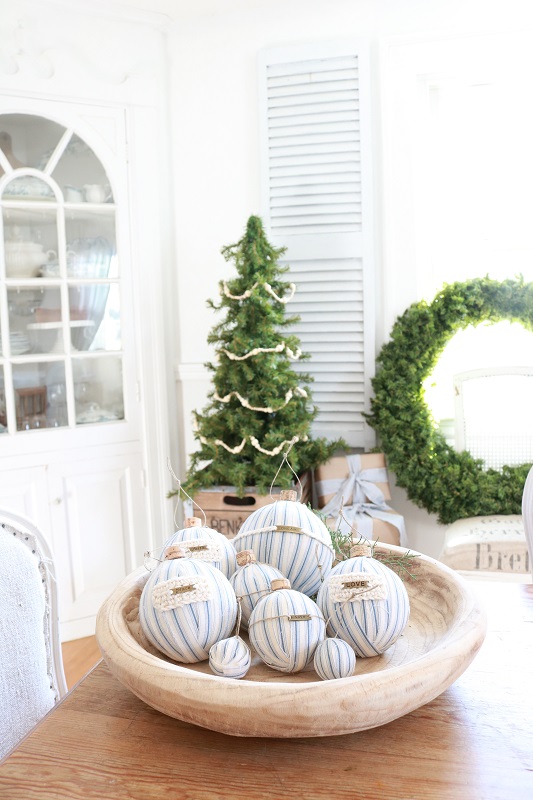
These easy styrofoam ornaments are perfect to display on a farmhouse style tree, don’t you think?
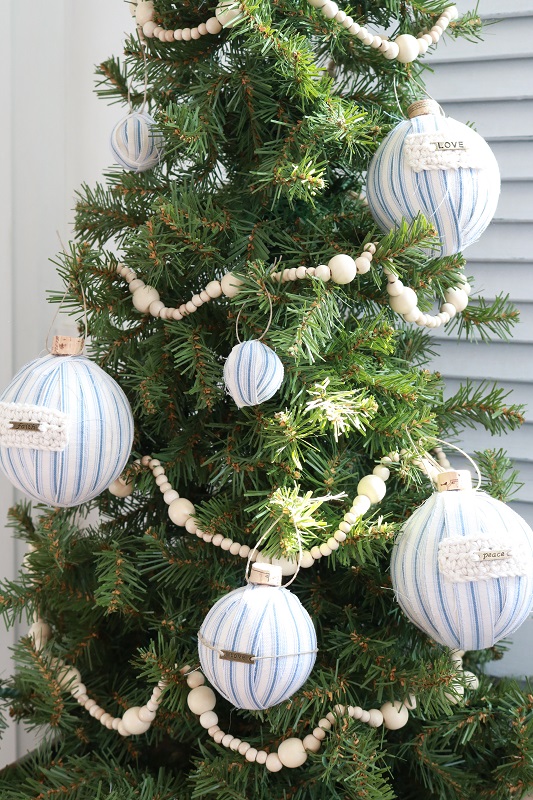
Likewise, wouldn’t they also be lovely as a hostess gift, especially with a unique charm?
I love how they look gathered together in a wooden bowl.
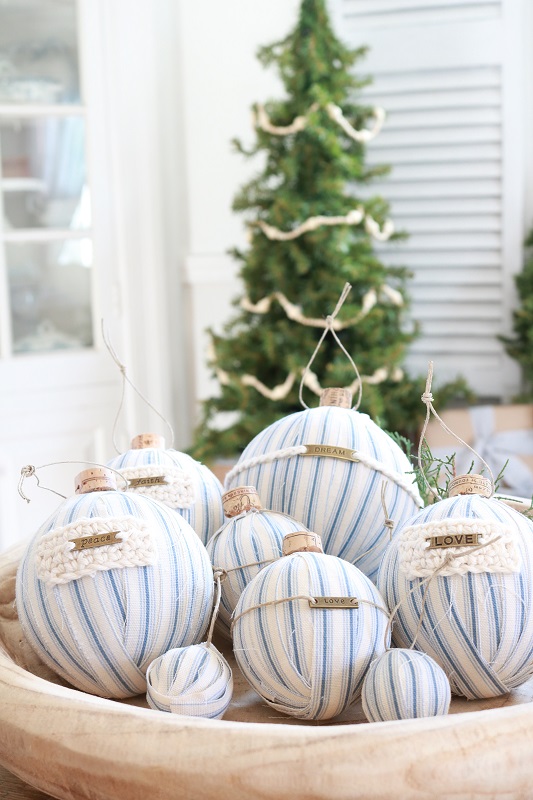
Nestle them near the gifts, too. The fabric balls are not breakable! These particular gifts are wrapped with my HAND-DYED MUSLIN RIBBONS, which coordinate well with the ticking balls.
How would you customize these balls? I’d love to see.
If you like this idea, you’ll love my Christmas Craft eBook with 80 pages full of Christmas crafts, decor tips, and printables:
——————————————————————————————————————–
Interested in a Christmas craft collection eBook?
Click HERE to create a Peaceful Christmas this season – even if you think you lack time or money!
CHRISTMAS CRAFT EBOOK —>

——————————————————————————————————————–
My ETSY SHOP also has popular ticking stripe apron patterns.
Hope you enjoyed this tutorial on how to make fabric ornament balls with farmhouse style. Happy creating!
===> Remember to PIN for later! <===


4 Comments
Erin @ My Mommy World
I just love these beautiful ornaments…and how easy they are to make! Thanks for the great tutorial…I’m pinning them for later 🙂
Susan
So happy you like them Erin! They really are pretty simple to make. Enjoy the project!
Kerryanne
Susan, these ornaments are so adorable. The ticking is fabulous, but the little crochet labels and charms just totally make them. Thank you for sharing your Christmas ticking stripe ornaments at Create, Bake, Grow & Gather this week. I’m delighted to be featuring them at Friday’s party and pinning too.
Hugs,
Kerryanne
Susan
Yay! Thanks so much Kerryanne! I love being party of your weekly link party again. It’s always full of beautiful inspiration!